This guide will tell you how to install the QuantV 3.0 Mod in Grand Theft Auto V. It will To enhance your Grand Theft Auto V experience.
- The first thing you will need to do is open up your web browser and download the QuantV 3.0 mod for GTAV.
- After the mod has finished downloading, navigate to your downloads folder and extract the file using WinRAR or 7zip Archiver. Open up the extracted folder.
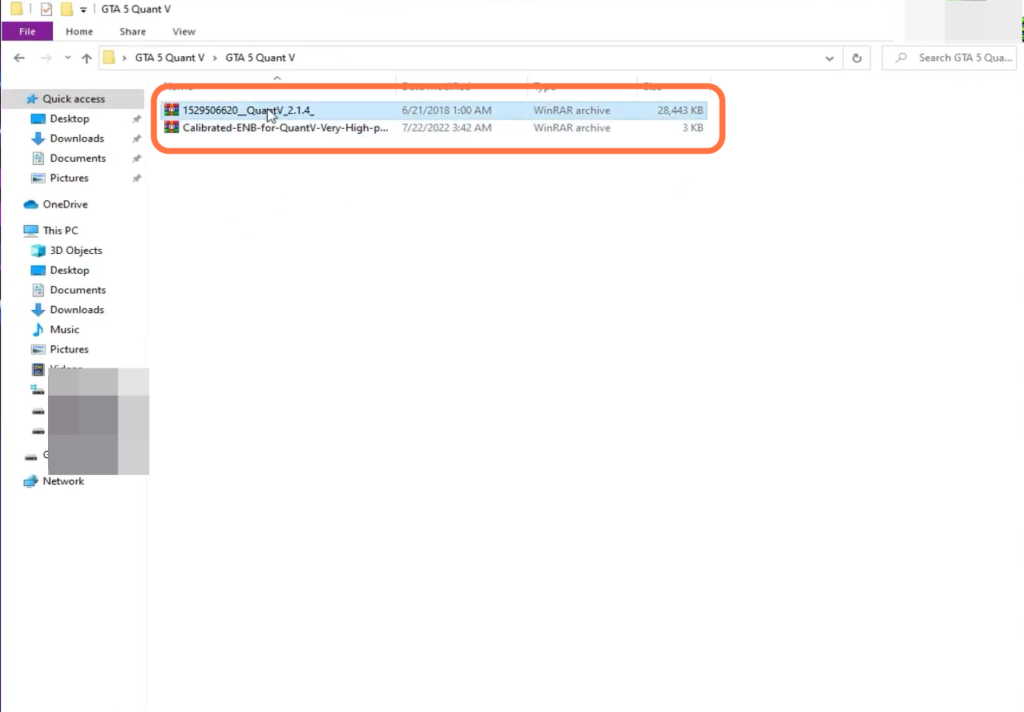
You will find two RAR files inside it “1529506620__QuantV_2.1.4_.rar” and “Calibrated-ENB-for-QuantV-Very-High-preset-1.2.rar“. - You have to extract these files as well.
- Begin the installation process by accessing the QuantV folder. Within this folder, locate the “Install (oiv)” folder and run the “QuantV_Install OIV” file.
The Open IV application will launch.

- Once the Open IV window appears, click on the “Edit Mode” button to enable it.
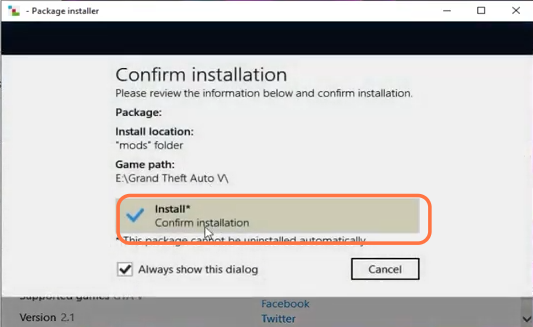
A pop-up window will appear; - After that, click the “Install” button when a new window appears.

- Next, choose the mods folder and select the “install” button to confirm the installation process.
- If you don’t have a mods folder, create one before proceeding.
It’s recommended to install the mod through Open IV, but you can also choose to install it manually. Additionally, there is an optional folder within the mod package named “Optional,” which contains additional QuantV mods like Dark Nights, Reshade, and Corona Removal.
You can install these manually or through Open IV as well.

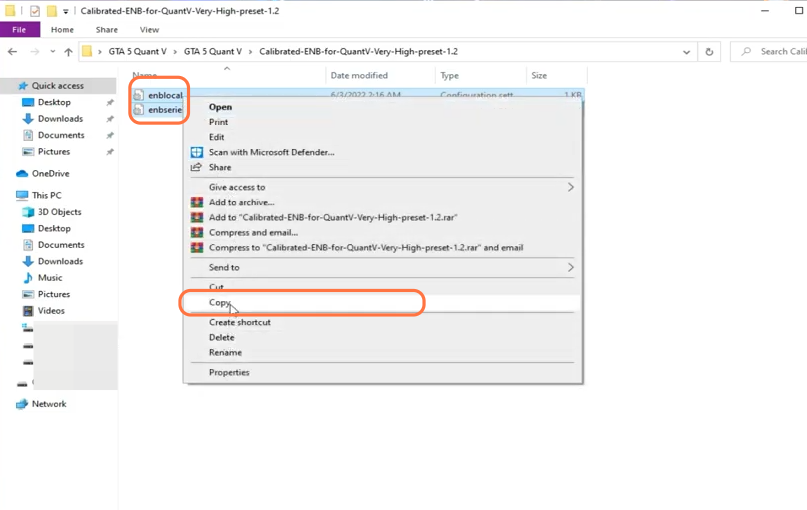
- Return to the “Calibrated-ENB-for-QuantV” folder in your downloads and open it.
- Copy the two configuration files within and navigate to the main directory of your GTAV installation. Paste the configuration files there.
Congratulations! The mod files have been successfully installed. Launch GTAV and when you spawn in the game, you’ll immediately notice a significant improvement in graphics clarity and overall visual experience.