This guide will let you how to Install and Play Valorant on Mac. There are two methods to do so, you can install it using VirtualBox or Boot Camp.
Method 1: Installing Valorant using VirtualBox
In this section, we will take you through the steps to install Valorant using VirtualBox. To begin, you’ll need to download VirtualBox, which allows you to create a virtual machine on your Mac.
- Visit the official VirtualBox website and download the “OS X host” package.
- Once the download is complete, navigate to your downloads folder and run the VirtualBox installer.

Create a Virtual Machine
This section describes how to create a virtual machine for Windows 10 after installing VirtualBox.
- Launch VirtualBox and ensure you have the Windows 10 ISO file downloaded.
- In VirtualBox, click on “New” and give your virtual hard disk a name.
- Select the system type and version (choose any Windows version next to Windows 7).
- Click on the Continue button, select the desired RAM allocation, and hit the Continue button again.
- On the next page, choose the “Create a virtual hard disk now” option and press the Create button.

- Select VMDK as Hard disk file type, and click on the Continue button.
- Select Dynamically allocated on the Storage on physical hard disk window and hit the Continue button. Set the file location and size and press the Create button.

Configuring Virtual Machine Settings
In this section, we will take you through the steps to configure Virtual Machine Settings to optimize it for Windows 10.
- Click on “Settings” for your virtual machine.
- In the “System” tab, ensure the chipset is set to PIIX3, and select Enable I/O Apic in the Extended Features list.
- Navigate to the “Display” section and set the Graphic Controller to “Vbox SVGA.” Checkmark Enable 3D Acceleration and set the Video Memory to maximize.
- Click “OK” to save the settings.

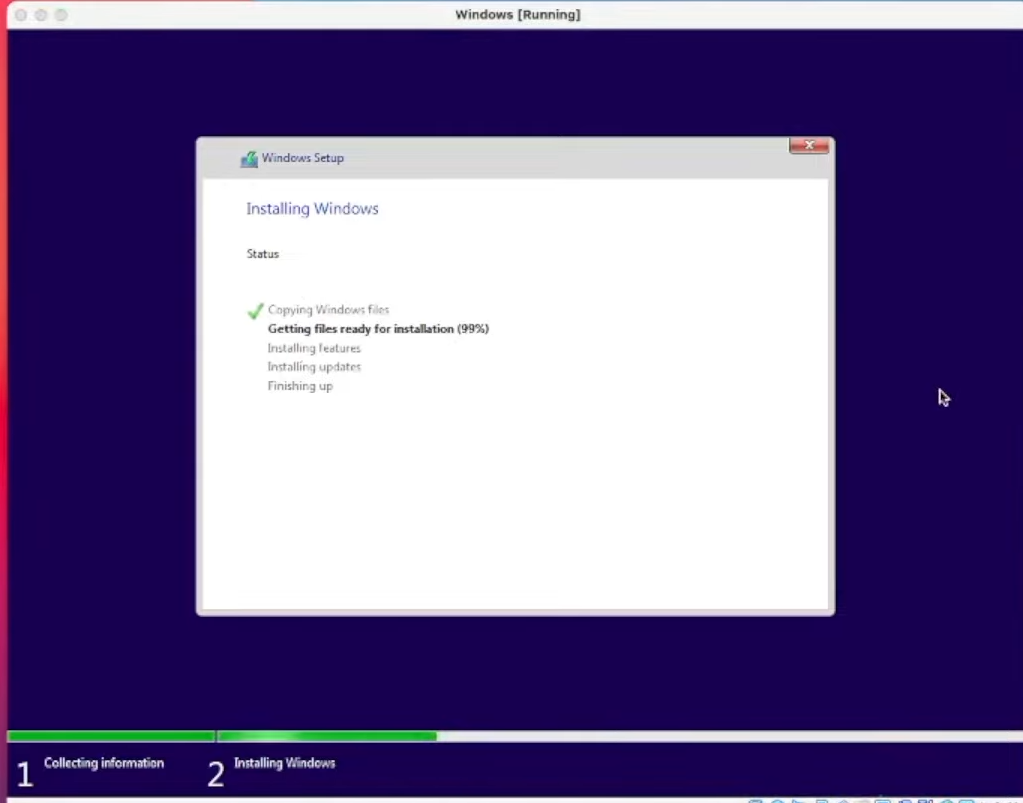
Install Windows 10
This section describes how to install Windows 10 after optimizing the settings.
- Start the virtual machine and select the Windows 10 ISO file you downloaded earlier.
- Go through the installation process to complete the Windows installation.
Install Valorant
After installing Windows 10, the next thing you need to do is proceed with the Valorant installation. This section will show you how to do it.
- Right-click anywhere on the desktop and go to Display settings.
- You need to adjust the display resolution to match your monitor’s native resolution.

- After that, download Valorant and install it on your PC. Once you reach the web page, click on “Play Free”
- Sign in using your Riot account. If you don’t have one, you can sign in using your Google or Facebook account.

- After signing up, click on the “Download” button to start the Valorant setup file download.
- Open the downloaded setup file and follow the instructions to install Valorant.
- Sign in with your Valorant account (e.g., Google account), accept the terms, and proceed with the installation.
- After the installation is complete, restart the virtual machine.
- Launch Valorant on your virtual machine, enter your Riot ID, click “I Understand,” and enjoy playing Valorant on your Mac.

Method 2: Installing Valorant using Boot Camp
In this section, we will take you through the steps to install Valorant using Boot Camp. By following the steps below, you will be able to install Windows on your Boot Camp, then Valorant and start playing it.
- The first thing you will need to do is Install Windows on your Boot Camp partition using the Boot Camp Assistant.
- Complete the Windows installation process as you would normally.
- After that, install Valorant directly on your Boot Camp Windows partition. Follow the same instructions to download and install Valorant.
- After that, sign in with your Valorant account and start playing.

Conclusion: With either Method 1 (VirtualBox) or Method 2 (Boot Camp), you can successfully install and play Valorant on your Mac. Choose the method that best suits your preferences and enjoy the thrilling gaming experience on your macOS device.