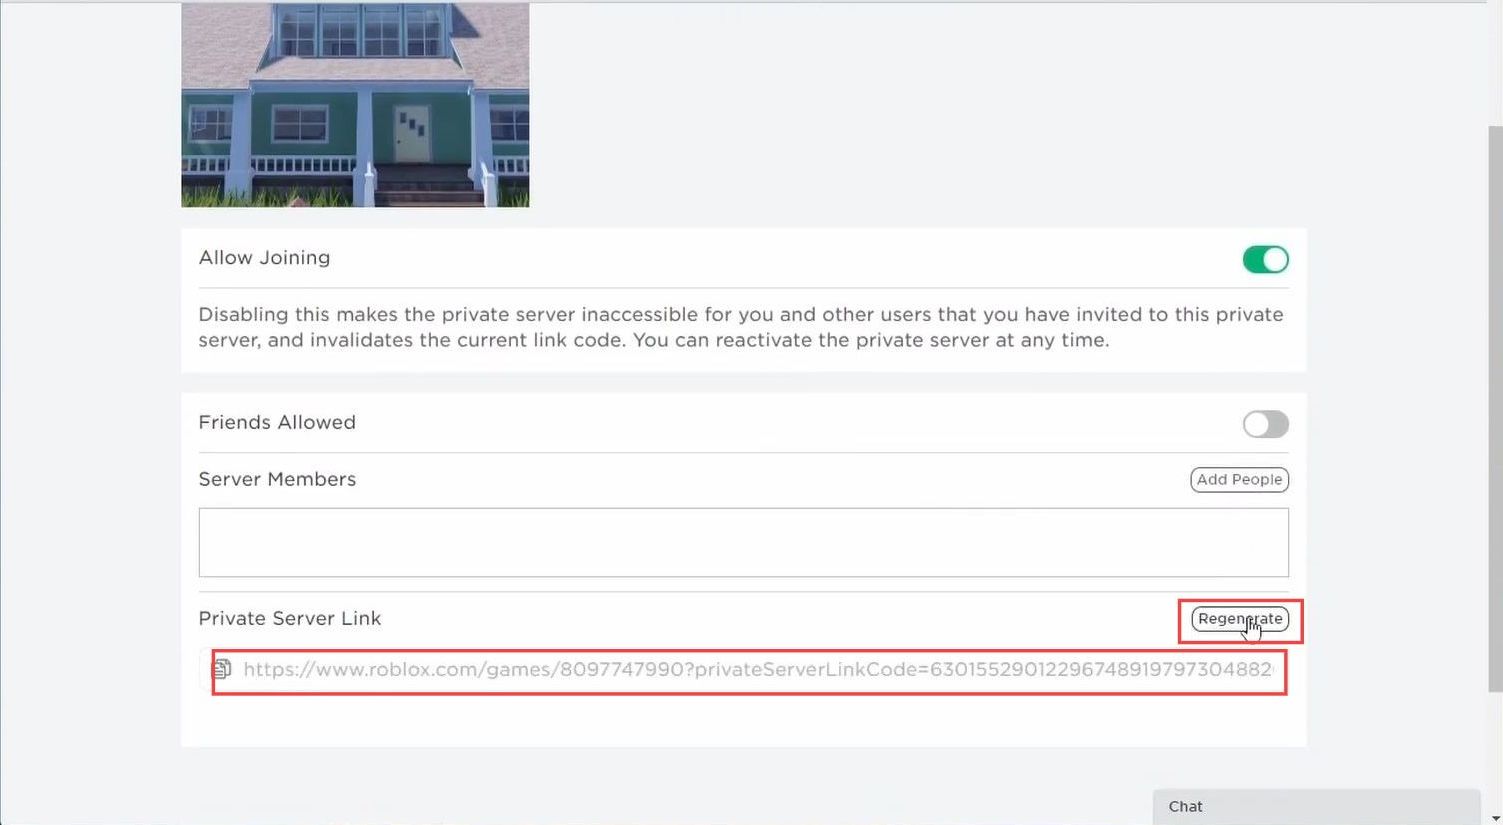
This guide will provide you with the best method to make a private server for your Roblox game. First, you need to enable private servers for your game and then you can make a private server.
Enable private servers for your game
In this section, we will take you through the steps to enable private servers for your game. By following the steps below, you will be able to enable the ‘Allow private servers’ option.
First, you need to go to the experience or game you want to make a private server for.
- Open a web browser and go to the Roblox website.
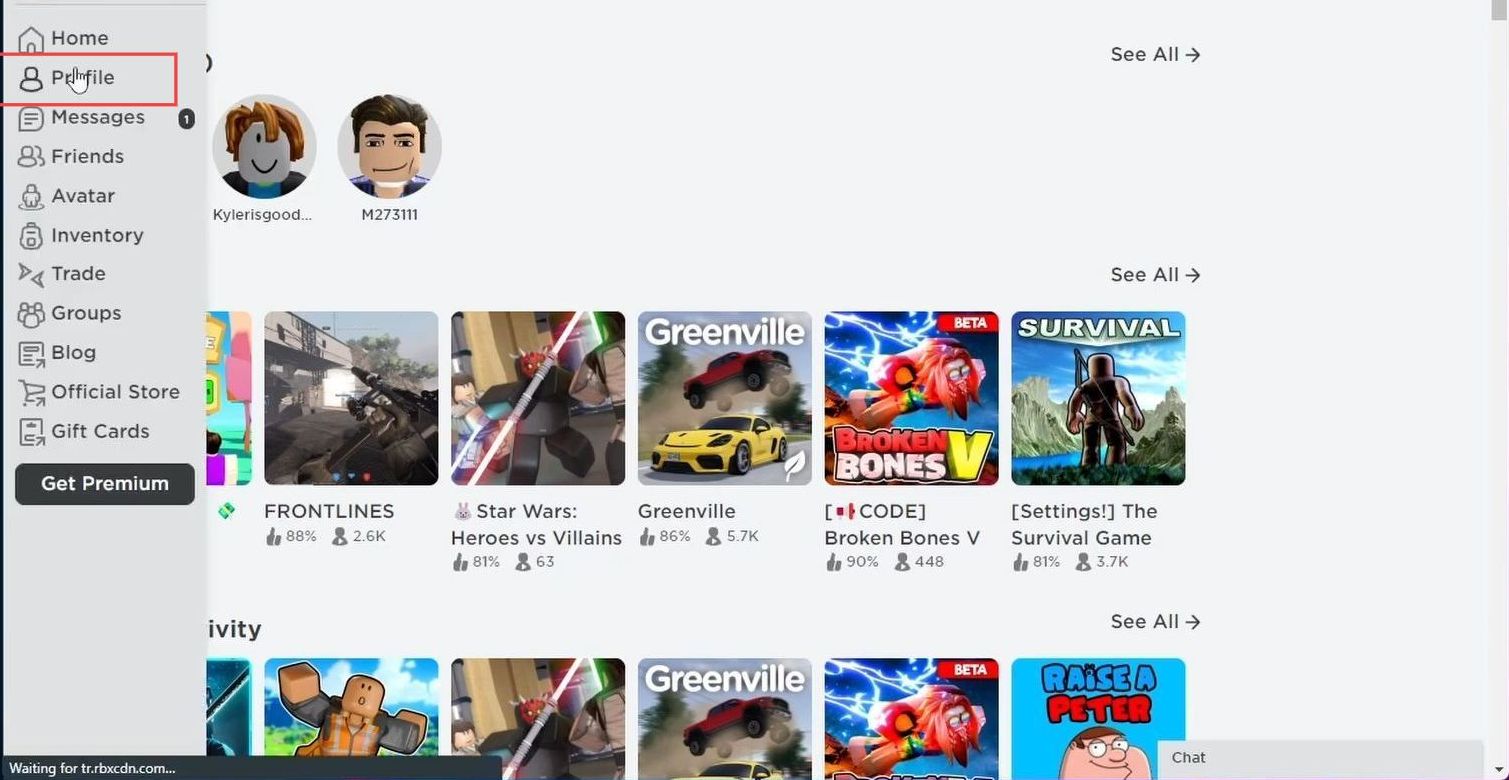
- Log in to your Roblox account using your username and password. Click on the Profile tab located in the top-left corner.
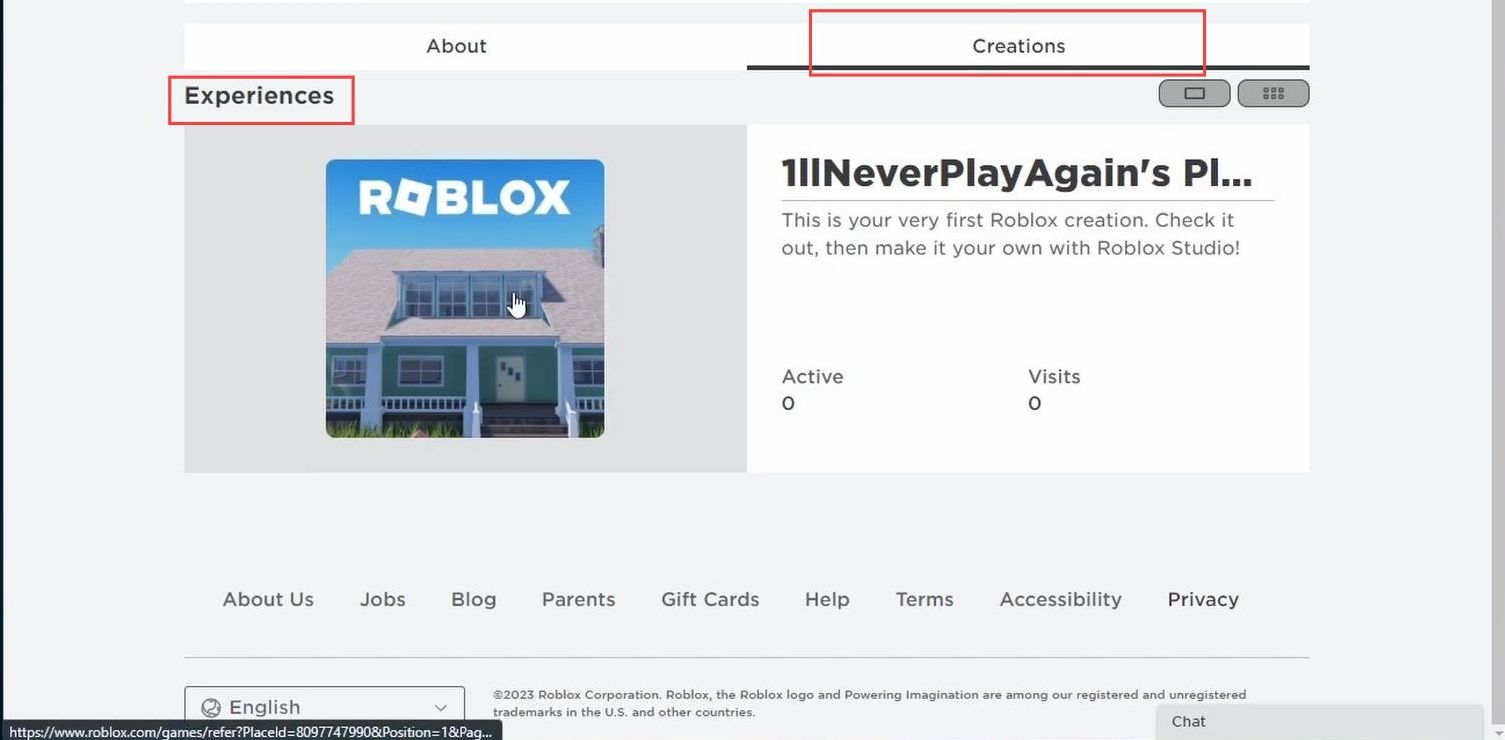
- Afterwards, go to the Creations menu and select the experience for your server.
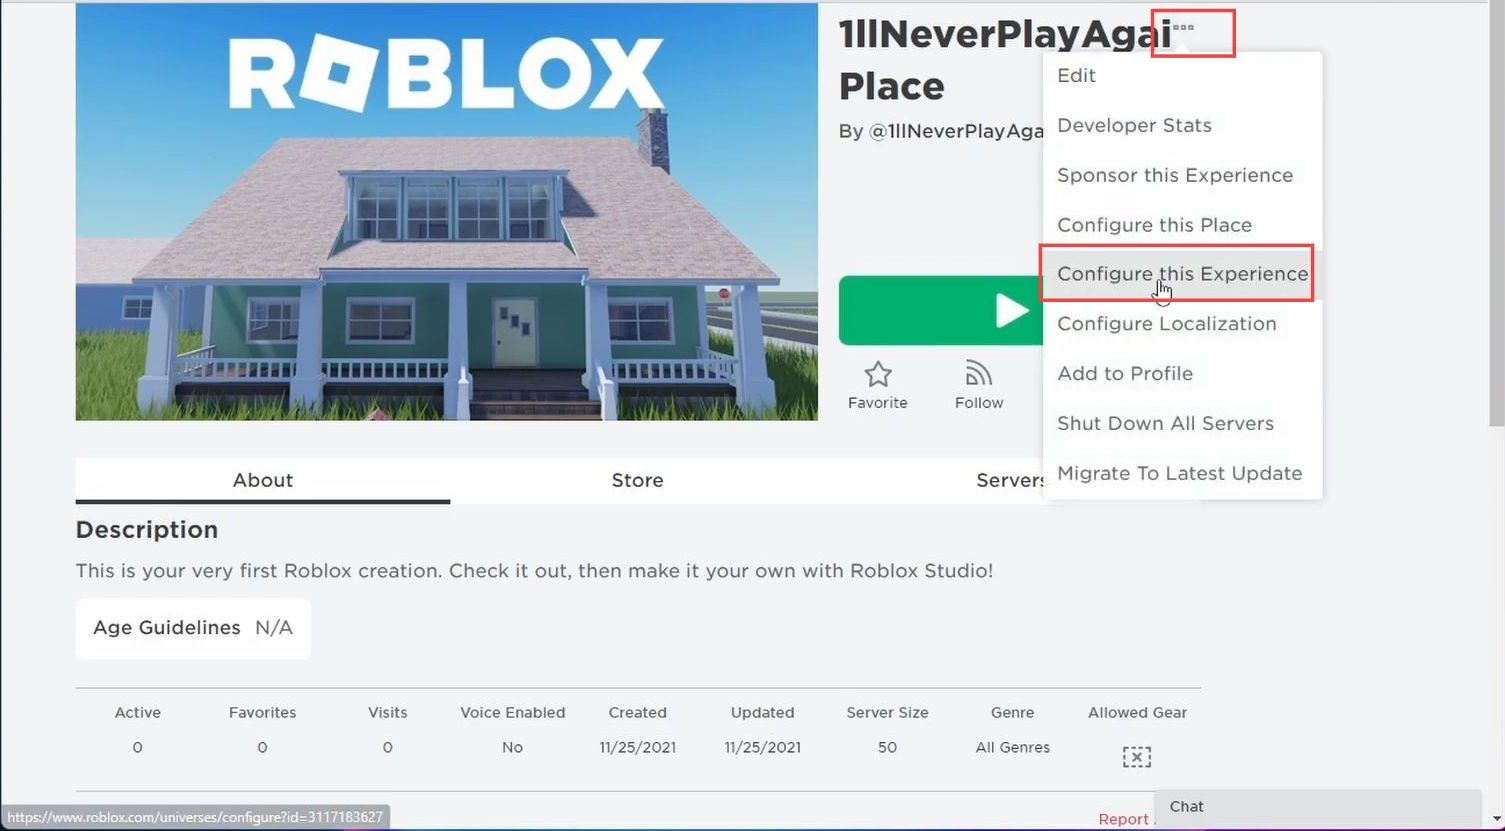
- Now click the three dots to open up a drop-down menu and select the Configure this Experience option.
- Click on the Access tab and scroll down until you reach the Server Settings section.
- Look for the ‘Allow private servers‘ option and toggle it to enable it.
- Once you have enabled the option, click on the Save button to apply the changes.

Create private server
This section explains how to create a private server in Roblox. You can also create a paid server if you want and then copy the link to play on the private server.
- If you want a paid server, you need to enable the Requires Robux option and set a Robux price.
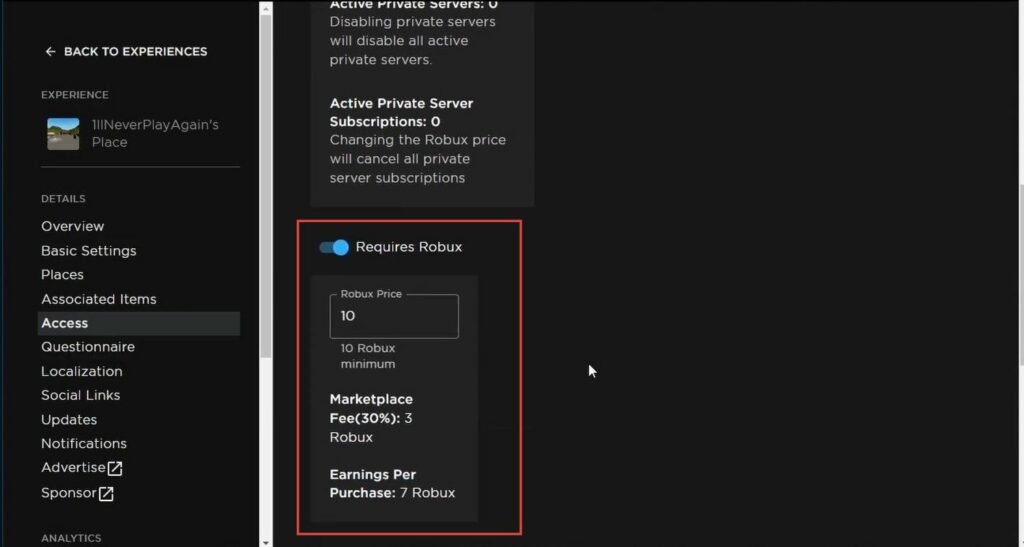
- Once you have saved the changes, navigate back to the previous page.
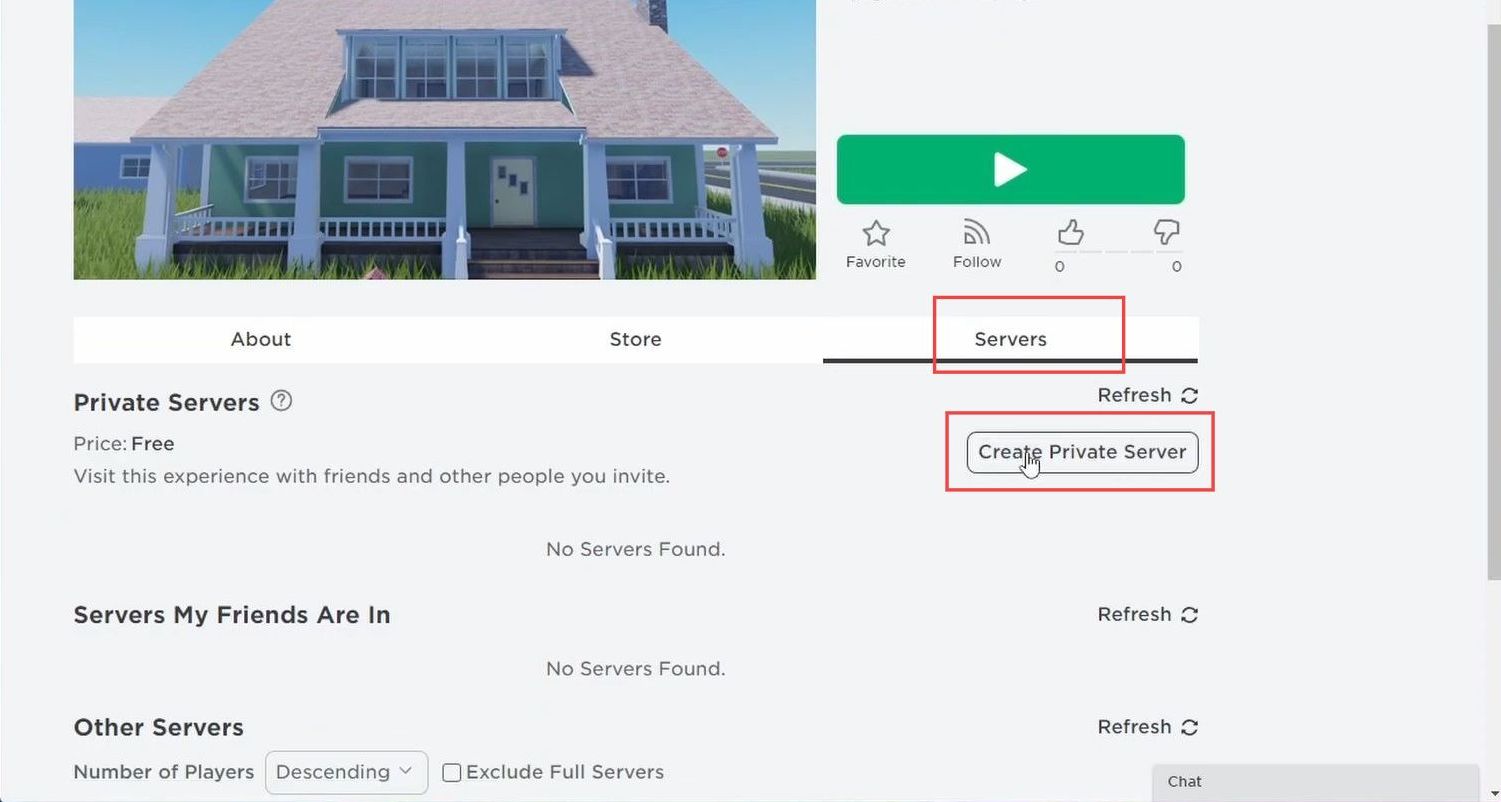
- Tap on the Server options, and click on the ‘Create private server‘ button.
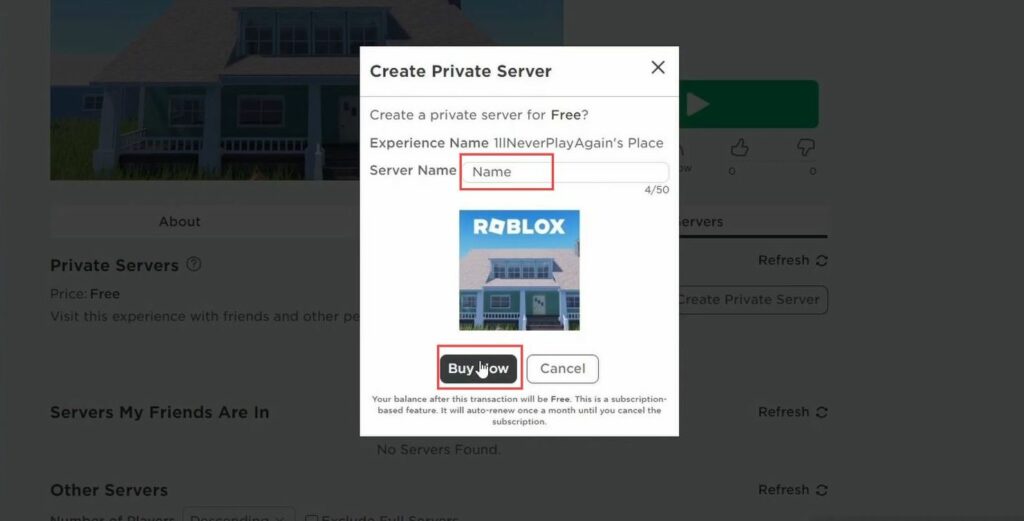
- Now give your server a name and click the buy now button.
- Locate and select the ‘generate’ option. After selecting the ‘generate’ option, you should be taken to your private server.
- Once you are on your private server, look for the link that allows you to play on the server. highlight the link with your cursor and copy it.
- After that, paste this link to play on a private server.
