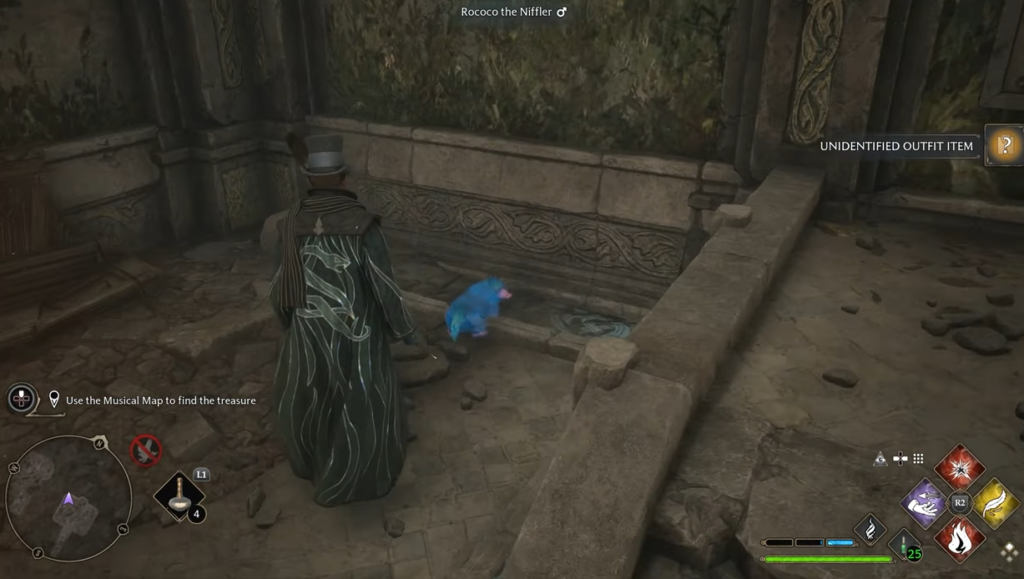
This guide will let you know how to use Henrietta’s Map to find the treasure.
You can find the location on the map, where you cross the cave to get to the other side. You need to go down to the bottom left of the map, and you will find a building there, take the stairs down to the dungeon.

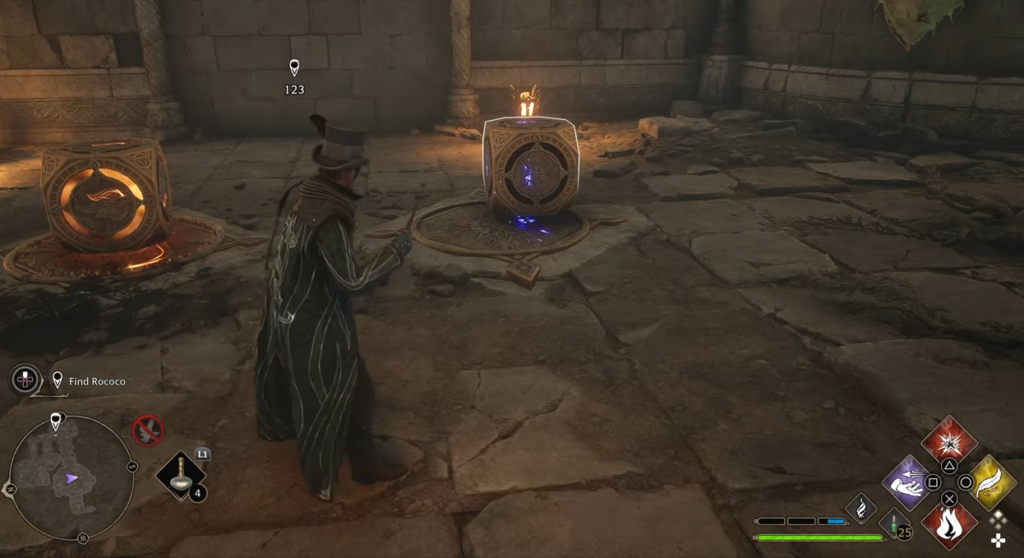
Once there, light the two brazers to reveal the cube, pull that out and put it on top of the symbol next to the other cube. After that, use the spell the cubes have on them to reveal the door.
Head to the room with the big Griffin statue and use any fire spell to light up the correct brazers. Put them out and use the ice spell to open the door.
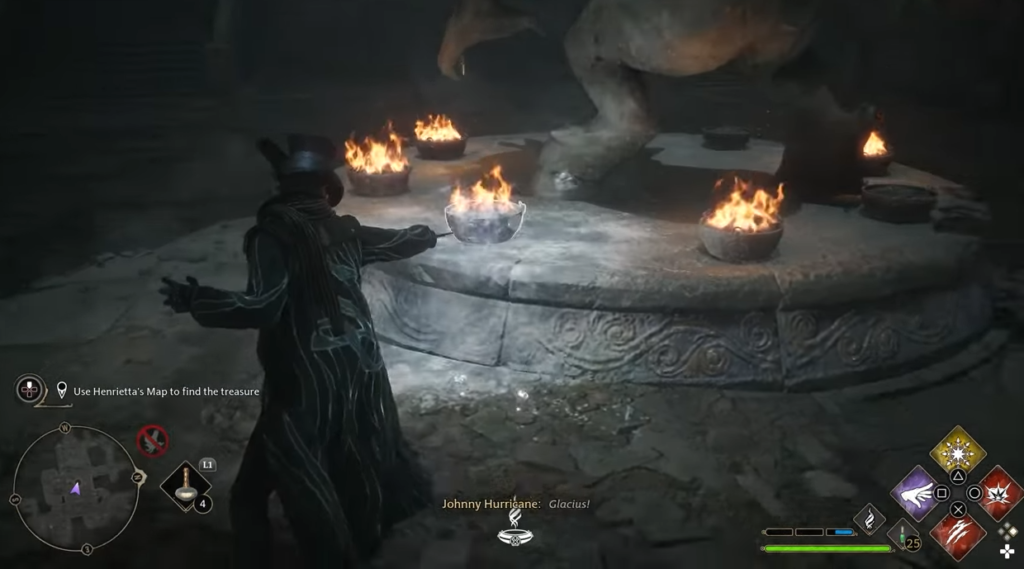
Afterwards, go back to the statue near the wall and light up the brazer to flip the statue behind. Jump up on the switch and head inside; you will find a cube and switch. You need to put the cube on the switch and light it up.
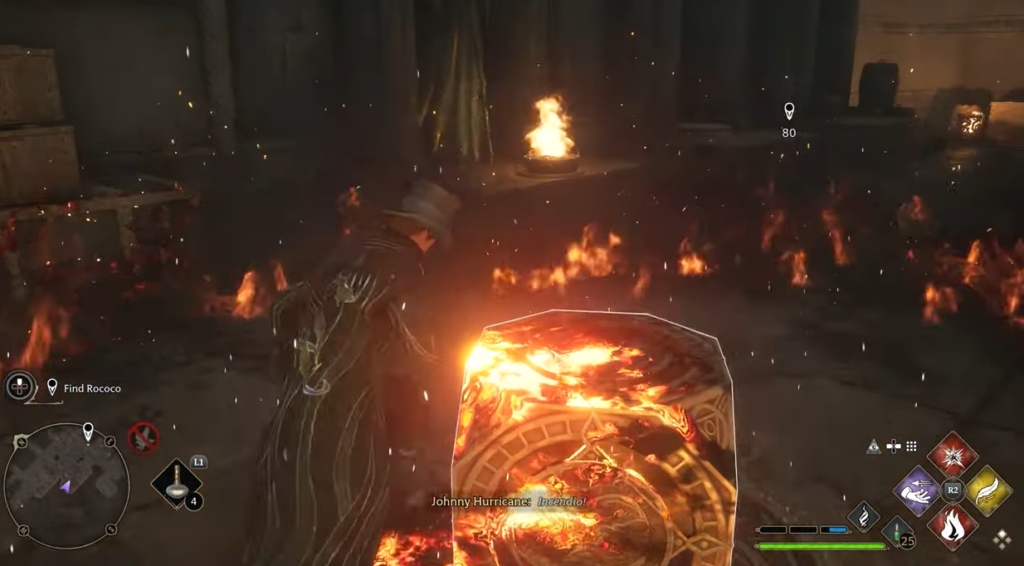
Move down the stairs, and you’ll find a cube to the left, pick it up and put it through the door. After that, hit it with the spell.

Next, you must pull the cube towards you and drop it on the platform inside the door. Then use your spell on it to open the door. When you get past the wall, it will eat, so you need to use your revelio to light up the floor blue and aim your wand at the floor.

Head upstairs from the hallway, look across and pull the cube to put it on the spot. After that, pass through the weird-looking wall and grab the musical map.
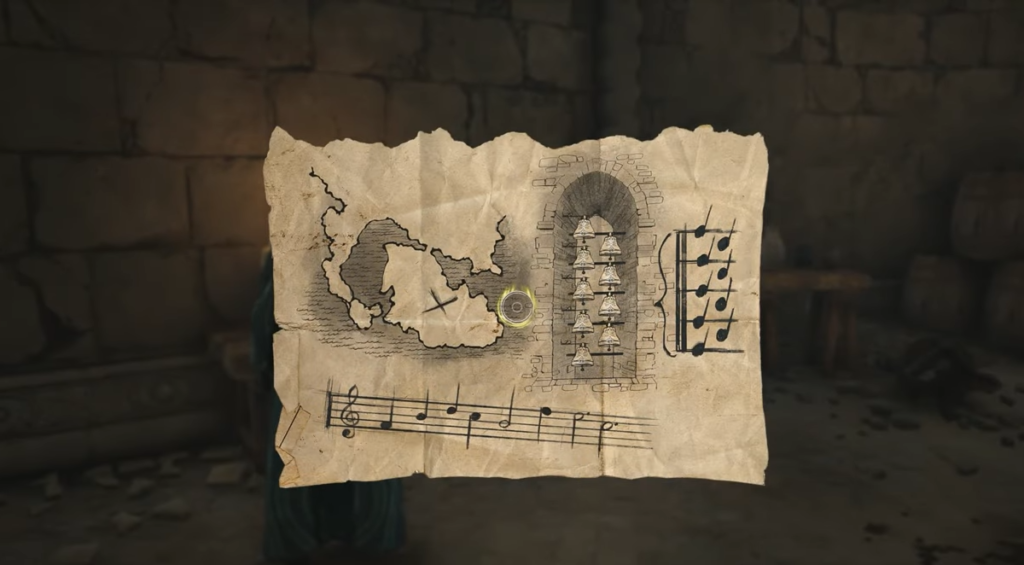
Now all the cubes are in here, grab the cube, and the way to exit is upstairs. If you got the quest, it is where the pet will be; you must use your sucking spell to catch it.
