In this guide, you will discover the optimal configurations tailored for maximizing performance in Suicide Squad: Kill the Justice League.
By implementing these settings, users can enhance their gameplay experience by achieving peak frames per second (FPS) output, thereby boosting overall performance during gameplay sessions.
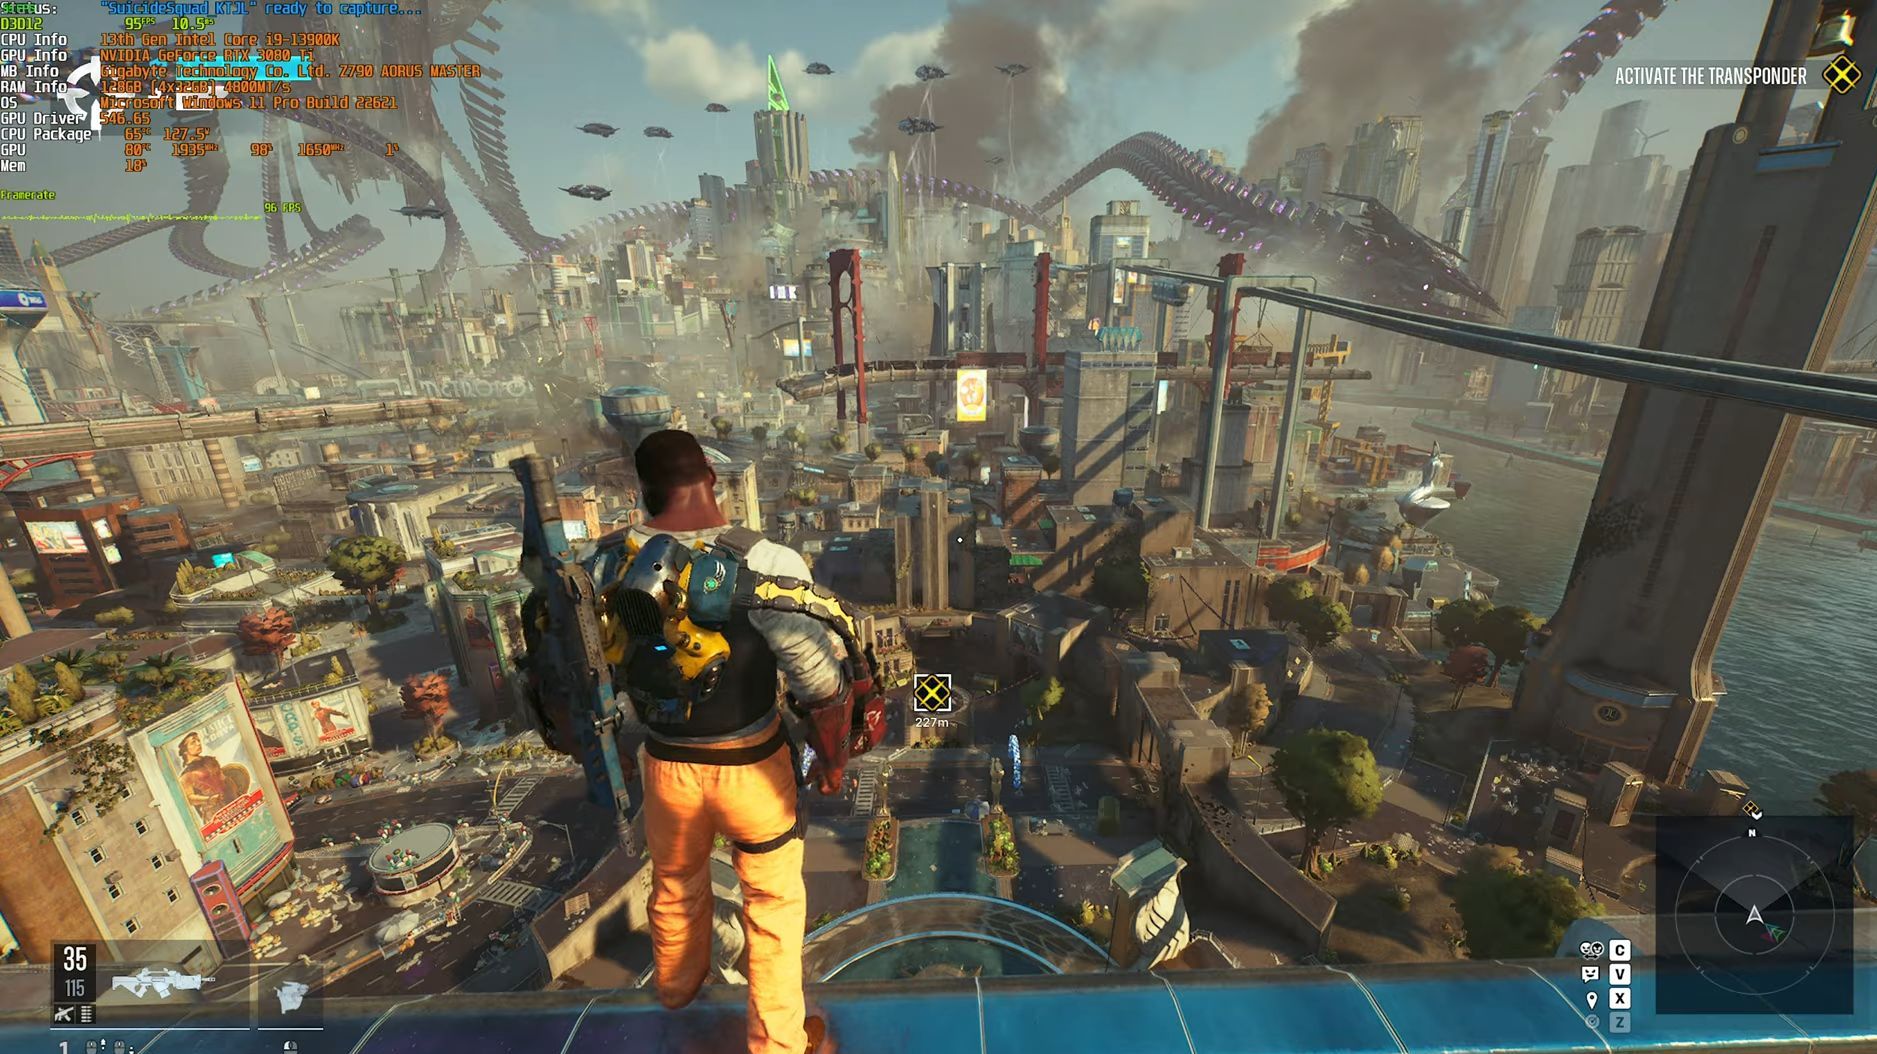
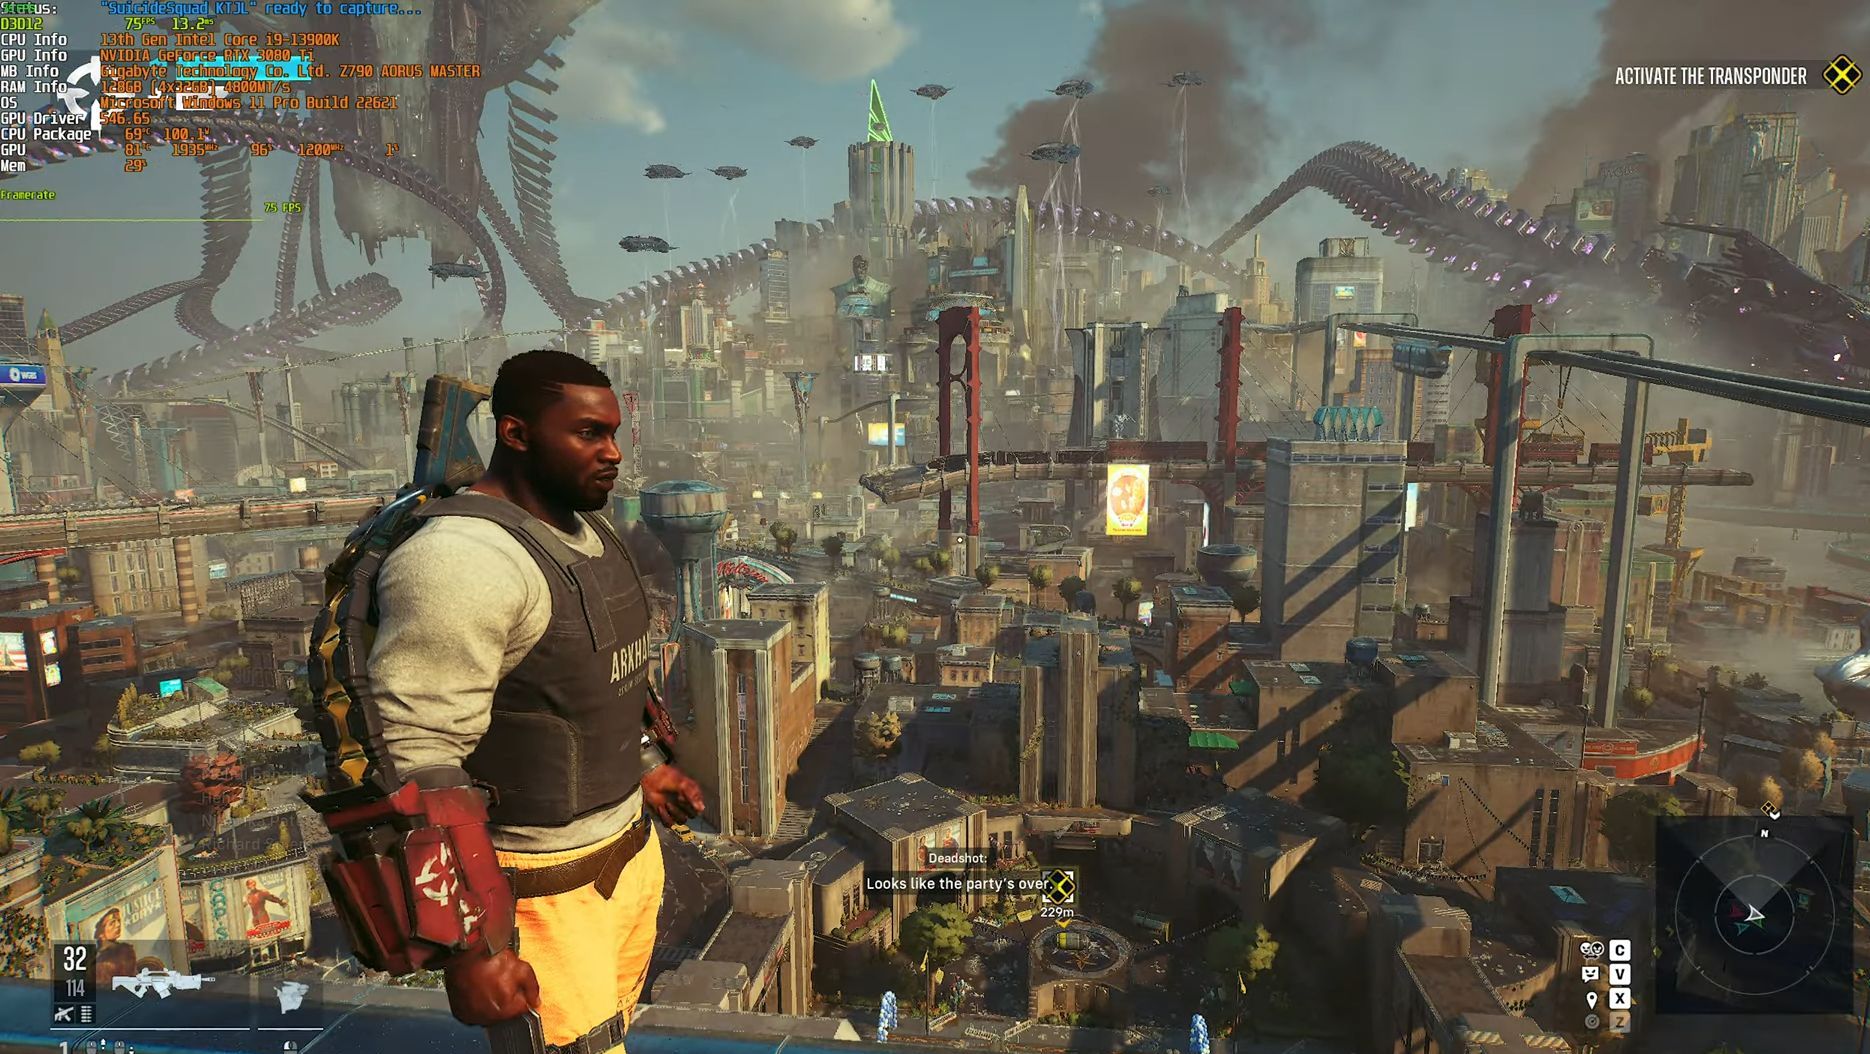
Performance before optimization (Default settings)
- First, you will need to go to settings to turn off Vsync and Dynamic Resolution Scaling. Also, turn off all the scalers and head into the game.
- Once you reach the main city, just stand up on the roof of the tower.
You will notice a ton of alias edges. If you are running the game at 2K on a 38i with upscaling turned off, you will get a 75 FPS.
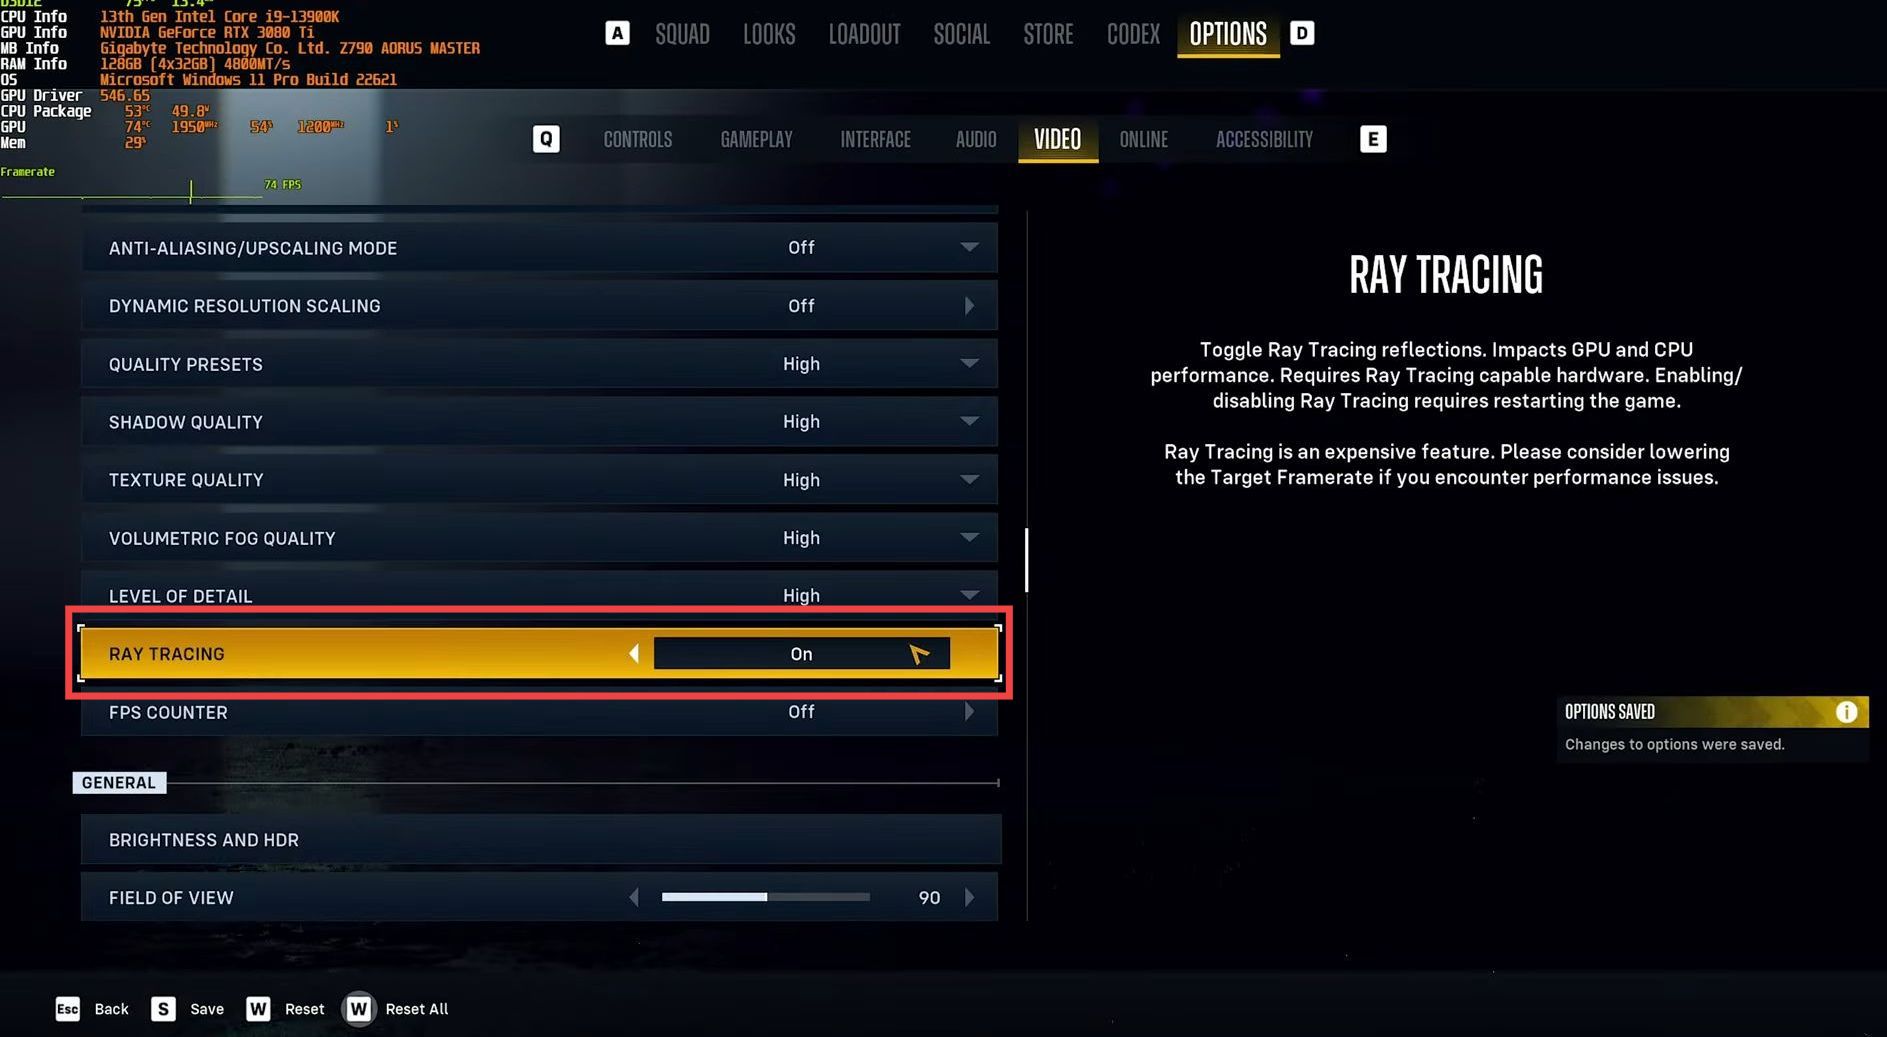
Ray Tracing performance
You’ll notice a huge hit in frames if you enable Ray Tracing. You will get a solid 57 when it is turned on.
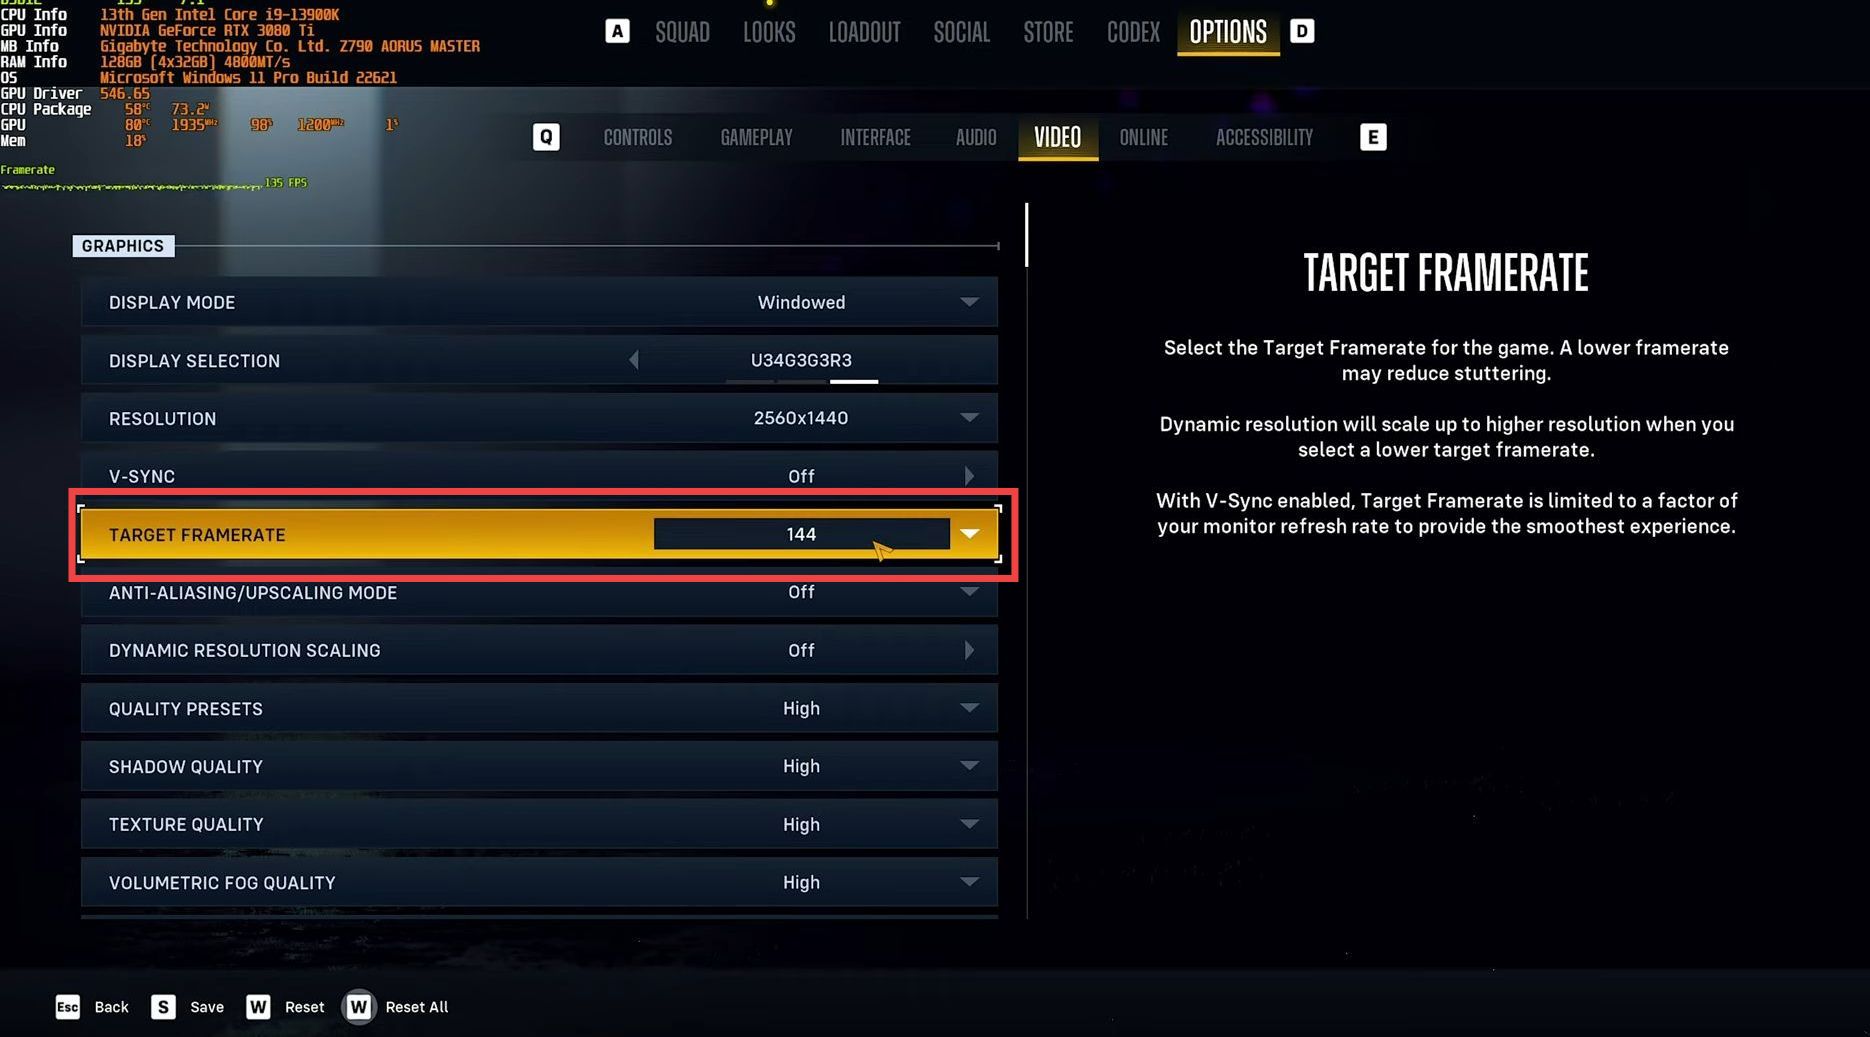
FPS cap (Fix 60 FPS limit)
- If you are using Nvidia GPU, then open up the Nvidia control panel and tap on Change Resolution on the left side. Set the Refresh rate to 165 Hz.
Now you will get a lot higher FPS cap. - Go back to the settings and set the Target Framerate to 144.
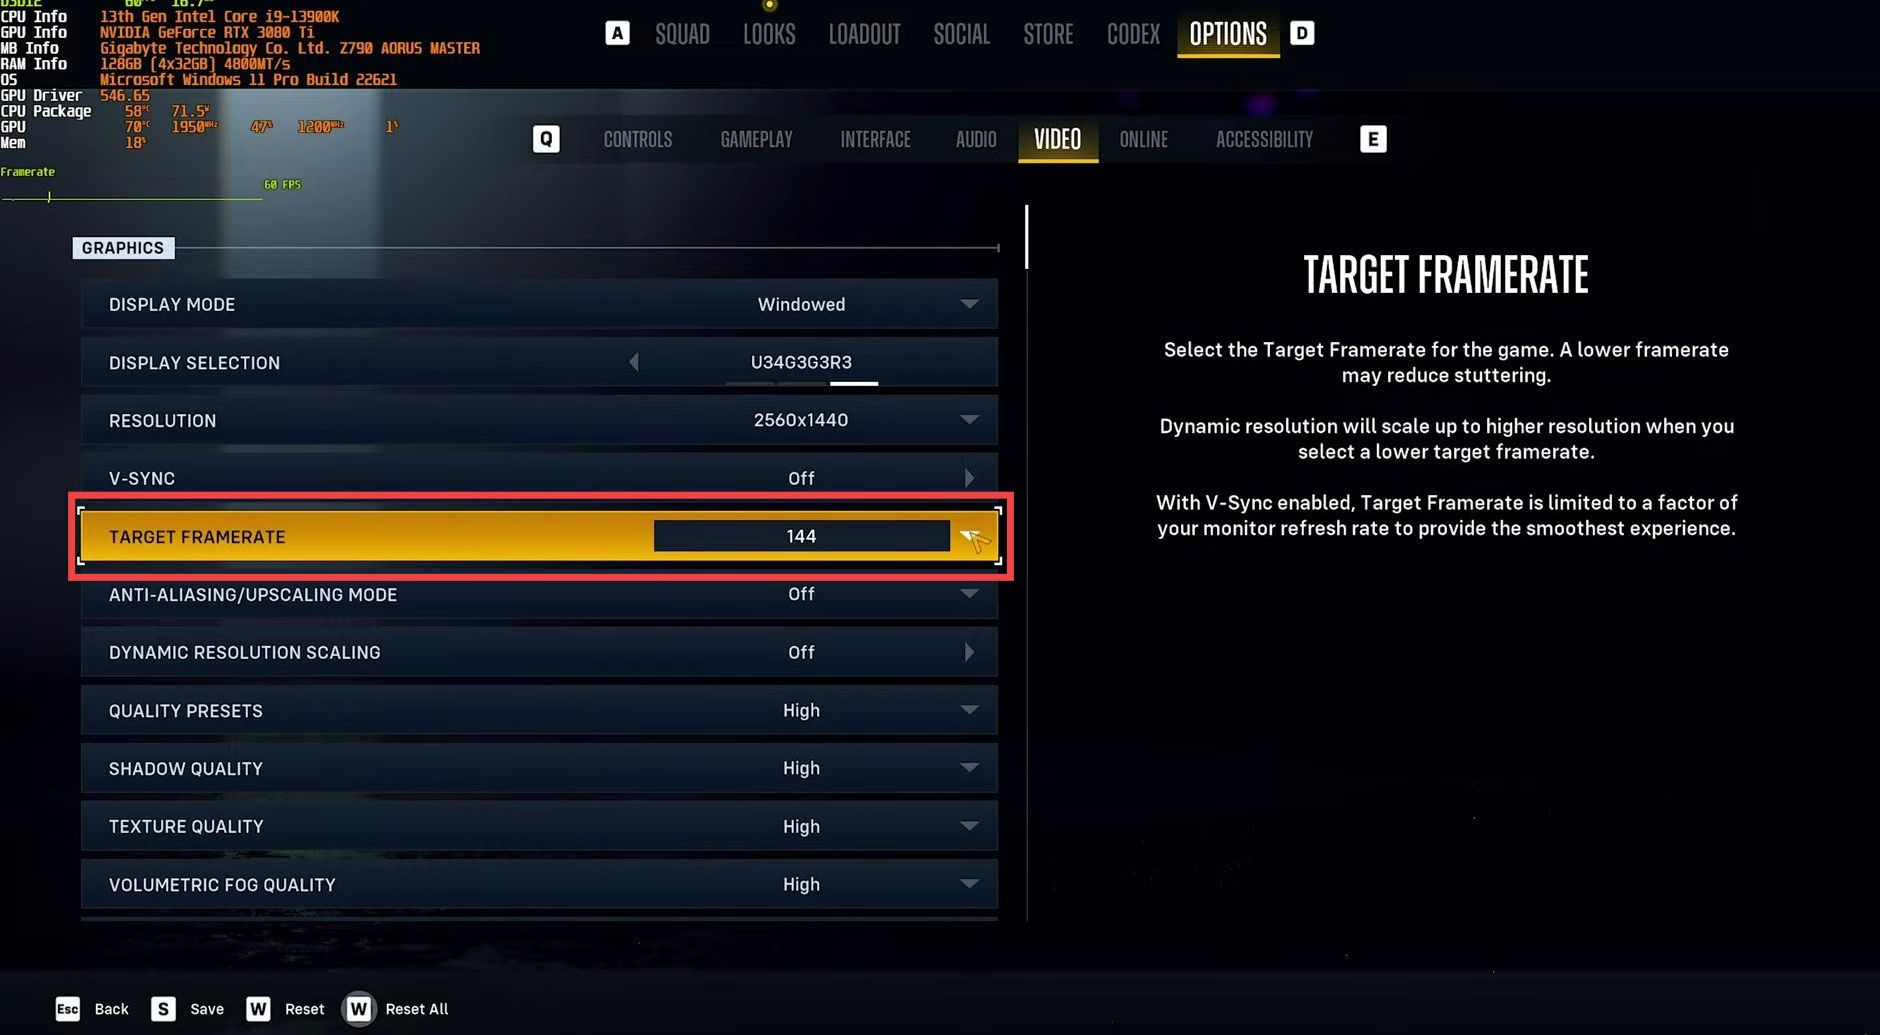
Display Settings Optimization
- You have to go to the game option and navigate to the Video tab. Set the Display mode to Windowed and make sure that the Resolution matches your display.
- Turn off Vsync and the Target Frame Rate should match your screen FPS.
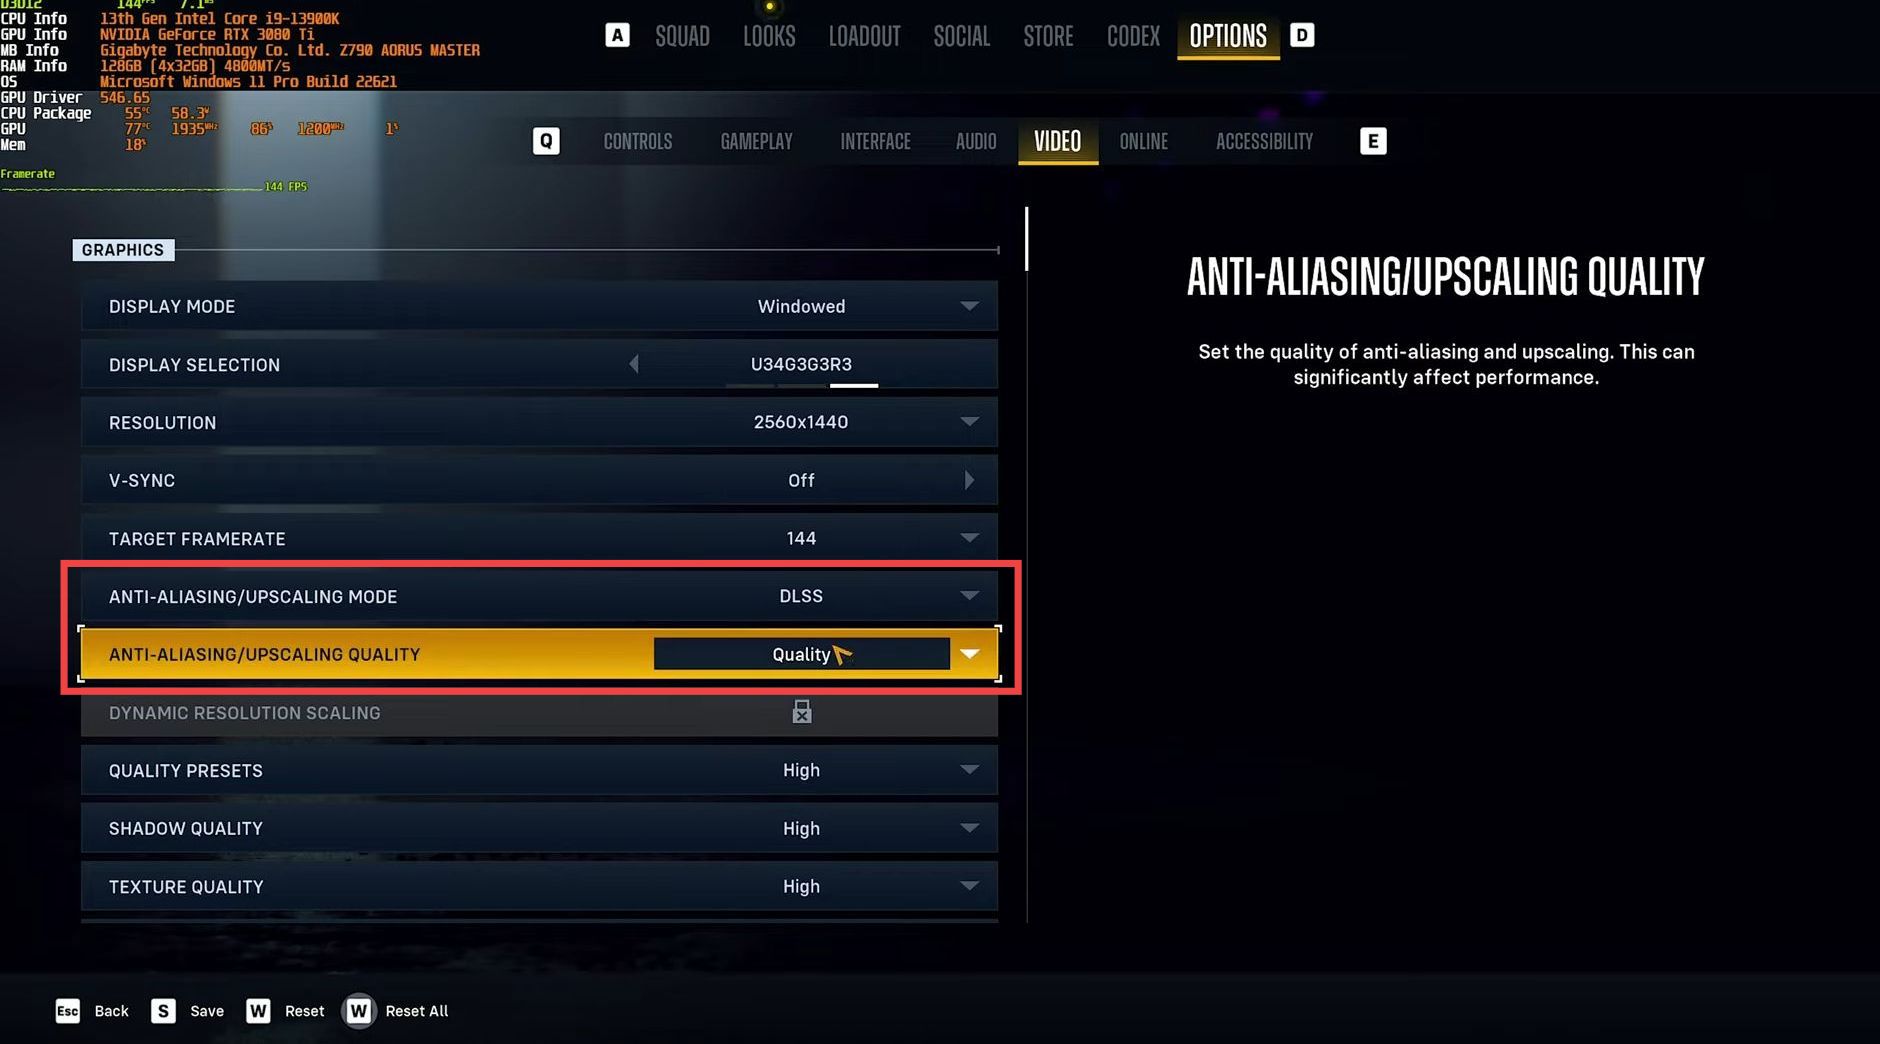
Upscaling & Anti-Aliasing
- You have to set Anti-Aliasing to DLSS or FSR. FSR runs on almost all the graphics cards.
These settings will give you a solid 92 FPS. - If you are not using upscaling, then select TAA, as it is the best anti-aliasing. After that, set the Anti-aliasing/Upscaling Quality to Quality.
Quality Presets Performance (High, Medium, Low)
You can set the Quality Preset to low, medium, or high. It offers 77 FPS on high, 87 on medium, and 92 on low. There’s not a huge amount of performance gain by changing these options to higher resolution.
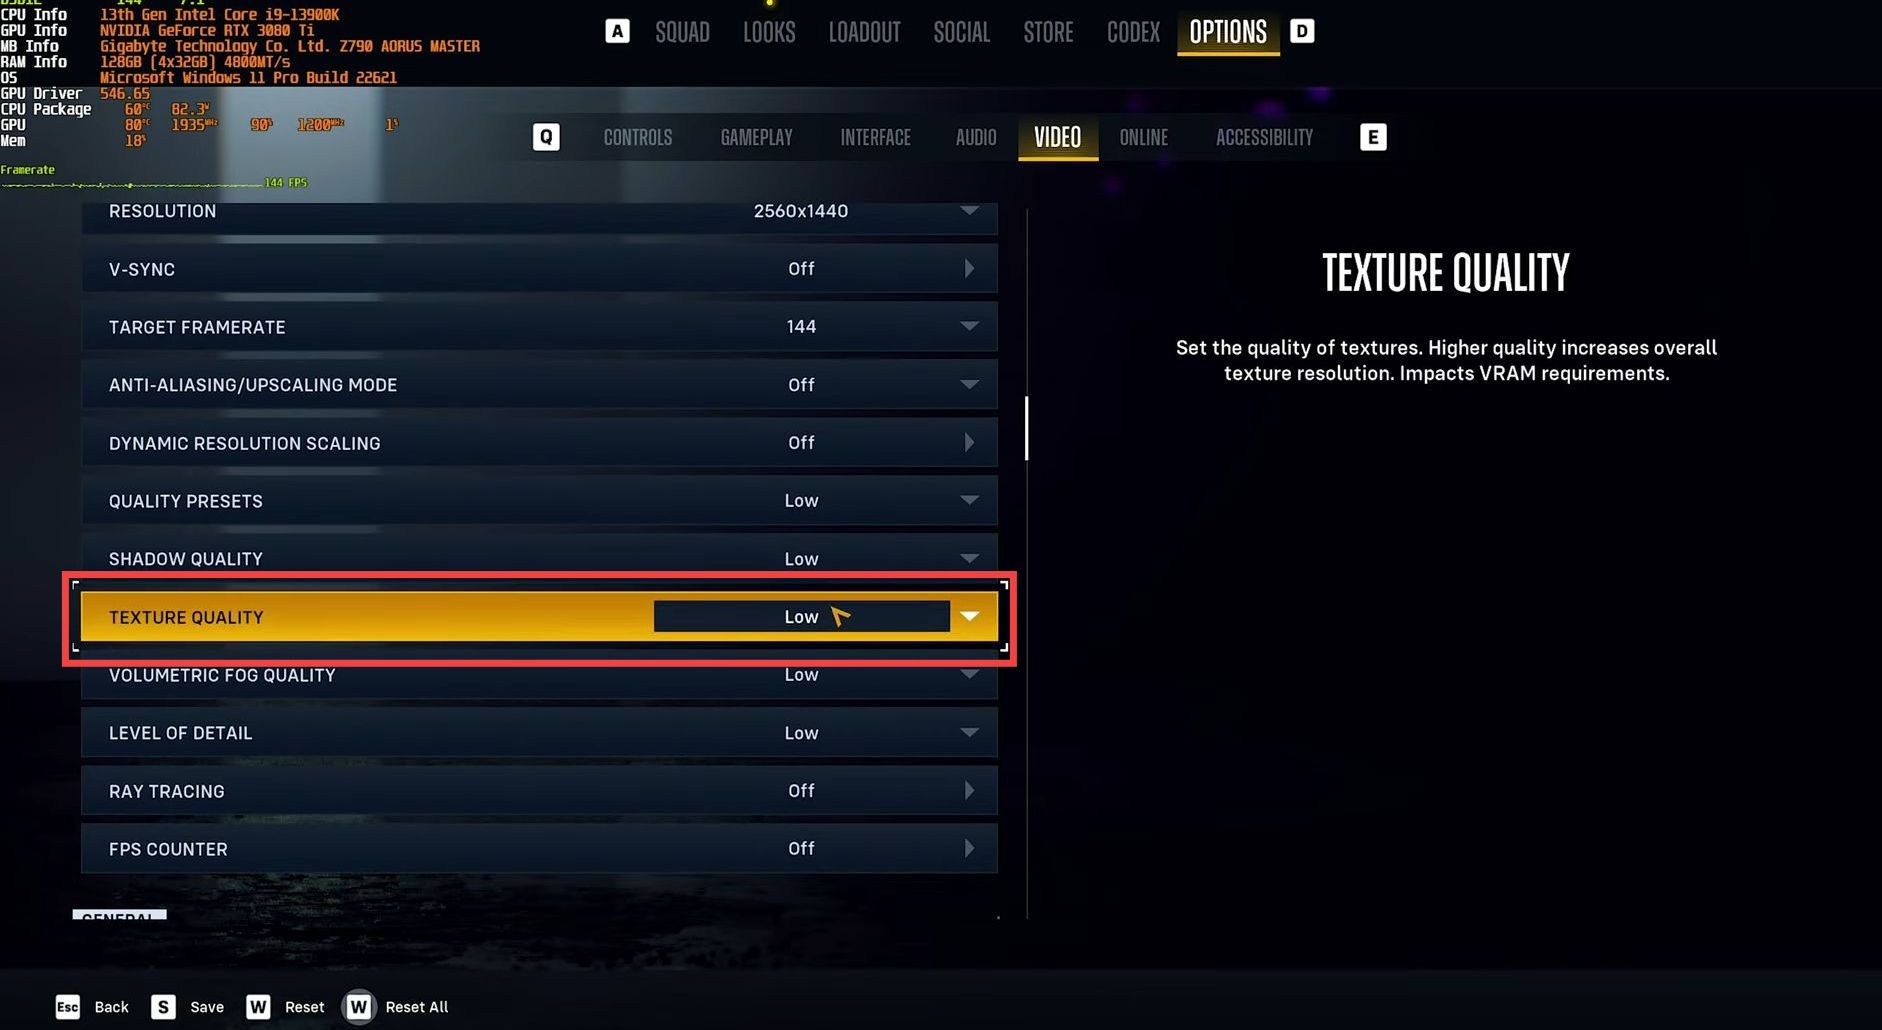
Options to raise on almost all systems
- Some options can improve your performance. The Texture quality depends on the amount of free RAM in your system, so choose six if you have four GB of VRam.
- If you have 6 GB, choose medium or select high if you have VRam above six.
Improve pop-in of textures
The Level of Detail loads better quality measures when you’re closer to different objects. It will push the pop in between high-quality and low-quality versions of models.
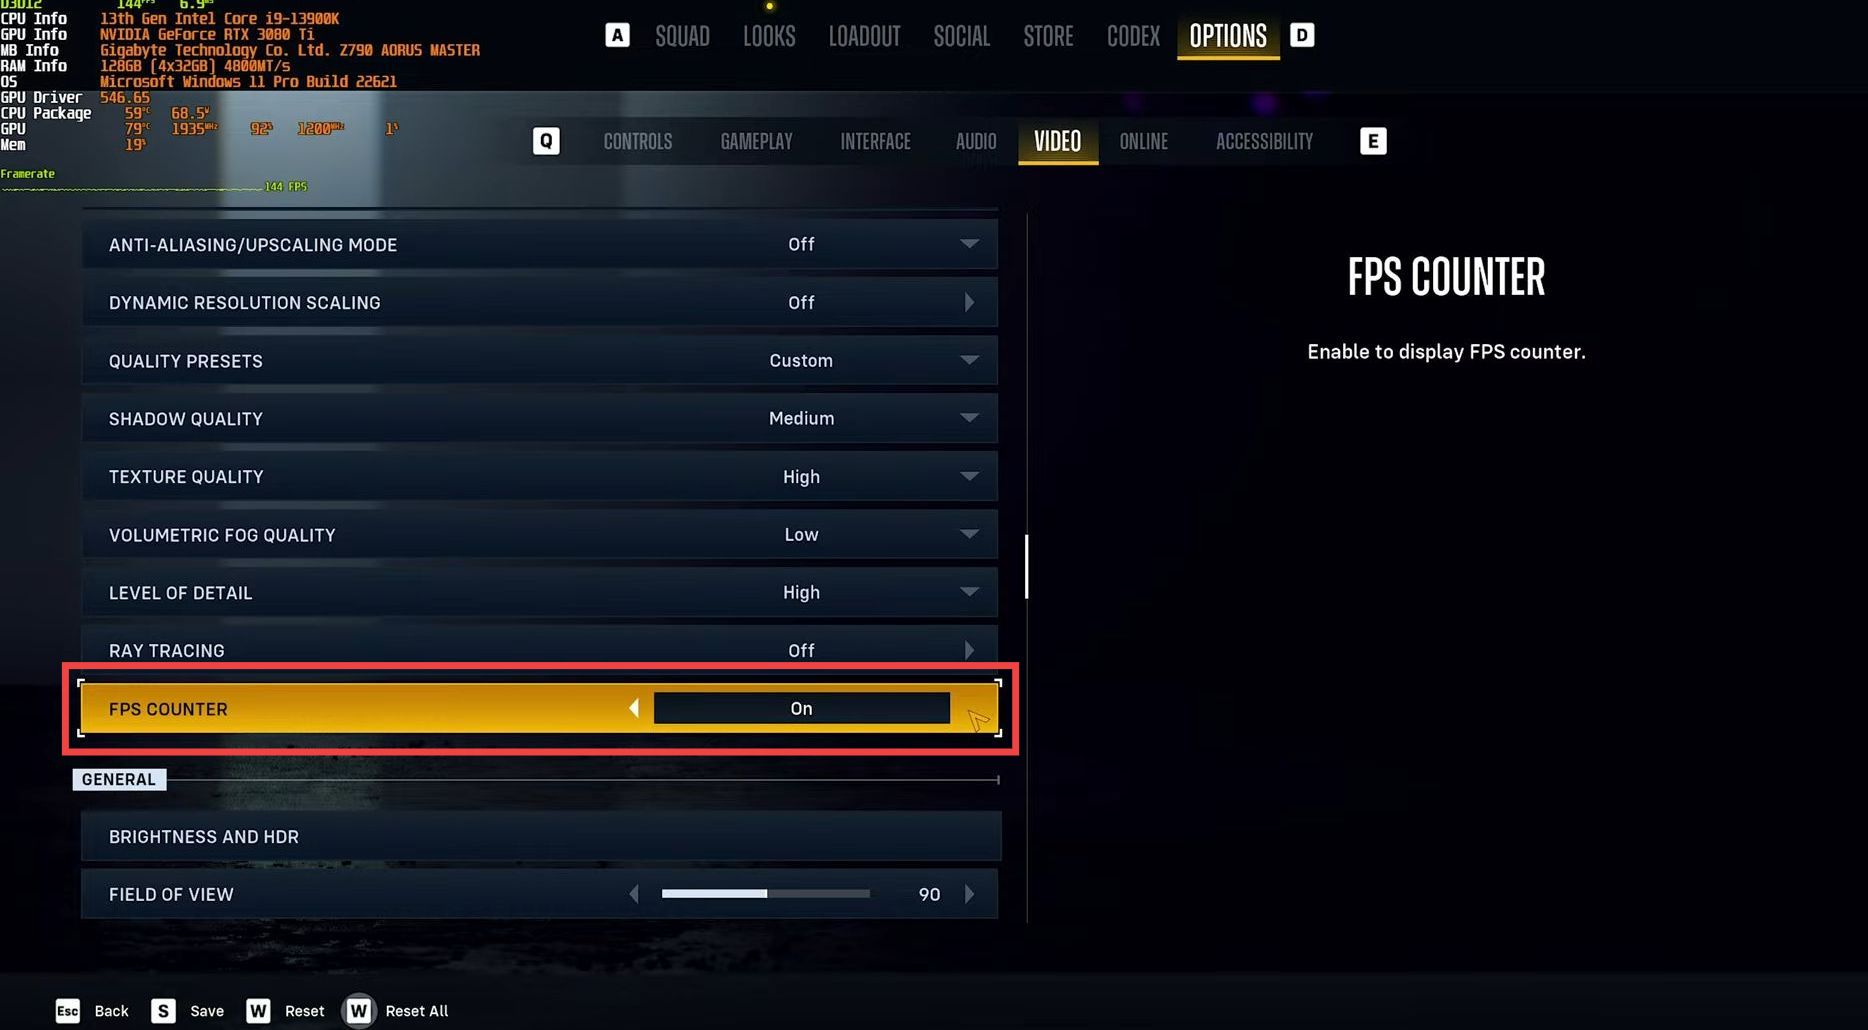
Options with BIG FPS drops
- The Shadow Quality impacts your overall performance, so you can set it to high to get a big improvement in how Shadows look.
- You have to set the Volumetric Fog to low throughout most of your gameplay. After that, turn off Ray Tracing, enable the FPS counter, and turn off your Fancy Overlays. You will find an FPS counter at the top left corner of your screen,
Other options
- You can set the Field of View and Brightness according to your preference. if you are struggling with motion sickness, then you can lower the Camera Shake and Motion Blur.
- You can adjust Bloom, Lens Flare, and Chromatic Aberration according to your preference.
- Turn on the Film Grain to make your game look a little better. Navigate to the Audio tab and change the Dynamic Range according to your preference.
All these settings will ensure the best in-game performance.