In this guide, you will find how to create & customize characters in Minecraft (Bedrock Edition). By following the steps below, you will be able to create a new character and completely customize its body and style.
- First, you will need to press the “Options” button to open the main menu.
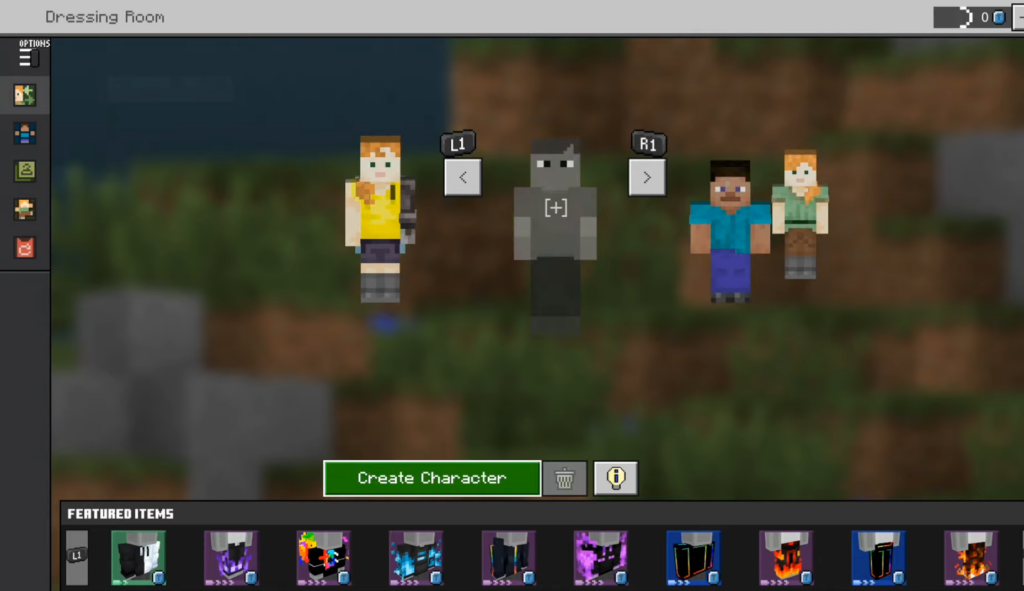
- Within the main menu, look for an option labelled “Dressing Room” and select it. After that, tap on Create Character.
It will open up a new window.
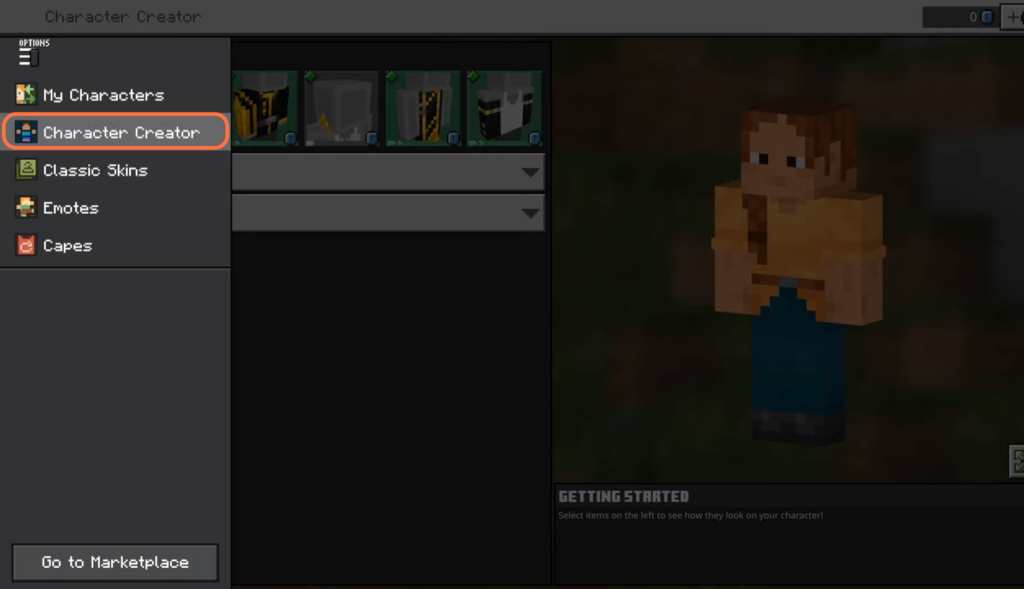
- Click on Create Character once the window appears and navigate to Character Creator from the left side menu.
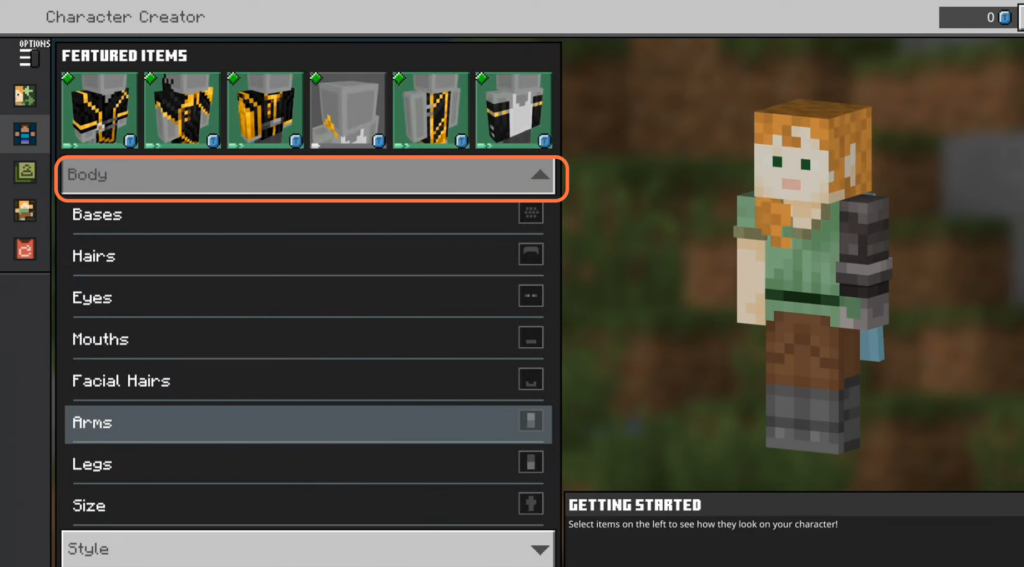
- Click on the “Body” tab to access the options related to modifying your character’s body.
Within the “Body” tab, you will find various options to customize different aspects of your character’s appearance, such as the body base, hairstyles, eyes, arms, and more.
- Explore the available options within each category to choose the desired body base, hairstyle, eye shape, arm type, and other customization elements.
- To equip, use the “X” button on your controller. You can also increase and decrease the overall size of your character.
- After customizing the body and overall size of your character, navigate to the “Style” tab to access the options for modifying your character’s clothing and accessories.
- Start by focusing on the “Top” section. Choose the base t-shirt that you want for your character from the available options.
- Once you have selected the desired top, use the “X” button on your controller to equip it onto your character.
- After that, move on to the “Bottom” section and choose the bottom clothing item you want for your character from the available options.
- Additionally, explore other sections within the “Style” tab to customize additional items such as gloves, face items, outwear, headwear, footwear, back items, and more.
