This brief guide will let you know how to import the Music into the dedicated CD’s for My Summer Car game.
Step 1: Get Your Music
- First and foremost, before you can enjoy the melodic atmosphere of My Summer Car, you’ll need to have an MP3 music file ready.
Step 2: Convert MP3 to OGG
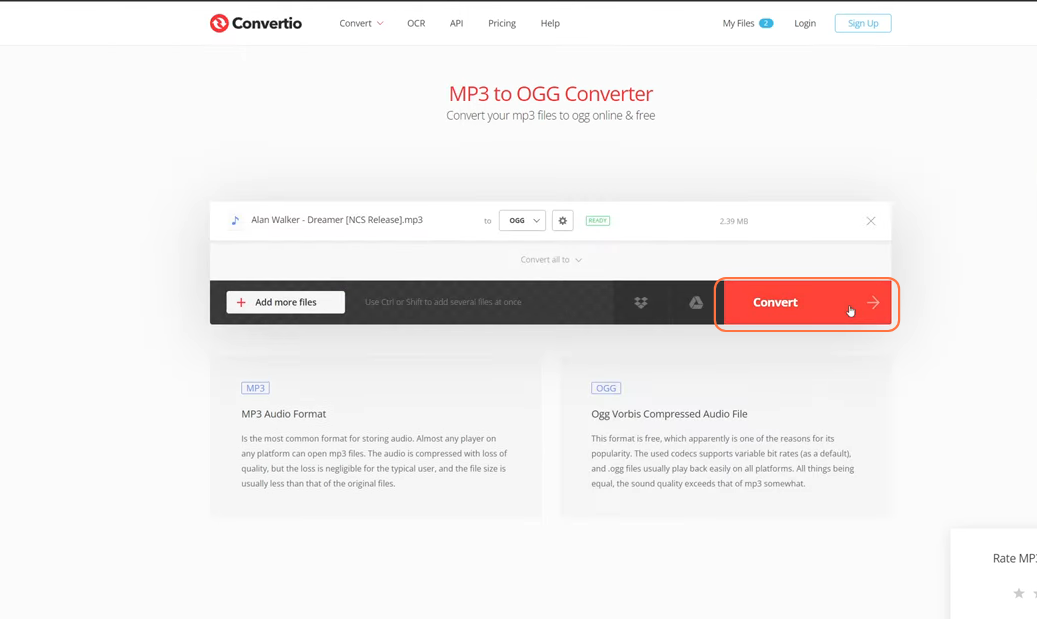
Once you’ve secured your MP3 file, it’s time to convert it into the OGG format. To do this, you can utilize a handy online tool.
- Visit this Music file conversion website.
- On the website, locate and click the “Choose Files” tab.
- Select your MP3 file from your computer.
- Click the “Convert” button to initiate the conversion process.
- After the conversion is complete, click the “Download” button to obtain your new OGG file.
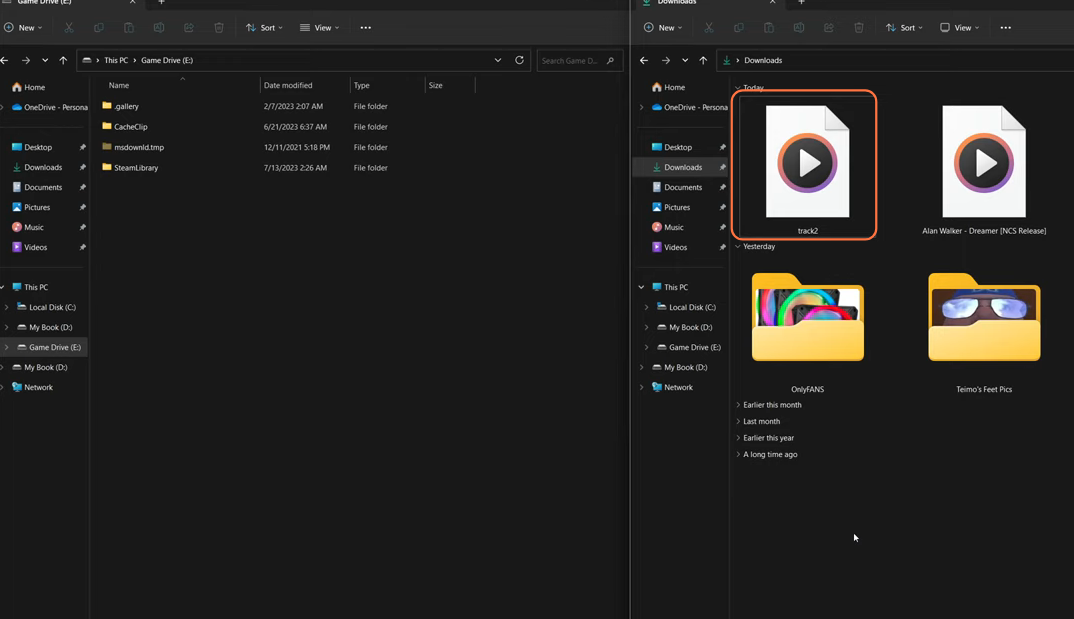
Step 3: Organize Your Tracks
Now that you have your OGG file, it’s time to integrate it into the game.
- Begin by locating the OGG file you’ve just downloaded and give it a name, such as “Track1”.
- Feel free to adjust the track number to your liking, keeping in mind that a single CD can hold up to 15 tracks.
Step 4: Access Your My Summer Car Folder in Steam Library
- Navigate to the directory where your My Summer Car game files are stored within your Steam Library.
- This directory should typically resemble the following path:C Drive > SteamLibrary > steamapps > common > My Summer Car
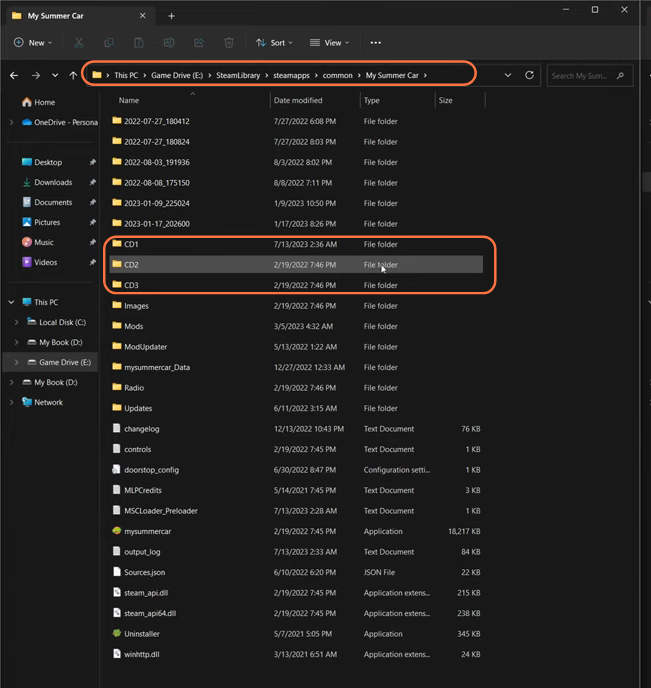
Step 5: Insert Your Custom Music
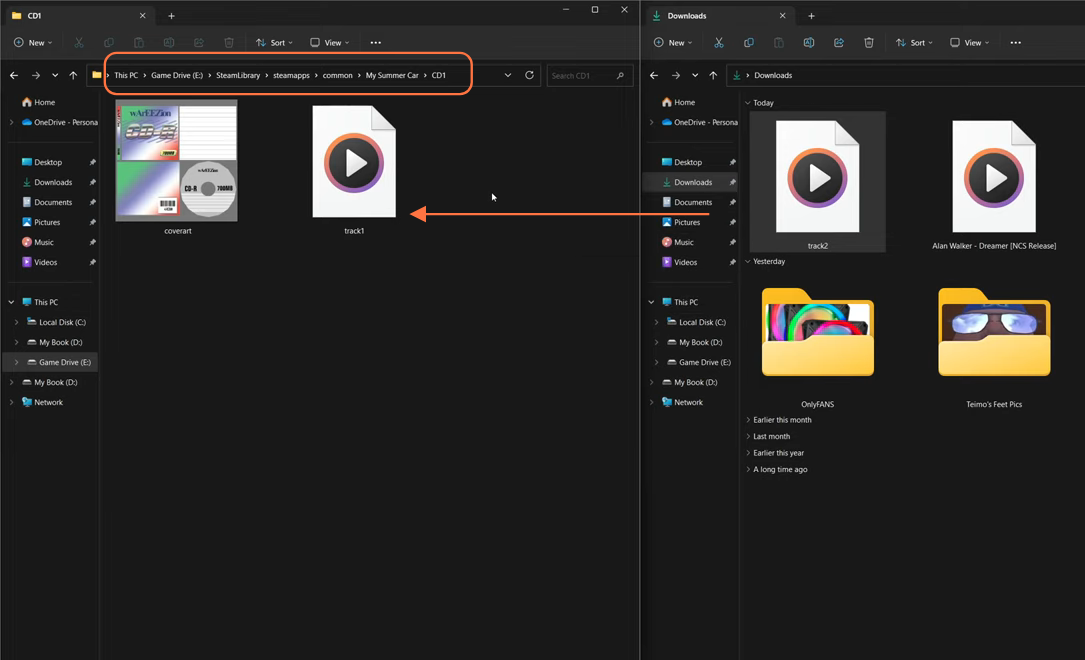
Inside the My Summer Car folder, you will discover three CD folders labeled as CD1, CD2, and CD3. If you’ve already populated CD1 with music, you can move on to the next available CD.
Here’s what you need to do:
- Open the folder of the CD where you want to place your custom track.
- Simply drag and drop “Track1” (or the custom name you’ve chosen) into the CD folder.
By following these steps, you can easily add your preferred music tracks to the My Summer Car.