This step-by-step guide will walk you through the updated process to smoothly integrate the KINO 3.24.18 mod into your game. Follow these instructions to enhance your CarX experience with this fantastic mod.
Step 1: Accessing the KINO Mod
To begin, download the KINO Version (3.24.18) file from GitHub. Once downloaded, locate the file in your downloads folder. Open it using a file extraction software like WinRAR or 7-Zip.

Step 2: Locating the CarX File Path in your PC
Navigate to your CarX root folder. If you’re unsure how to find it, open the Steam application, head to settings (click on the gear icon), select “Manage,” and click on “Browse Local Files”. This will open the folder where your CarX Drift Racing Online game is installed.

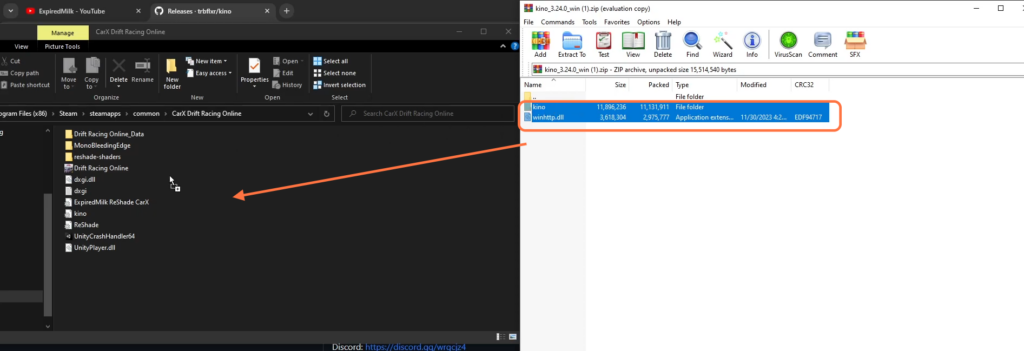
Step 3: Installing the KINO Mod
With both the KINO mod files and the CarX Drift Racing root folder open side by side, simply copy the extracted KINO files into the CarX root folder.
Step 4: Setting Up for Mod Usage
To enable mod usage in CarX, return to Steam, access the game’s properties by right-clicking on CarX, select “Properties,” go to the “Betas” tab, and from the drop-down menu against the Beta Participation, choose “Modable Public branch”. Let the game update if required.

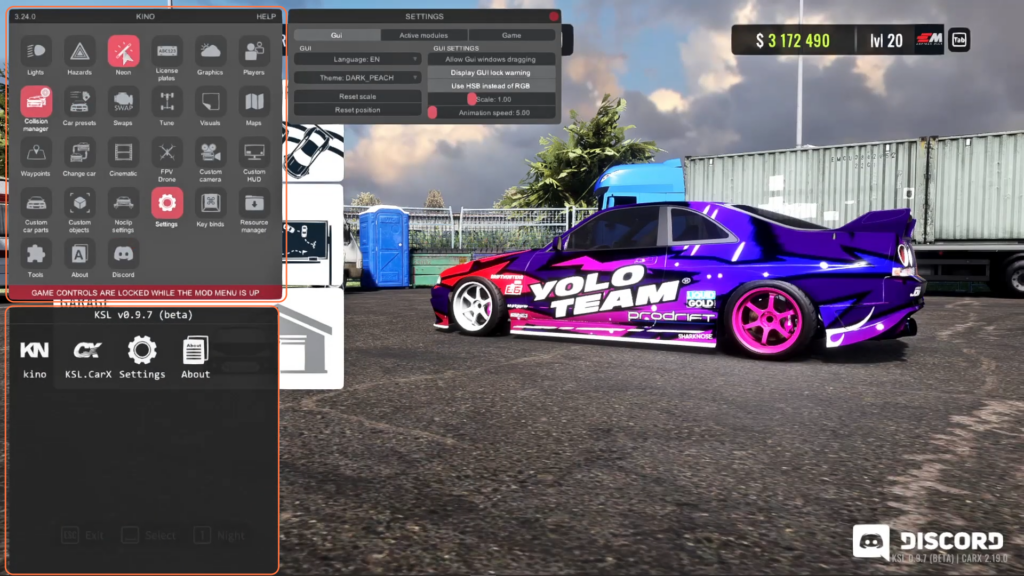
Step 5: Activating the KINO Mod
Launch the CarX Drift Racing through Steam and you’ll notice a built-in mod loader on the left side of the screen. This is where you’ll find the KINO mod. Follow the on-screen instructions if there’s a tutorial prompt.
By following these steps you can seamlessly integrate the KINO mod into your CarX Drift Racing Online gameplay.