This guide helps to set up a 1.20+ Spigot/Bukkit Minecraft Server and host it on your computer completely for free. First, you have to use a one-line jar command to set up a 1.19 Spigot/Bukkit server and then configure it. After that, you will be able to run your server.
One-line jar download/build command
This section describes how to open a terminal or PowerShell as an administrator, write specific commands, and put the address in the PowerShell to make a One-line jar file in the folder.
- You need to click the Start button to open the Start menu, find the “Terminal” app, and right-click on it.
- Select the option that says “Run as administrator“.
This will open the Terminal with administrative privileges.

- If you don’t see the terminal opening option, then you can try opening PowerShell as an administrator as an alternative.
- If you see “Windows PowerShell (Admin)” listed in the search results, click on it to open PowerShell with administrative privileges.
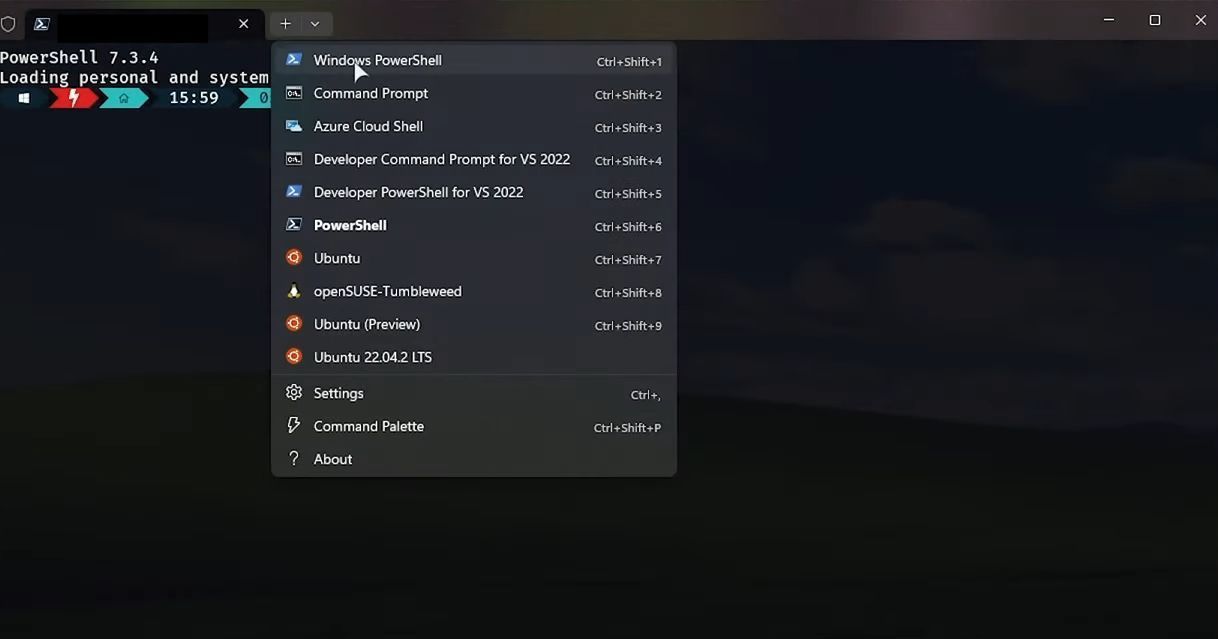
- Open the terminal on your computer and then enter the (iex (irm spigot.tc.ht)) command.
This command is entirely open-source and transparent. It will demonstrate the spigot installer MC troubleshooter while hitting enter from your keyboard.
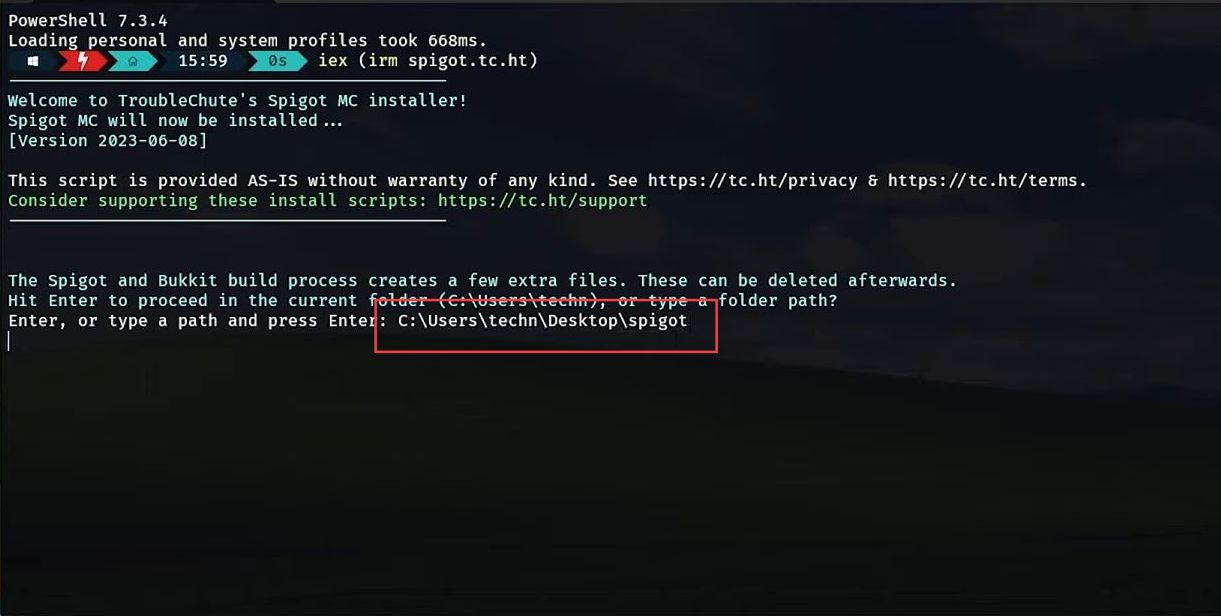
It will ask you where to place temporary files.

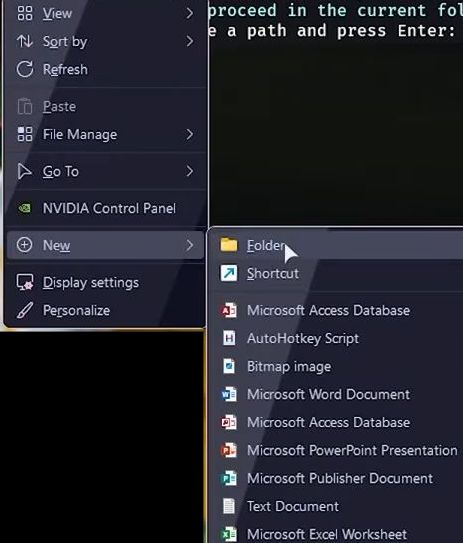
- After that, go to your desktop screen and create a new folder.
- Type “spigot” as the name of the folder.
Make sure to use lowercase letters and keep the spelling consistent.
- Locate the recently created folder named “Spigot” on your desktop and double-click on it to open it.
- At the top of the folder window, you will find a search box.
This is where you can enter the address or path of a file or folder.

- Copy this address, paste it into the PowerShell terminal and press the Enter key on your keyboard.
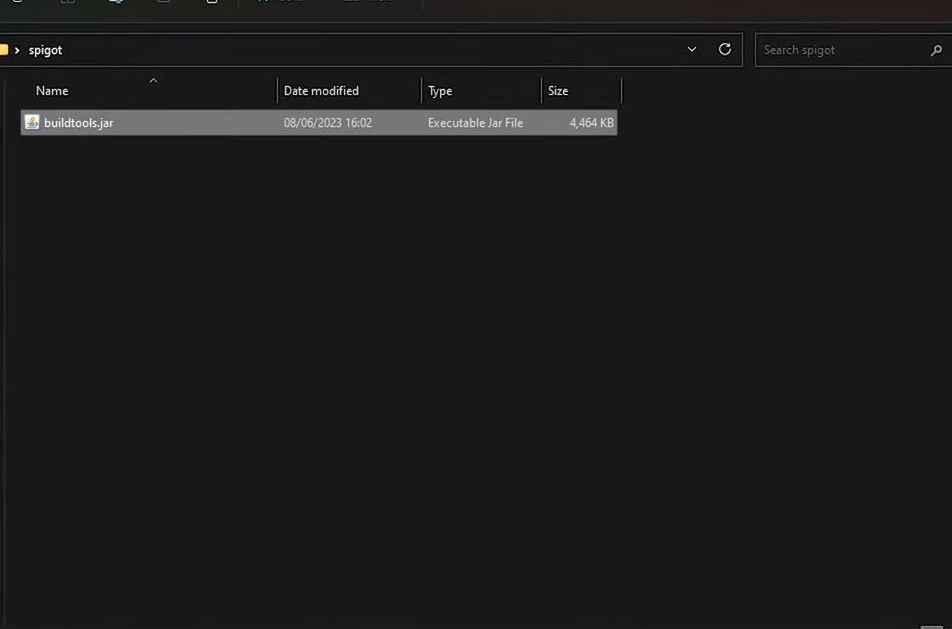
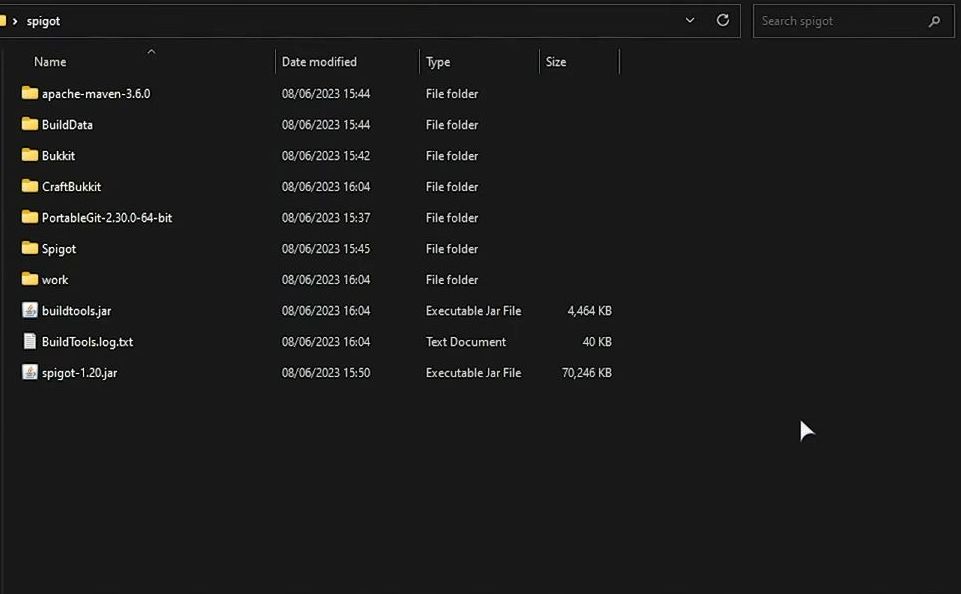
It will download the build tools JAR file into the recently created “spigot” folder on the desktop.
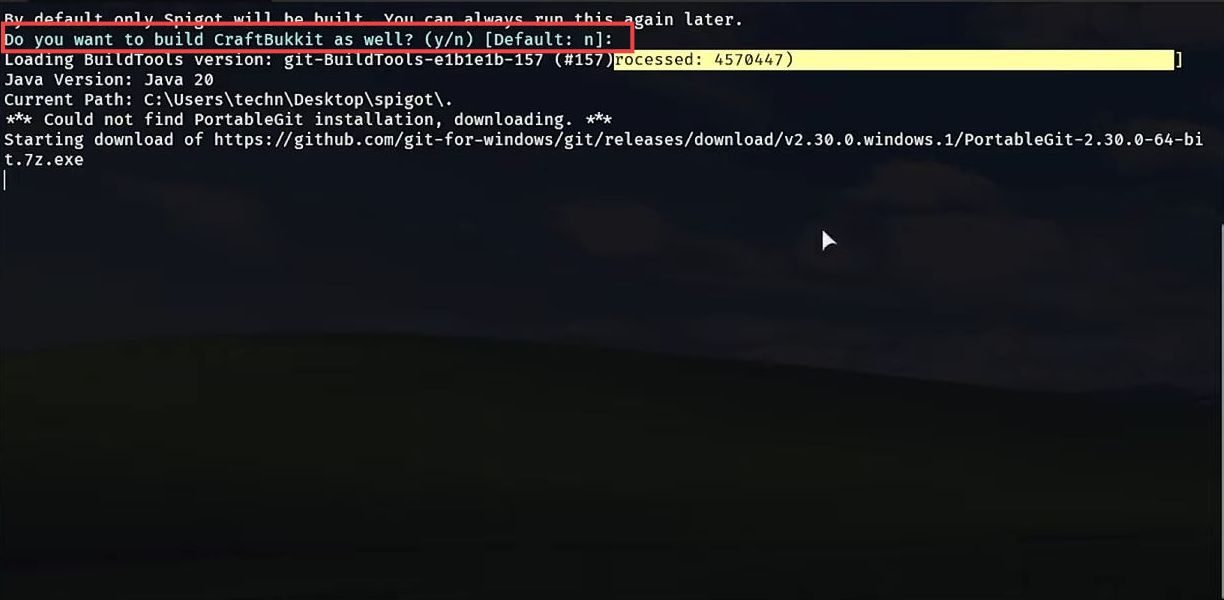
If Java is already installed, PowerShell will display the installed Java version information.
- If Java is not installed or an older version is detected, you will need to install or update Java on your system.
A prompt will appear asking you if you want to build a craft bucket.
- Type “Y” on your keyboard to indicate “Yes“.
- If you don’t want to build a craft bucket and proceed with the default Spigot build, type “N” on your keyboard to indicate “No“.
- After typing your choice, press the Enter key on your keyboard.
A few programs will be downloaded which might take some time depending on the speed of your computer and internet.

- If you initially chose to build the craft bucket and want to change that decision, you need to run the same command again.
- Type “Y” on your keyboard to indicate that you want to build the craft bucket and press the Enter key on your keyboard to execute the command.
The build process will start, and the PowerShell window will display the progress and any relevant messages during the build. - You need to wait for the build process to complete.
Configure 1.19 Spigot/Bukkit server
This section explains how to configure the 1.19 Spigot/Bukkit server. By following the steps below, you will be able to run the start.bat file as administrator and customize it.
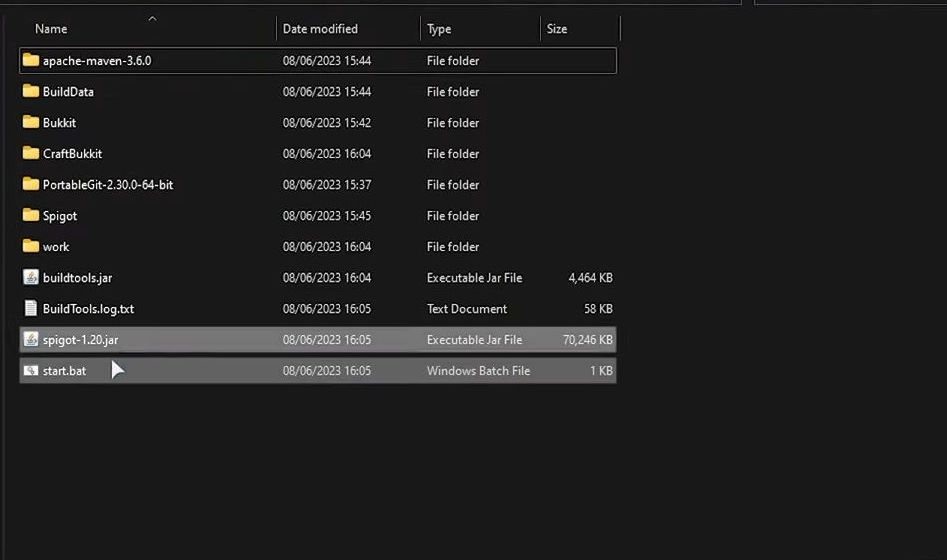
- You will see the spigot120.jar file in the spigot folder.
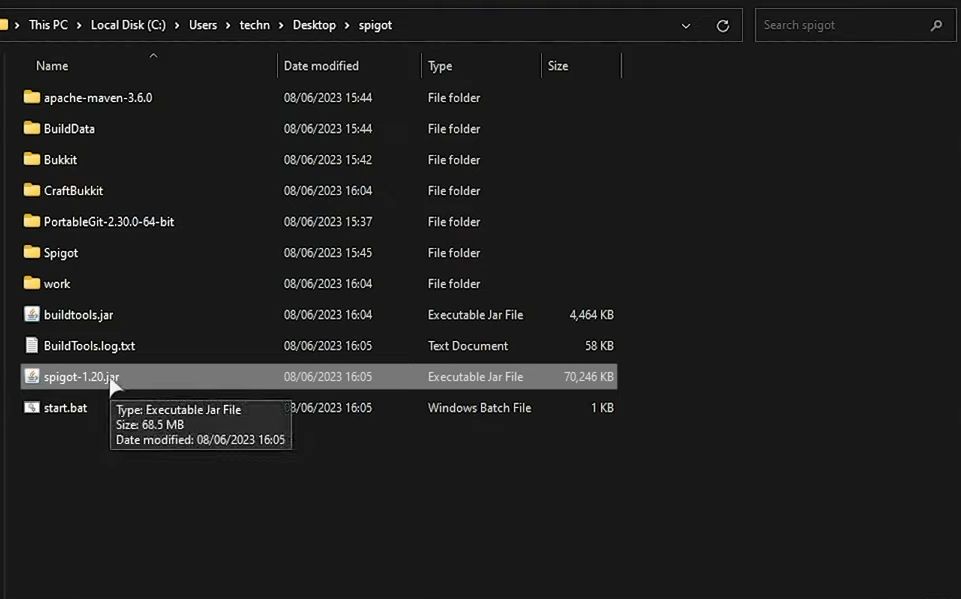
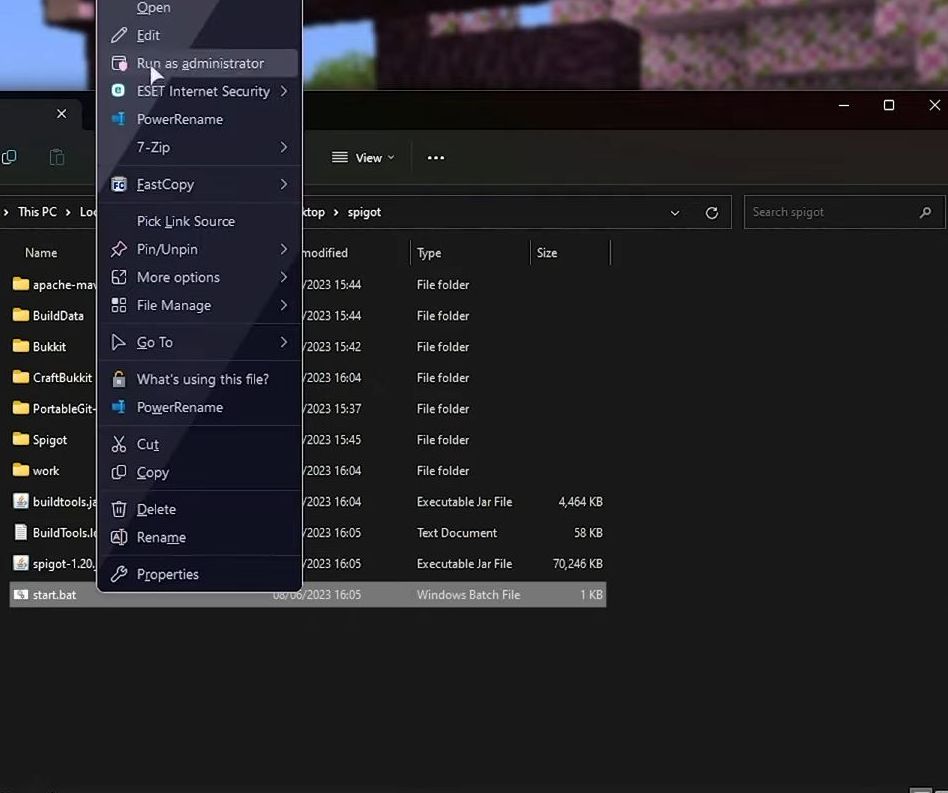
- After that, right-click the start.bat file and click the Edit option.
It will show you information to start the spigot server.
- Open the spigot folder where the files are currently located.
- Locate the two files that you want to copy and create a new folder on the desktop and give the folder a name as spigot-1.20.
- Right-click the new folder and select the “Paste” option from the context menu.
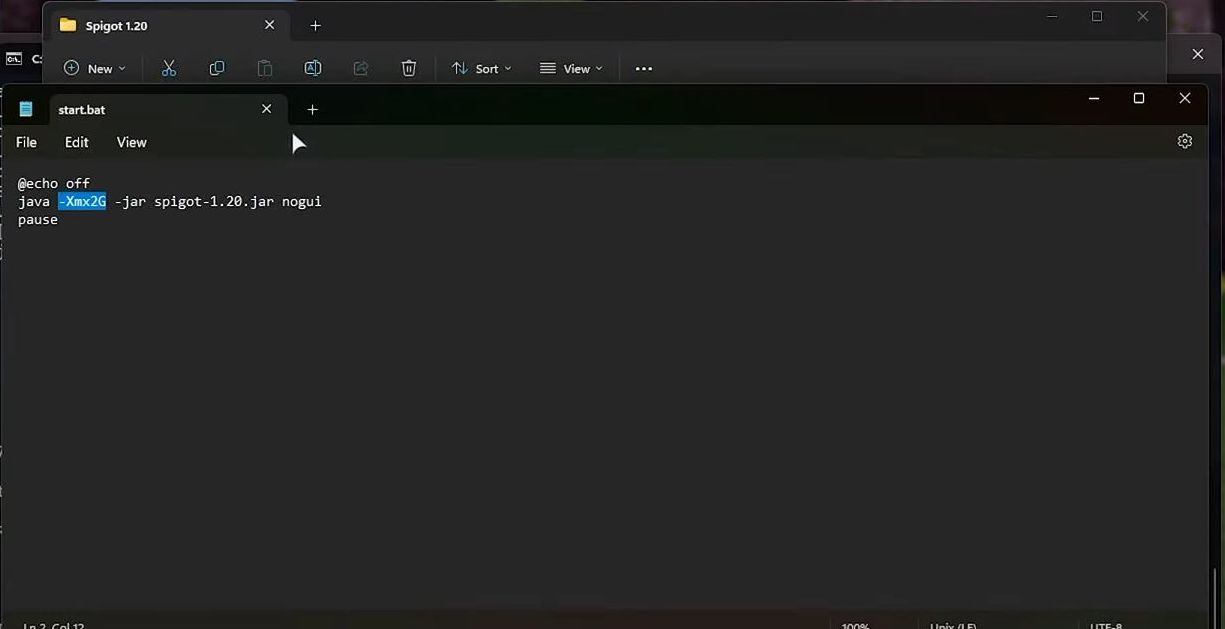
- Double-click the start.bat file or you can open it with Notepad.
- Customize it, such as changing Xmax 2G to 4G or 6G, depending on your available RAM.
- Press any key to continue and reopen eula.txt.
- After opening the file, change it from eula false to eula true and press control + S to save it.

Running your server
This section describes how to run a server, By following the steps below, you will be able to double-click on the “start.bat” file, place your desired plugins in the plugin folder and customize them according to your needs.
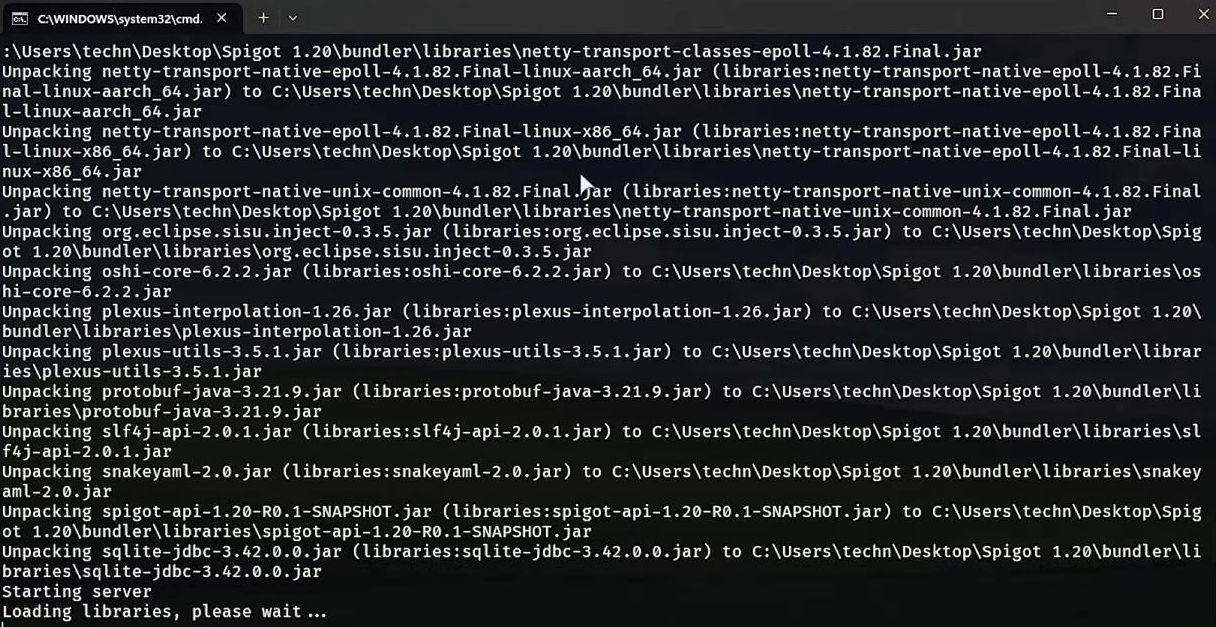
- Double-click on the “start.bat” file to run it.
This will open a terminal window, depending on your operating system. - Wait for the terminal window to display the output of the “start.bat” file and consequently.
It will run a lot of commands.
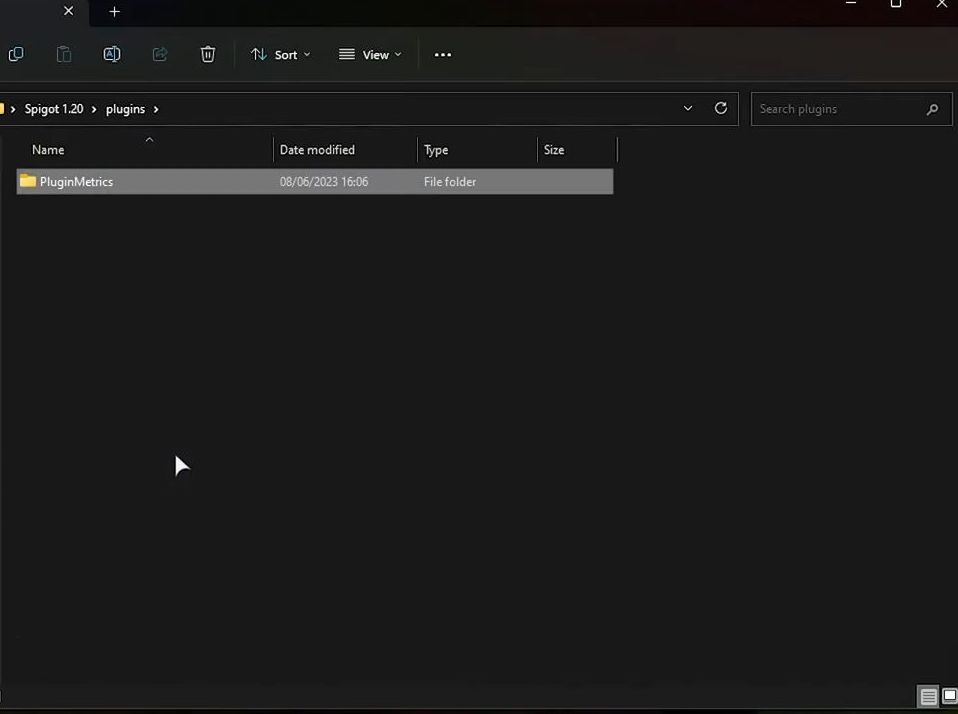
This output will typically include information about the server setup process, such as the creation of required folders for plugins.

- It will start on Port 25565 which is default and you can place your plugins in the plugin folder and customize them as you need.
Joining your server
This section will take you through the steps to connect to a Spigot server for your Minecraft game.
- Open Minecraft and you can use Minecraft 1.20 or Minecraft 120 with the client-side mods.
- Once Minecraft is launched, open OptiFine from the listings.
- Select the latest release of OptiFine which is 1.20 and click the Play button.

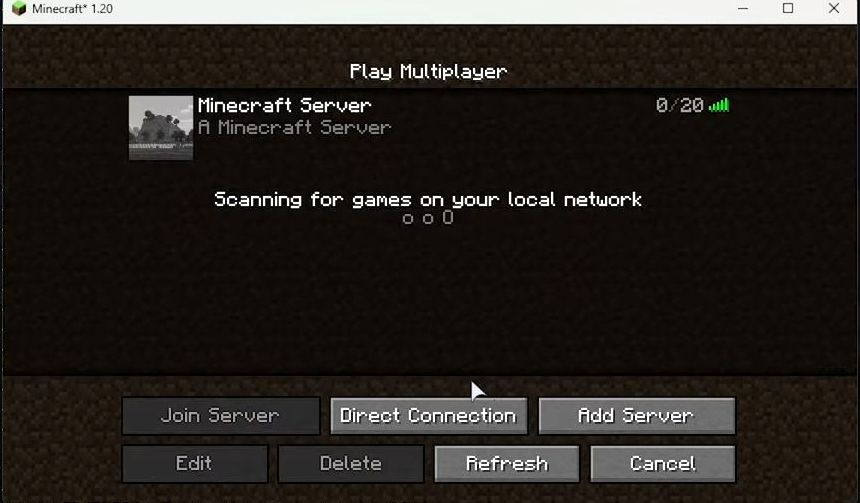
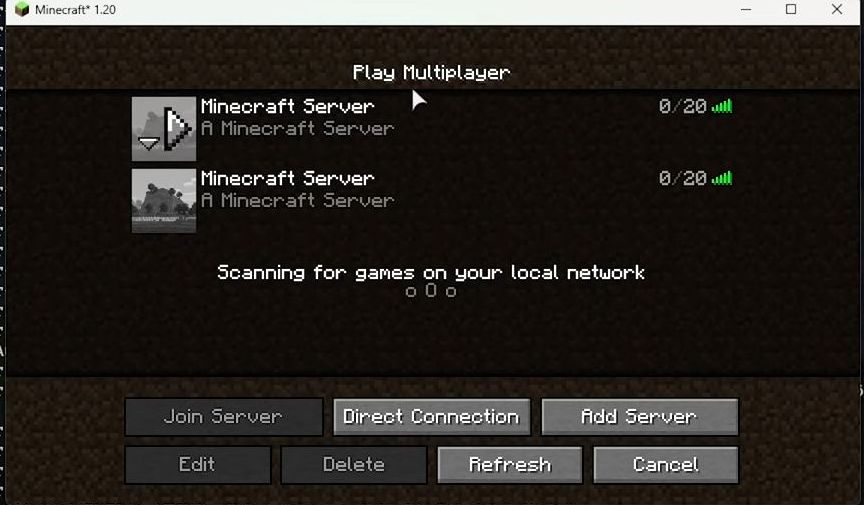
- After that select the Multiplayer option from this menu.
- Click the Add Server from the play multiplayer screen.

- Write this 127.0.0.1 in the server address and click the Done button.

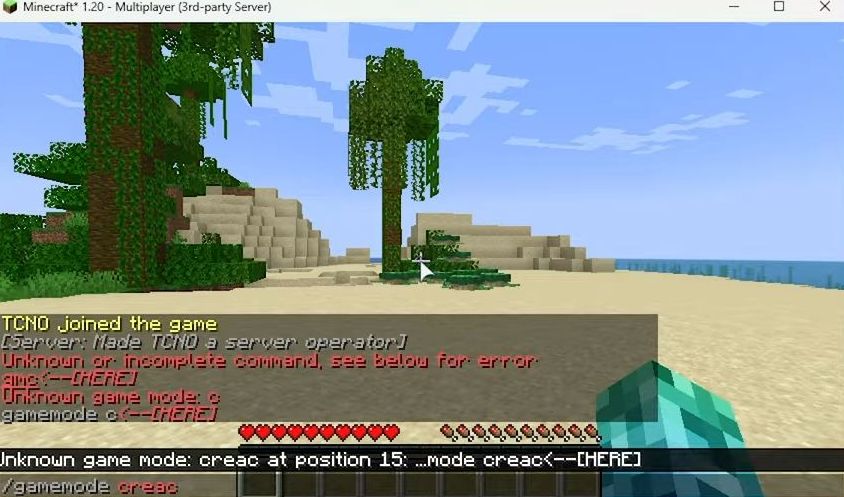
- Click this Minecraft server to connect to your spigot server in the background.
- To get admin privileges, write your admin name after the “>op” in the terminal and make yourself a server operator.

- After that, you will find your name as an admin on the screen of game mode.
Port Forwarding & Firewalls
This section explains how to obtain your computer’s internet address and paste it into your server address bar.
- Begin by ensuring that your server is up and running and that you are able to play on it without any issues.
- Open the Windows Firewall settings on your computer and select terminal as an admin.

- Copy these commands and paste them inside the PowerShell window and press Enter.
New-NetFirewallRule -DisplayName "Minecraft Server" -Direction Inbound -LocalPort 25565 -Protocol TCP -Action Allow
New-NetFirewallRule -DisplayName "Minecraft Server" -Direction Inbound -LocalPort 25565 -Protocol UDP -Action Allow
New-NetFirewallRule -DisplayName "Minecraft Server" -Direction Outbound -LocalPort 25565 -Protocol TCP -Action Allow
New-NetFirewallRule -DisplayName "Minecraft Server" -Direction Outbound -LocalPort 25565 -Protocol UDP -Action Allow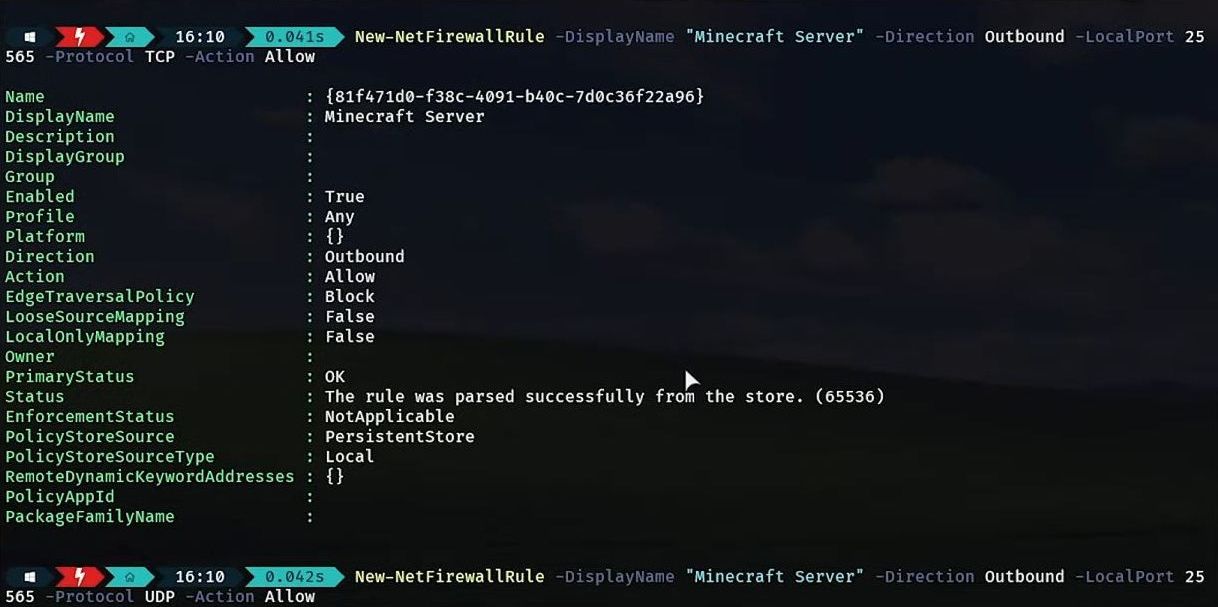
- Go to the multiplayer mode and click the Add Server and type in the local IP of your computer.
- To find the IP address of your computer, Open the terminal window once again and type this (ipconfig) command and hit Enter.
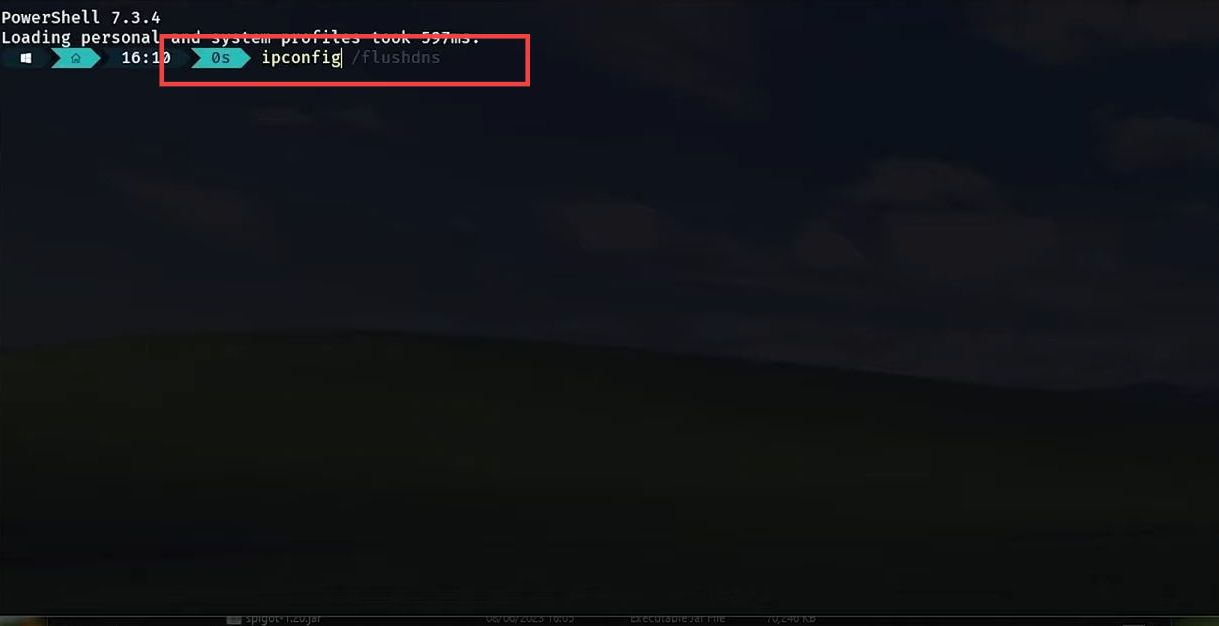
This will tell you all of the information about your computer network connections.
- You will get information about the internet you are connected to.
- you need to look for an ipv4 address to connect to your computer.

- You need to copy this address code with right-click after selecting it.
- Then paste it into your server address bar and click the Done button.
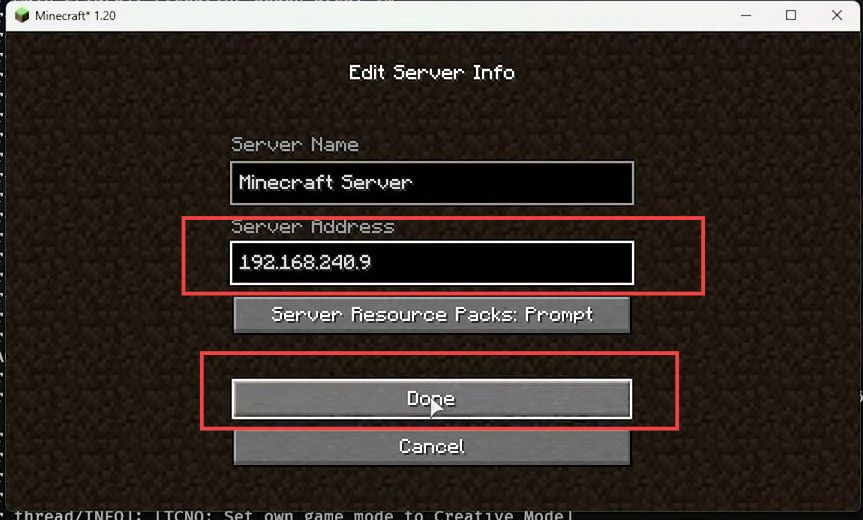
- After that, you should be able to connect to your Minecraft server just by double-clicking on it as usual.
Saving and exiting Spigot/Bukkit 1.20 server
This section describes how to manage your server. The users have to enter a specific command to save the progress of the server.
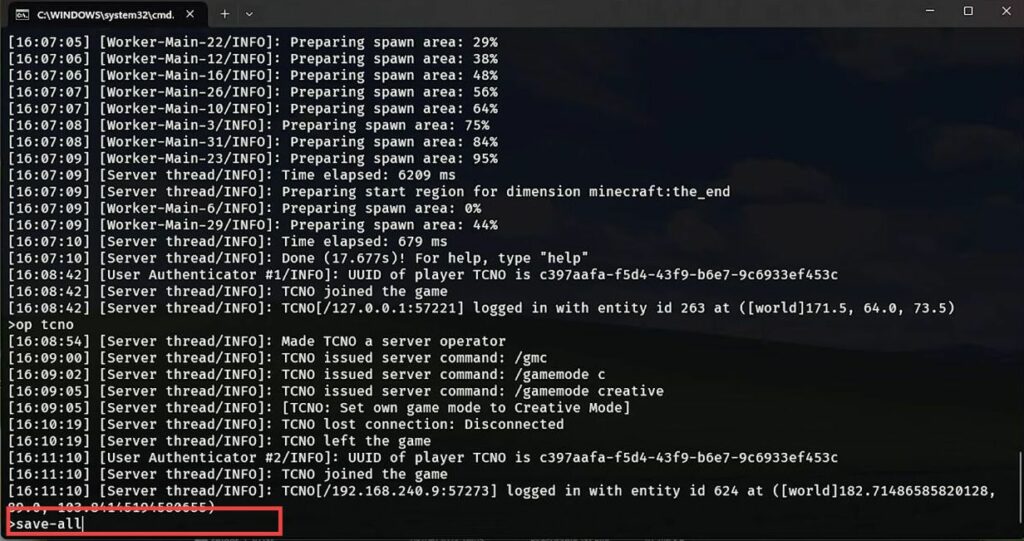
- Open the console window of your server as an administrator.
- Type the command “save-all” into the console.
This command instructs the server to save the current state of the world and all its contents.
- Press the Enter key on your keyboard to execute the command and wait for the server to finish the saving process.
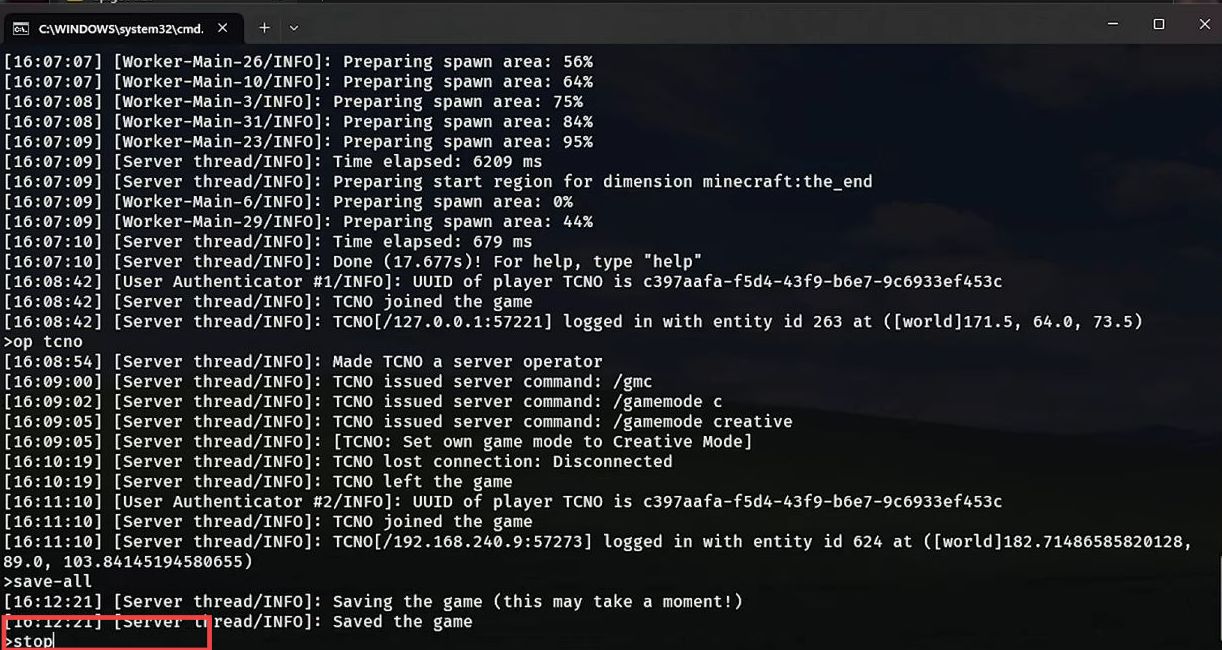
- At this point, it is safe to close the server. To close the server, enter the ”stop” in the console.
- Press the Enter key to execute the command and initiate the server shutdown process.
- Wait for the server to shut down completely.
- Once the server is fully closed, you can safely exit the console window or terminate the console application.
- After you have closed your server, it effectively stops running and is no longer accessible to other players.
- When the server is closed, people who were previously connected or trying to connect will be disconnected and unable to reconnect.
- While the server is closed, no new players will be able to connect and play on the server.
