This guide helps to set up a steam deck controller in Windows using the convenient and quick method. You must follow each step mentioned in the guide to accomplish the task.
Downloading the drivers
In this section, we will take you through the steps to download the Steamdeck Windows controller driver. By following all the steps, you will be able to identify the top three files from the list to download.
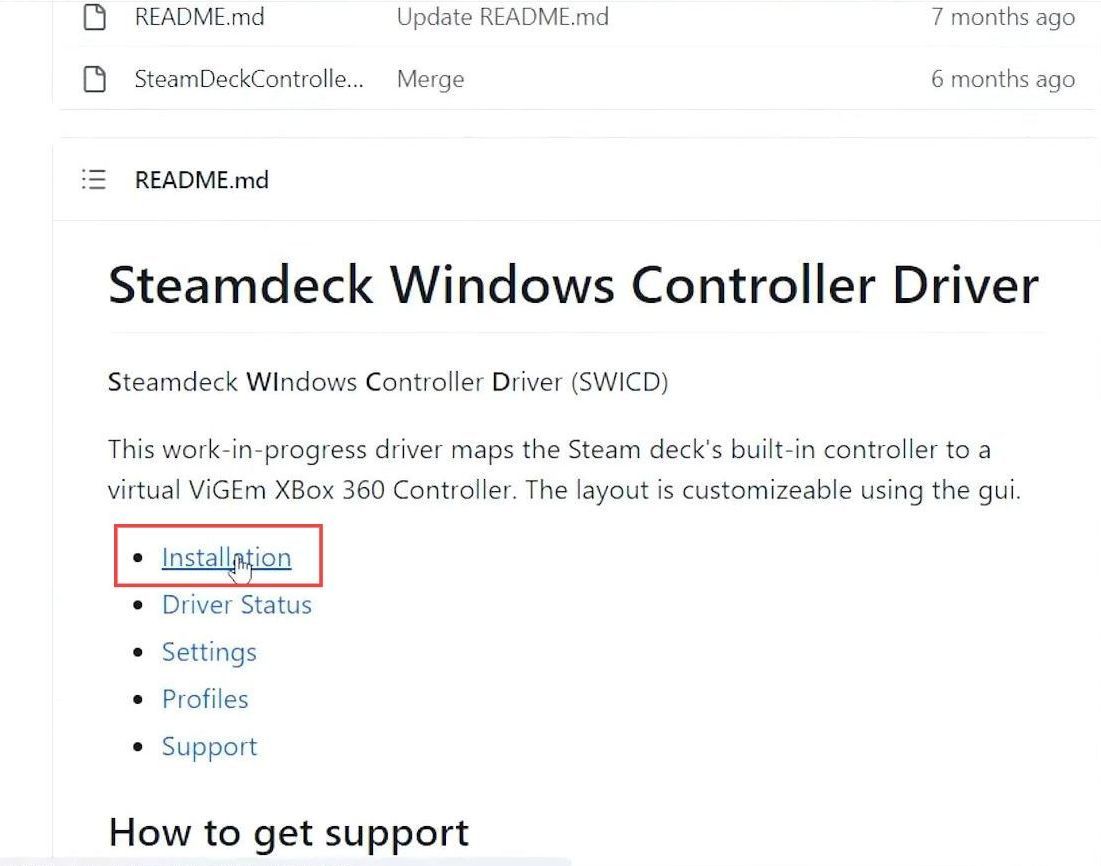
- The first step is to download the Steamdeck Windows controller driver.
This driver is necessary for your Steamdeck to function properly. - Once you reach this page, scroll down, and click the Installation button.
- Access the list of files that you need to download and identify the top three files from the list.
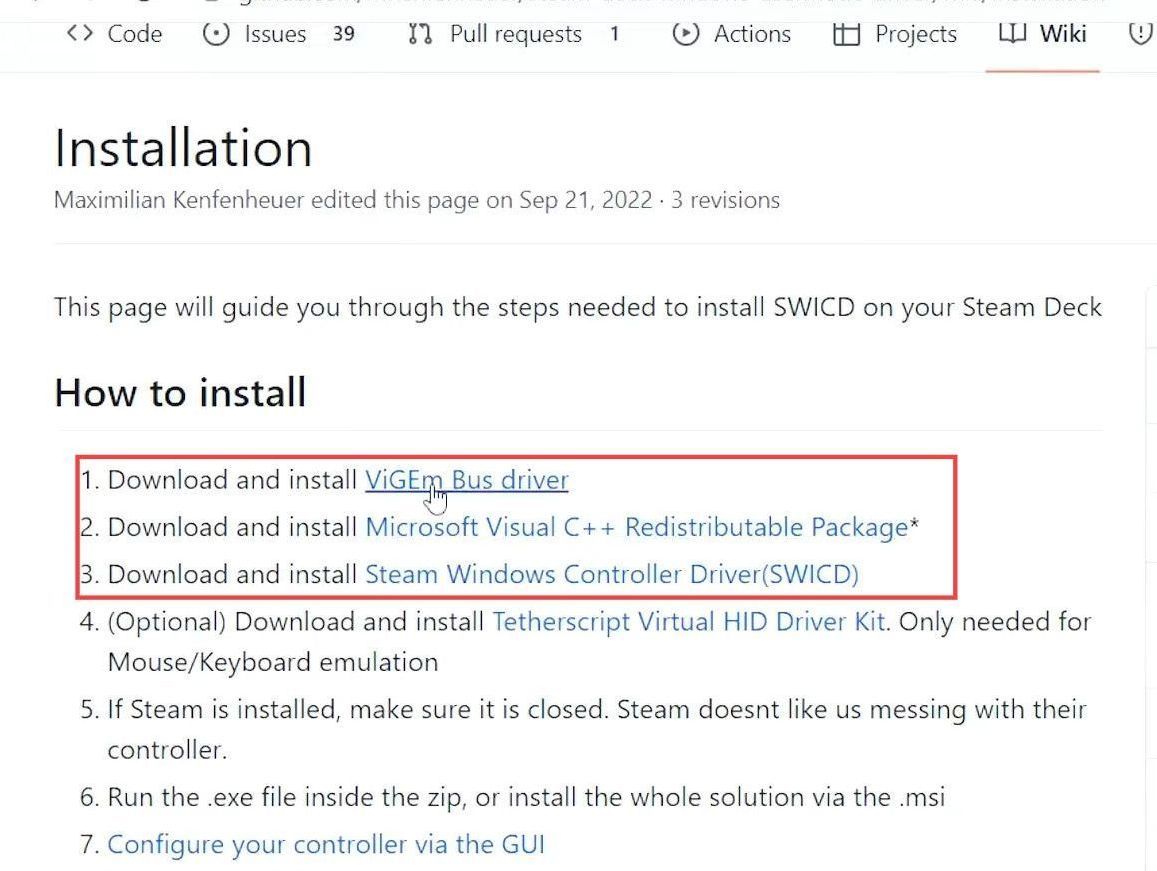
Download ViGEm Bus driver
- Click on the first file, which is the ViGEmBus driver, to start the download process.
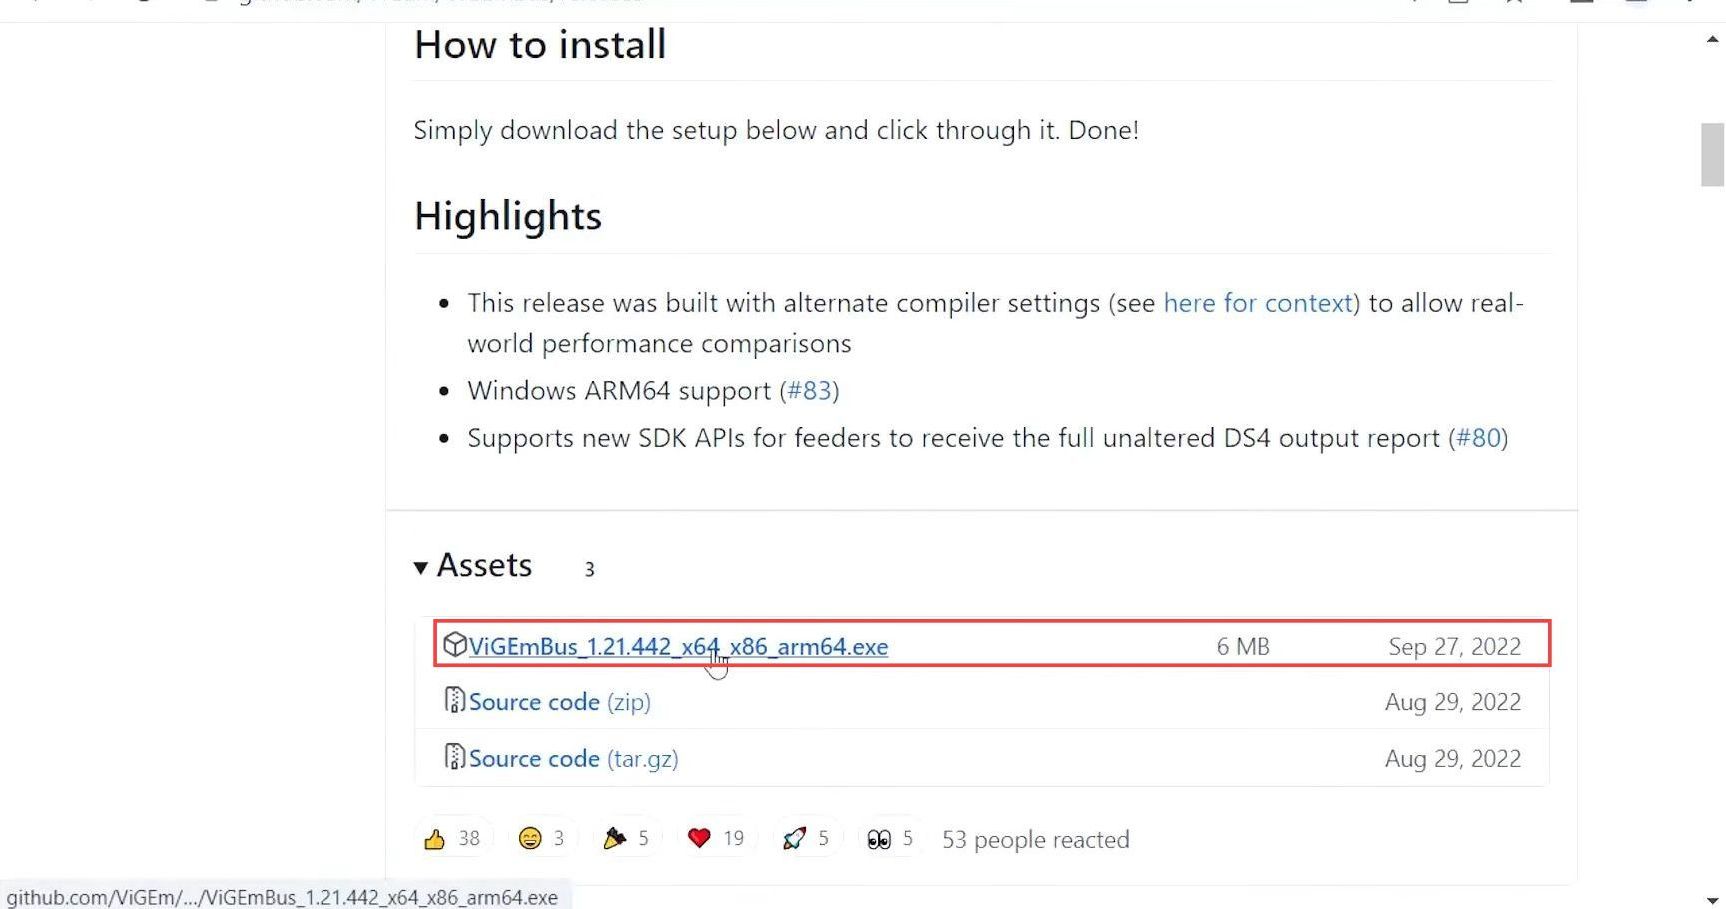
- Scroll down the webpage until you see the “Assets” section.
- Look for the link that corresponds to the file you want to download. Click on that link to start the download process.
Download Steam Windows Controller
- Look for the “Steam Windows Controller” option and click on it.
It will take you to a new page. - Scroll down on the page until you see the “Assets” section. Under the “Assets” section, you’ll see a link that you need to click to download the Steam Windows Controller.
- Click on the link to start the download process.
Download Microsoft Visual C ++
Navigate to Microsoft Visual C++ and click on the link to download it.
Install ViGEm Bus drive
The section describes how to install the ViGEm Bus driver. The users need to open the downloaded file, accept the license agreement, and then click on the “Install” button.
- Open the ViGEm Bus driver file that you downloaded and click the “Next” button on the initial setup screen.
- Read the license agreement carefully, then check the box to accept it. Click “Next” to proceed to the installation options screen.
- Choose the installation location and click “Next” to proceed and then click on “Install” to begin the installation process.
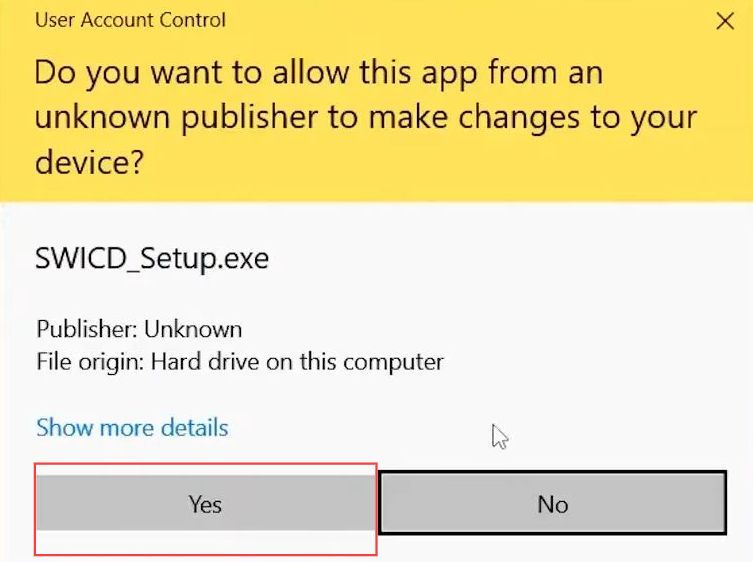
- If prompted, select “Yes” to allow the driver to make changes to your computer.

Start installing drivers
In this section, we will take you through the process of installing the VC_redist file. You will need to locate the file on the computer and double-click on it to initiate the installation process.
- Locate the VC_redist file on your computer and double-click on the file to open it.
- Follow the prompts to start the installation process.
- accept the license terms and conditions and click on “Install” to begin the installation process.

Installing SWICD driver
The section provides instructions on how to install the SWICD driver. By following the steps below, you will be able to hit the “Install” buttons to complete the installation.
- Locate the SWICD setup file on your computer. Double-click the SWICD setup file to open it.
- If prompted, click “Yes” to allow the setup file to make changes to your computer and then select the language.
- After that, click the Next button two times and hit the Install button for the installation.
Adjusting the controllers
The section describes how to adjust the controllers. You need to go to the “Button Actions” option in the driver settings menu and click on it to access the settings. Finally, the user should check the boxes next to “Mouse Movement Disabled” and “Buttons Disabled” and save the changes.
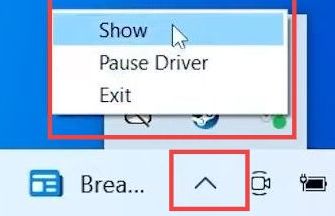
- Click the small up arrow in the taskbar to open the hidden icons menu.
- Look for the SWICD driver icon in the list of installed icons and then right-click on the SWICD driver icon.
- From the menu, select the “Show” option to open the driver settings.
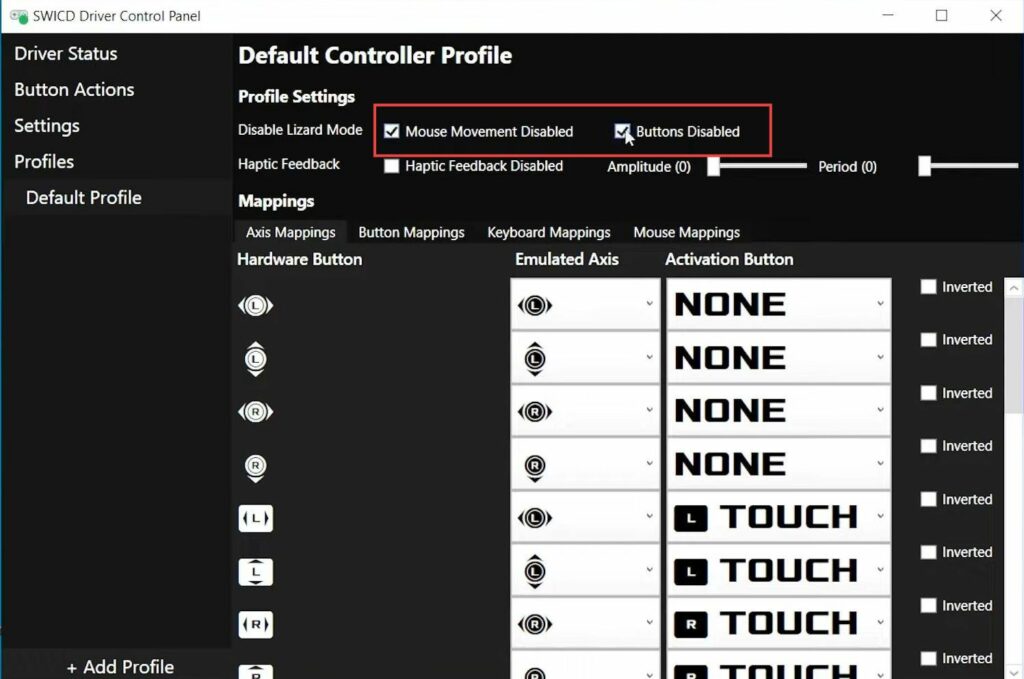
- Look for the “Button Actions” option in the driver settings menu. Click on the “Button Actions” option to access the settings.
- Look for the options labelled “Mouse Movement Disabled” and “Buttons Disabled“.
- Check the boxes next to “Mouse Movement Disabled” and “Buttons Disabled”.
- After that, you need to save your changes.
After that, play the game to check if it is working.