The Roblox 400 bad request error message might occur because of browser invalid cookies or cache data, DNS cache, incorrect URL address, and uploading files too large in size.
You have to follow the steps carefully to fix this issue.
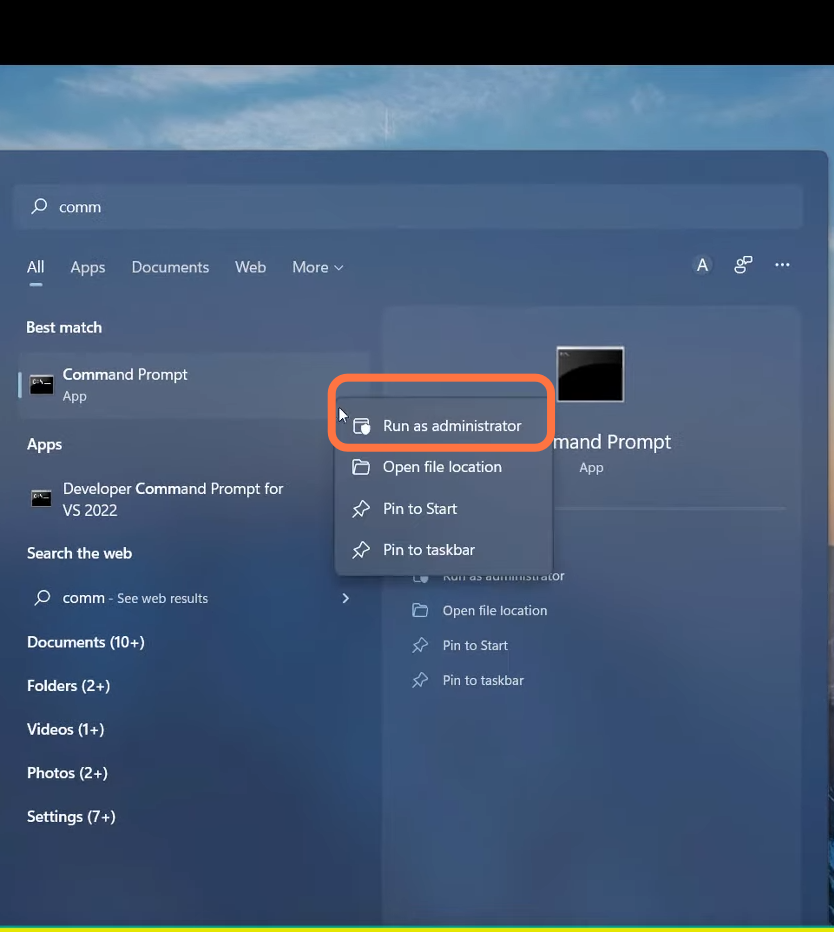
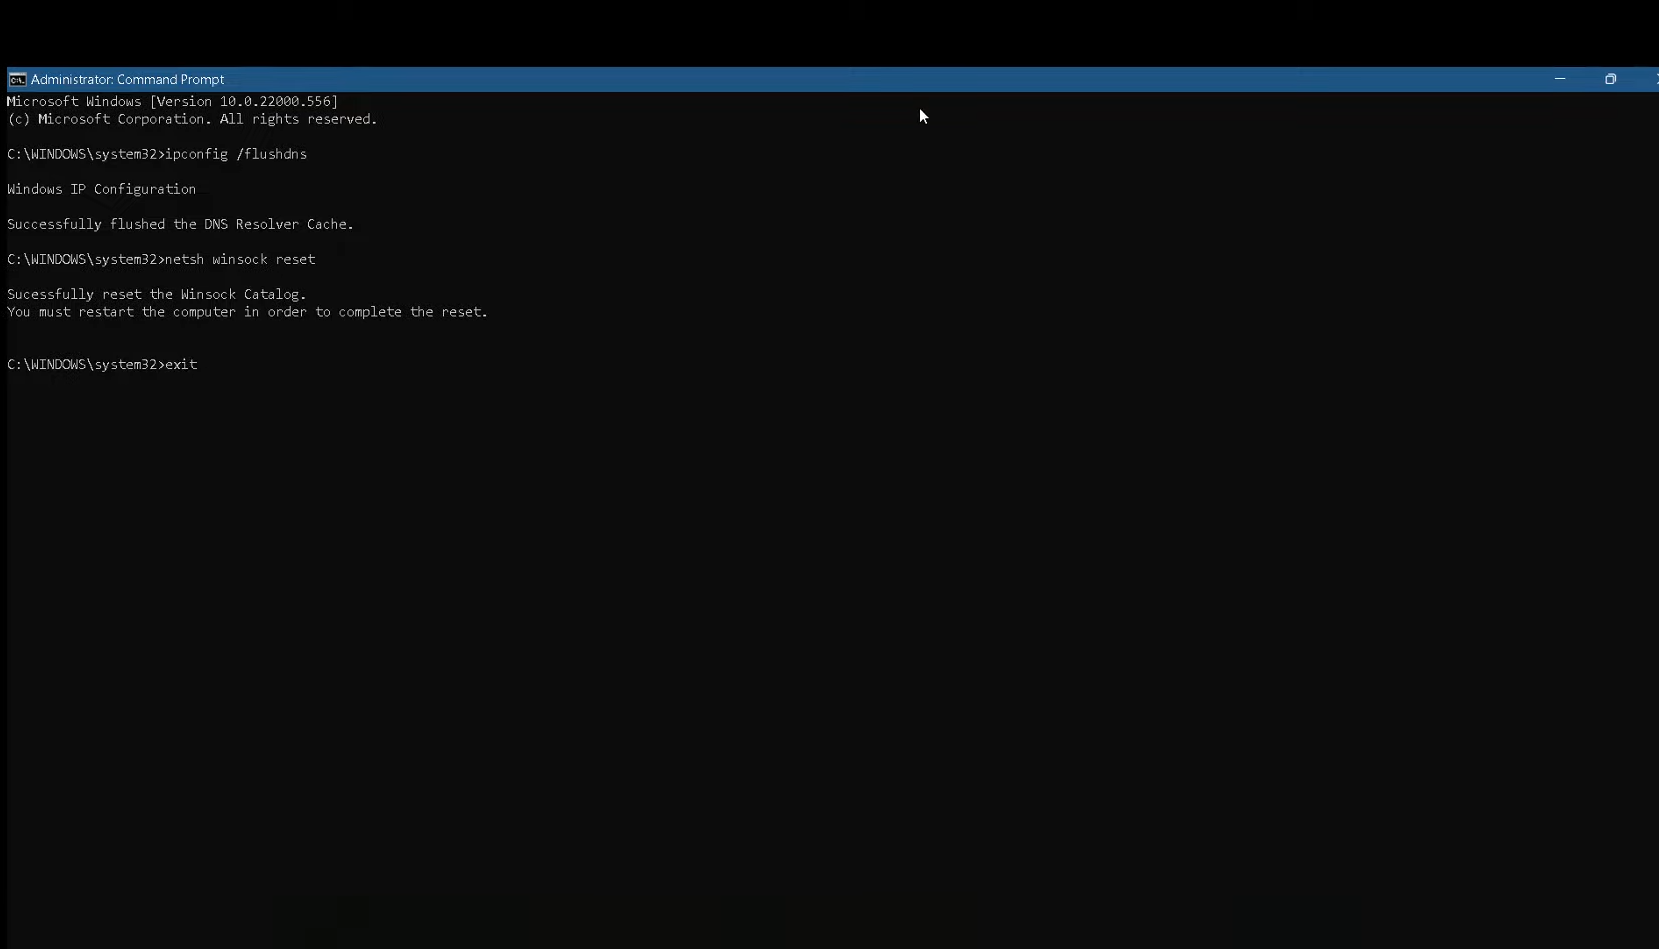
1. You will need to click the Start button and type in Command Prompt, right-click on it and select Run as administrator.
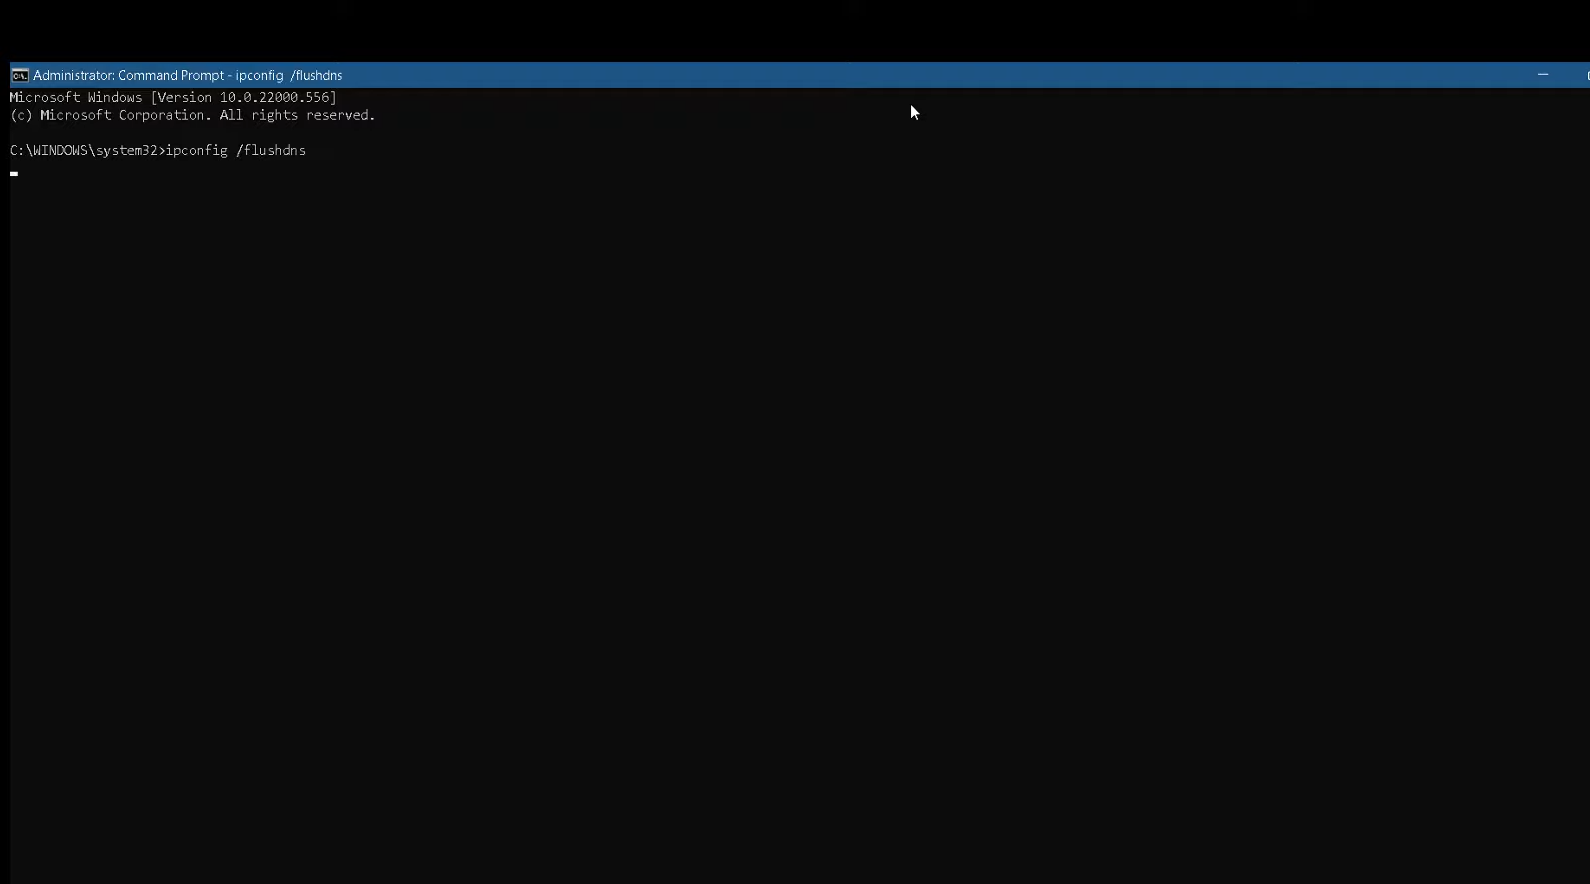
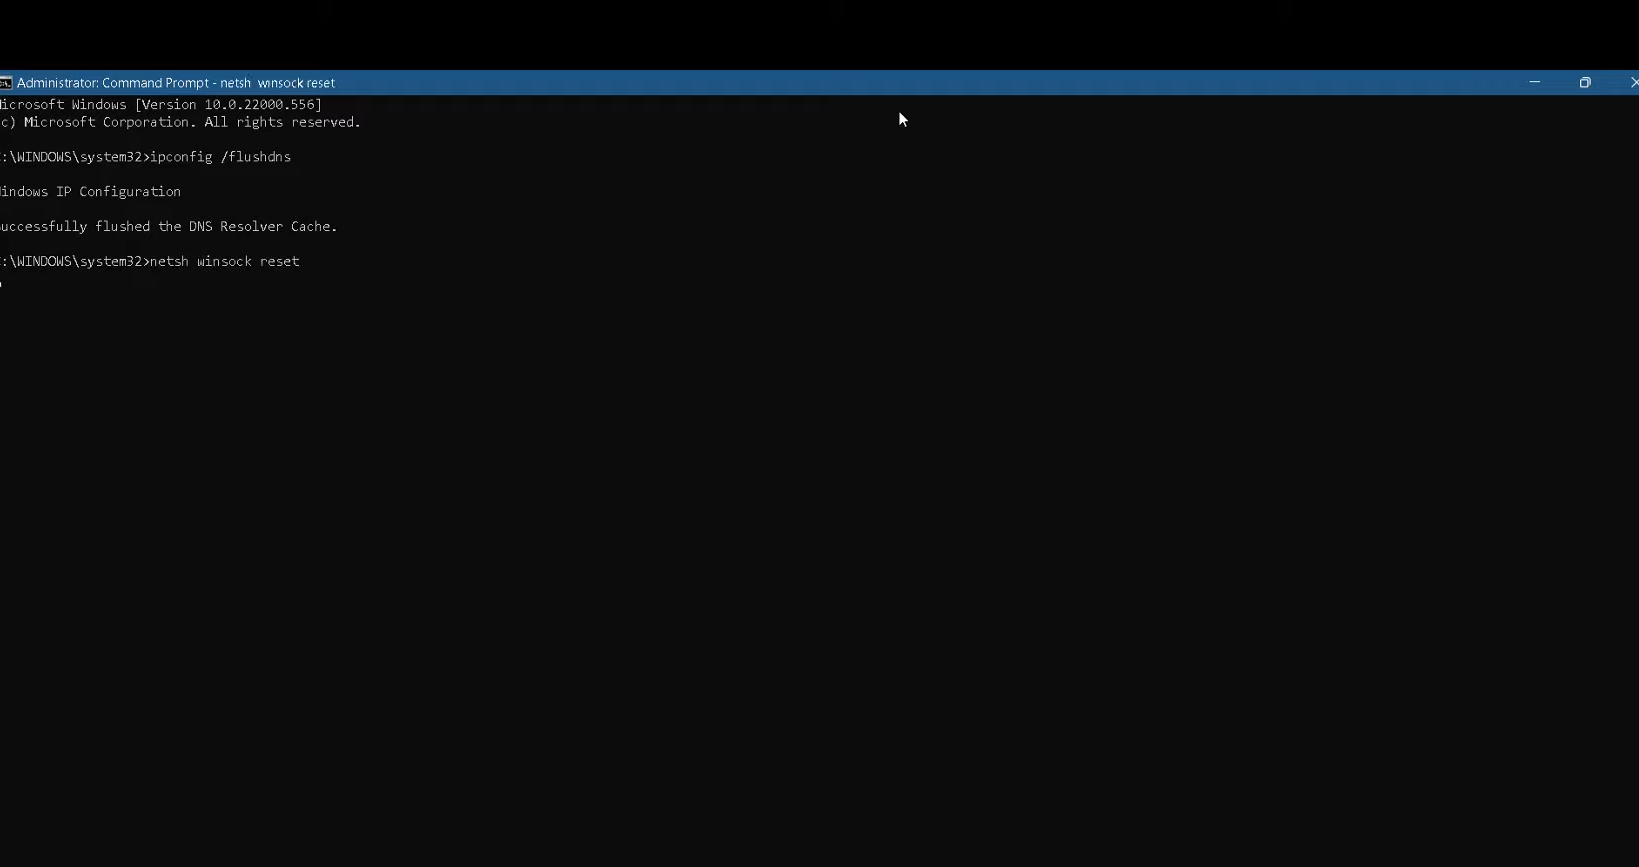
2. Now type in the ‘ipconfig/flushdns‘ command.
3. Next, type ‘netsh winsock reset‘ and press enter to execute the command.
4. After that, use the exit command to close the command prompt.
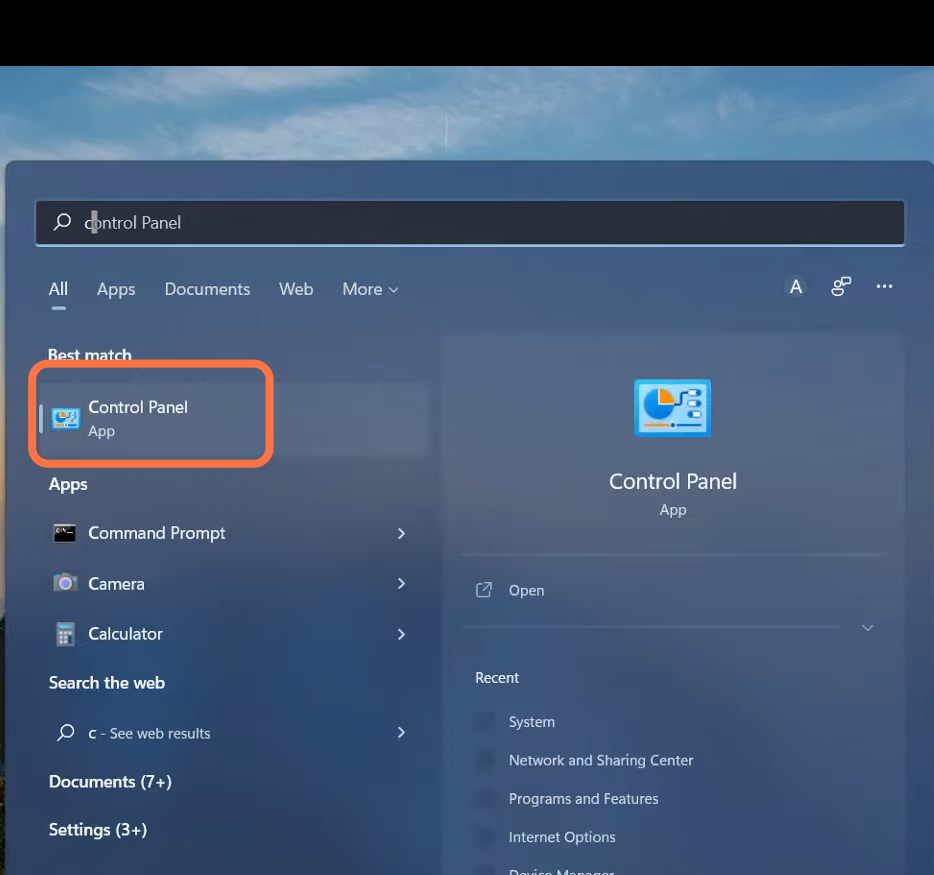
5. Now, you will need to open the Control Panel.
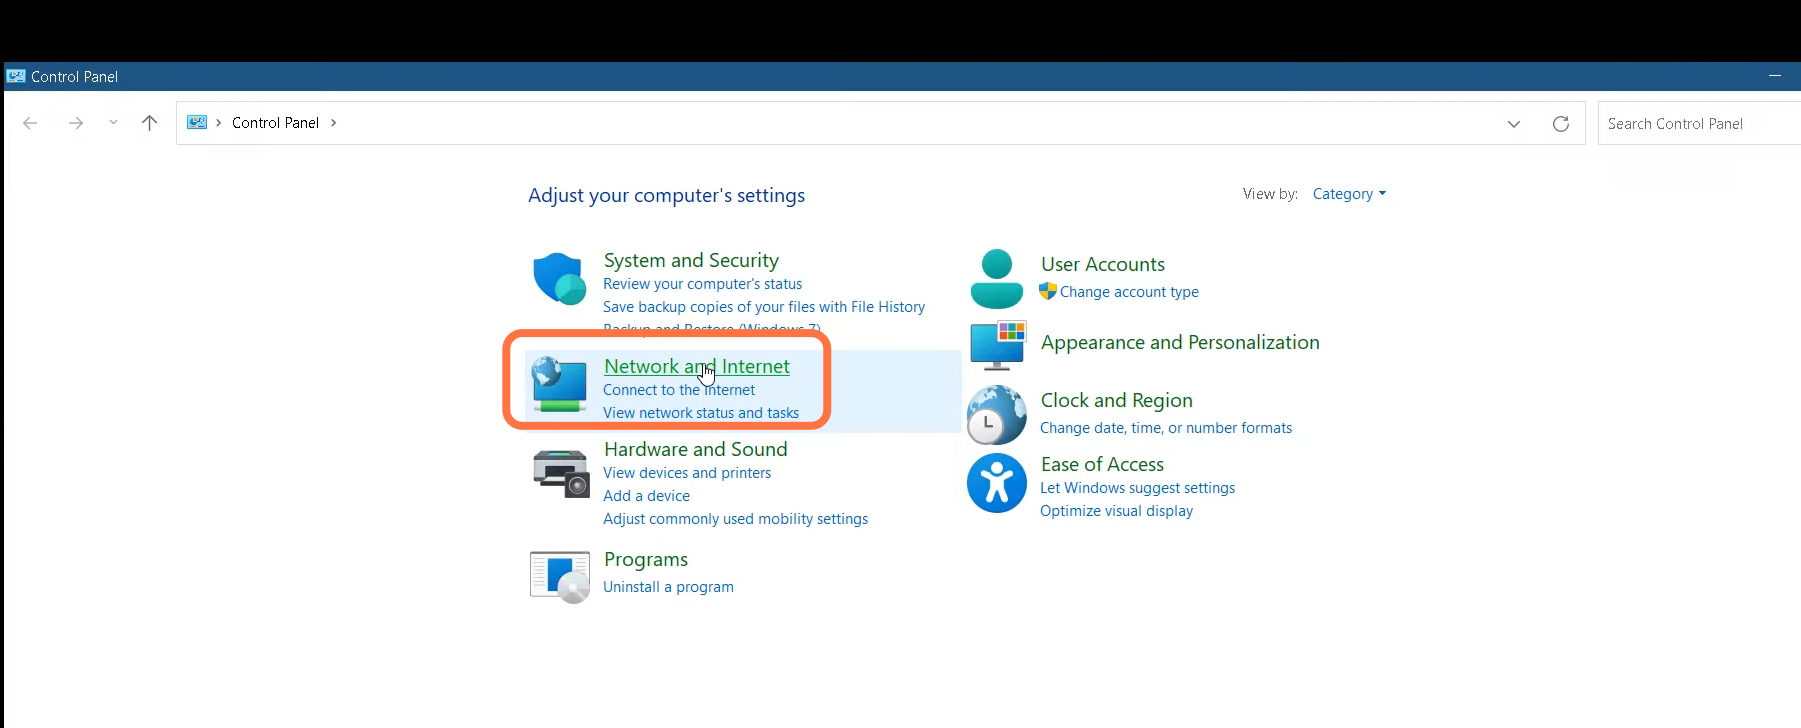
6. Click on the Network and Internet option.
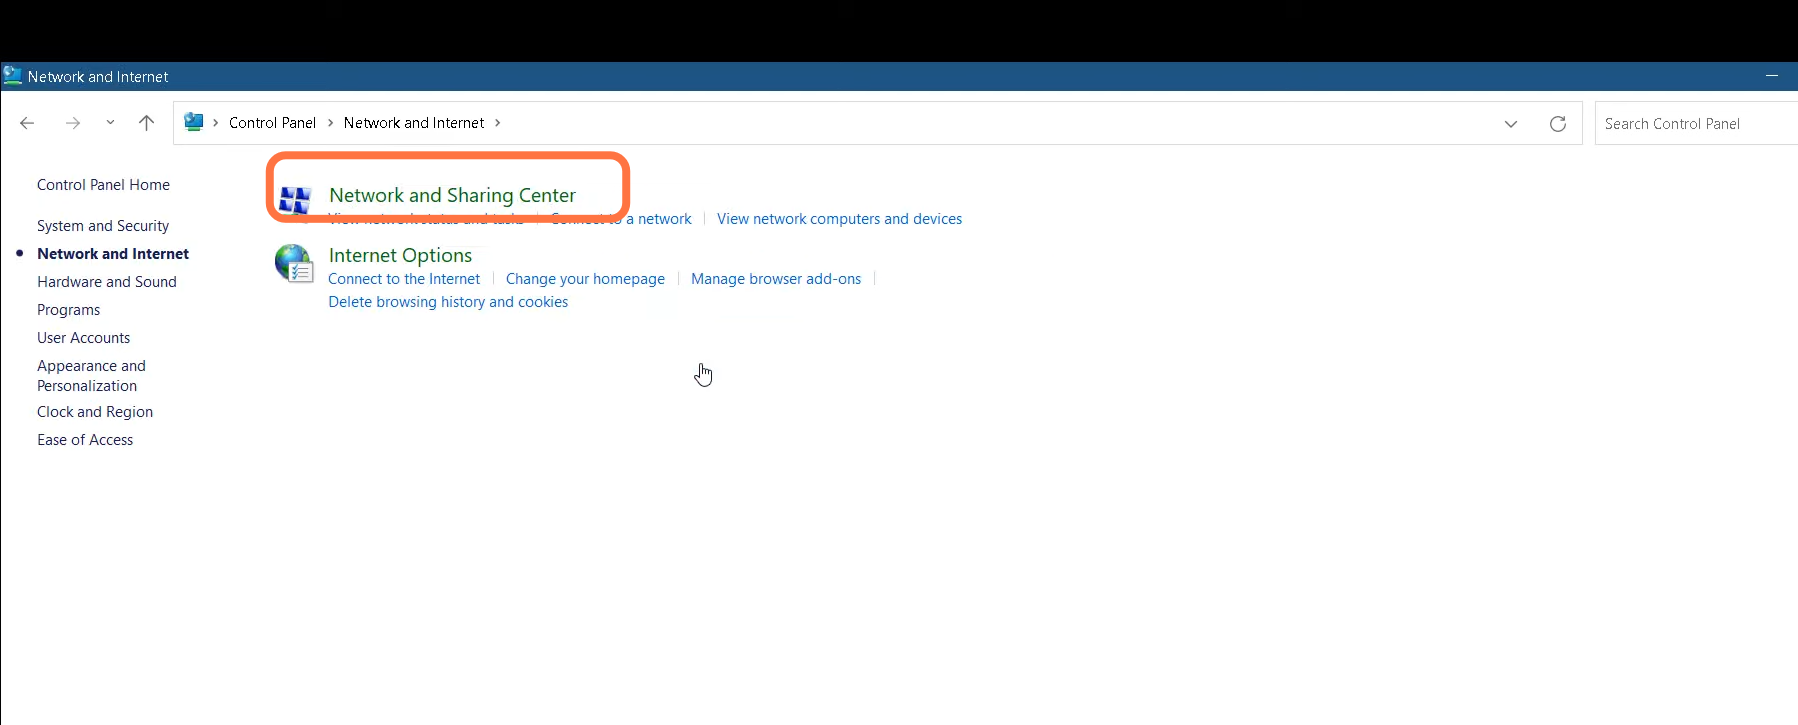
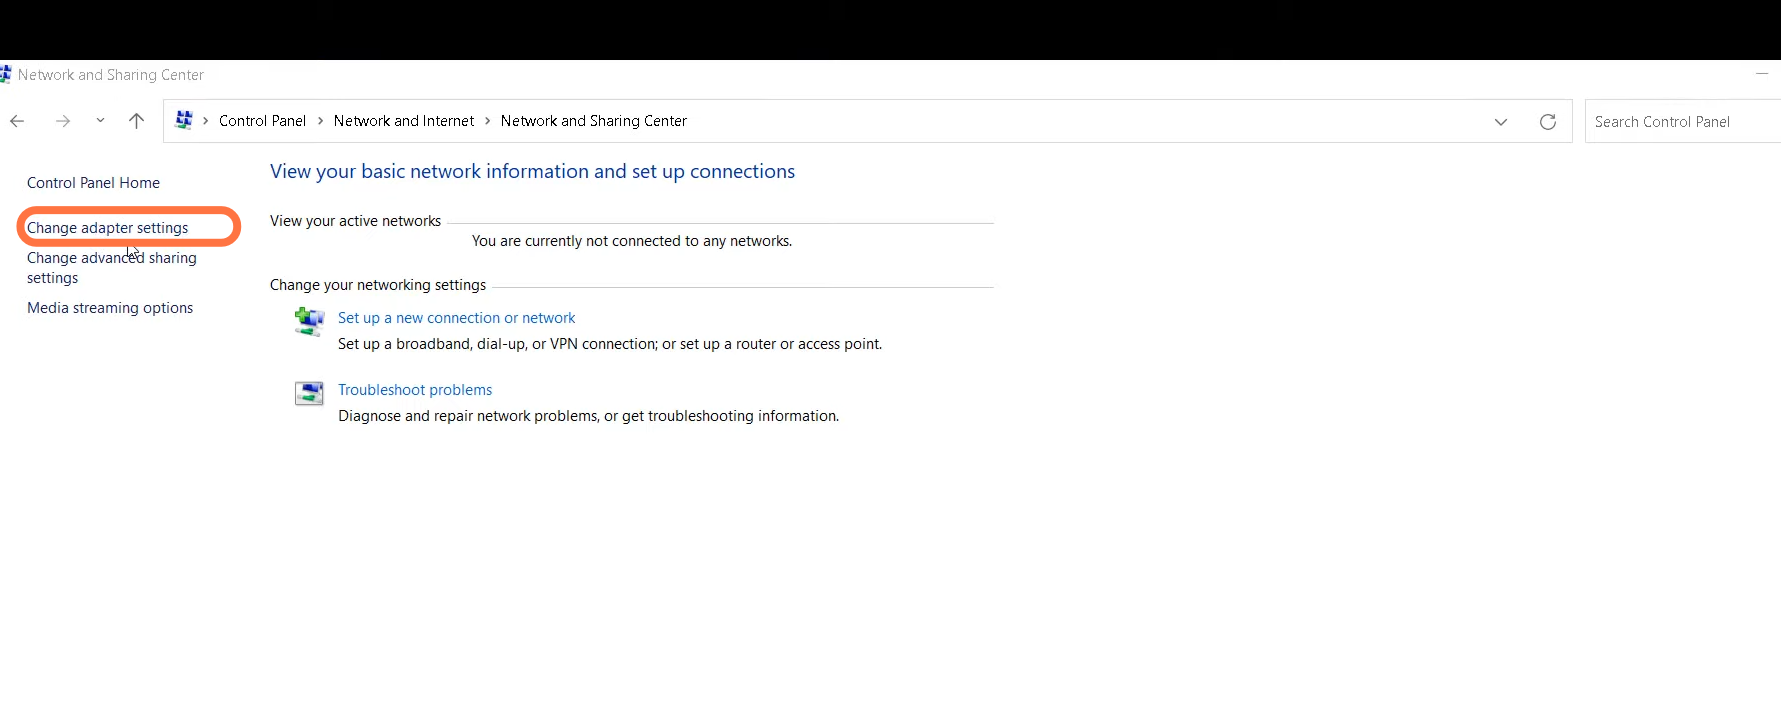
7. Then enter into Network and Sharing center.
8. After that, you have to click on “Change adapter settings”.
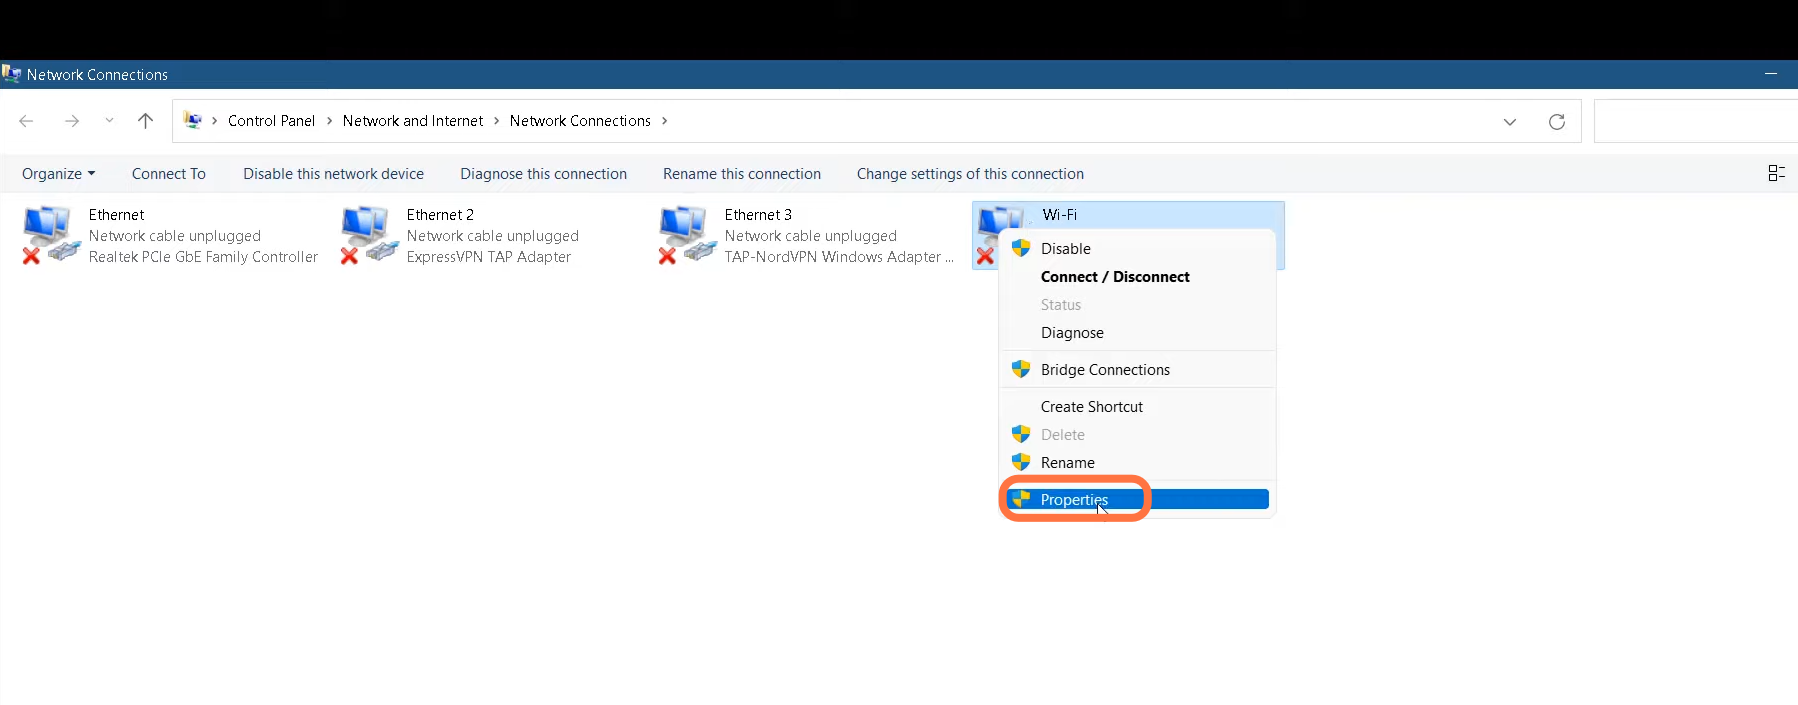
9. Now you need to right-click on Wifi Network and select properties.
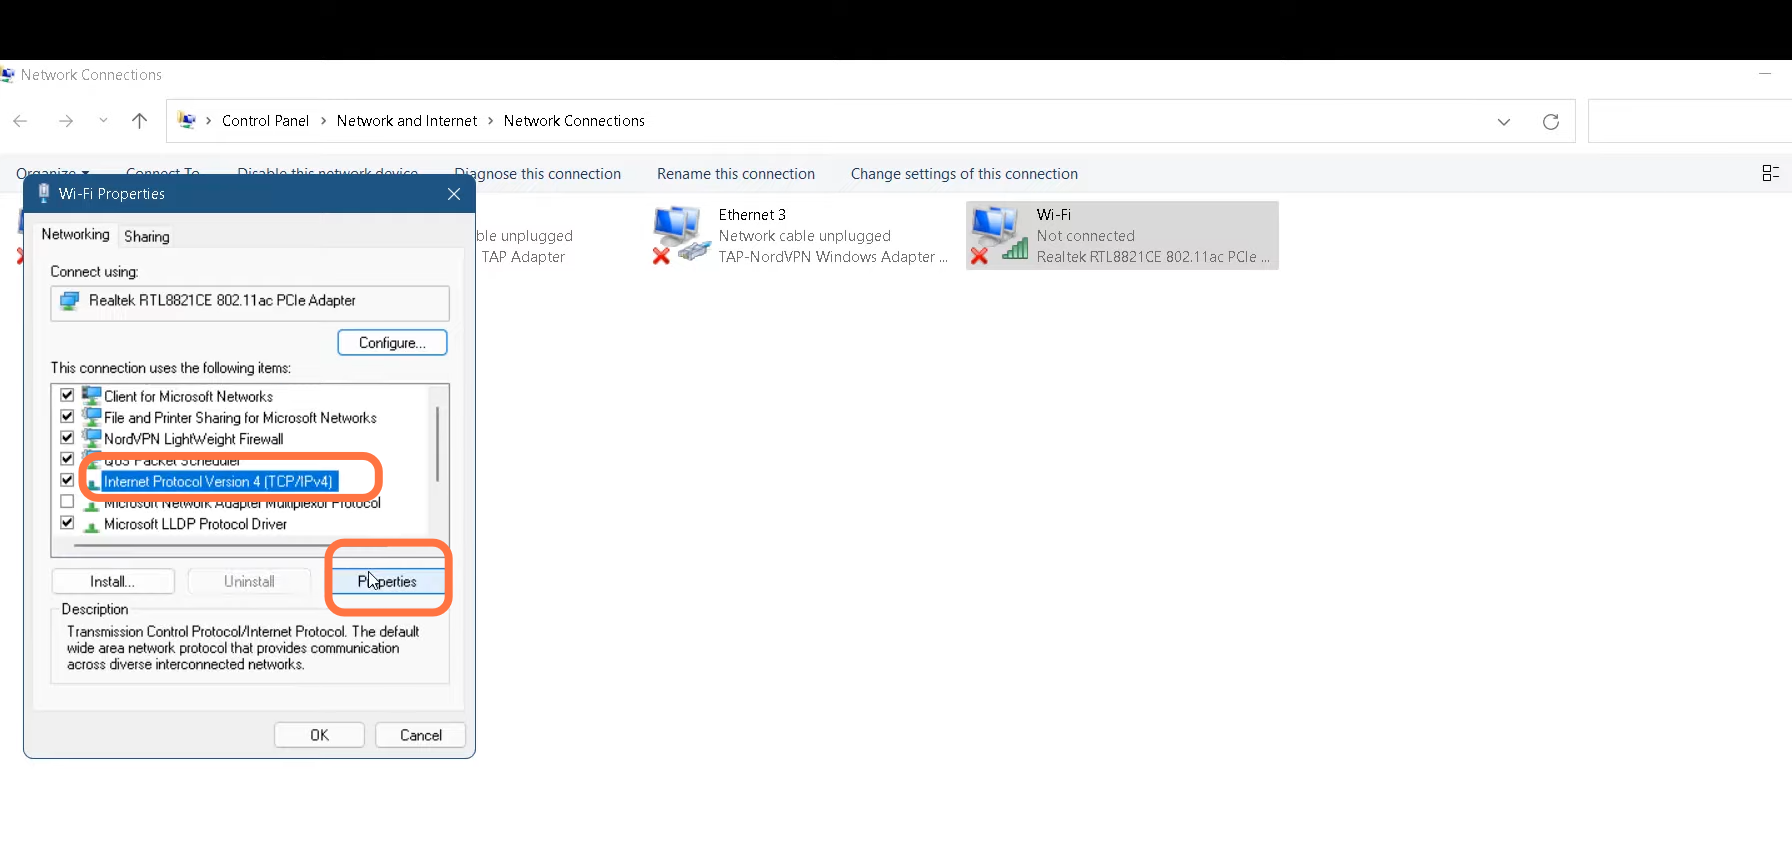
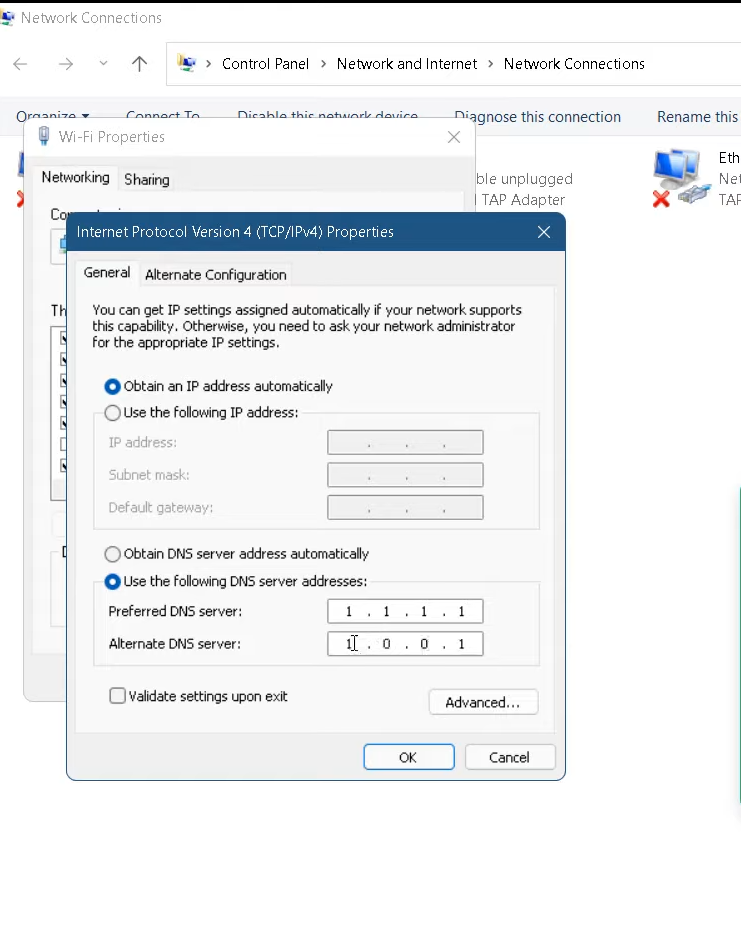
10. Tap on Internet protocol version 4 (TCP/IP) in the list and go into the properties.
11. Check the “Use the following DNS server address:” checkbox.
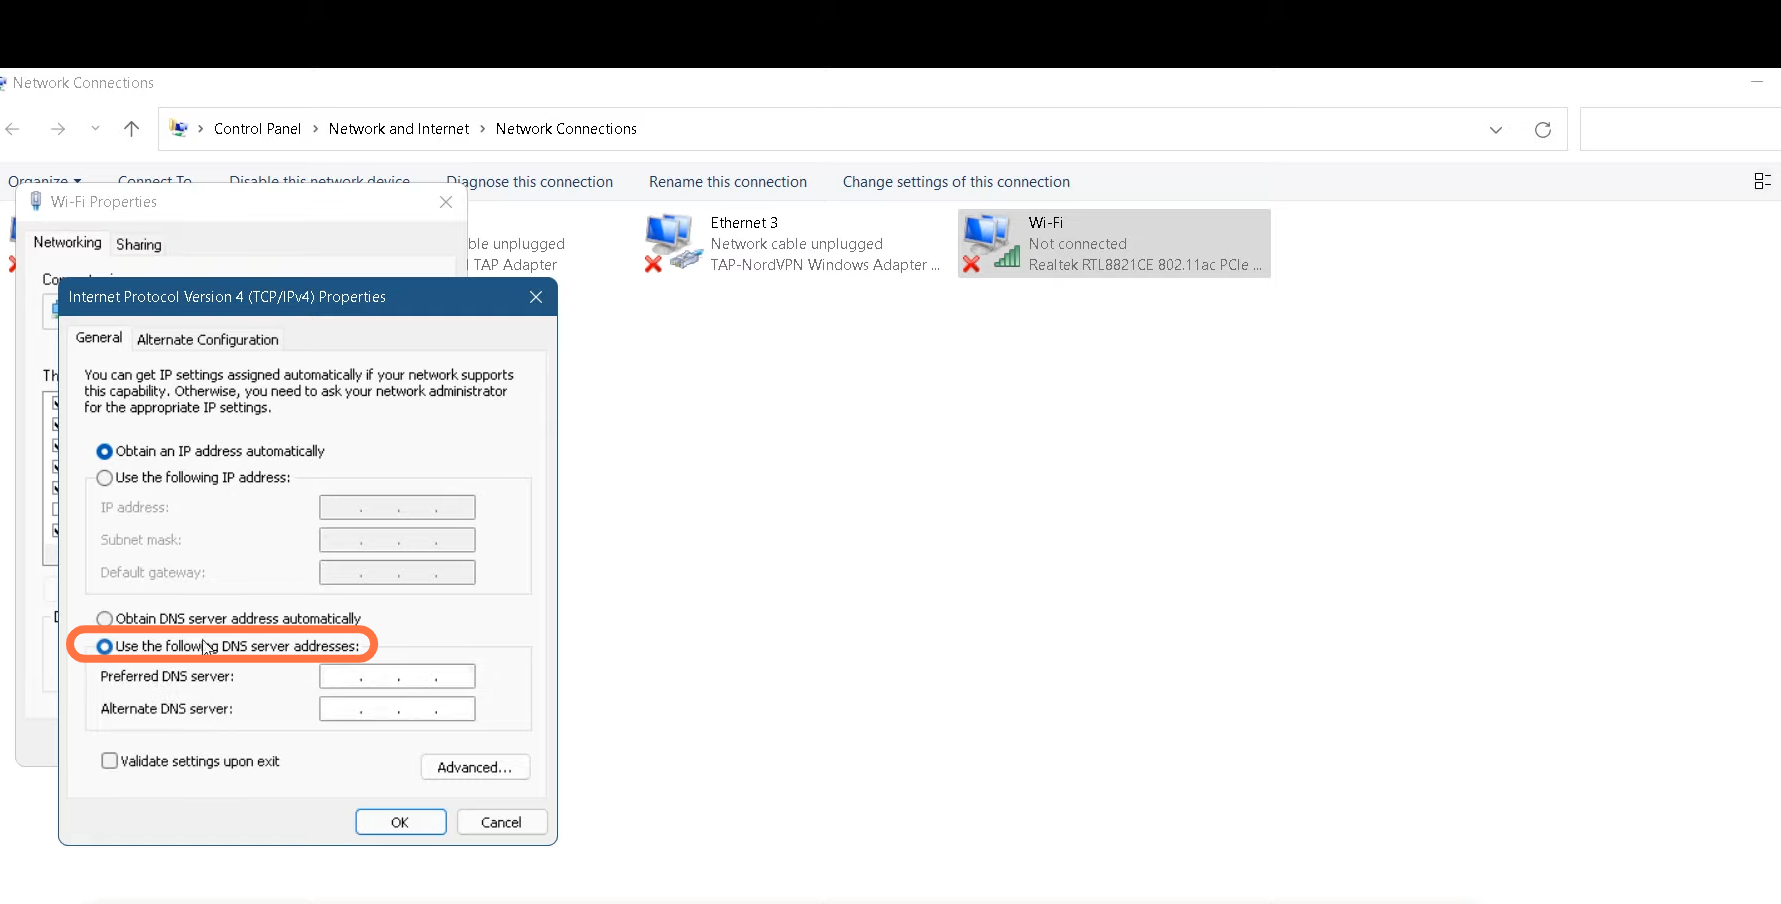
12. Replace the Preferred DNS server address with 1.1.1.1 and Alternate DNS server with 1.0.0.1, check the ‘Validate settings upon exit’ checkbox and click Ok.
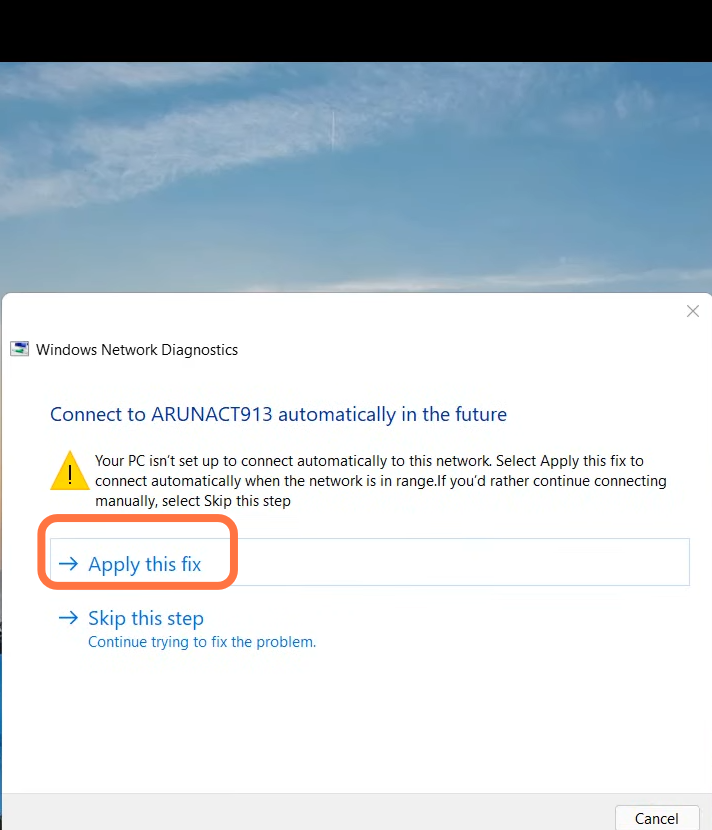
13. You have to wait a while to let ‘Windows Network Diagnostics’ detect and resolve problems. Upon indication, click on ‘Apply this fix.
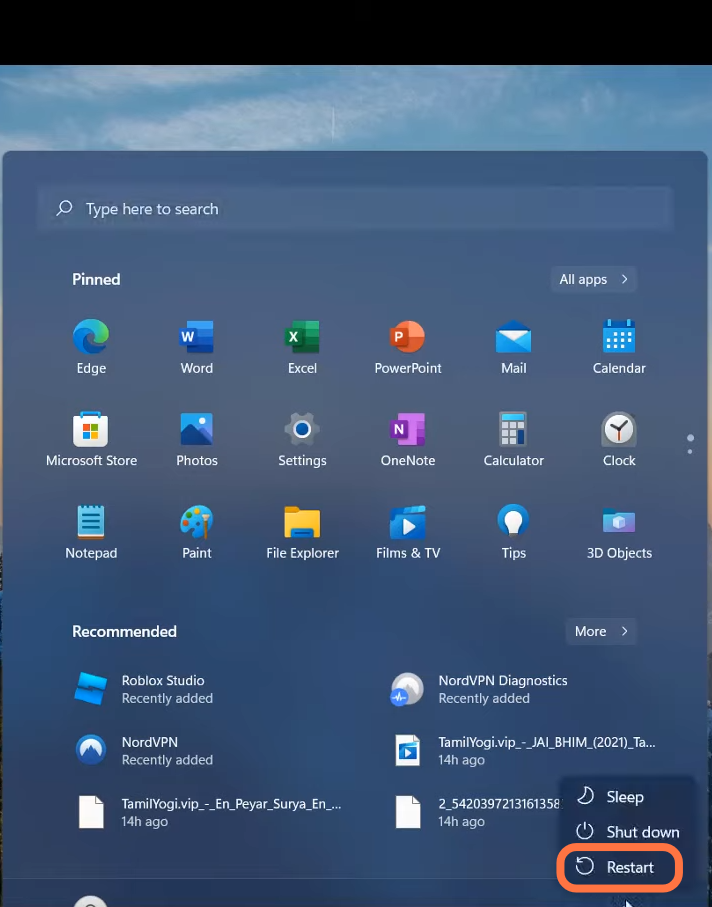
14. Next, you will need to restart your PC.