This guide will tell you how to increase performance / FPS with any setup in Rogue Company. You first have to make some changes in the Graphics settings and in the optimization of the Windows and intelligence cleaner folder. You need to select the best performance power plan and do disk Fragmentation. After following all the steps, you will definitely achieve the best FPS.
In-Game Settings
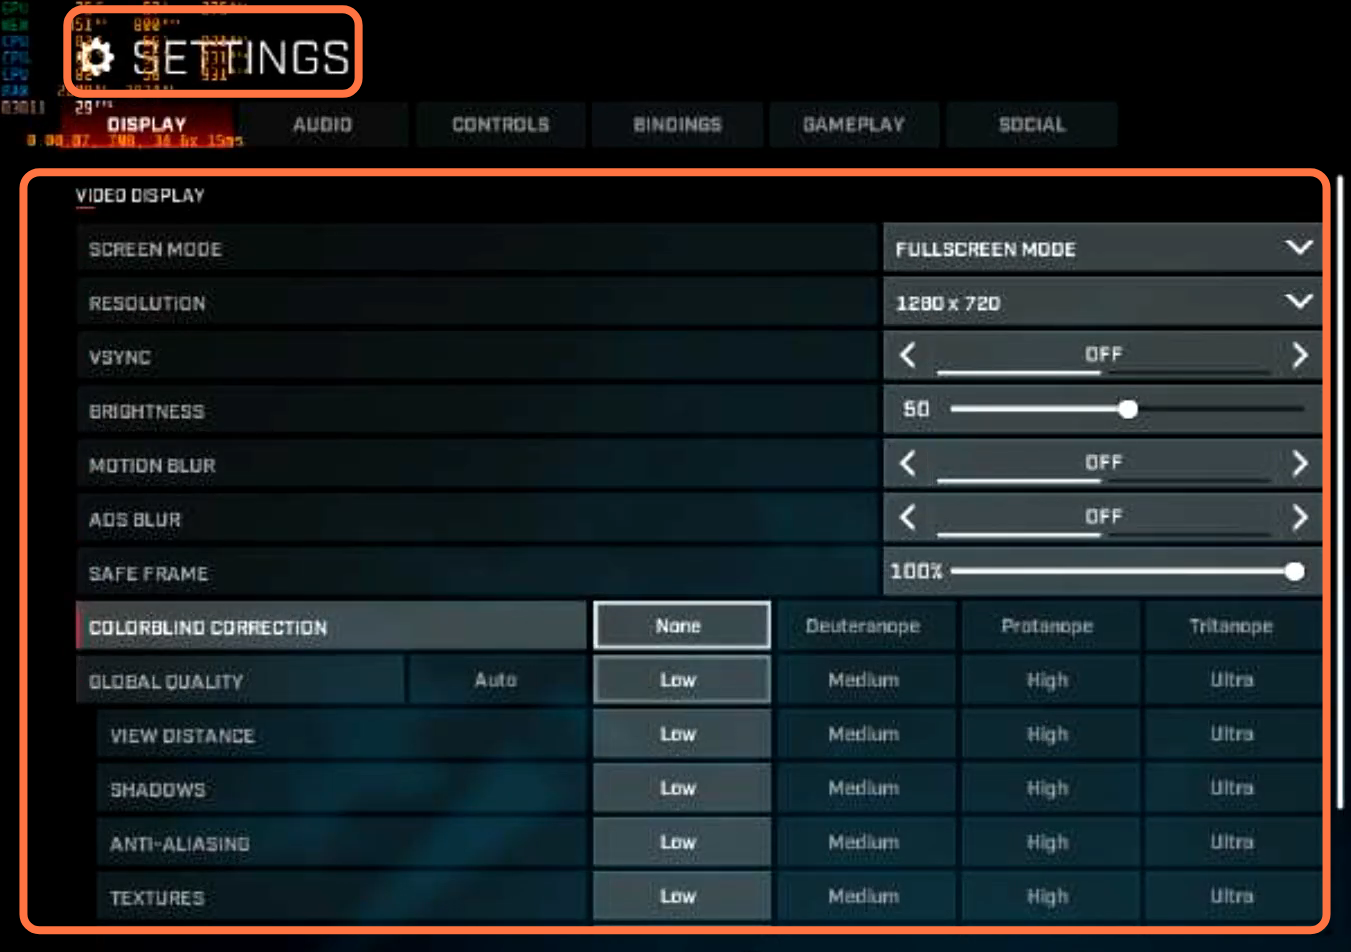
1.1- For this, you will need to first boot up your game and go to settings. You have to set For resolution set this according to your monitor’s native resolution which is the highest on the list. Set the Display mode to full screen and Refresh rate to the highest value available. V-sync, motion blur, and ADS blur all should be disabled. You can set the brightness according to your personal choice. Set the Safe frame to 100%, and Colorblind correction to none. View distance, shadows, anti-aliasing, and textures all should be set to low. After doing this, you have to click on Apply.
Change Config Files
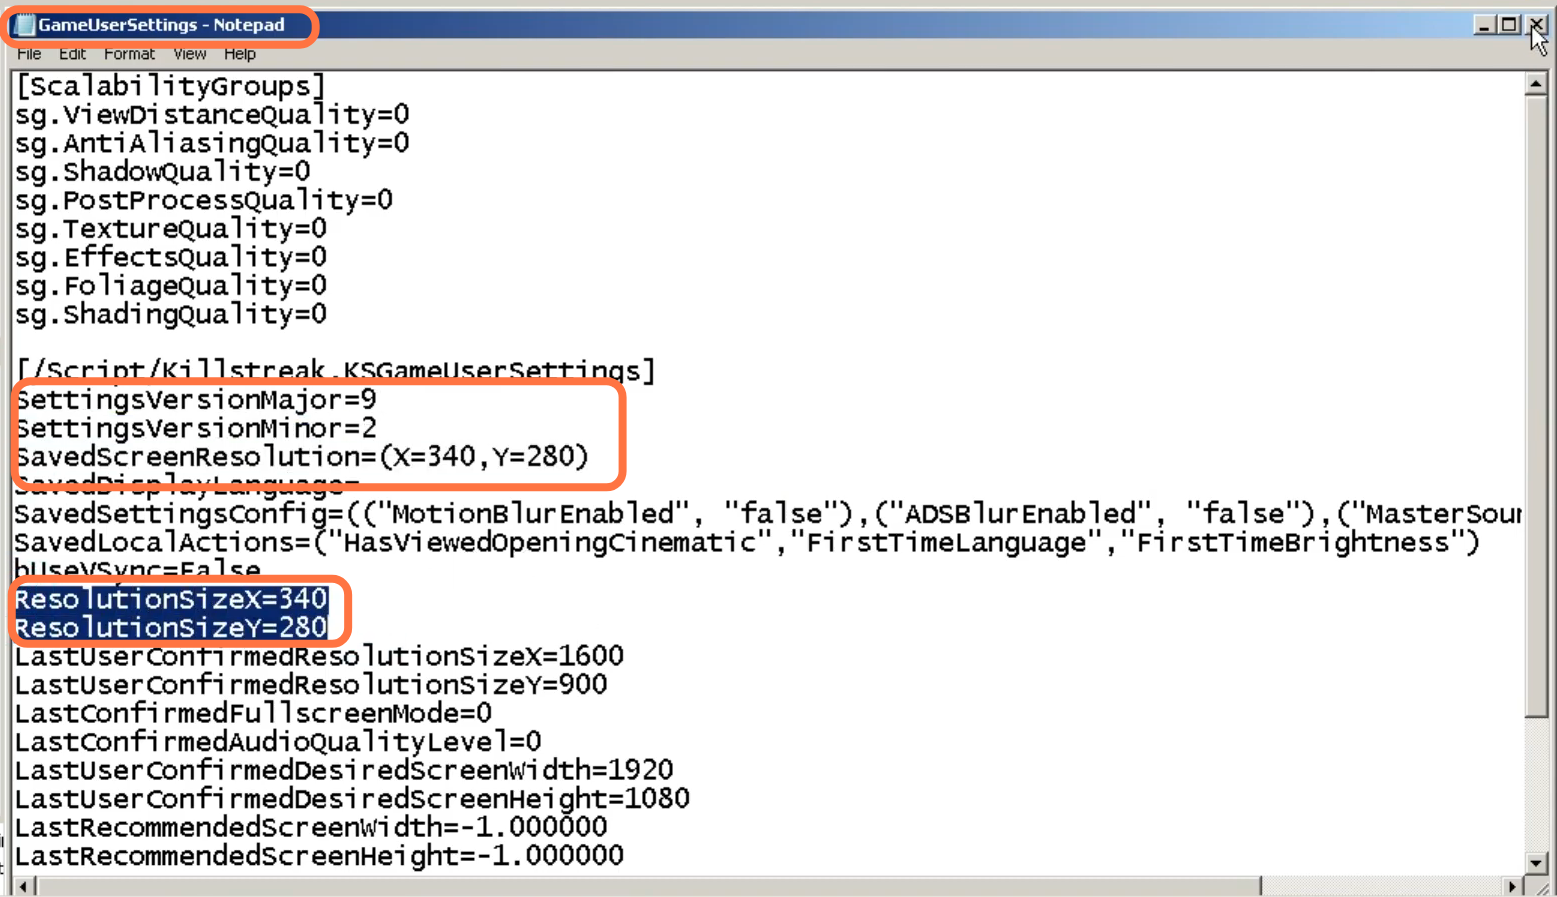
2.1- You have to go to the rogue company file location. Go to C drive, then navigate into the user folder and go to save data. There, you have to scroll down to find the rogue company folder, open this folder and then open the game user settings file in notepad. You have to set all the values according to the picture given below. After setting all the values, save this file and right-click on the game user settings file. Then go to properties and checkmark the read-only column, so no one can change any values.
Disk Cleanup
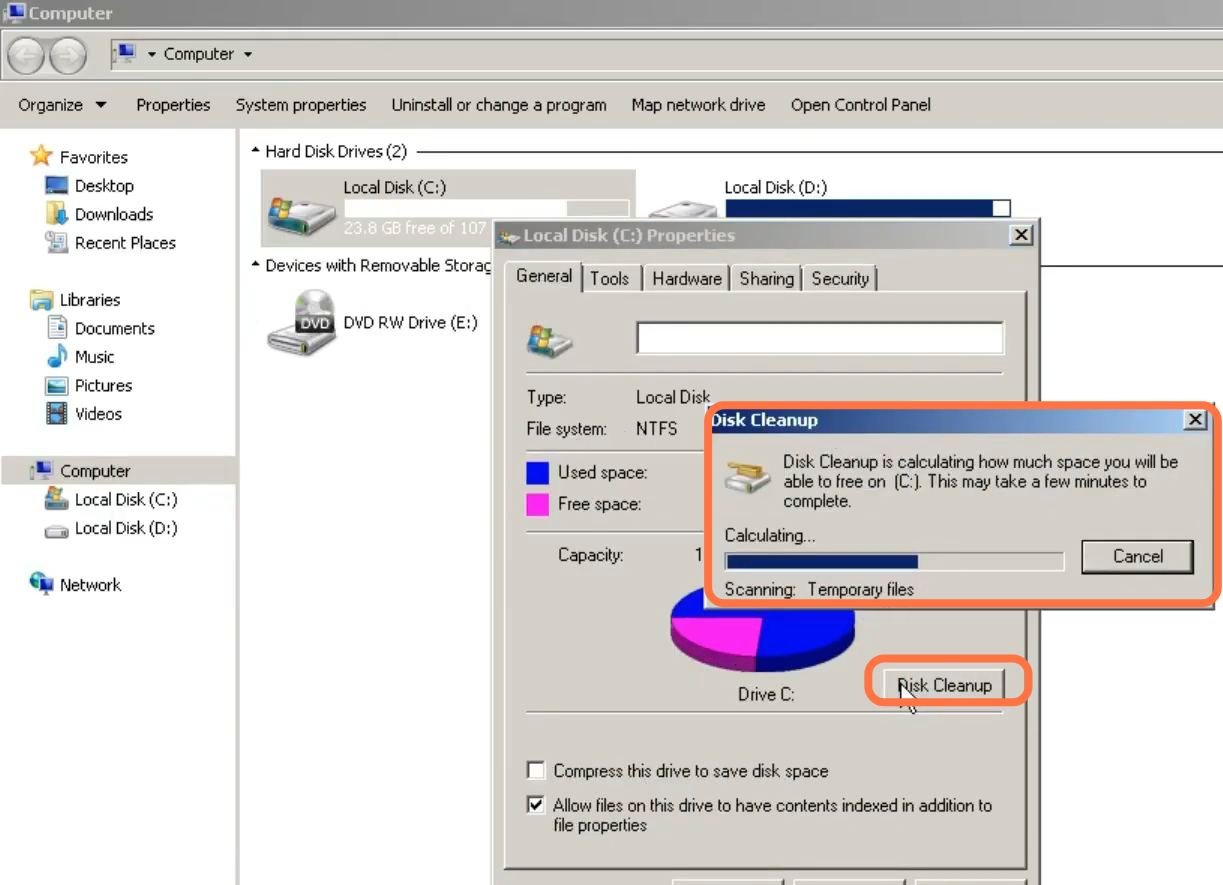
For this, you first need to go to this PC and navigate to the properties of the drive in which you installed your windows. Then click on Disk Cleanup, select all the files you want to delete and press the Disk clean-up button.
Update GPU Drivers
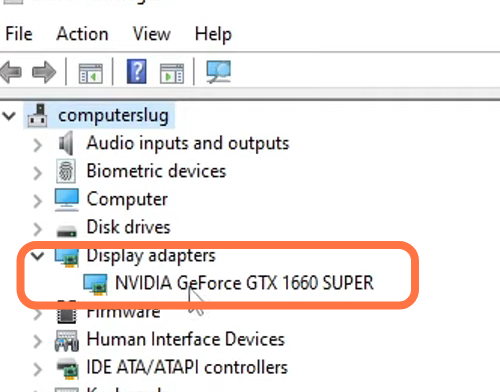
4.1- Now you have to update all the drivers of your hardware on your PC. First, you have to find out what graphics card you have on your computer by right-clicking on the taskbar and then selecting device manager. After that, expand the display adapter and you will find the name of your graphics card. Right-click on your graphics card and then click on Update driver.
Disable unnecessary services
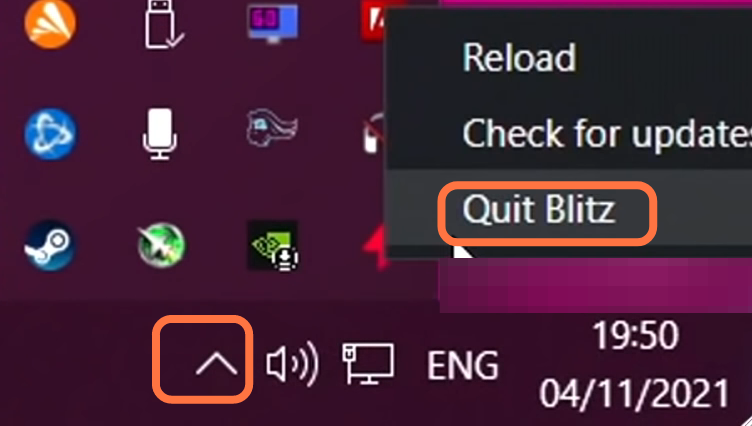
5.1- You will need to turn off all the programs running in the background. Go to the taskbar, click on the small arrow and start right-clicking on the programs that you don’t want to run in the background, then click on quit.
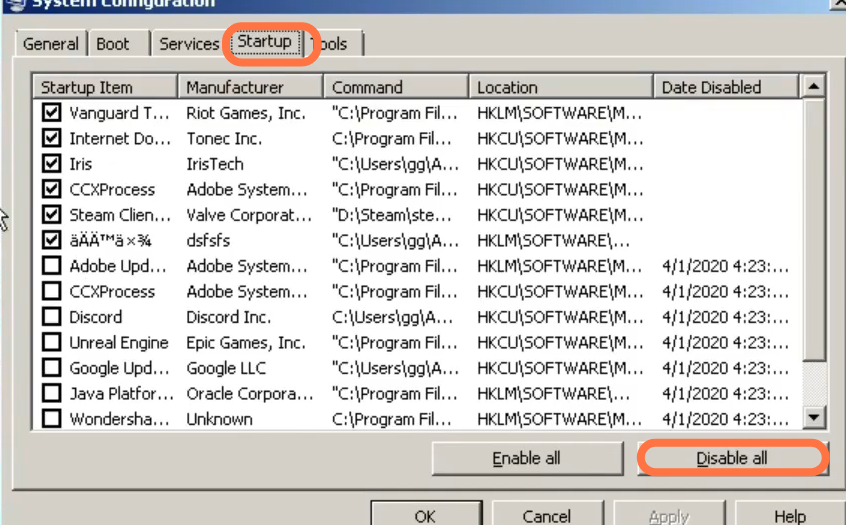
5.2- You also have to disable all the startup programs as these programs are using your cache memory, which will result in low performance and also decrease the FPS. You need to go into the system configuration, click on the startup tab and then select the programs you want to disable. After that, click on the Disable button.
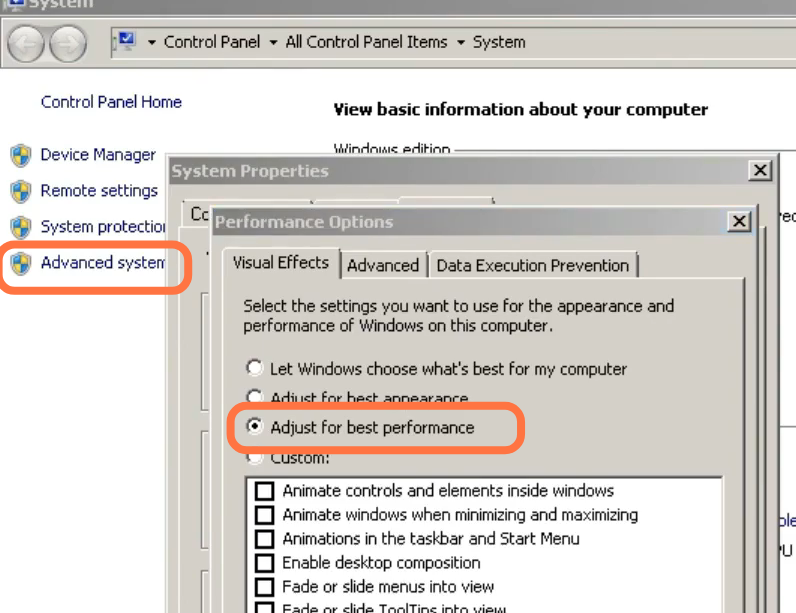
5.3- Now you have to disable the visual effects, go to the Start button, and right-click on this PC. Then go to properties, click on Advance system settings and again click on settings. After that, select “Adjust for best performance” and click on Apply.
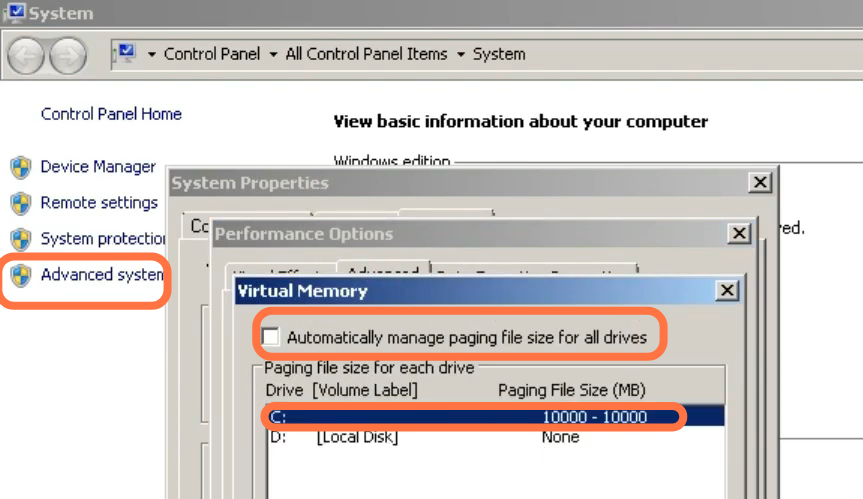
5.4- Now you have to create virtual memory. Go to the Start button, right-click on this PC and then go to properties. After that, click on Advance system settings, then click on settings and go to the Advance tab. Select the program, click on change and disable automatically managing pegging file size. After this, click on Custom, select any partition, and set double the amount of your Ram. Then click on Apply.
Power Plan Settings
This is a great and easy way to enhance the performance of your system, as they are highly customizable and effective for disabling some sleep and low-power modes.
6.1- You must type “edit power plan” in the search column and press enter. Inside this menu, go to the power option on the top, click on show additional plans and scroll down to select the high-performance power plan.

After this, go to the bottom left-handed side of your screen to the search bar and run the Command prompt as an administrator. You have to paste the command “powercfg -duplicatescheme e9a42b02-d5df-448d-aa00-03f14749eb61”, then press enter and exit.

Now again go to the power play menu and press the refresh button on the top right corner. You will find the ultimate performance power plan, you need to select this option.

6.2- After that, right-click on the desktop and open the NVidia control panel. On the top left side, click on “adjust image settings with preview”, use the advanced 3D image settings that have been selected and then click on apply.

6.3- Now head to Manage 3D settings, scroll all the way down to power management mod, and set it to maximum performance. It will raise your idle clock slightly and also help to solve the stuttering issues inside of the game. You need to set Open Render GPU to your GPU, the Preferred refresh rate to the highest, then scroll down to Anisotropic optimization and enable it. Set Negative lod Bois to allow, set the texture filtering quality to high performance and try linear optimization to threaded optimization and then click on apply.

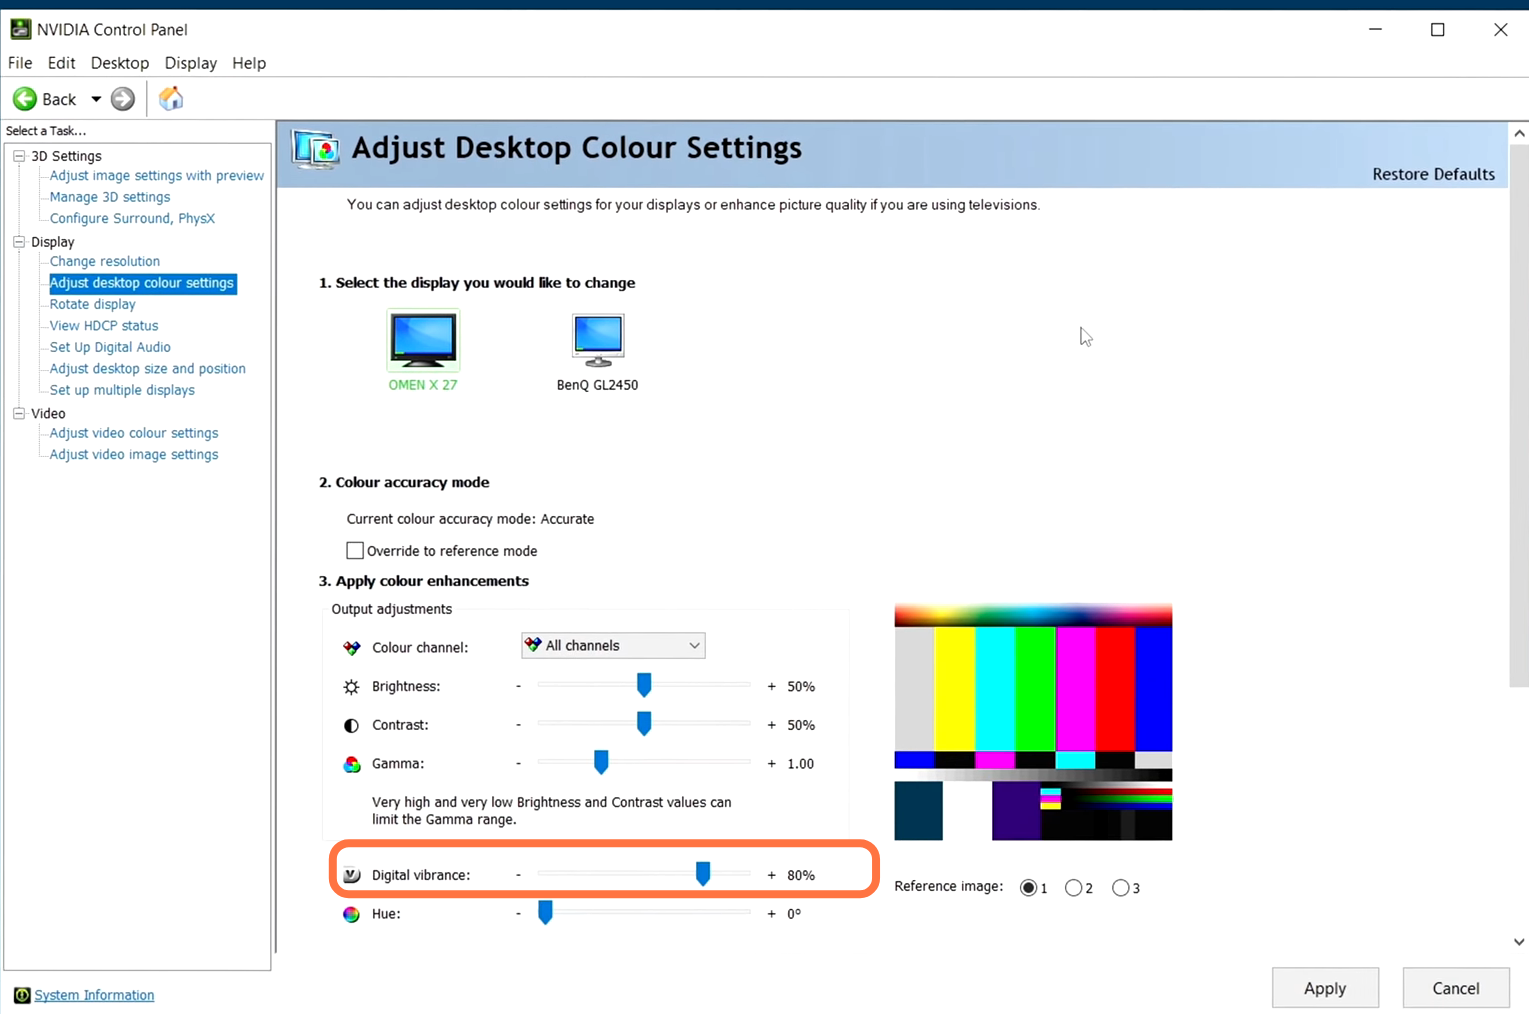
6.4- Now go to the Adjust Desktop color settings on the right-hand side and adjust your digital vibrance. It will increase your saturation and give you a much nicer image result without using any NVidia filter or other techniques.
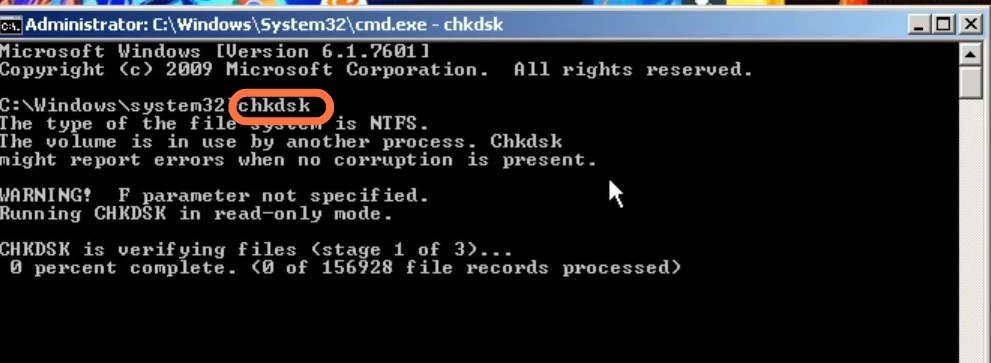
6.5- Now you have to run the command prompt to check if there is any disk error on your PC. For this open cmd and write chkdsk as this will fix all the issues found on your PC. It will take a lot of time to check all your PC.
For NVidia Users
It is only if you use NVidia. otherwise, you can skip this step.
AMD User:
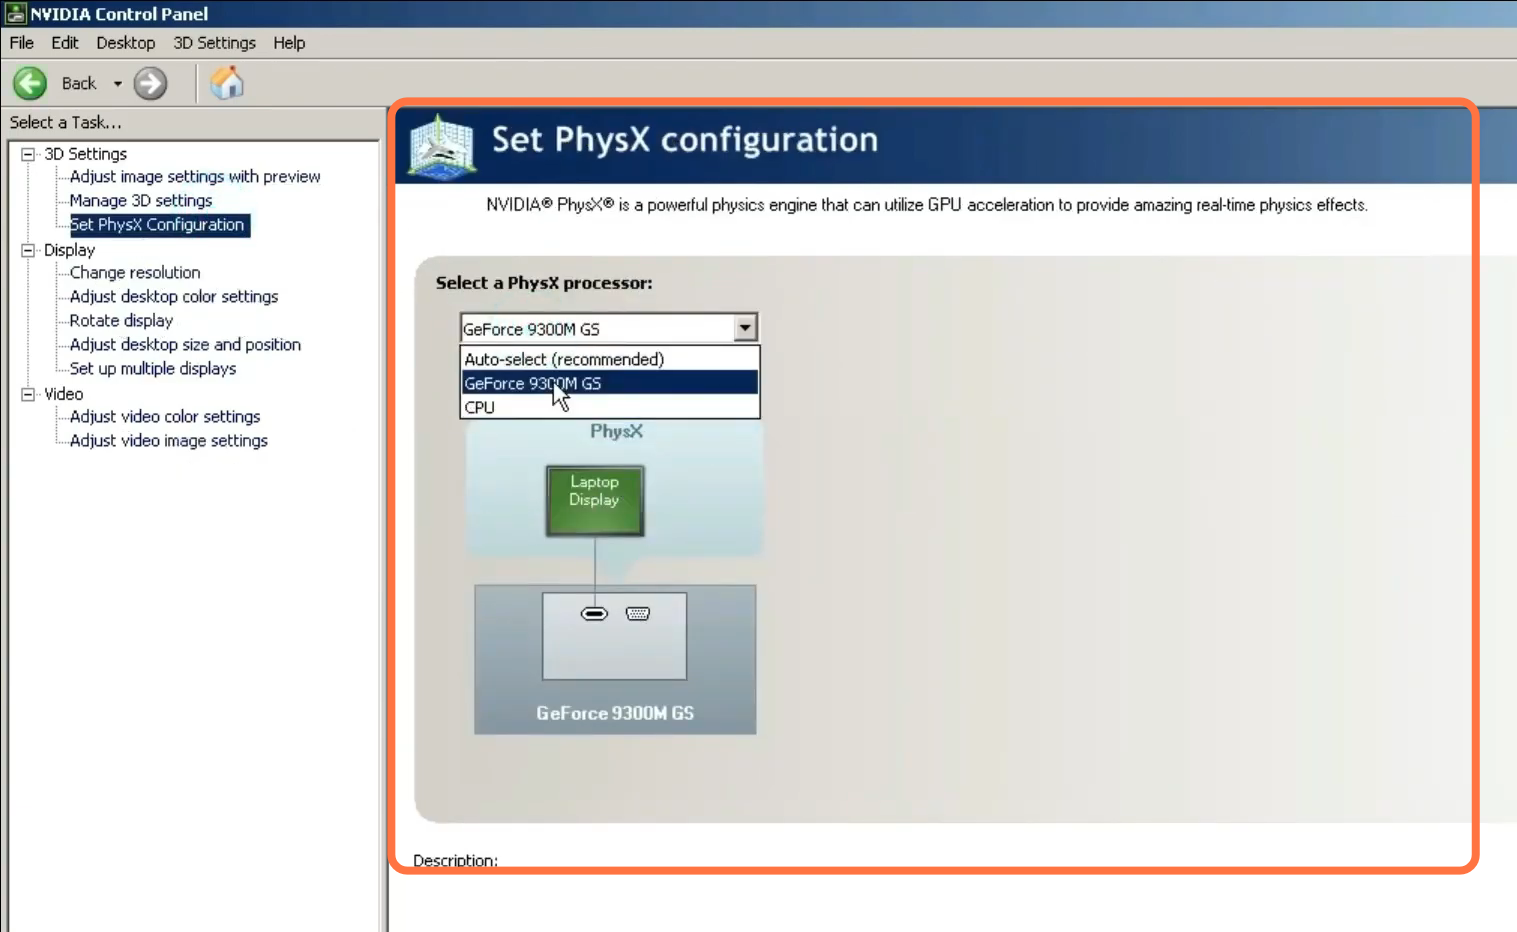
7.1- You have to open the NVidia control panel, go to phys x and set it to GPU
7.2- After that, click on the 3D settings, copy all of these settings, and set the image setting preview to performance. Then you need to click on Apply.
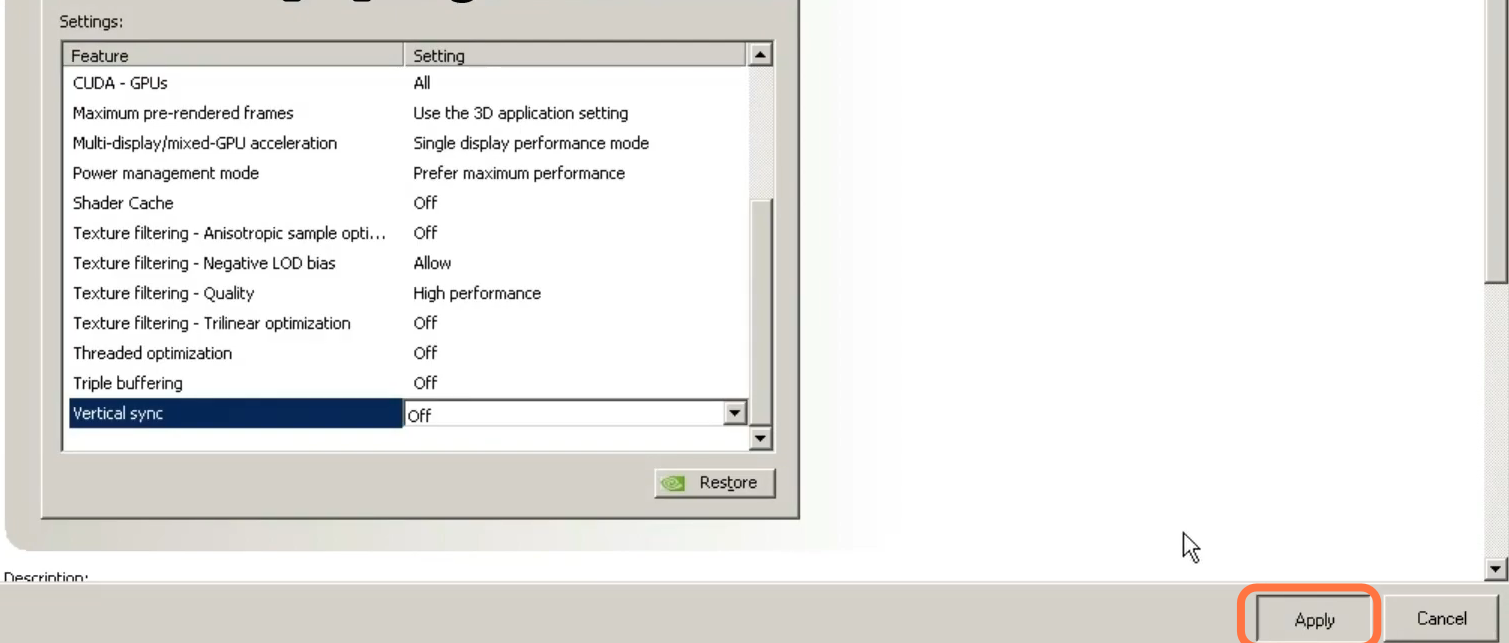
7.3- Now go to adjust desktop size and composition. Select full screen, click GPU, and select override scaling.
7.4- After that, run the AMD command to check for any disk error. You need to go to search, type cmd, and run it as administrator. Type chkdsk and it will fix all the drive issues if you have any.

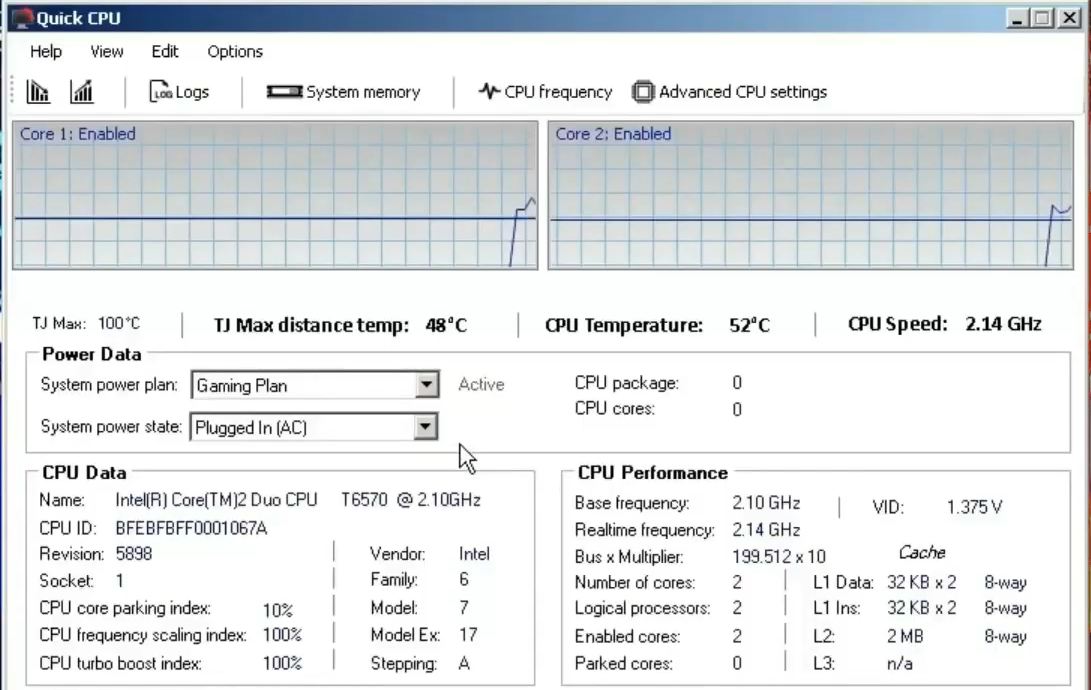
7.5- This step is about unpacking the CPU. You have to select your created gaming plan and then open the quick CPU. Select a gaming plan, make sure it is active and set the value to max.
Disk Defragmentation
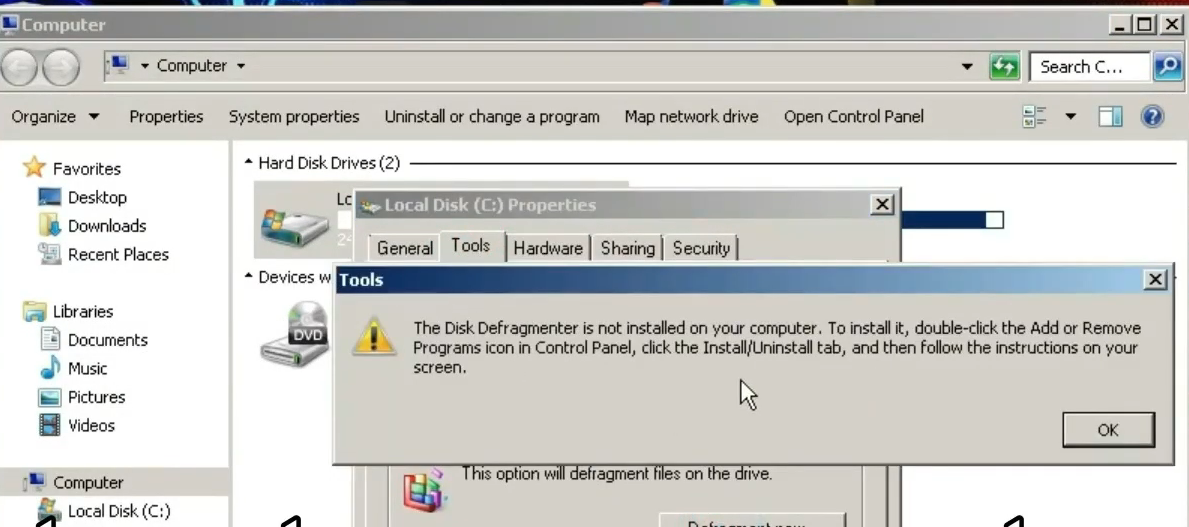
8.1- This step is about Disk fragmentation, there are two ways to do disk fragmentation.
- First, you have to go to My Computer and navigate to properties. Click on Tools, and tap on disk fragmentation. If this does not work, then follow the second step.
- You need to download software into your computer that allows disk fragmentation. You can use smart defrag 6 for this purpose.
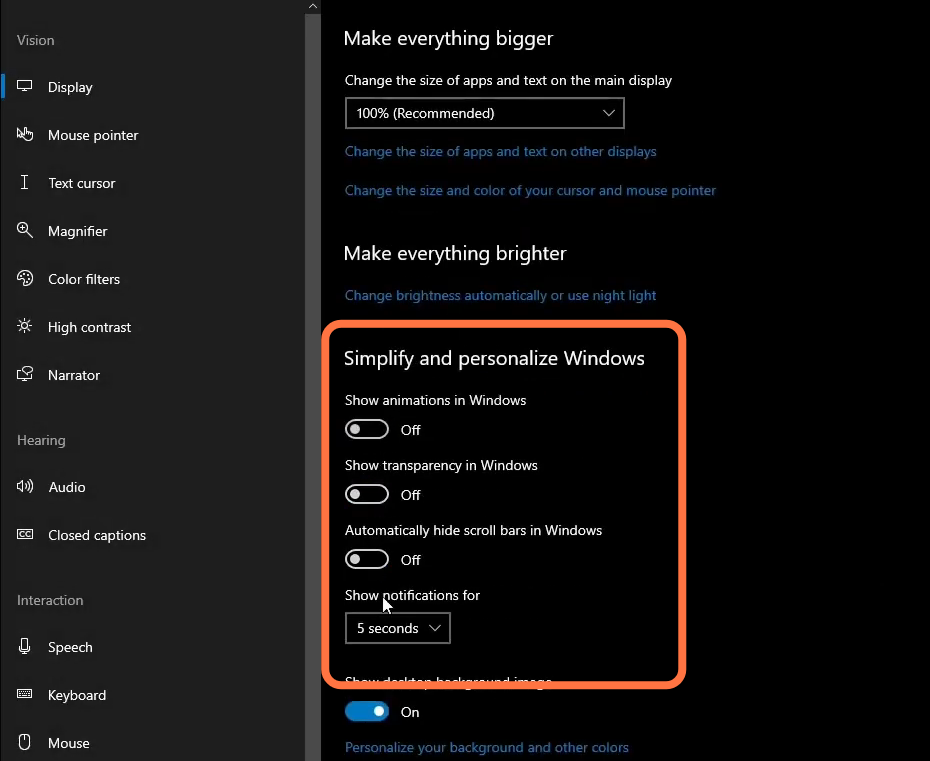
8.2- Set the desktop background to a single color. Right-click on the desktop and click on settings, then go to “ease of access” and disable animation and transparency. You have to hide scroll bars and desktop images.
9.3- You have to end explore .exe to get a few more fps. Open up task manager and open any folder. Now whenever you start the game, you need to right-click on Windows explorer, click end task and then tap on End Manager.
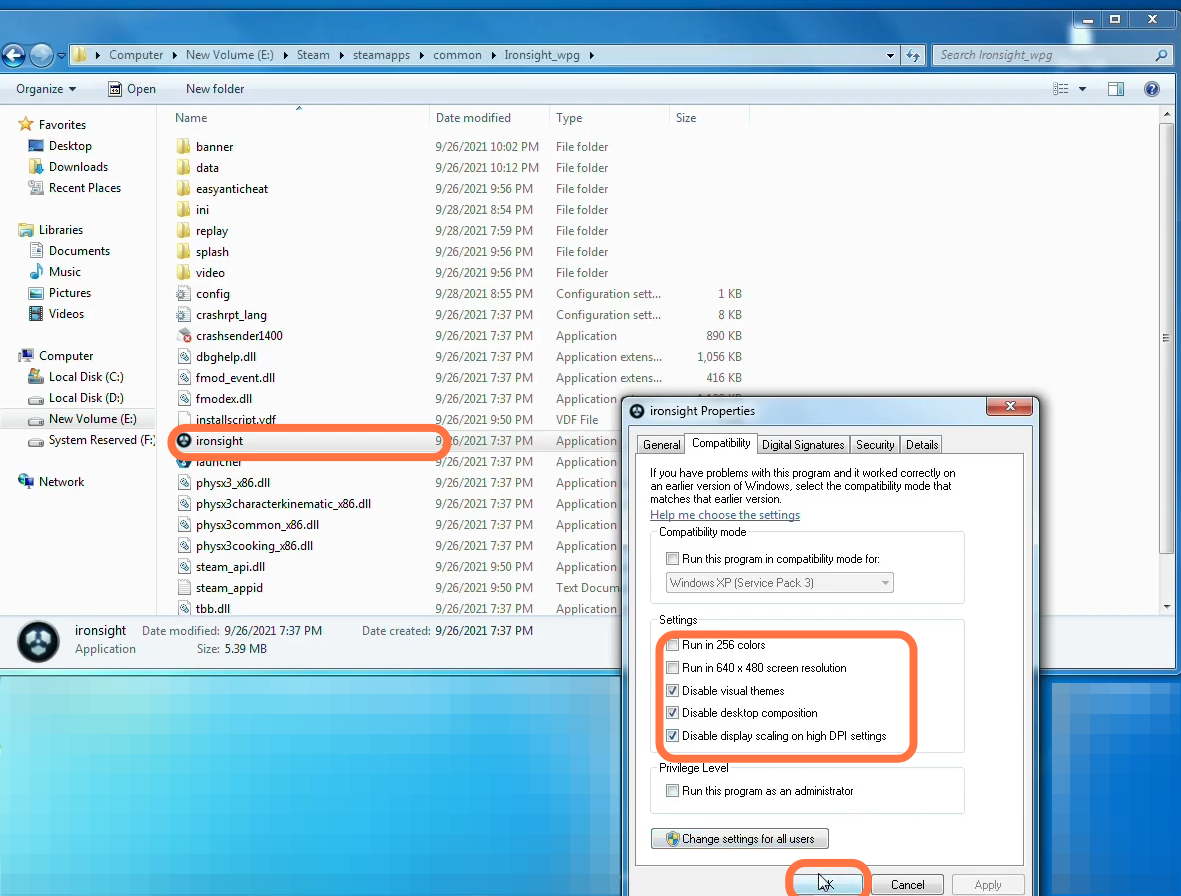
9.4- Disable full-screen optimization for iron sight. You have to go inside the iron sight folder and then iron steam, navigate to the steam app, and then go to common. After that, go to full-screen optimization inside this. Right-click on the iron sight folder, then go to compatibility and disable the options.
