In this guide, you will learn how to add DLC to RPCS3.
Upgrade Version
In this section, we will take you through the steps to upgrade the game version.
- Ensure that you have the latest version of the base game installed on your RPCS3 emulator.
- Verify the version column of the game. If it indicates an available update, proceed to join the RPCS3 Discord server.
- In the Discord server, navigate to the bot spam section and enter the following command.
This command will prompt the bot to fetch an update file for you based on the provided serial number.
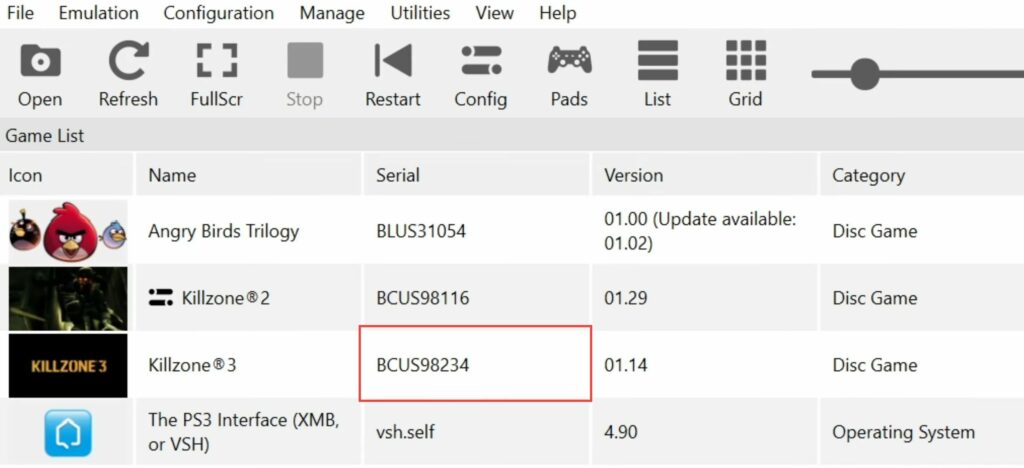
!psn check updates [serial #]The serial number will be the numerical digits corresponding to the Killzone 3 game in the RPCS3 emulator. Once executed, the bot should retrieve the necessary update file for your game.
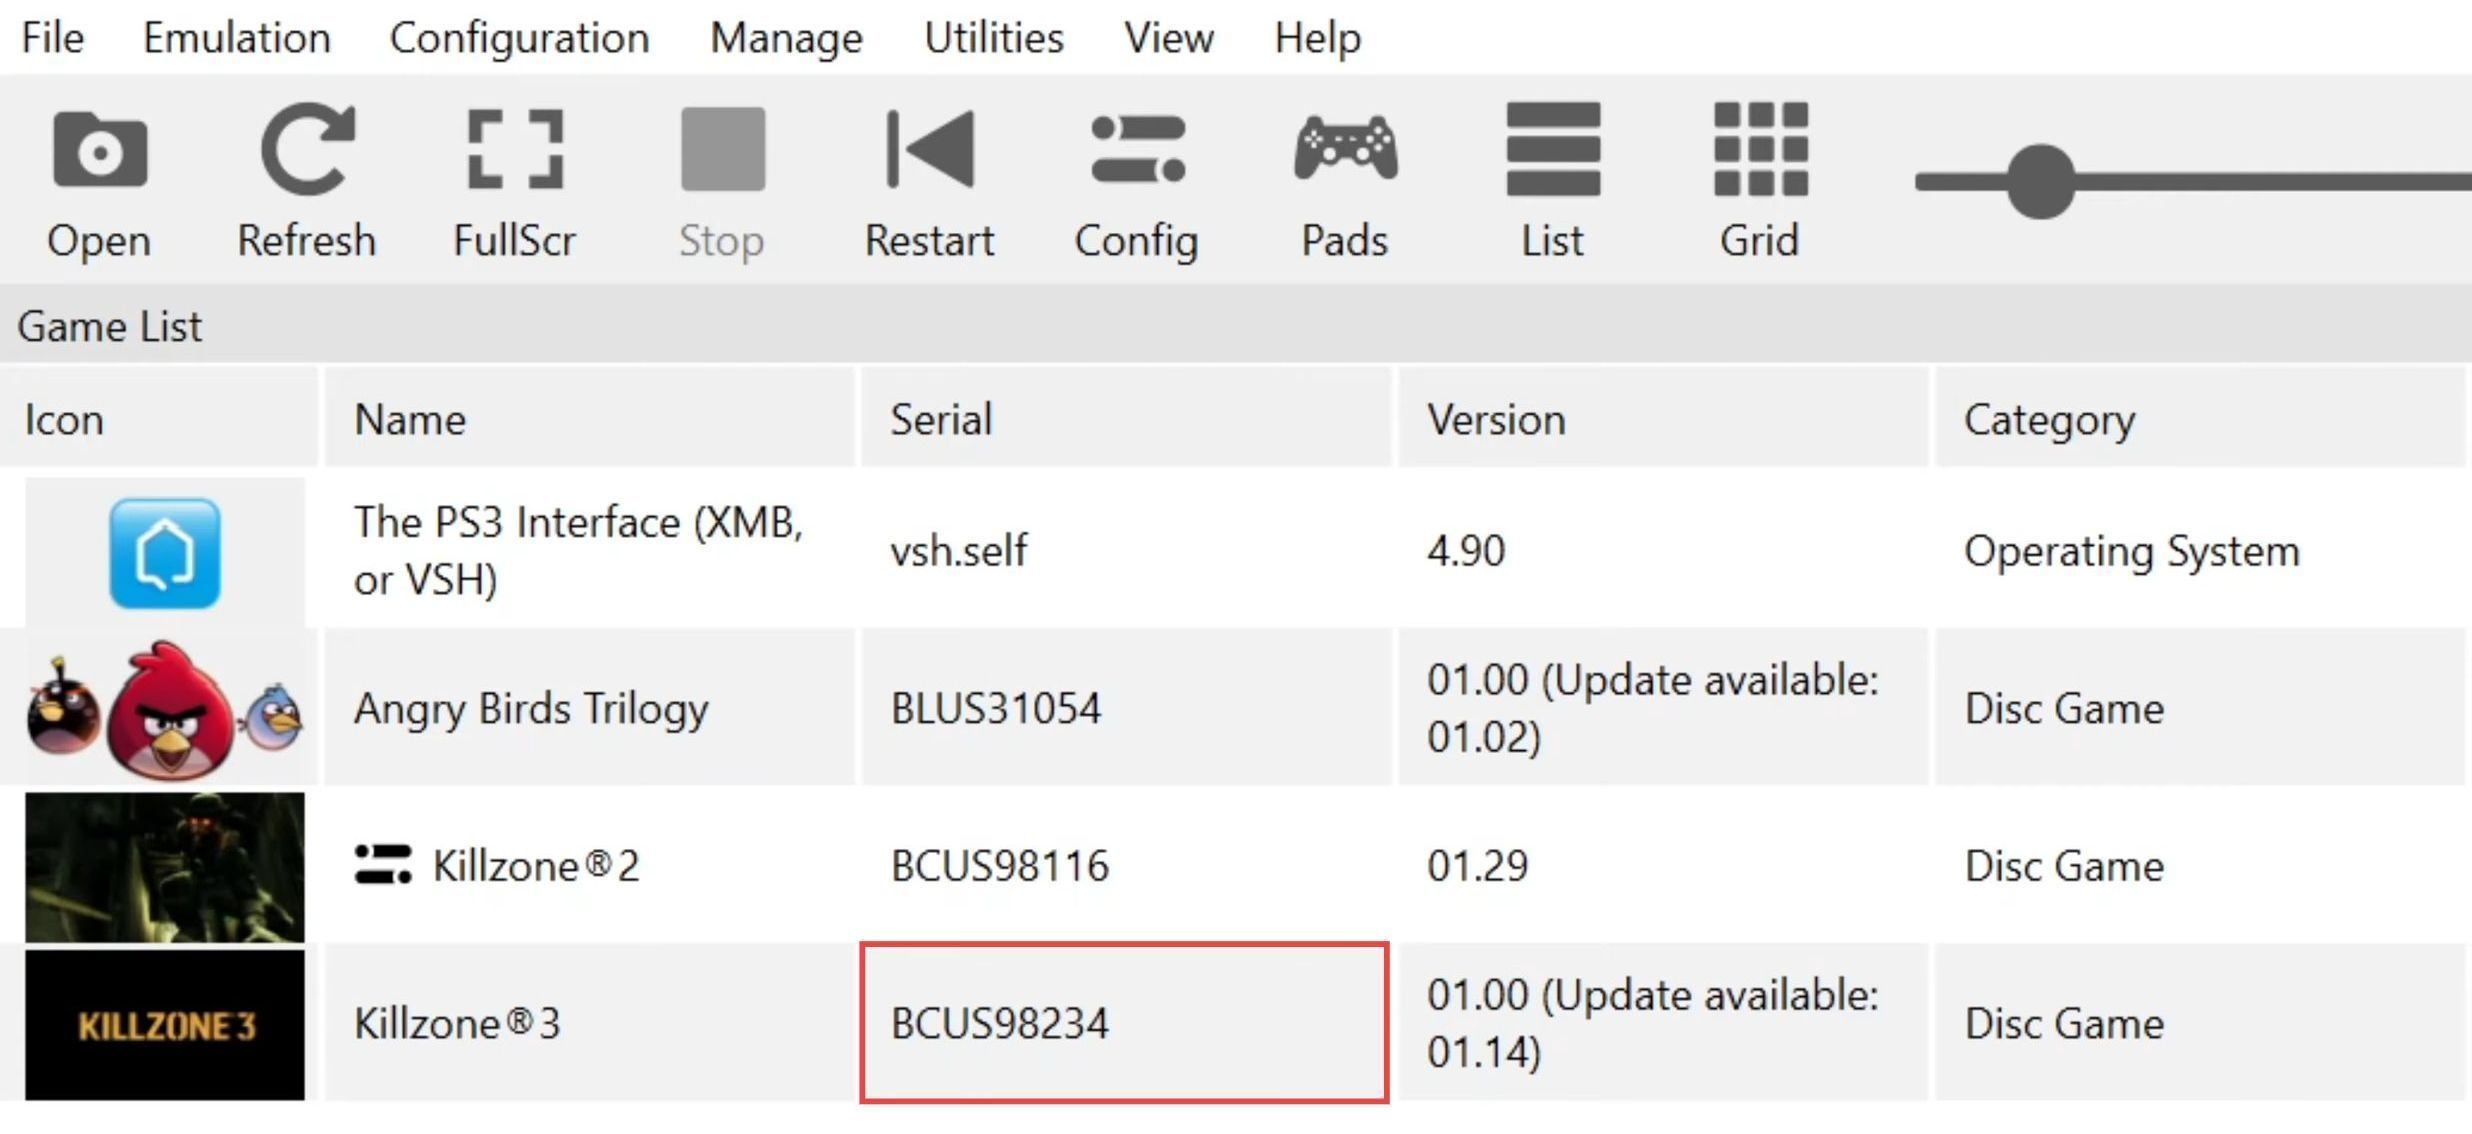
- Access the RPCS3 Discord server and find the Killzone 3 game entry that requires an update.
- Right-click on the Killzone 3 game row to copy its information, including the serial number. Paste the copied information into a message in the appropriate Killzone 3 bot section.
The bot will respond with a download link for the updated file in PKG format. - Click on the provided hyperlink to start downloading the updated file.
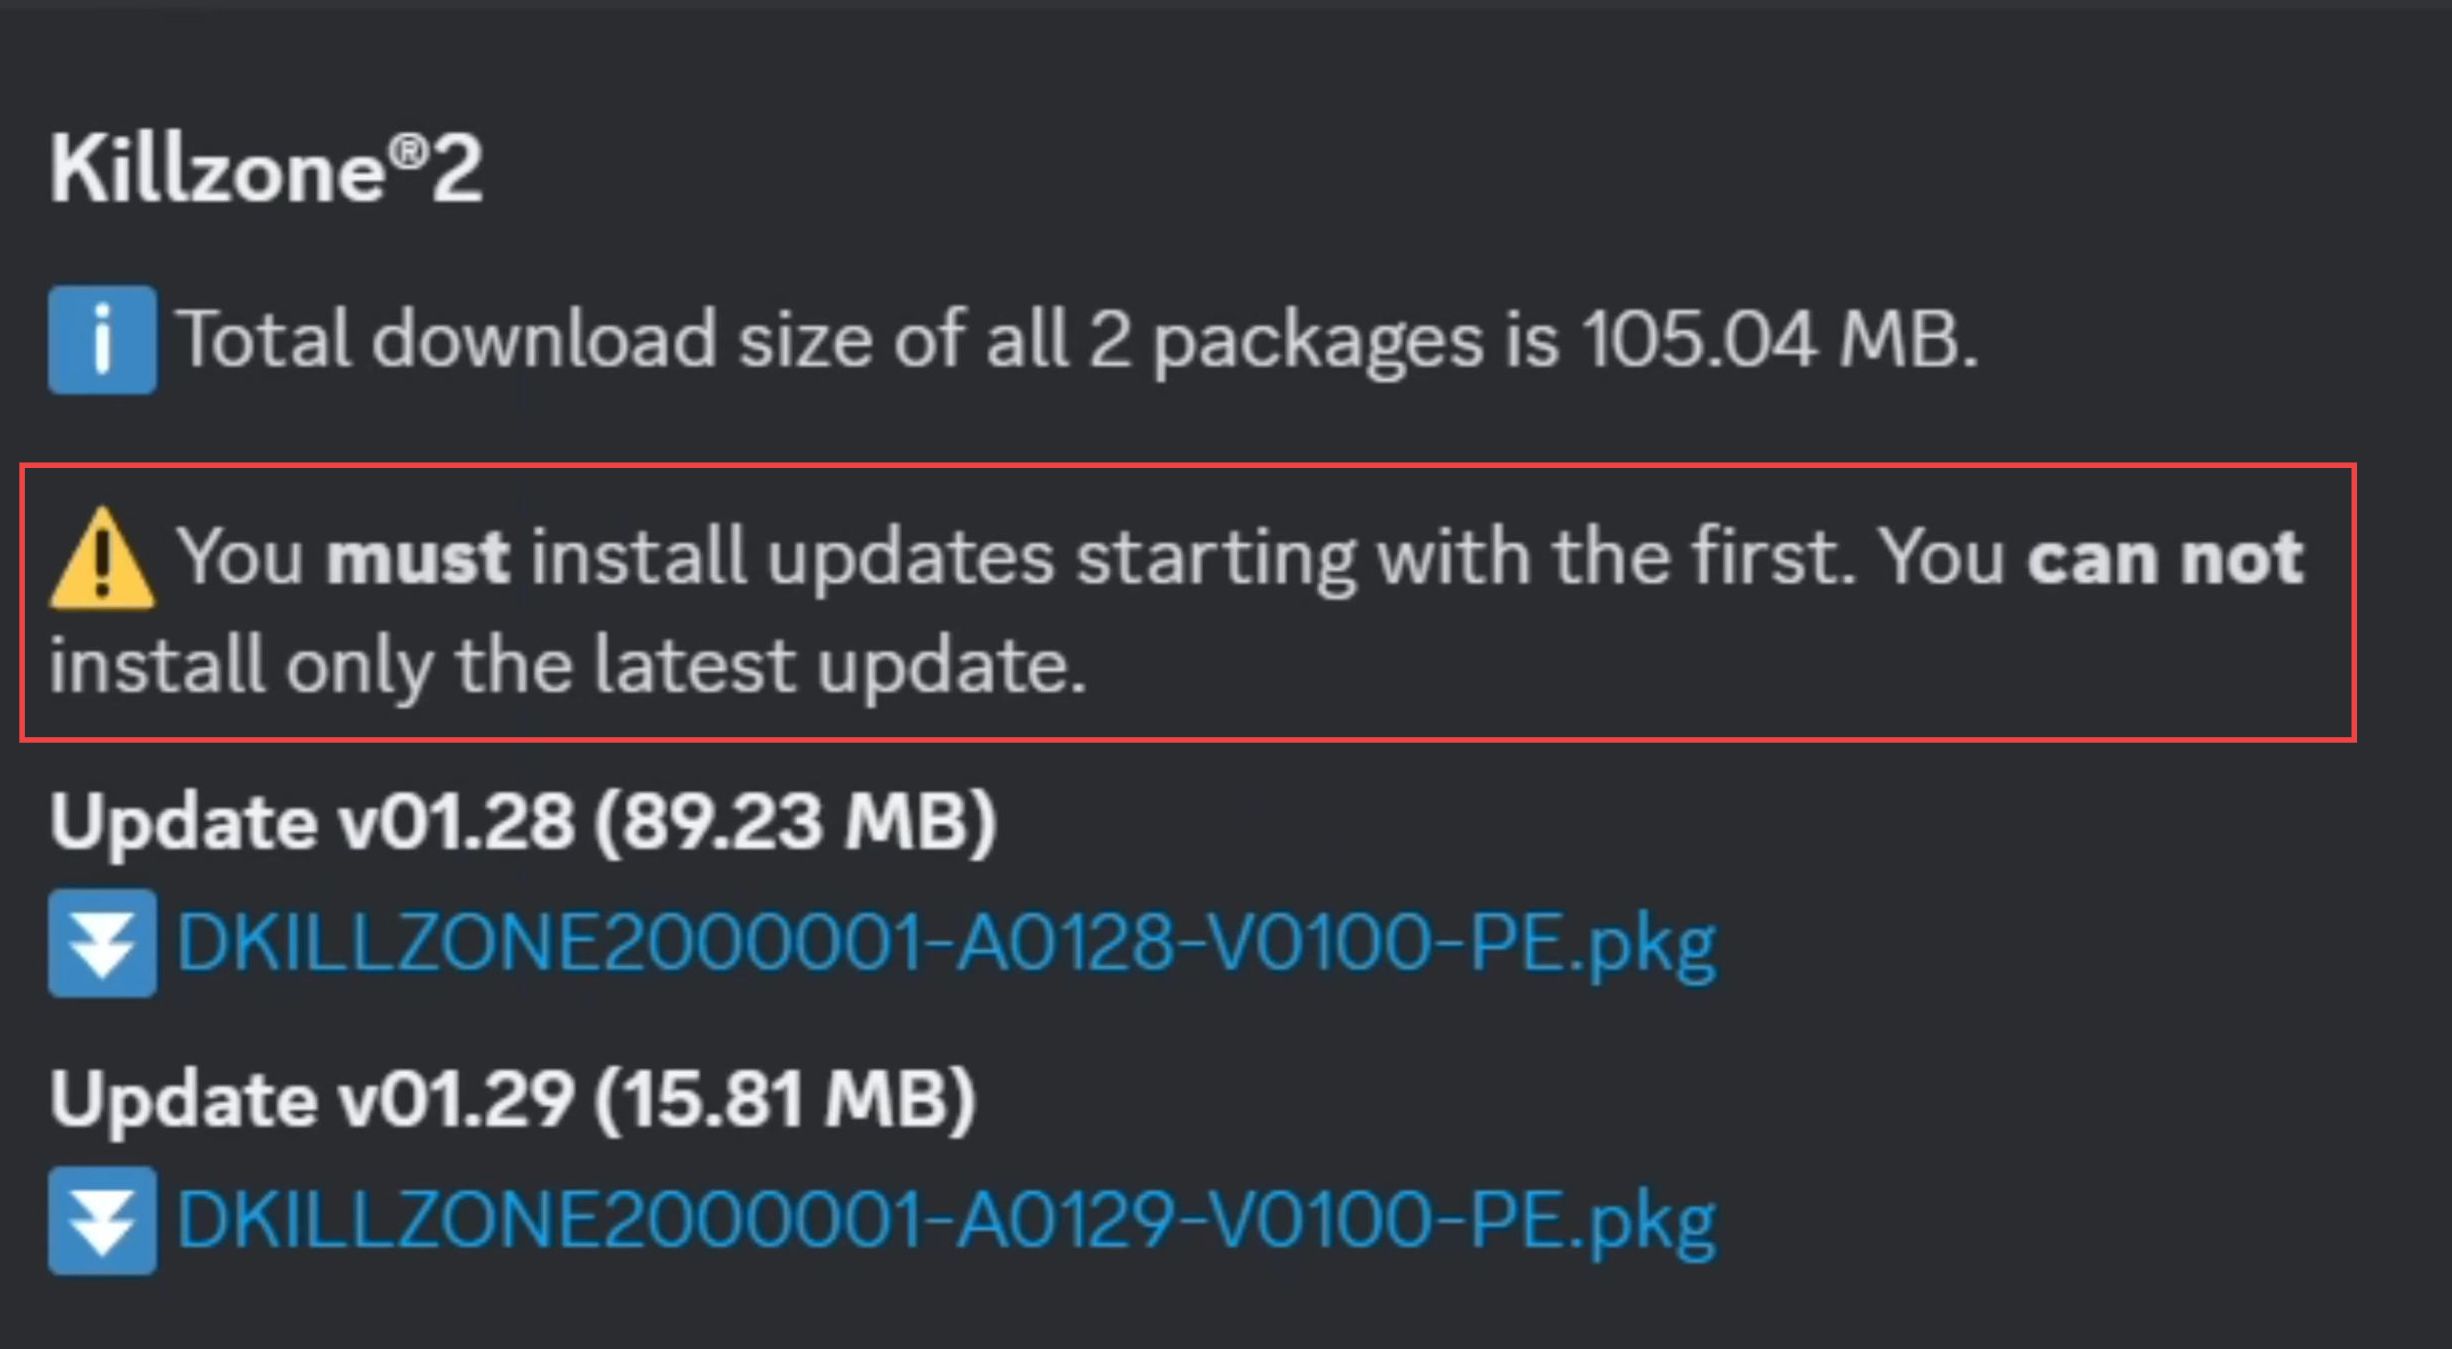
- Ensure you download all the updated files if the bot returns more than one file. Sometimes, certain updates need to be installed sequentially, and the bot will specify if multiple updates are required in a specific order.
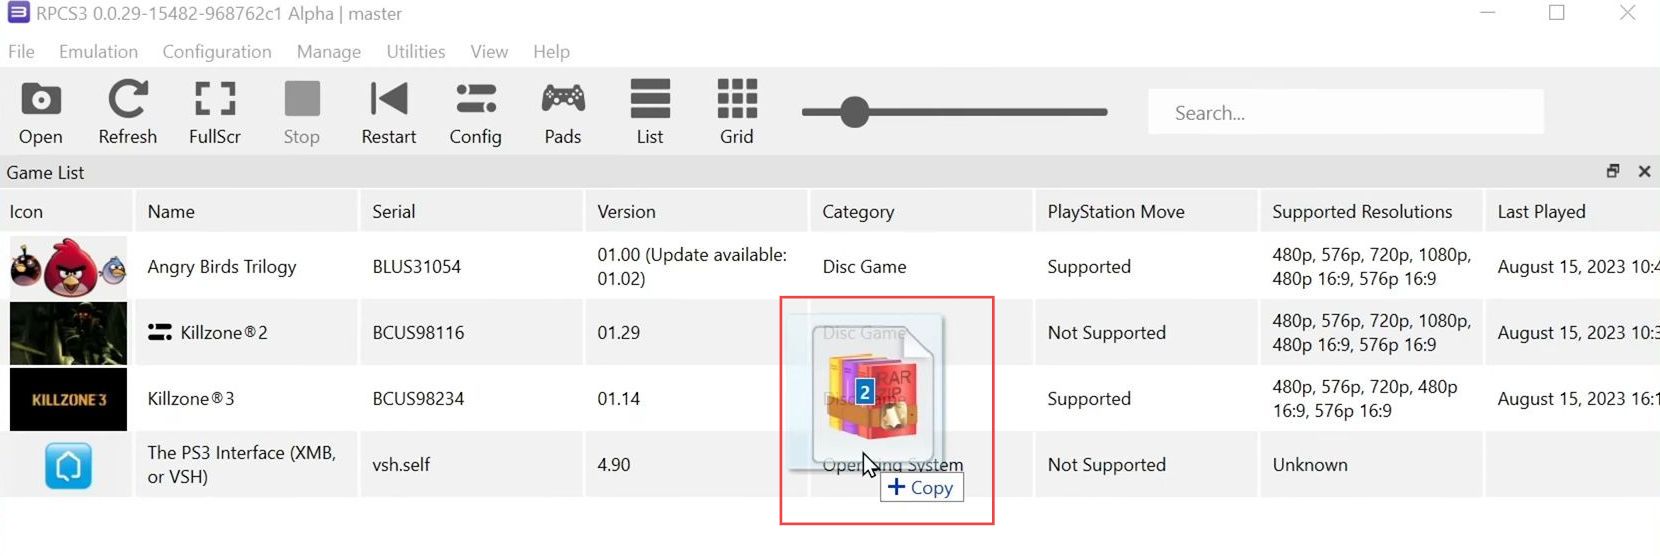
- Once you’ve downloaded the PKG update file, keep it in a location that’s easily accessible. Open your RPCS3 emulator, navigate to the Game List section, and drag & drop the PKG update file into the game list.
- If you received multiple update files from the Discord bot, install them one at a time, starting with the earliest version provided.
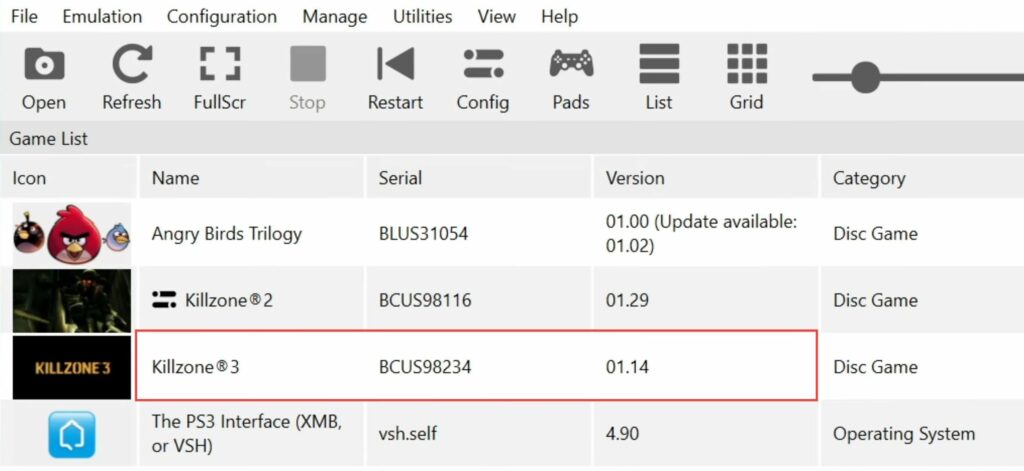
- The emulator will prompt you to confirm the installation by clicking Yes.
After the installation, you may see a success message. - If asked whether you want to create shortcuts, you can choose to either enable or disable them based on your preference and then click on OK.
Locating The DLC
This section describes how to locate the DLC.
- You will need to find the DLC files and ensure that the territory of the DLC matches the territory of your base game.
Mixing different territories, such as installing European DLC into an American version of the game, may not work. - To determine the territory of your base game, you can use its serial number. Conduct an internet search for the serial number of your base game to find out its territory.
Extracting the DLC
This section will take you through the steps to add DLC to RPCS3 by extracting the DLC.
- Locate the DLC files for your game and ensure they match the proper region.
- Once you have the DLC file in your downloads folder, create a dedicated folder to organize the extracted DLC files.
- To extract the files from the zip archive, use a file extraction program like 7zip. Right-click on the DLC zip file, hover over the 7zip option and select Extract files.
- A window will prompt you to choose the destination for the extracted files. Use this interface to select the folder you created earlier and click OK to begin the extraction process.

Installing the DLC
This section describes how to add DLC to RPCS3 by installing the DLC.
In the extracted folder, you will find two files, a PKG file, and a WAP file. Both of these files need to be installed to access the DLC content.
- Open your RPCS3 emulator, access your game list, and drag & drop these files from the extracted DLC folder into the game list.
The emulator will start installing the DLC files, and you will be prompted with a message indicating the successful installation of software from the package. - Start up your game, and you should now have access to the DLC content. Confirm that the DLC is available and playable within the game.