This guide will let you know how to adjust deadzones to fix stick drift in Call Of Duty Modern Warfare 3.
- First, press the Options button, use R1 to navigate to the Settings tab, and go to Controller. Use R1 to cycle through different menus until you reach Controller.
- Scroll down to find the option for Dead Zone Inputs and select Show More to reveal additional options.
- Choose either the right stick or the left stick, depending on the stick causing issues. For instance, select Left Stick Min or Right Stick Min. If you experience stick drift, increase the dead zone to the right until the drift stops.
A diagram on the screen will show how much dead zone is applied to the stick’s movement. Increasing the dead zone eliminates stick drift within that zone. - Experiment with the settings to find the most suitable dead zone for your controller. Generally, setting it around five might work, but adjust as needed based on your preferences and stick behavior.

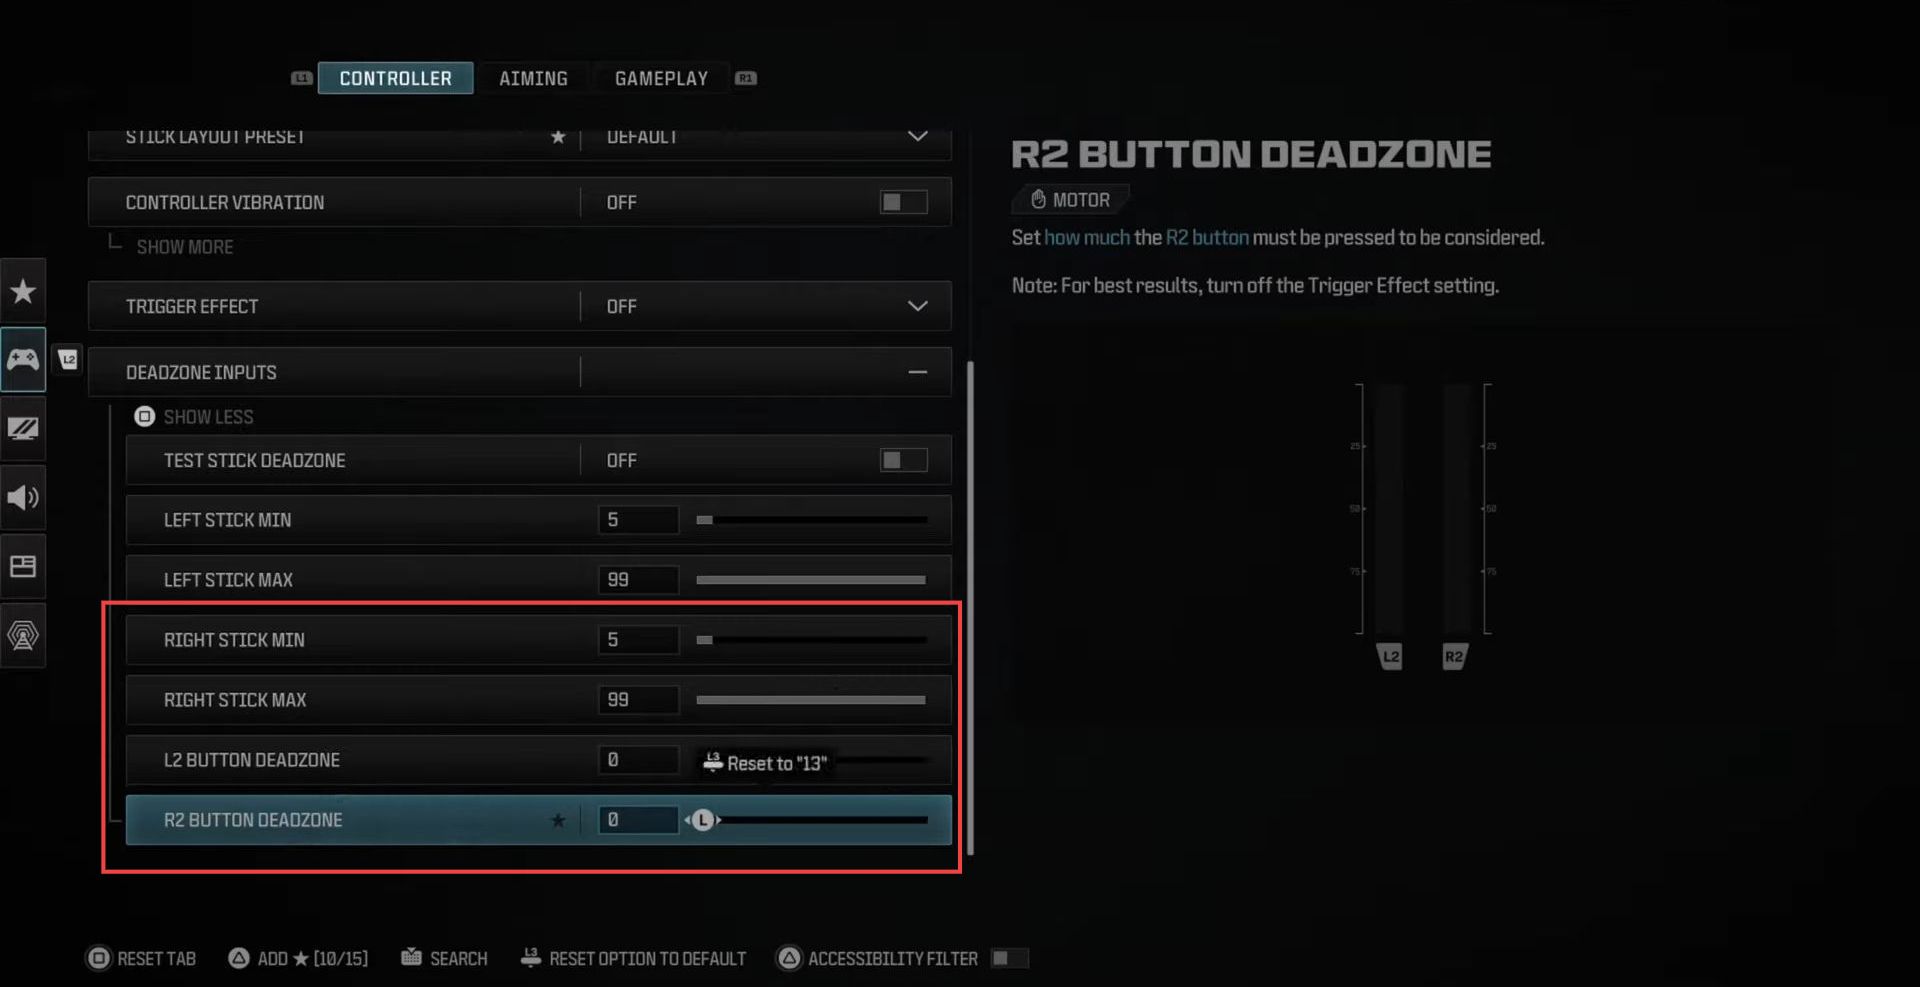
- Go to the setting for Right Stick Minimum.
This setting applies to the aiming thumb using the right stick. - Increase the setting until stick drift is eliminated and adjust the right stick minimum to a point where stick drift stops; typically, a value around five works well.
This adjustment enhances accuracy with finer movements during aiming. - Next, navigate to the settings for the L2 and R2 buttons’ dead zones and reduce these settings to zero.
Lowering the dead zones means that pressing the R2 button slightly will trigger firing, offering a quicker response. - After that, adjust these dead zones accordingly to improve response time.