In this guide, you’ll learn how to beat Mortimer Freeze in Cuphead The Delicious Last Course. You have to follow all the instructions carefully to beat it.
Mortimer freezes in one of the best animations in this game and in this stage, you’ll also get to know how effective is Miss Chalice and her weapons. In this fight, Miss Chalice’s crack shot and converge will be most suitable. But if you want to be more aggressive, you can also use a spread shot instead of converging.

Taking super three is also helpful on Miss Chalice in phase three and the first phase.

Now it is a chance that your crack shot might miss depending on how fast the boss is moving. So to improve it, you must try to shoot straight up in the sky and take advantage of its homing features.
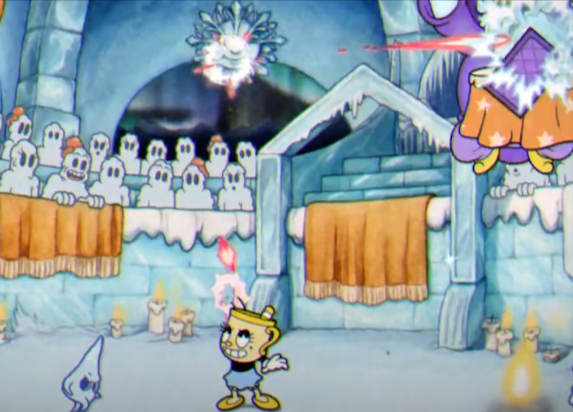
The boss has three powerful attacks in this phase.

First is the one in which the boss summons ice minions that will fly toward you and hit the ground. After being stuck for a second, they will run toward you.
You cannot shoot them while they are buried in the ground but they can be eliminated when they are running around.
Tarot cards are his second attack, he’ll fly around the map and shoot them toward you. They are very easy to dodge and one of them will be a free pink parry.
The third attack is a giant whale, this boss thumps on the ground and kills the ice minion along the way.

This move is very tricky as there is a specific sound before a split second of the attack. You have to be mindful of that and move as quickly as you can after that sound plays out.
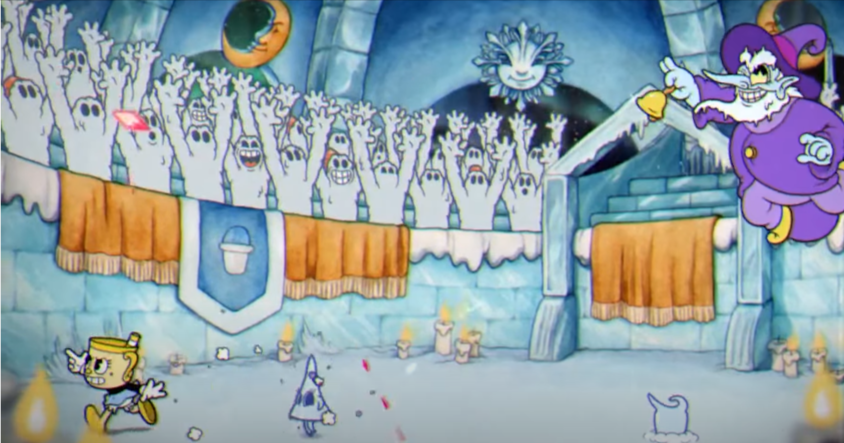
When he does that, a few times boss will ring a bell and change its shape, this will be the second phase. At this moment, you have to go closer and use converge or spread shot before it hits the ground.
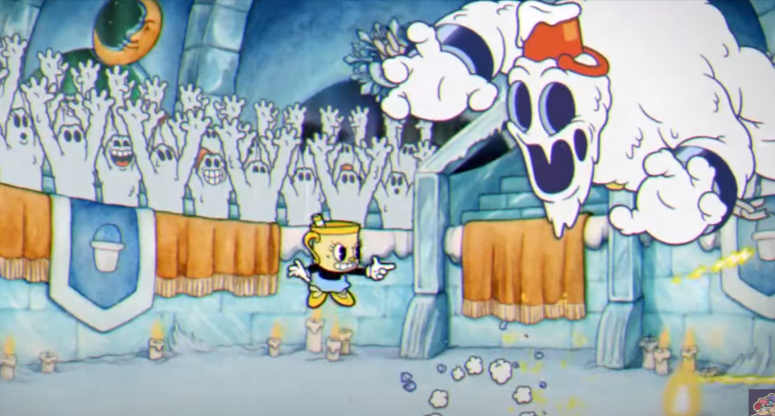
The first attack in this phase is the fridge attack in which it shoots an ice cube that breaks into a tiny cube. To avoid it, you have to stand right next to the first impact because the second impact is over a distance from you and you’ll be easily able to avoid that.

The second attack is quite dangerous, watch out for his posture to be looked like leaning back, it is when he is about to roll across the screen. You will have a tiny moment to react, you have two options either you jump right over it or dodge roll across it

And when his posture looks like leaning upwards then he is about to be bounced in the air. You can remain still to avoid it, this can happen several times in a row, so stay sharp.

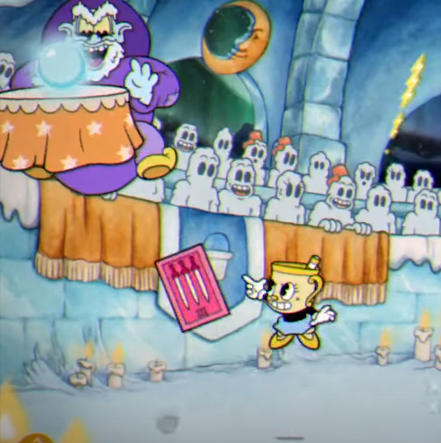
In the final attack, he will slam the ground and a sword starts to pop up from the ground.

You have to stay close to the first sword as the next one pops up at a distance from the first one. This way you’ll be easily able to dodge it.
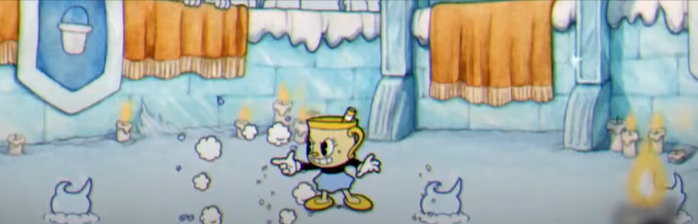
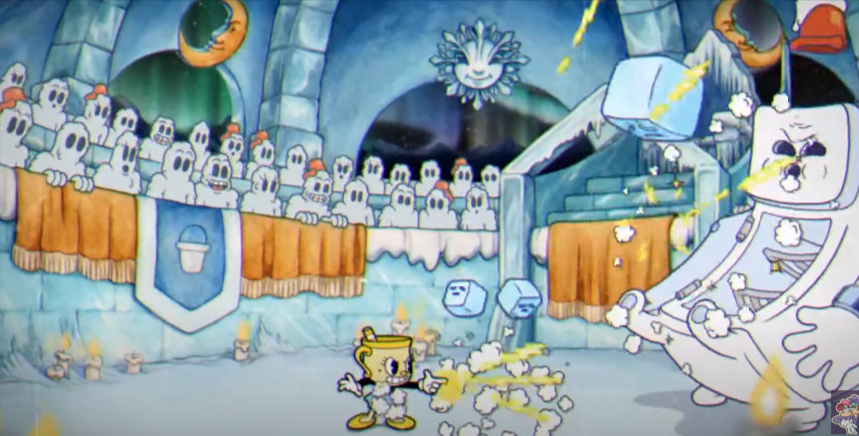
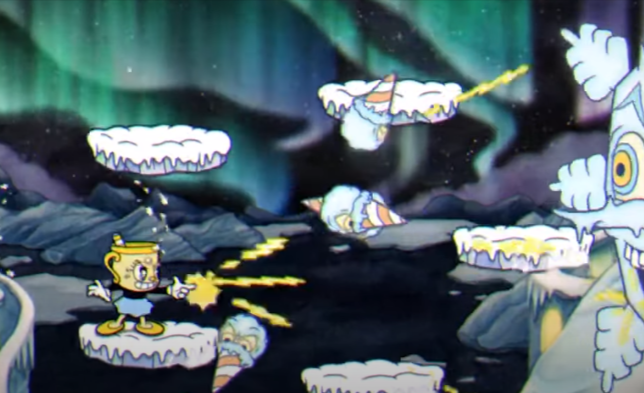
In the final phase, you have to switch your weapon based on the distance from the boss, and use convergence or spread if you’re next to him. Or you can crack a shot when you’re far away.

Be mindful of his eyeball when it pops out because it can spark in either of three locations.
So try to steer clear of it when it does so.
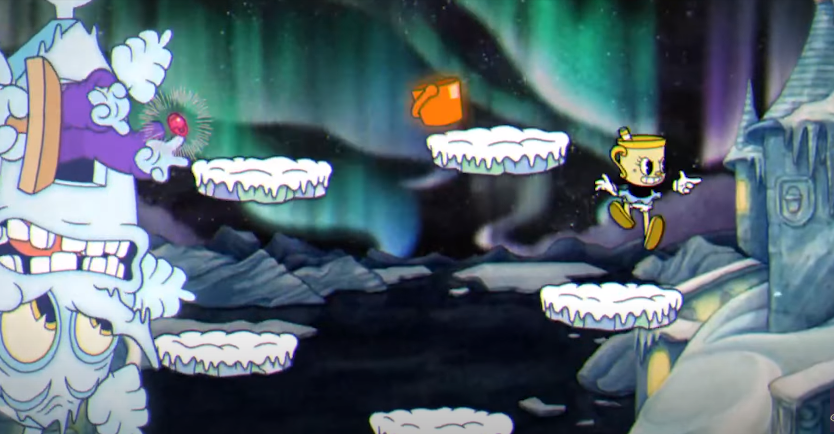
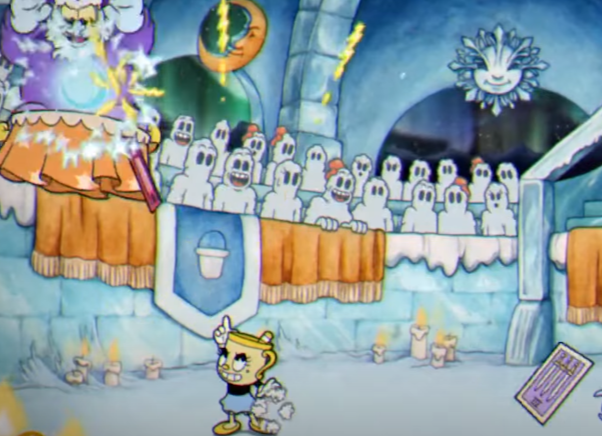
Next, the boss will pop up some buckets and throw them at you and one of them is always pink, so you must grab it while dodging the others. When they hit the back of the screen, they will explode into three moon-shaped projectiles.
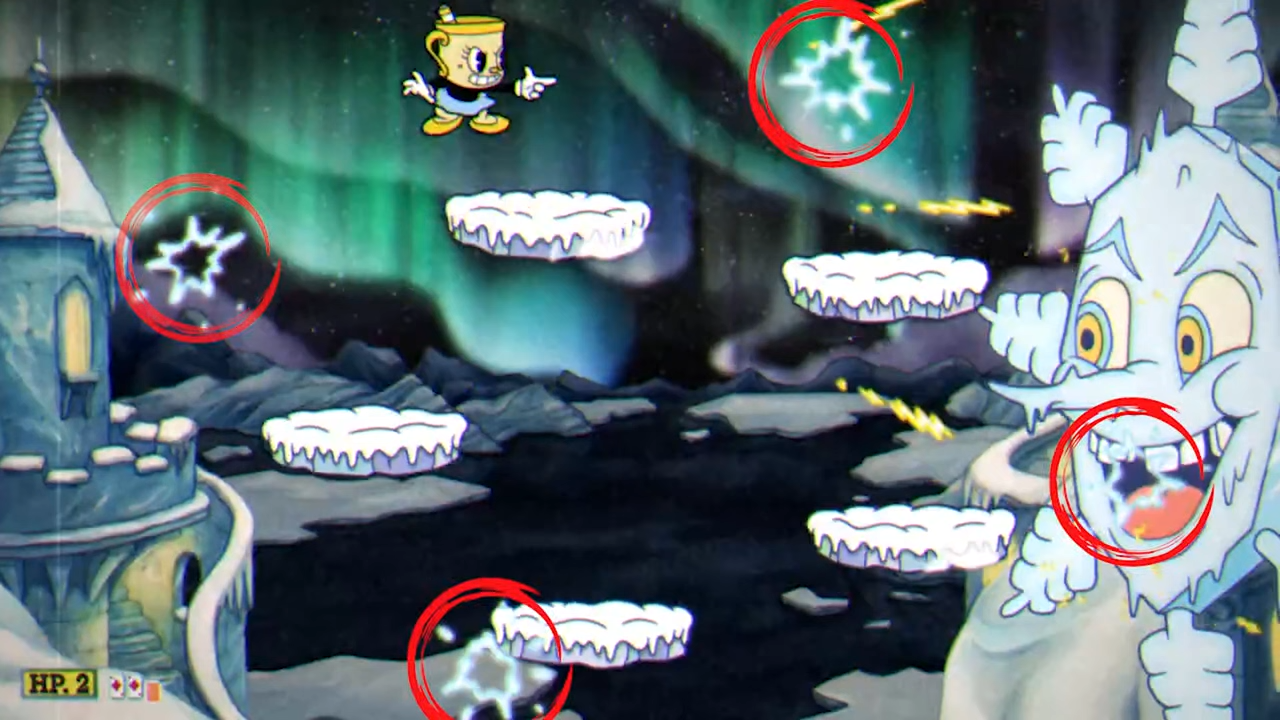
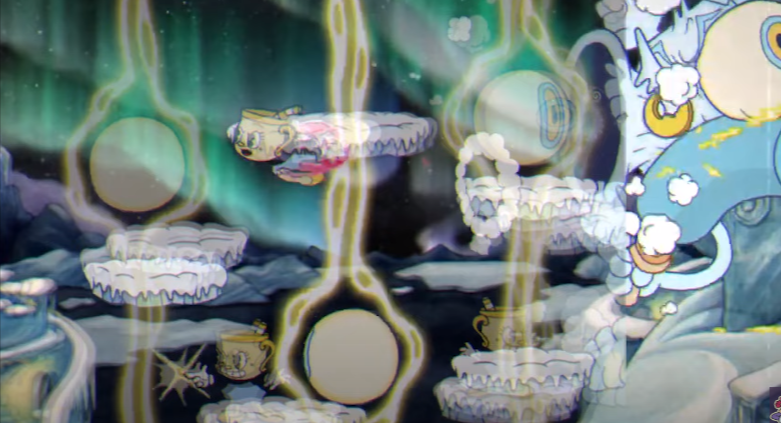
Up next, the boss will summon star-shaped sparkles which will throw cones at you, so be sure to stay away from them. After the successful completion of this phase, the boss will be knocked out and that’s it.