This guide will let you know how to fix the Contacting Destiny 2 Servers. You have to follow all the instructions carefully to fix it.
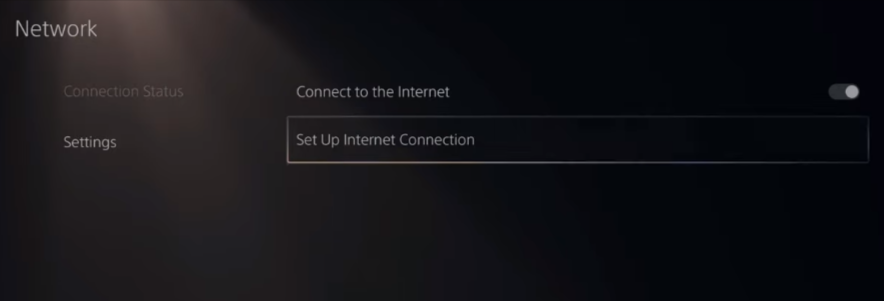
First, you will need to go to network settings and tap on the network option. You have to click on settings from the left menu and go to the Set Up Internet Connection option, as shown below.
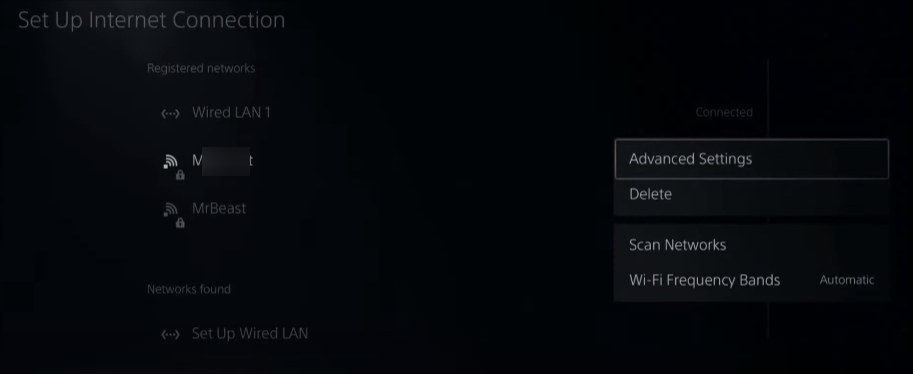
You have to change the DNS server, choose your internet connection on your PC, and set up a new connection. It would help set up a connection through LAN internet, but if you are connecting with wifi, you have to make sure to choose a 5g connection. You need to tap over your wifi, select “Wifi Frequency Bands,” and then select 5G.
After that, go to the advanced settings, tap on the DNS settings option and select the manual option. You have to enter the settings as 8.8.8.8 for the primary DNS settings, and for the secondary DNS, you need to enter 8.8.4.4. For the MTU settings, you have to choose manual, enter 1573 and then press the R2 button from the controller to save it.
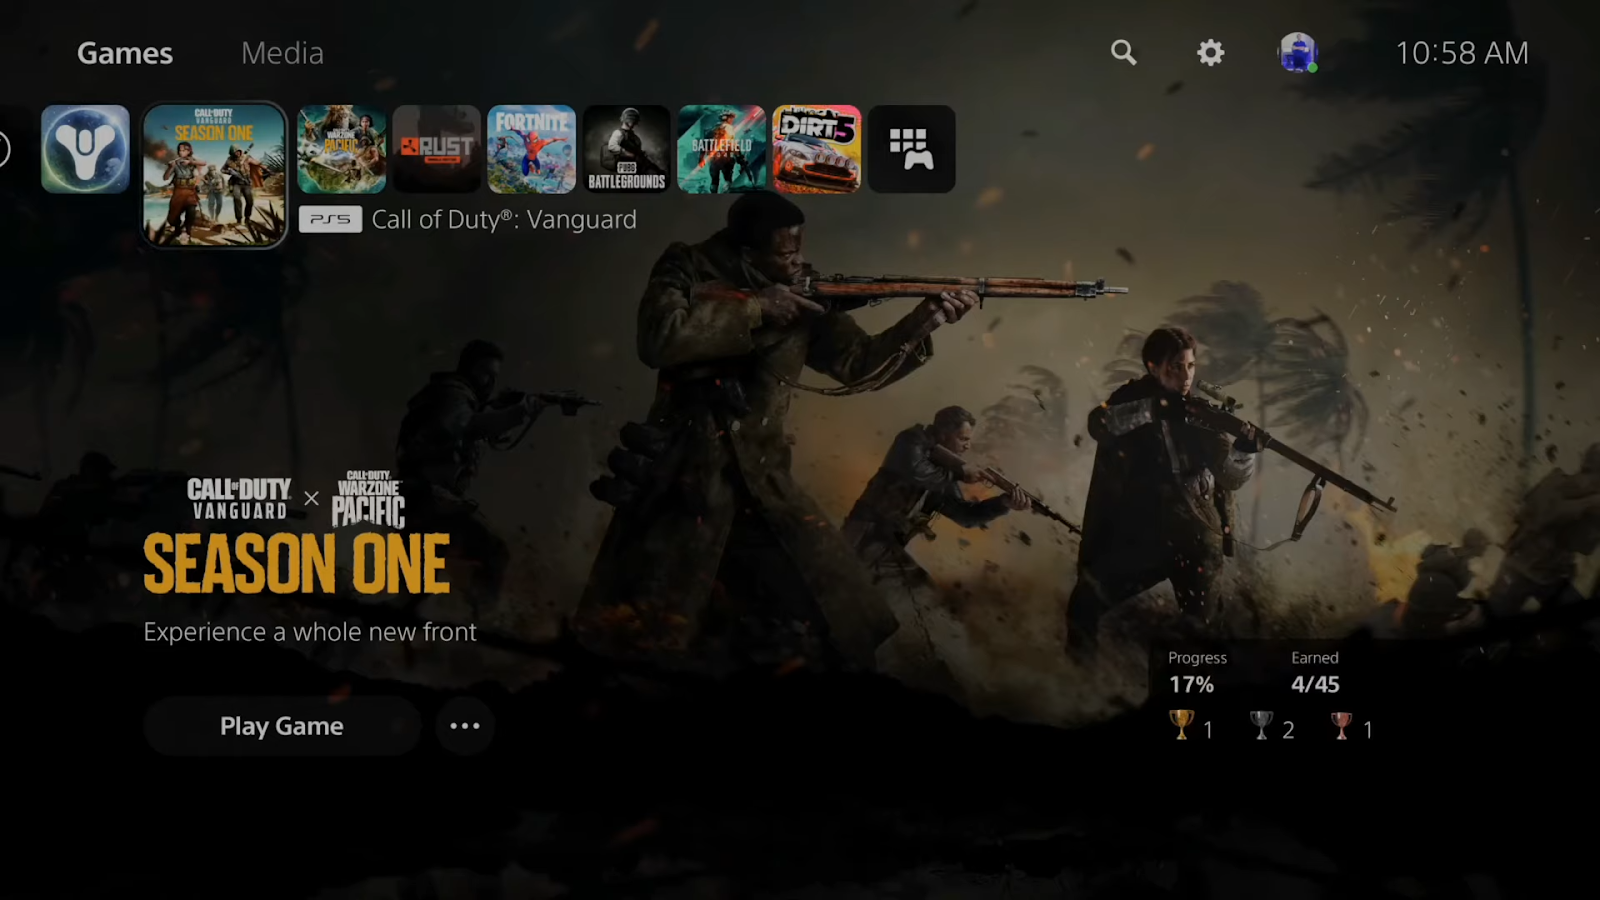
Now you have to close the Destiny 2 game and relaunch it; the Destiny 2 servers go offline on weekends because of the maintenance. You can log in to your game, but you will not be able to load into the crucible or any other world. You need to check it with other games while connected to the internet, as shown in the image below.