This guide will let you know how to install the North Yankton In GTA 5. You have to follow the simple steps in this guide to install that.
First, you will need to download the Travel To North Yankton file from the link below.
https://www.gta5-mods.com/scripts/travel-to-north-yankton
After downloading the file, you have to extract it, open the folder, and copy the northyankton.asi file.
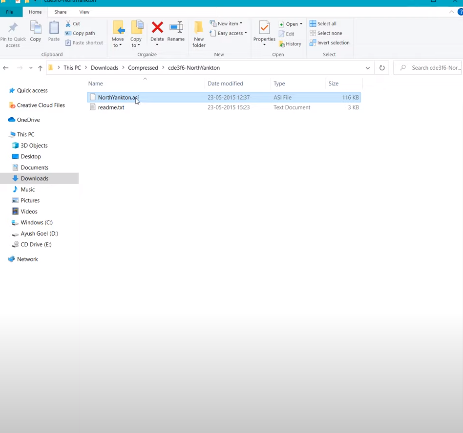
You have to go to the GTA 5 game folder and paste the copied file there; now, the North Yankton is fully installed.
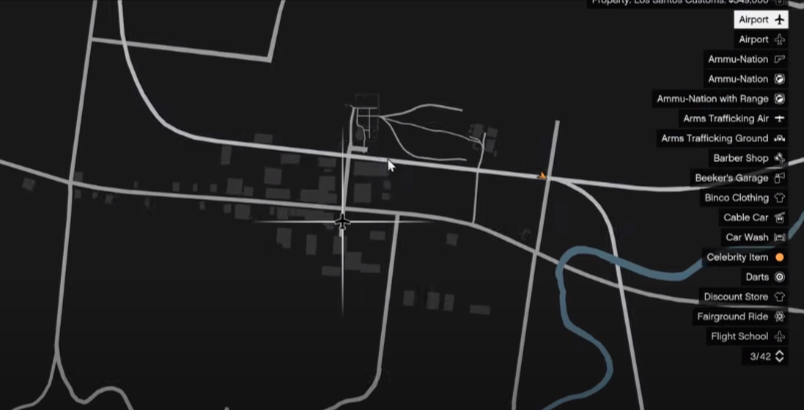
After that, start the game, and make your way to the airport, as shown in the map below.
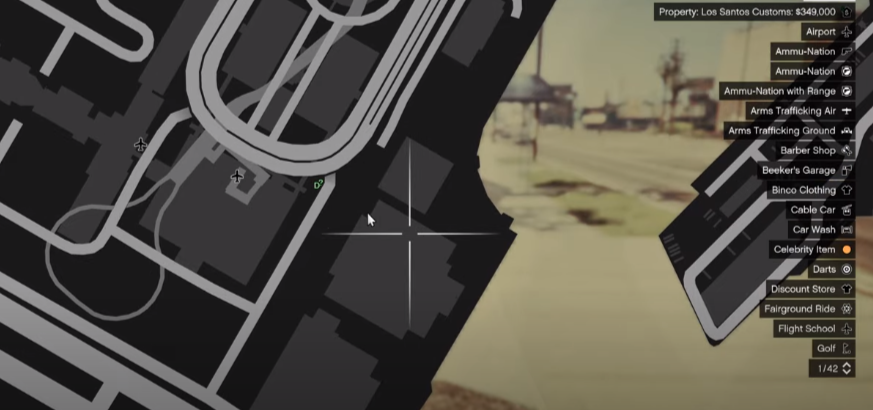
You have to go inside and move to the marked sign when you reach there, as you can see on the map below.
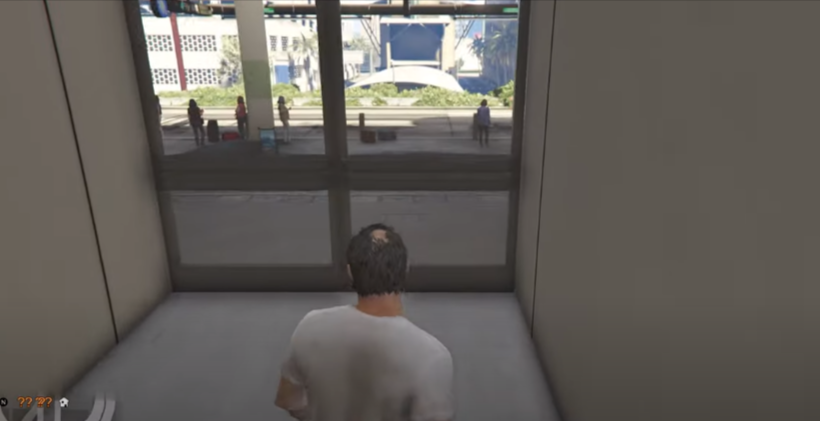
After getting there, you have to walk a bit through the door, and you will teleport to the North Yankton, as shown in the image below.
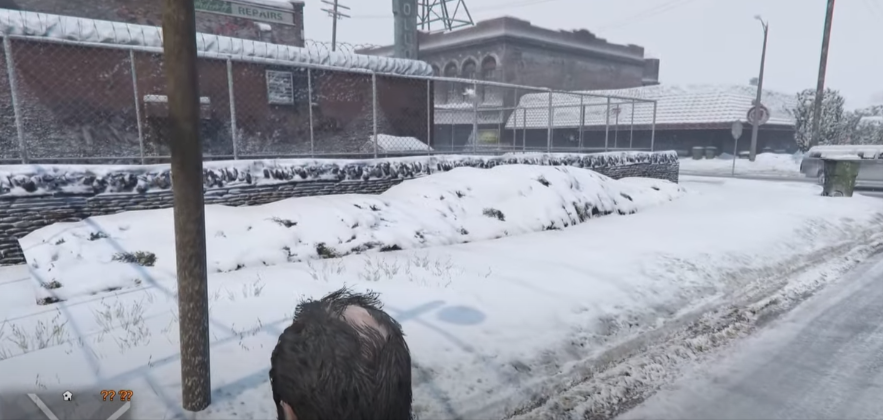
When you get there, you can explore the whole area; you will find the banks and the vehicles. This area is covered with snow. There will be thunderstorms all the time in this place, and you will also check that your map is also replaced with the North Yankton map, and you can also spot any location from the map.

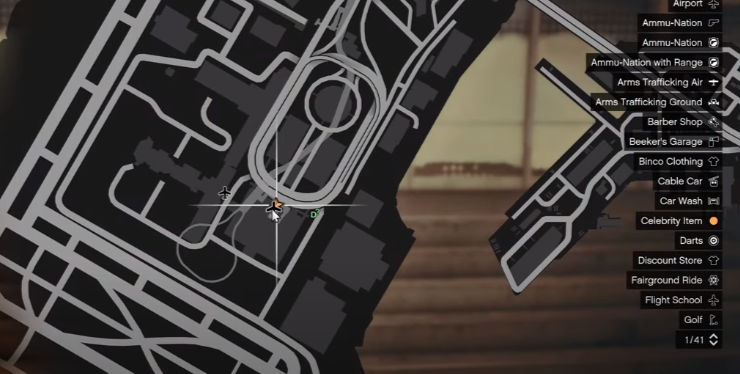
If you want to go back to the GTA 5 game, you have to spot the plane sign on the map, as given below.
When you get there, you have to go near the gate, and it will slowly take you to the GTA 5 game.
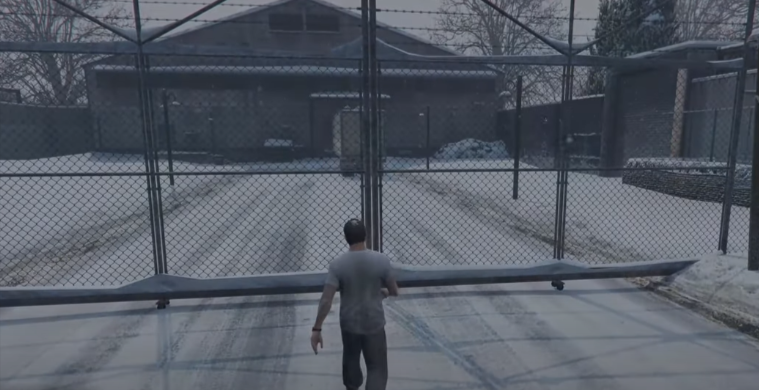
And you will get back to the airport location of GTA 5, as shown in the image below.