This comprehensive guide will walk you through the process of installing Wicked Whims animations in The Sims 4. Before we begin, please ensure that you already have the Wicked Whims mod installed in your game.
Step 1: Visit the Wicked Whims Mod Website
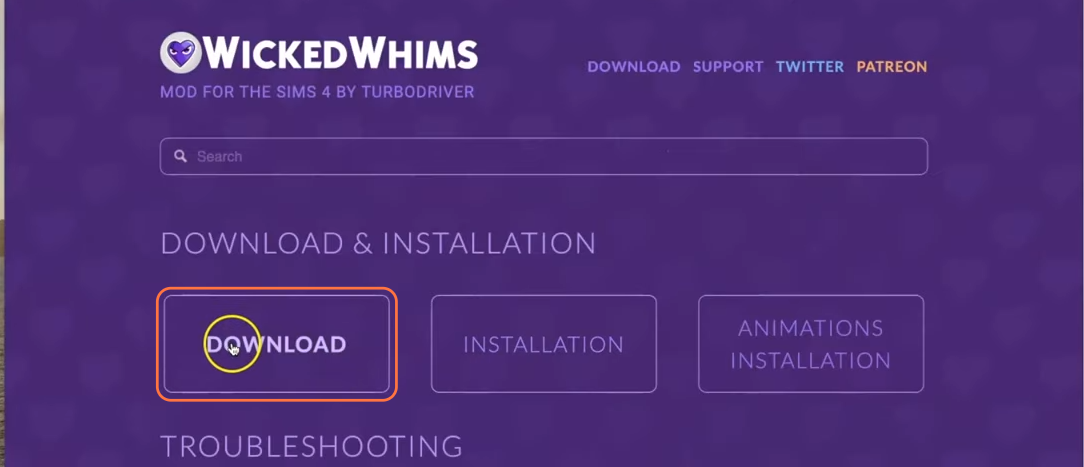
Open your preferred web browser and navigate to the official website of Wicked Whims by typing “wickedwhimsmod.com” in the address bar. When the website loads, click the “Enter” button in the pop-up window. Then, click on the “Download” tab.
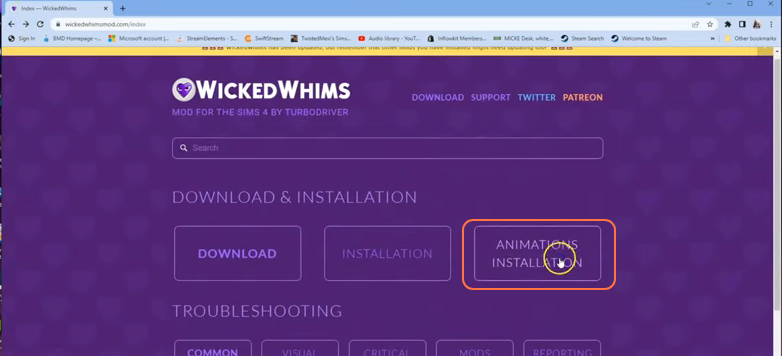
Step 2: If you are interested in learning more about how to install and work with the animations, you can also click on the “Animations Installation” tab. This section provides detailed information on the installation process and how to manage the animations.
Step 3: If you’ve clicked the download button you need to scroll down the webpage until you find two sections labeled “Honorary Animators (Compatible)” and “Active Animators (Compatible)”. These sections feature a variety of animation creators. Select an animator whose work you like, and you will be redirected to a new webpage that showcases their animations.
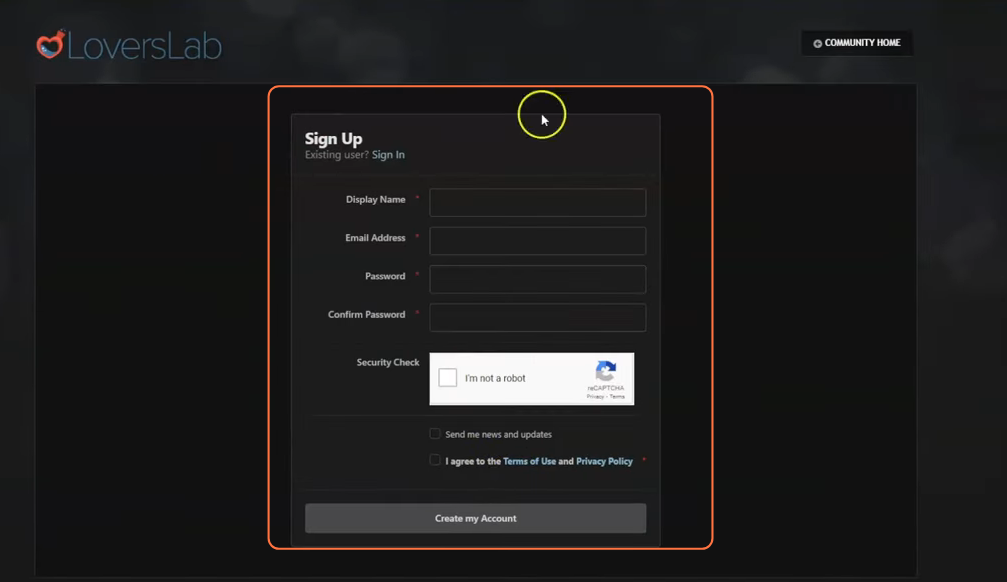
In the top left corner, you will see options to sign in or sign up. If you haven’t already, create an account by selecting the “Sign Up” option. Creating an account is necessary to download the animations from this source.
Step 4: Download the Animations
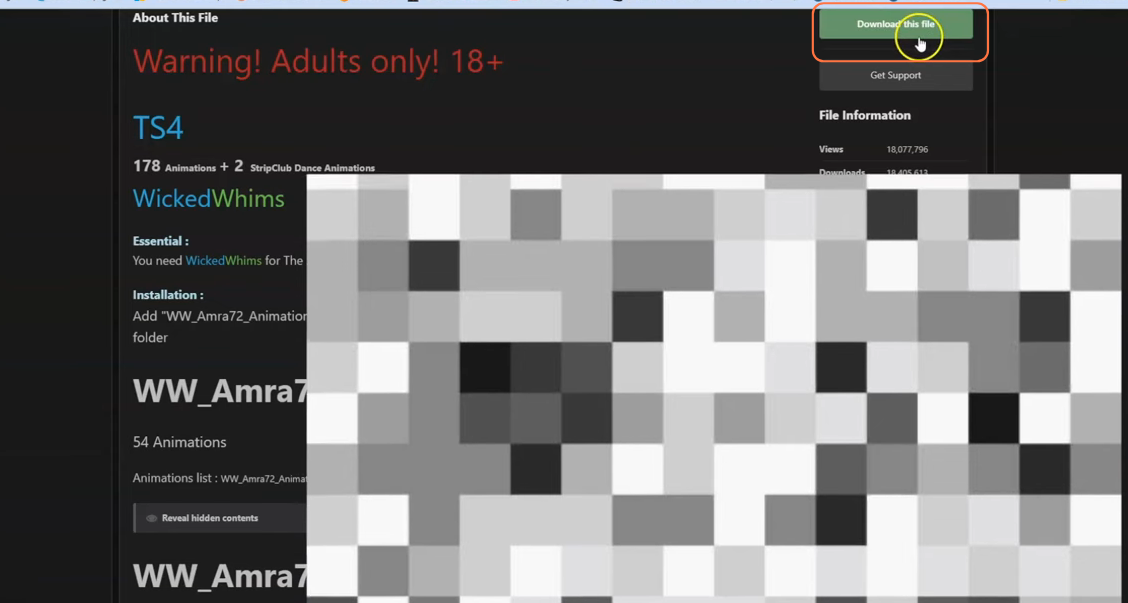
After signing in, scroll to the bottom of the animations page and click the “Download this file” button. This action will initiate the download of the animation file.
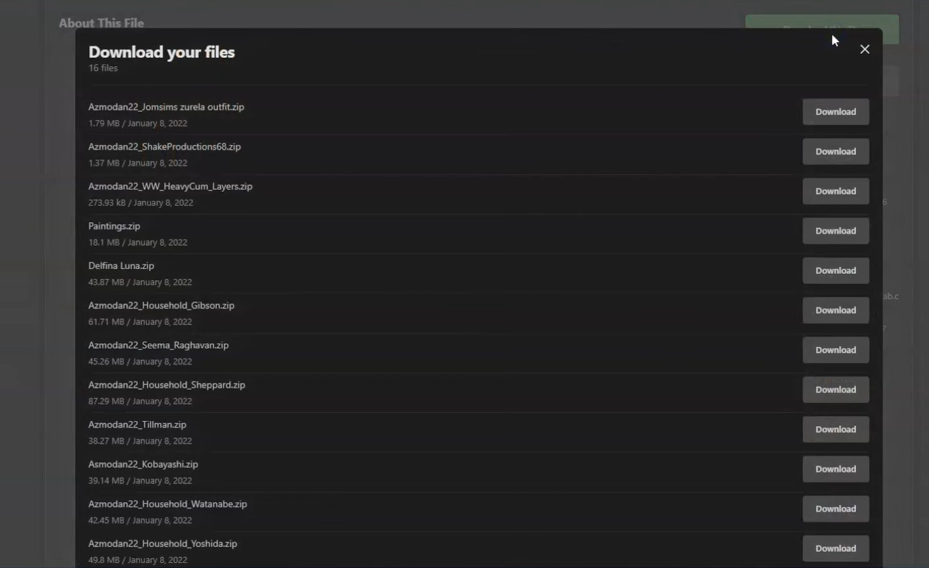
Step 5: You may encounter multiple files to download but go for the latest file by checking the date of the files. To expand your collection, you can return to the main website and select another animation. Scroll to the bottom of the page and click the “Download this File” button. You may encounter a list of files to choose from for your Wicked Whims mod. You have the option to download one or all of them, depending on your preferences.
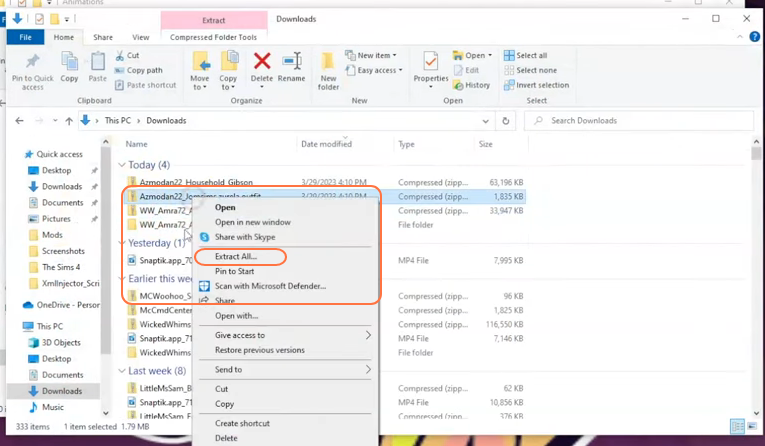
Step 6: After downloading a variety of the animations, locate the downloaded files on your computer using the File Explorer (Windows) or Finder application (Mac).
Typically, the files will be found in the Downloads folder. Since the files are compressed, you will need a tool like WinRAR to extract their contents. Right-click on the compressed file and select the “Extract All” option. Mac users can simply double-click the file to unzip it. Inside the extracted folders, you will find package files.
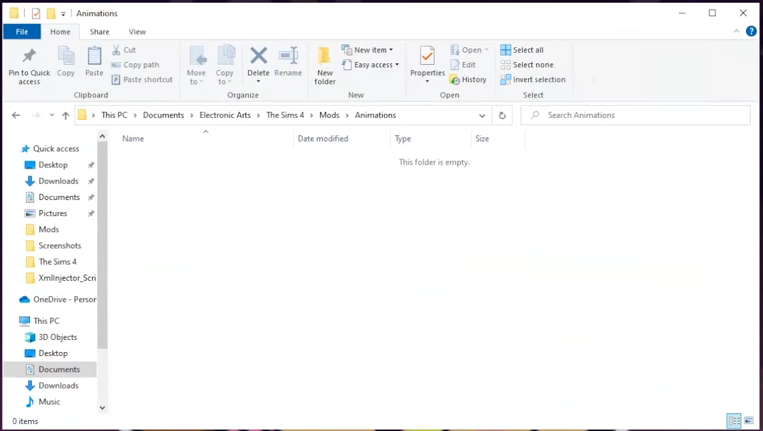
Step 7: Now, open the Mods folder from your Sims 4 game directory. Usually, the game directory can be found at Documents > Electronic Arts > The Sims 4. This folder serves as the designated location for all custom content and mods, allowing the game to recognise and utilise them effectively. Create a new folder here and name it Animations.
In case you don’t have a Mods folder in your game directory, you can create one yourself as it is required to store the mod files and custom content. It’s important to note that if you haven’t installed any mods before, you need to load up the game at least once and then exit to generate the necessary folders, such as Documents and Electronic Arts, for a seamless mod installation process. Additionally, ensure that the game is not running while you install the animations.
Step 8: Install the Animations
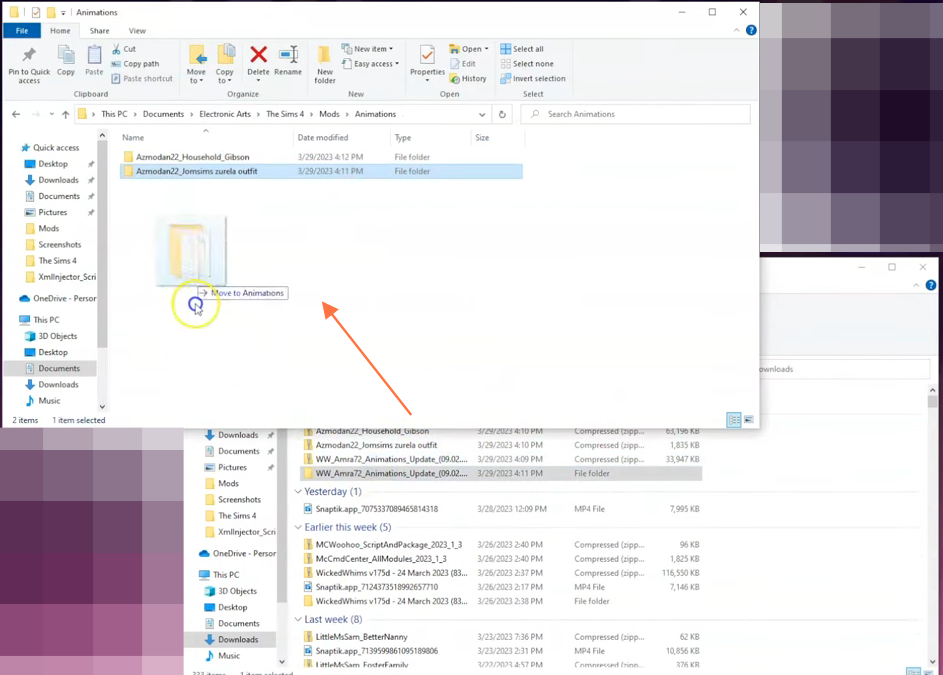
Select the unzipped file folders from the Downloads folder and drag them into the Animations folder inside the Mods folder of your Sims 4 directory. By doing this, you ensure that the animation files are installed correctly and ready to be used in the game.
If you encounter any subfolders inside the extracted folders, you can choose to move them into the Animations folder for better organisation and smooth working of the animations in the game.