Creating an All the Mods 9 server for Minecraft allows collaborative gameplay with friends. It’s important to note that this mod pack can be demanding on your computer’s resources and your internet connection, which doubles as the server’s connection. This guide offers two methods: utilizing a game hosting service like Simple Game Hosting or setting up the server on your computer.
Setting up via Simple Game Hosting
- Choosing Server Specs: Head to Simple Game Hosting’s website and start by pressing the ‘Get Started’ tab and select an 8GB or higher server plan for optimal performance.
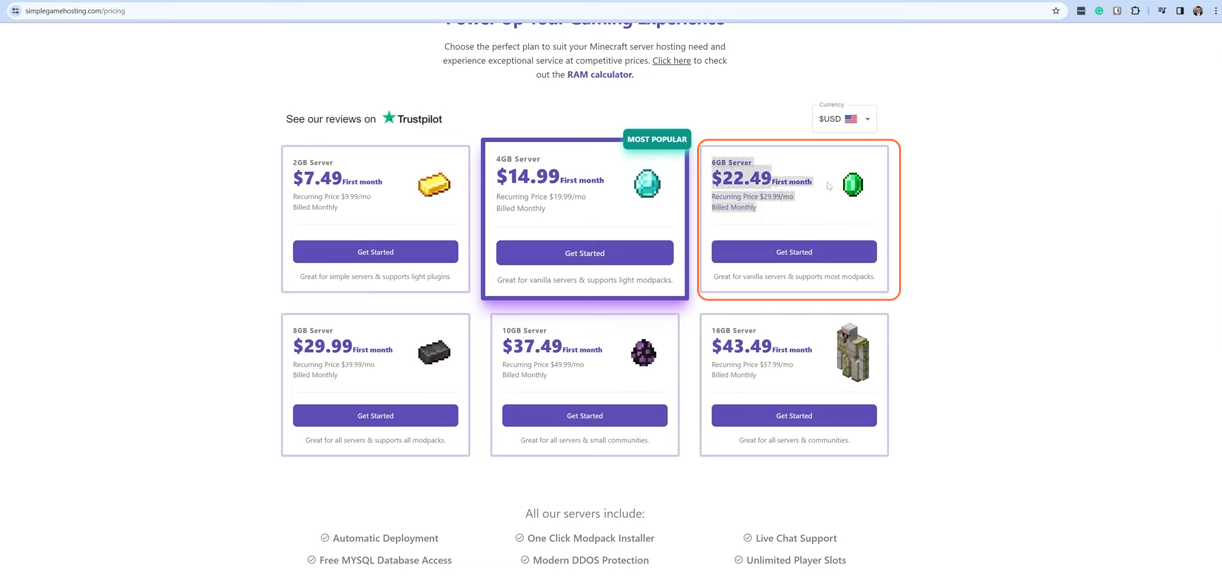
- Configuration: Select Forge as the server type, pick a location, and complete the purchase process.

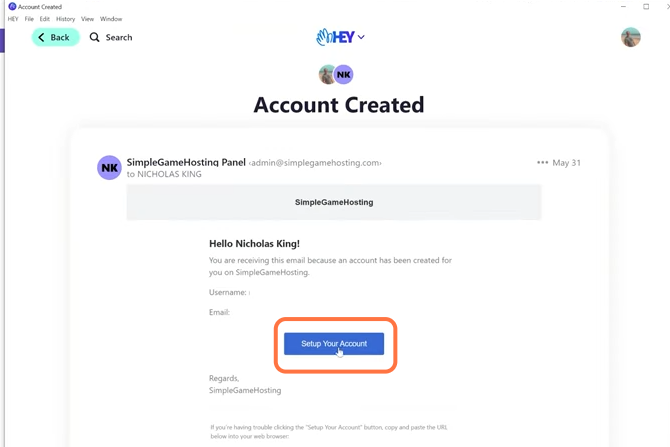
- Server Setup: Once purchased, follow the setup email’s instructions to create your account on their dashboard.
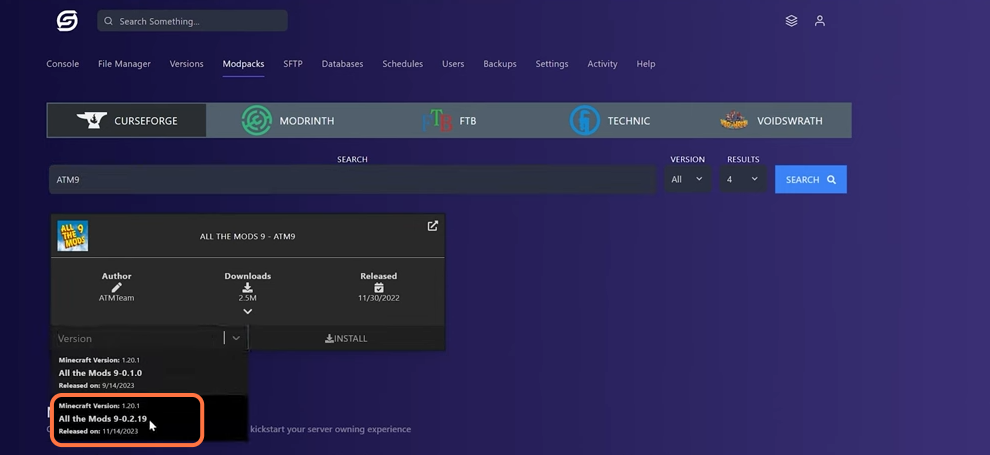
- Mod Pack Installation: Click on the ‘Manager Server’ tab on the server dashboard, navigate to the ‘Modpacks’ tab, find ‘All the Mods 9’, install the latest version, and start the server from the console.
Manual Setup on Your Computer
- Downloading Server Files: Go to the mod pack’s page and download the latest version of the All the Mods 9 mod pack with additional server files. Ensure you have Java 17 and Jarfix installed as these are required to run the All Mods 9 server.

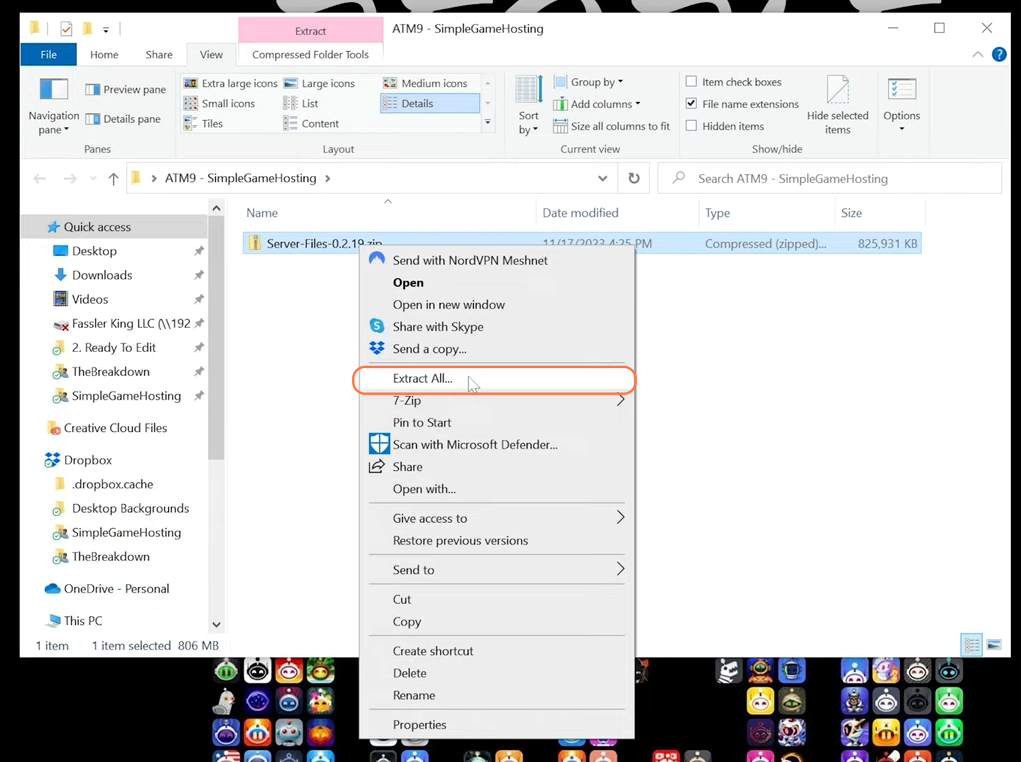
- Extraction: Extract or unzip the downloaded files and move them into a new folder on your desktop.
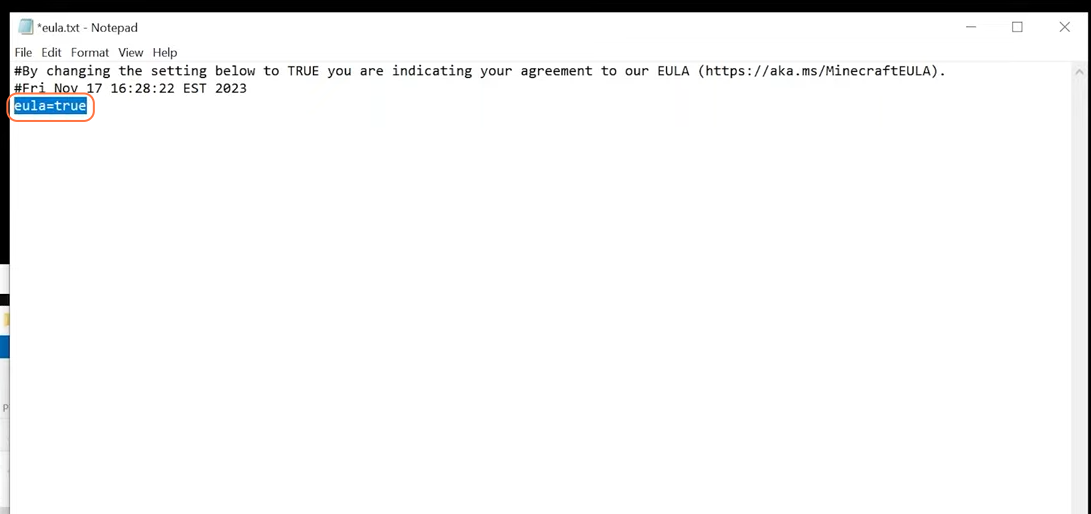
- Running the Server: Double-click the ‘startserver.bat’ file. It might prompt a Minecraft EULA agreement; follow the instructions in the ‘eula.txt’ file to set it to ‘true’. Don’t forget to save the file after setting the value.
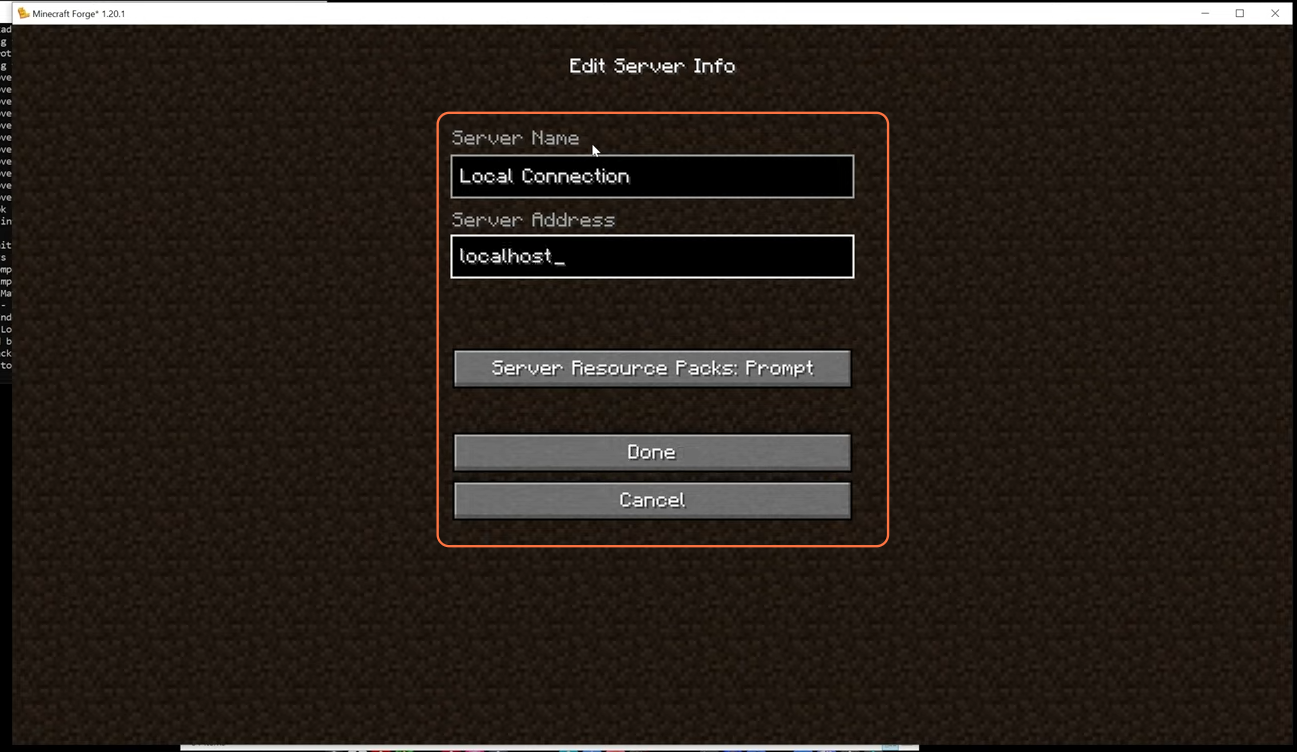
- Testing Locally: Join the server locally using the ‘localhost’ as the server address in Minecraft. This confirms that the server works on your computer.
Allowing Friends to Join
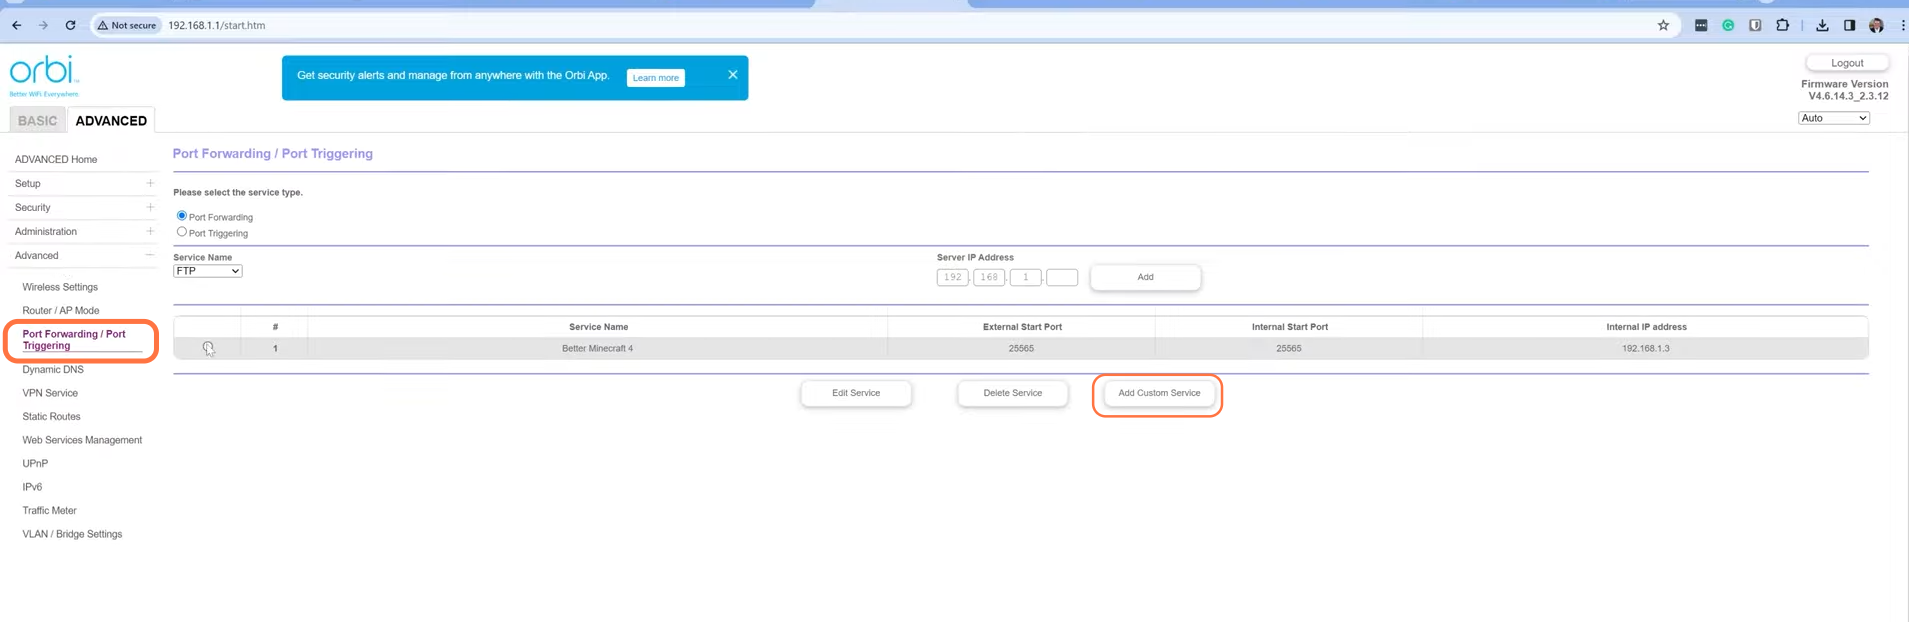
Port Forwarding:
- Access your router settings through the default gateway.
- Once you are in your router, find the port forwarding section, and set up a new port forward rule for port ‘25565’ using your computer’s local IPv4 address.
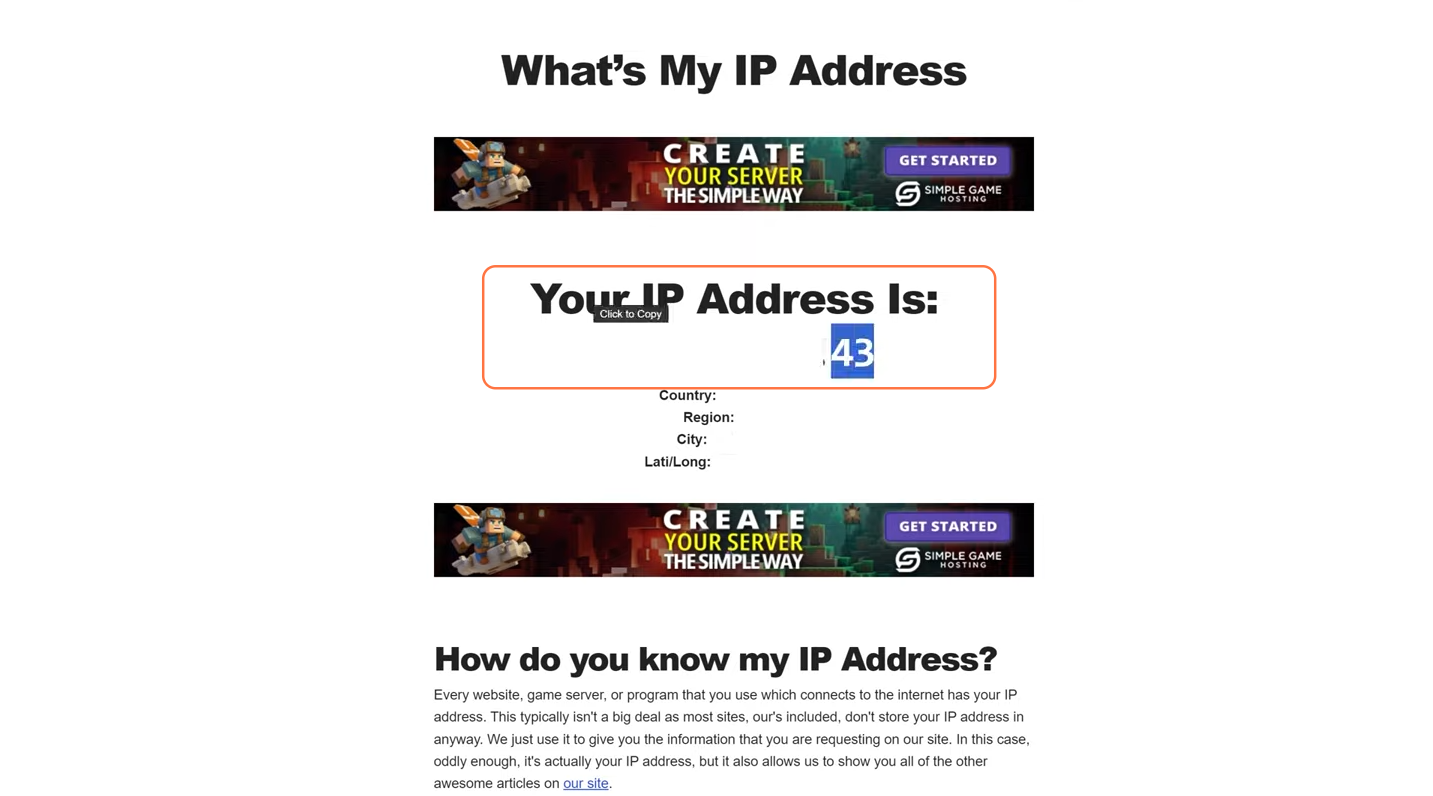
- Finding External IP: Discover your external IP address through sites like ‘What’s My IP’, this is what your friends will use to join your server.
Windows Firewall Configuration: Ensure Java is allowed through the Windows Defender Firewall to enable external connections.
Joining via Public IP: Your friends can use your external IP address in Minecraft to connect to your server.
Remember, hosting a server can strain your hardware, so ensure your computer can handle it, or consider a hosting service for smoother gameplay. Anyway, by following the above steps you can successfully make an All the Mods 9 server for Minecraft.