In this guide, you will find how to make pants in Roblox. By following the steps below, you will be able to create your pants on Customuse and then upload them on the Roblox Creator Hub.
Create your pants
In this section, we will take you through the steps to create your pants on Customuse.
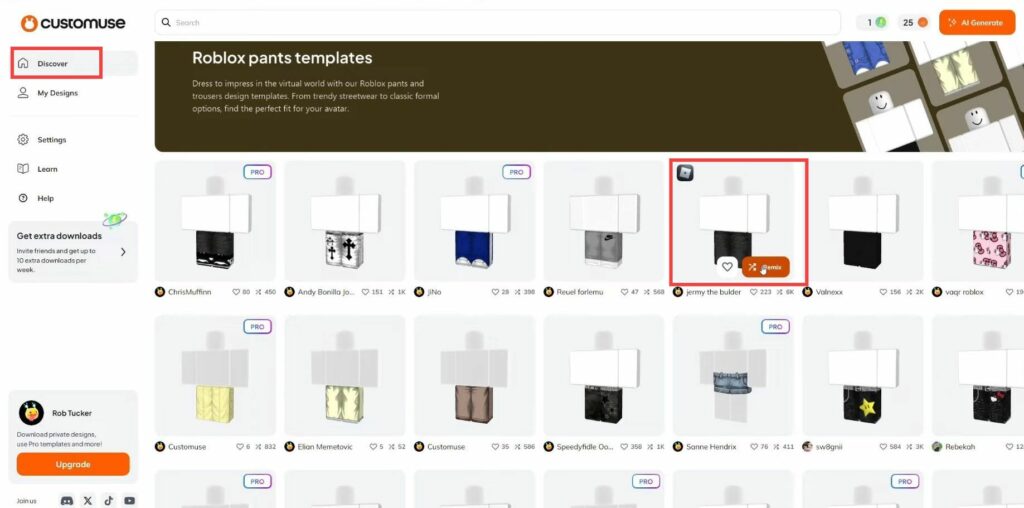
- You first need to go to Customuse and click on Get Started for free. After that, sign up or log in with your account. Click on the Discover tab on the left side and you will find some pro pants. To access them, you have to upgrade your account.
- You can also choose the free template there. Click on any of them, choose the pant, and press the Remix button.
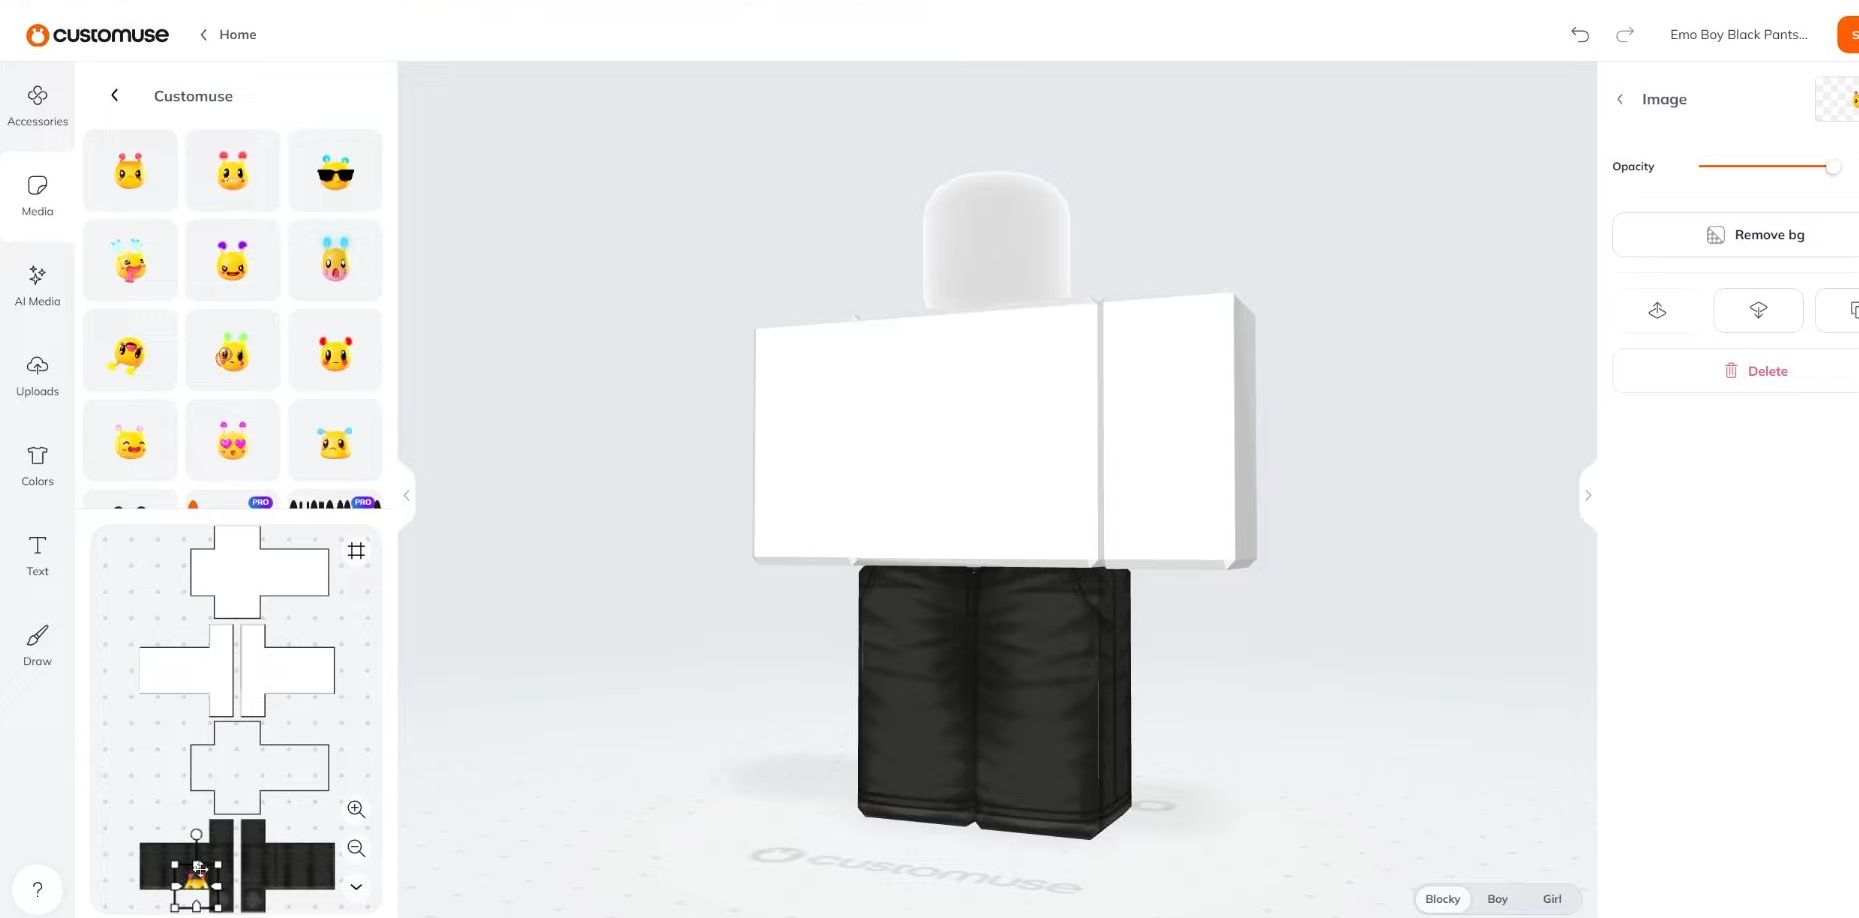
- It will load the preview and then you can make edits. Scroll through all the accessories and media to apply them to your character. Click on any of them and then adjust it to your character.
- You can also use the AI media tool to generate different images for your clothes. Or go to the Upload section to upload your image. You also have the option to add a text by going to the Text section.
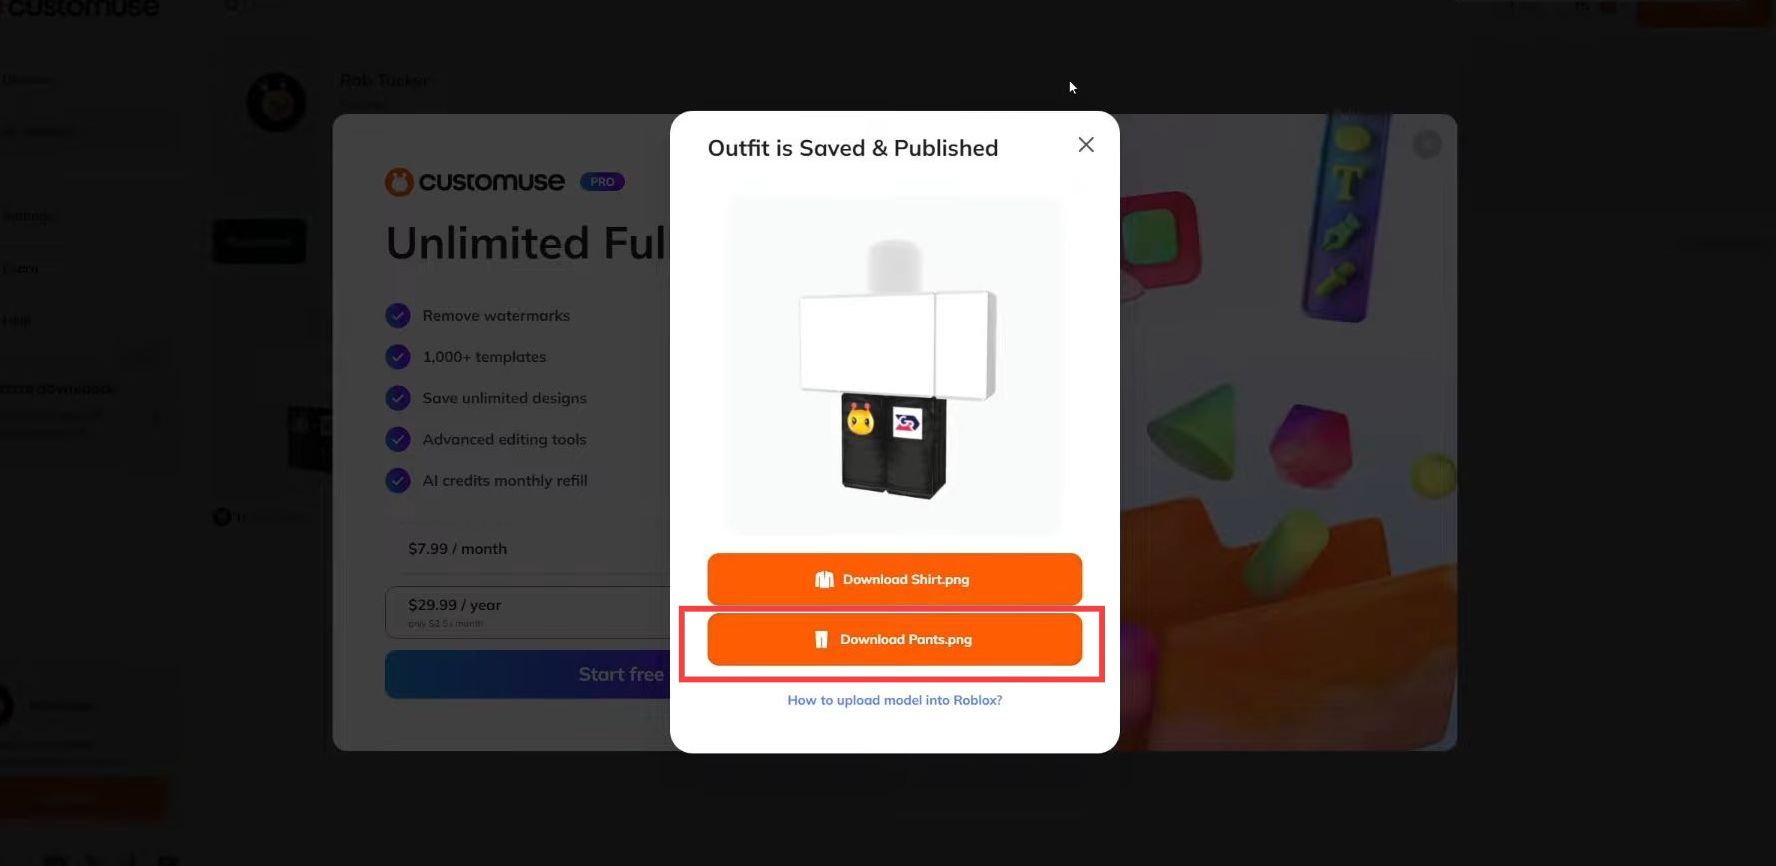
- After making all the changes, click on the Save & Publish button at the top right corner of the screen.
- A window will open up, and you then have to click on Download Pants.
Upload the pants
This section describes how to Upload the pants after successfully making them. Once you upload it, you can view it in your Avatar section.
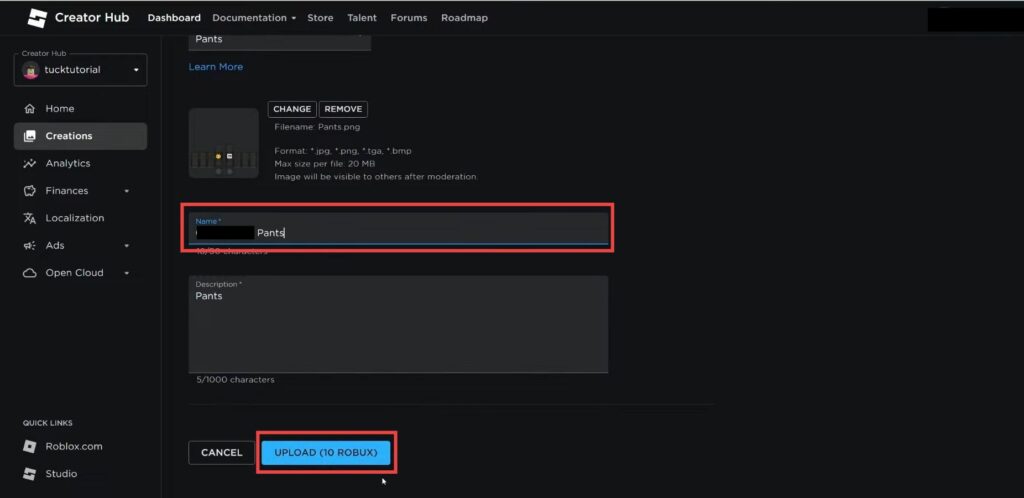
- Go to Roblox Creator Hub and navigate to the Creations tab on the left side. Click on Avatar items and choose the Classic pants filter.
- Press the Upload button and navigate to the pants file inside the file explorer. Select it and press the Open button. Name your pants and use 10 Robux to upload them.
- Go to Roblox and click on Avatar on the left side.
You will find your newly created pants in the Recent tab.