This guide helps to play Project M EX on Xbox by adopting the USB method using the most convenient method.
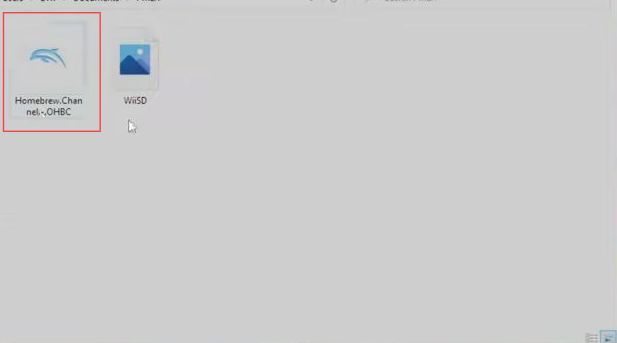
- First, you need to put the Homebrew channel into your games folder.
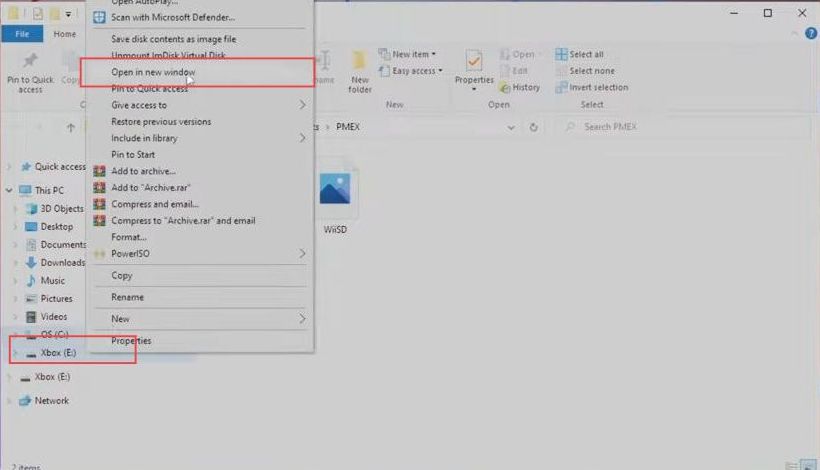
- After that, right-click the USB drive from the left side panel.
It will open up a drop-down menu. - Select the open in new window option from the listings.
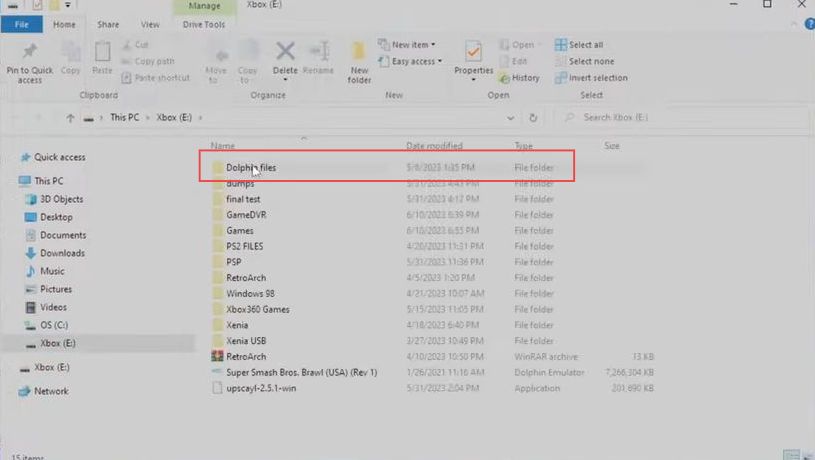
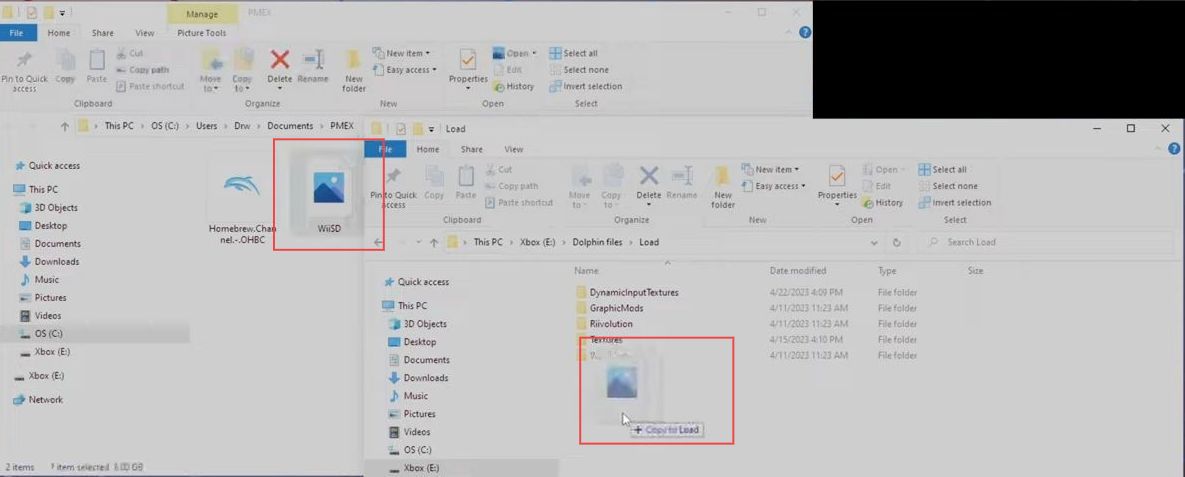
- Upon reaching this window, double-click the Dolphin files folder to open it.
- Once this window is opened, scroll down to the Load folder and click it to open it.

- If you have a WiiSD file already, then delete it.
- After that, drag and drop the recently downloaded WiiSD file into the USB drive.
- You need to wait a few minutes to complete the copying process.
- Now unplug the USB drive from your computer and connect it to the Xbox.
- Launch the Dolphin application from the Xbox. Once this window appears, you have to click the Homebrew Channel from the quick access toolbar.

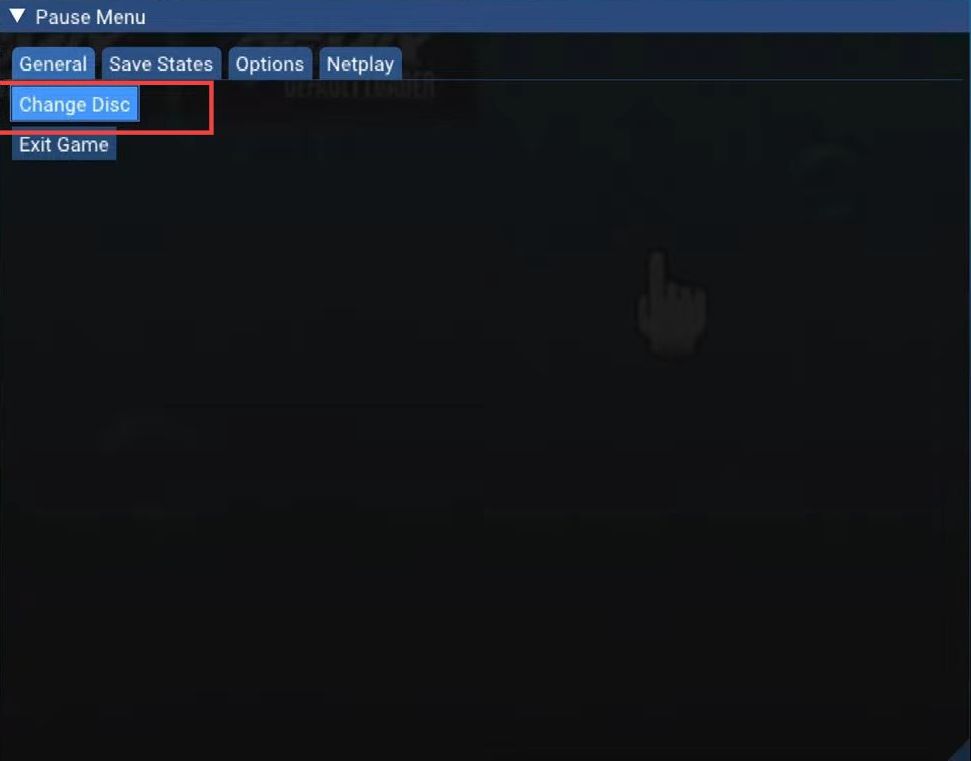
- After that, press the left and right sticks in the meantime to open the pause menu.
- Upon reaching this window, click the change disc option from the section of the general tab.
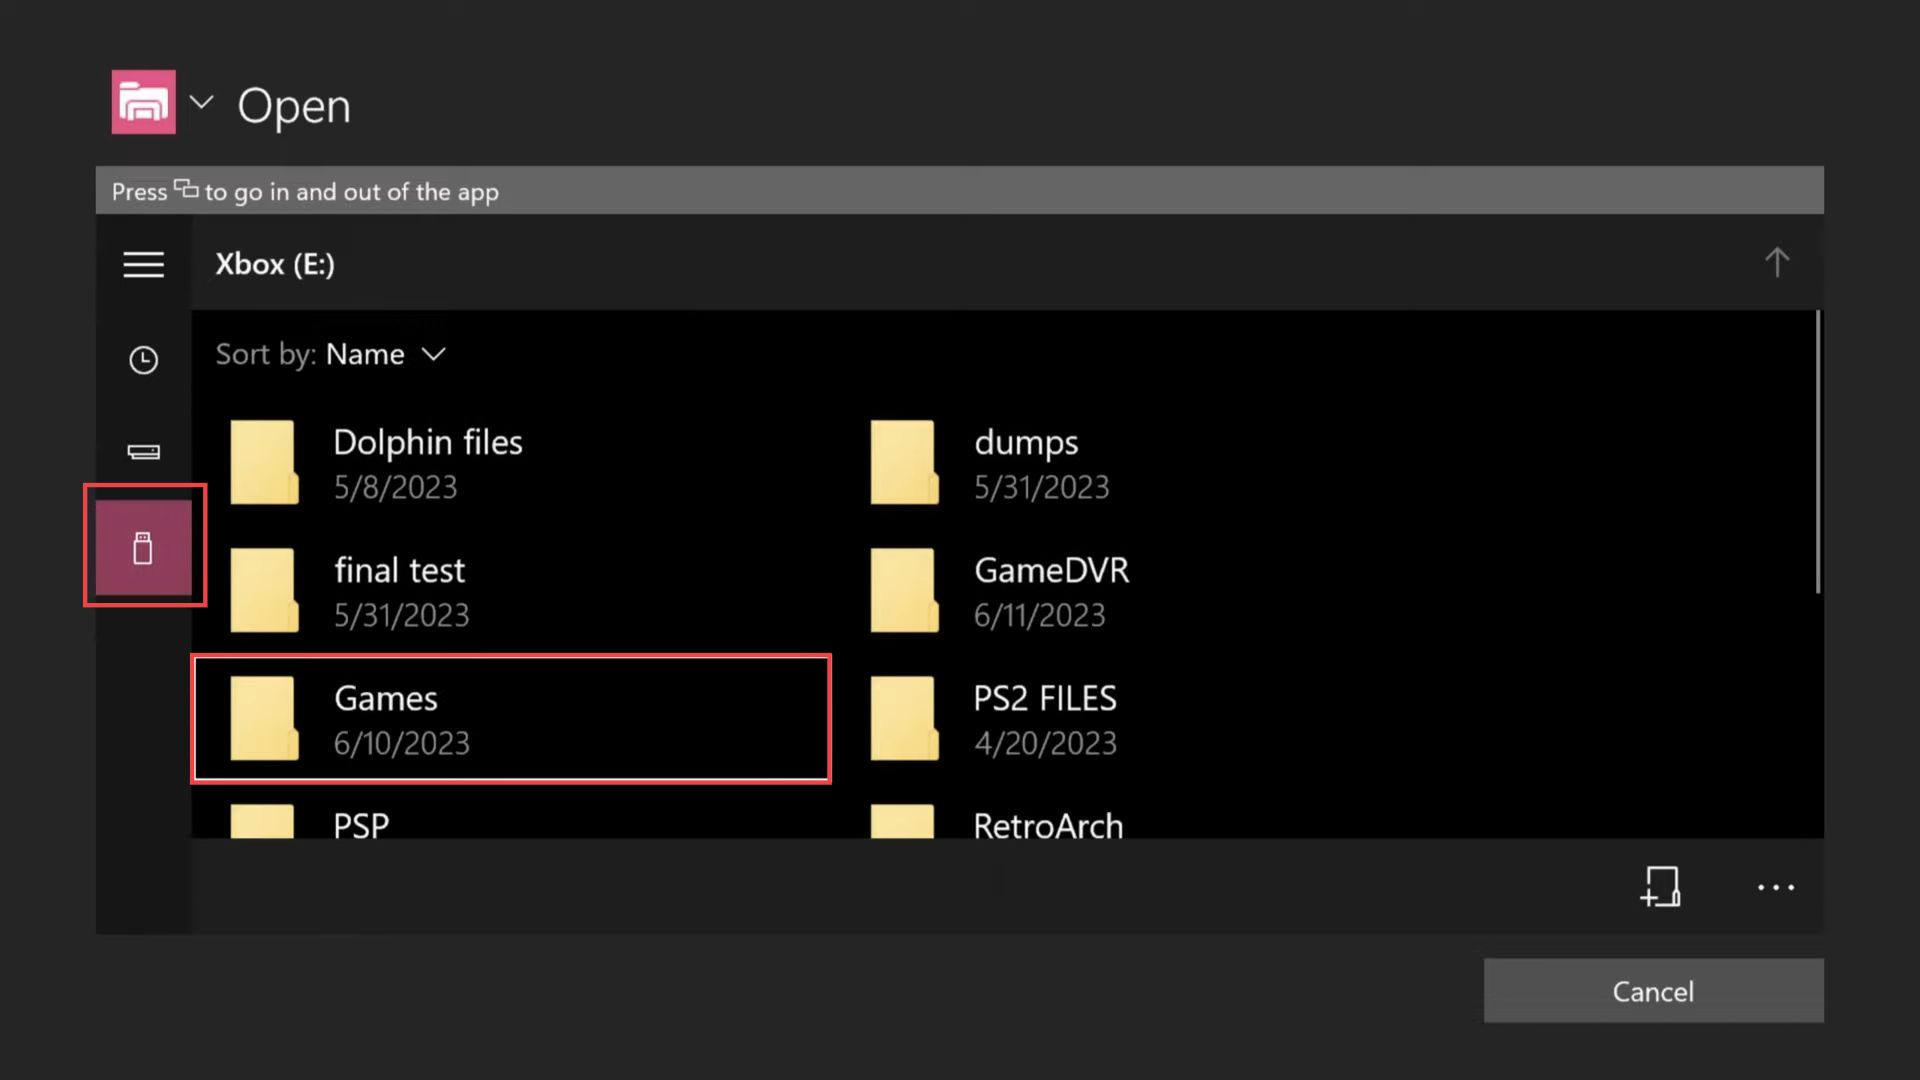
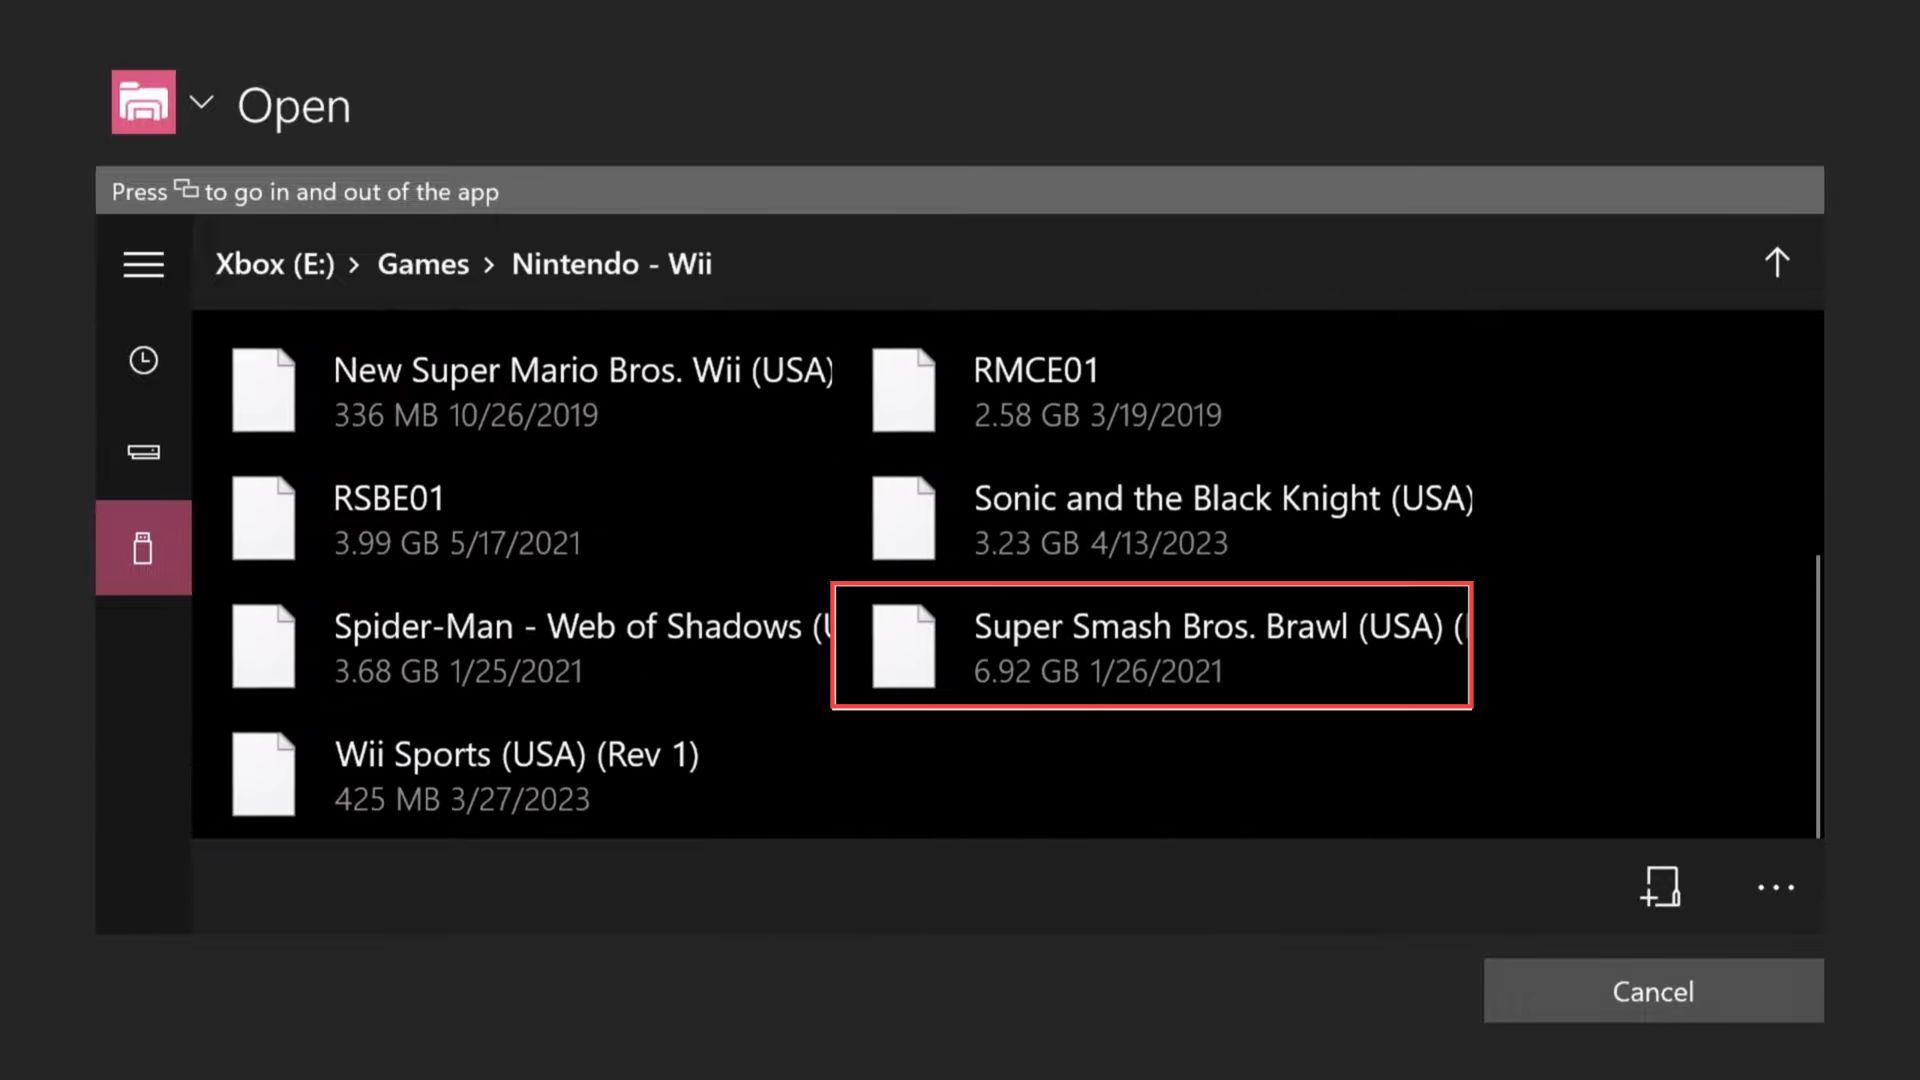
Now you will be taken to the file explorer menu of the USB drive.
- Click the Games folder from the listings to open it.
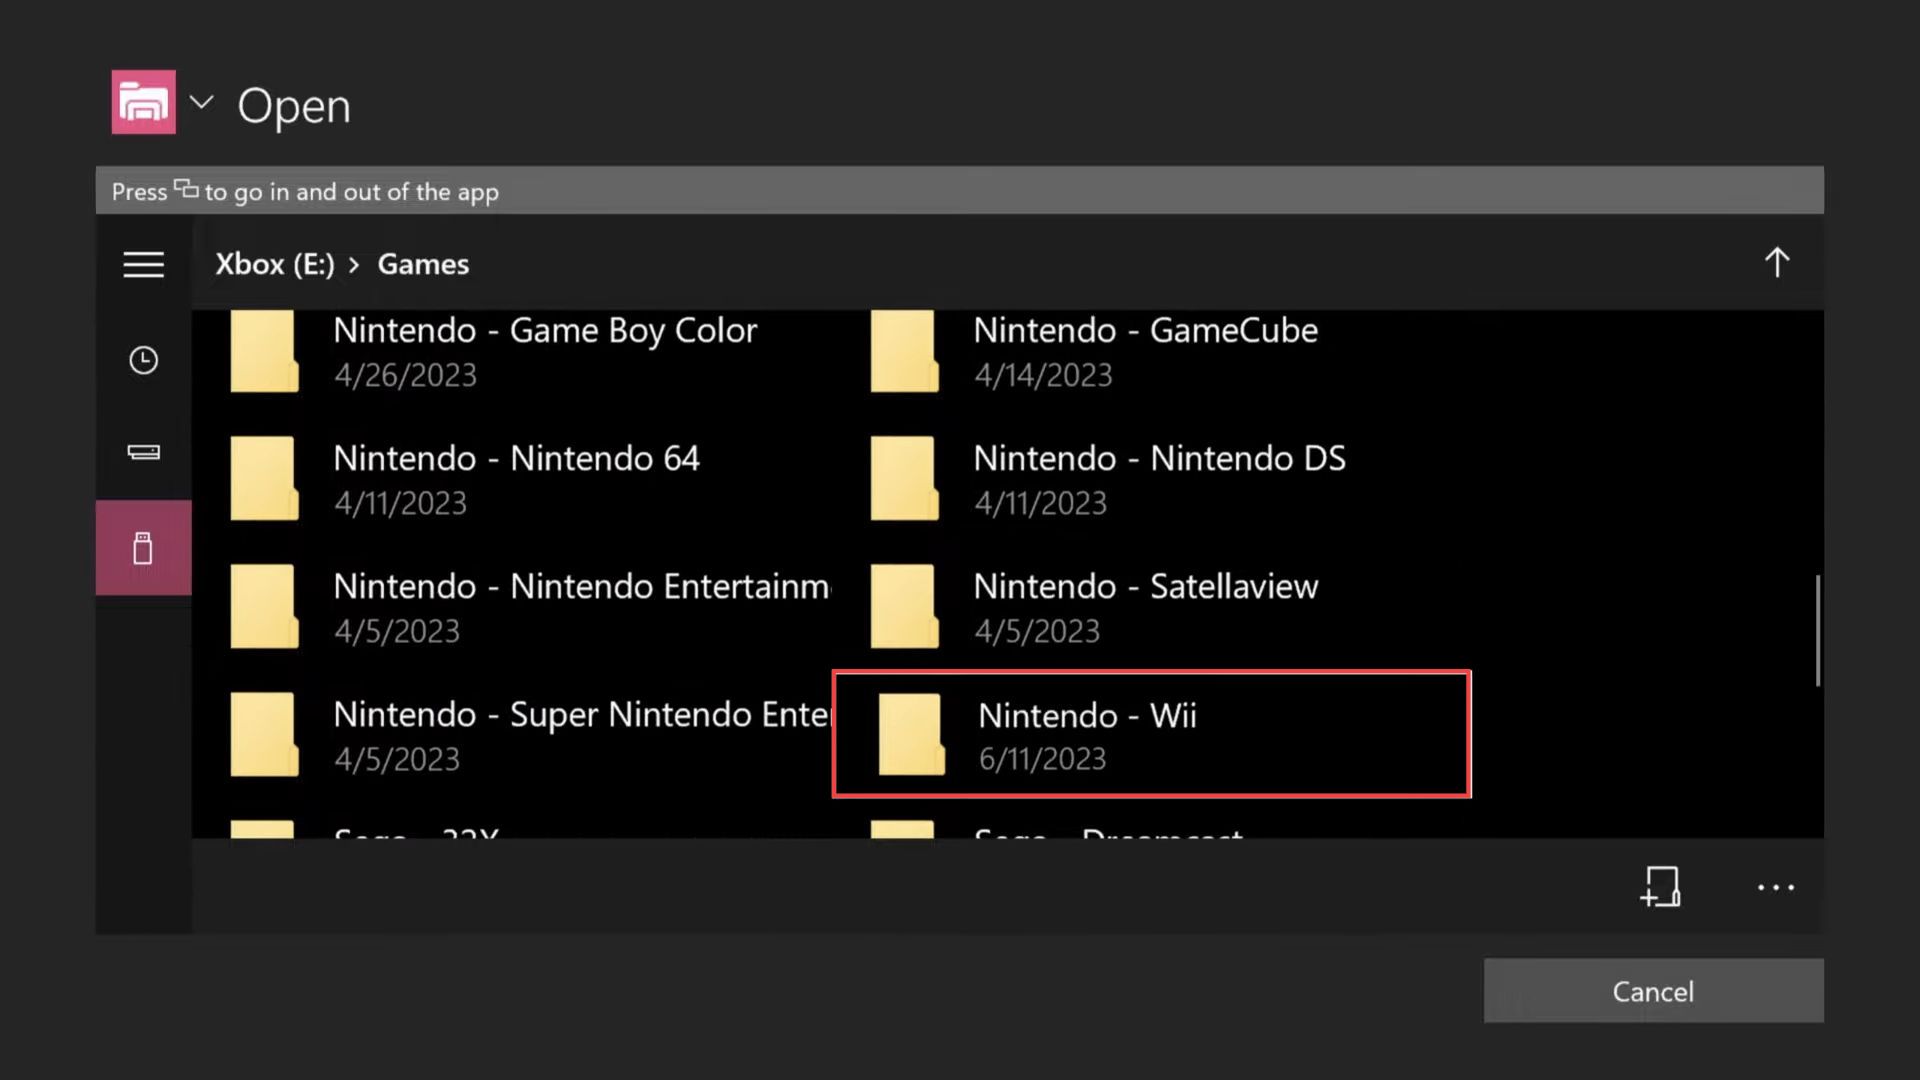
- After that, scroll down to the copy of the Nintendo Wii folder and open it up.
- Now you need to select the Super Smash Bros. file from the Nintendo Wii folder.
- Press the left and right sticks again at the same time.
- After that, hover your cursor on the Default loader tab from the window.
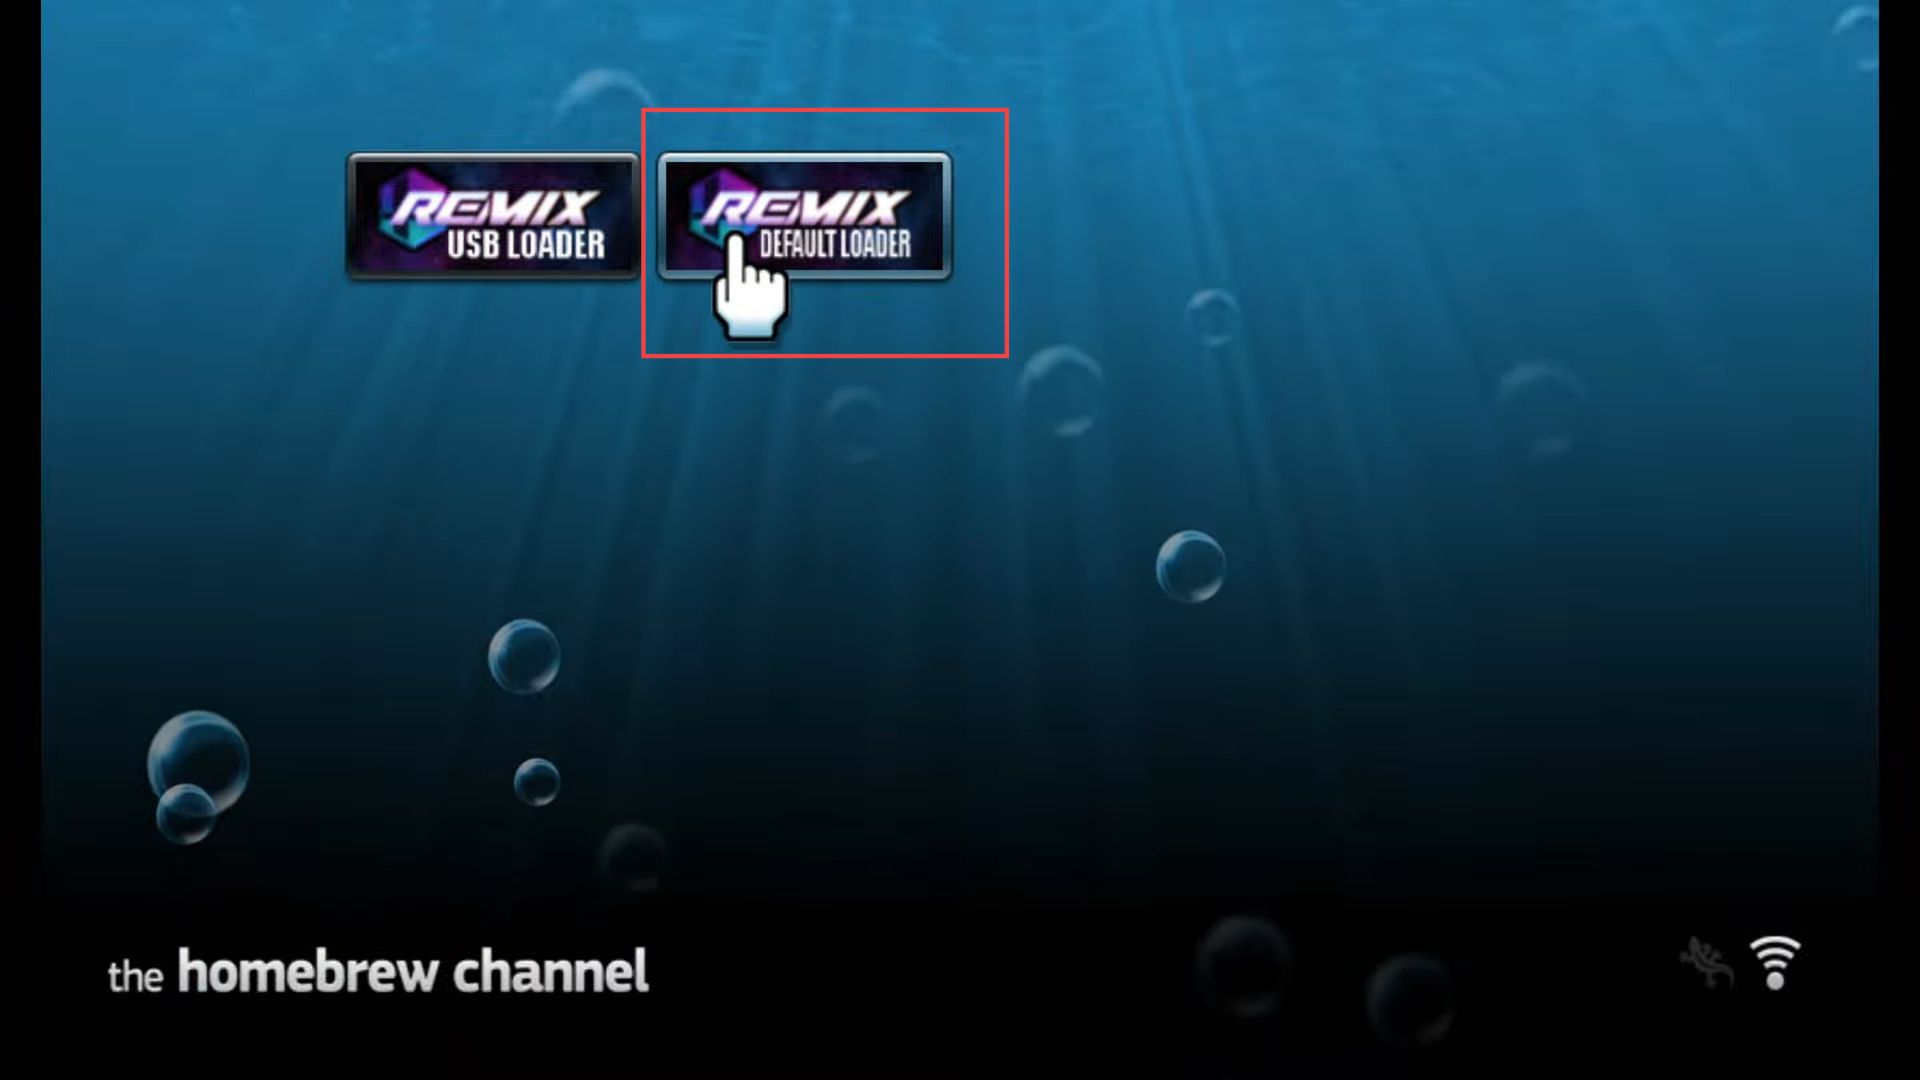
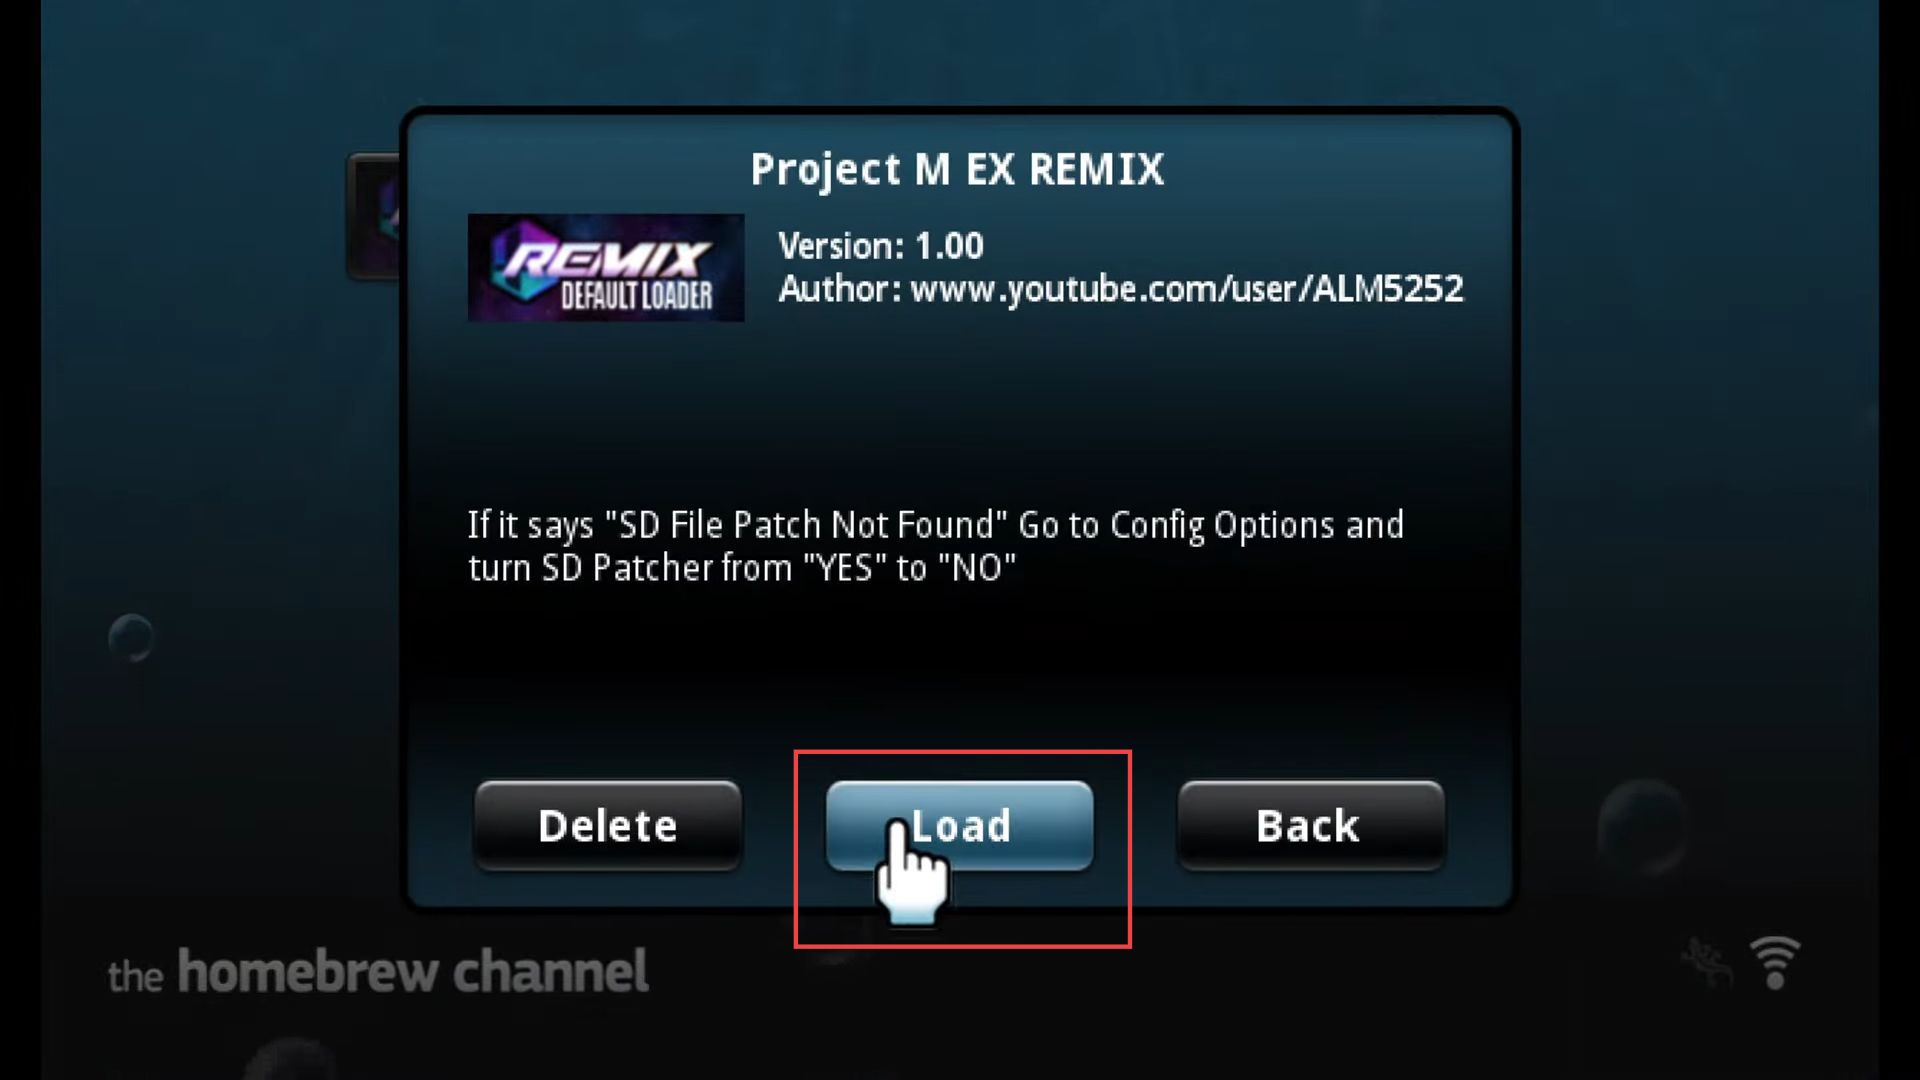
- Upon reaching this window, click the Load button from the menu to play Project M EX on Xbox.