This guide helps how you can set up a brand new server 1.20+ for paper Minecraft, that’s been going through downloading and installing the Paper 1.20 server, changing RAM for the Paper 1.20 Server, and then installing and joining your Paper 1.20 server.
Download Paper 1.20 server
In this section, we will take you through the steps to download Get Paper 1.20 and save the jar file in your desired folder.
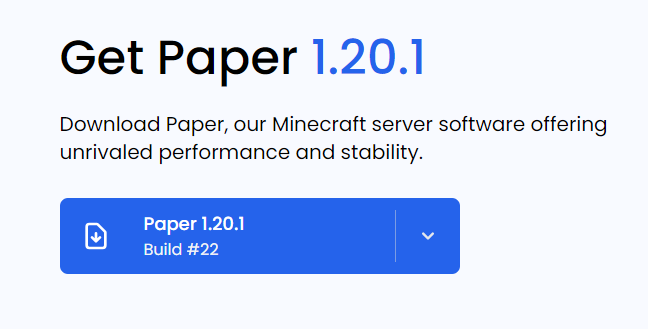
- First, you will need to download Get Paper 1.20.
Click the Paper 1.20 download button upon reaching the PaperMC web.
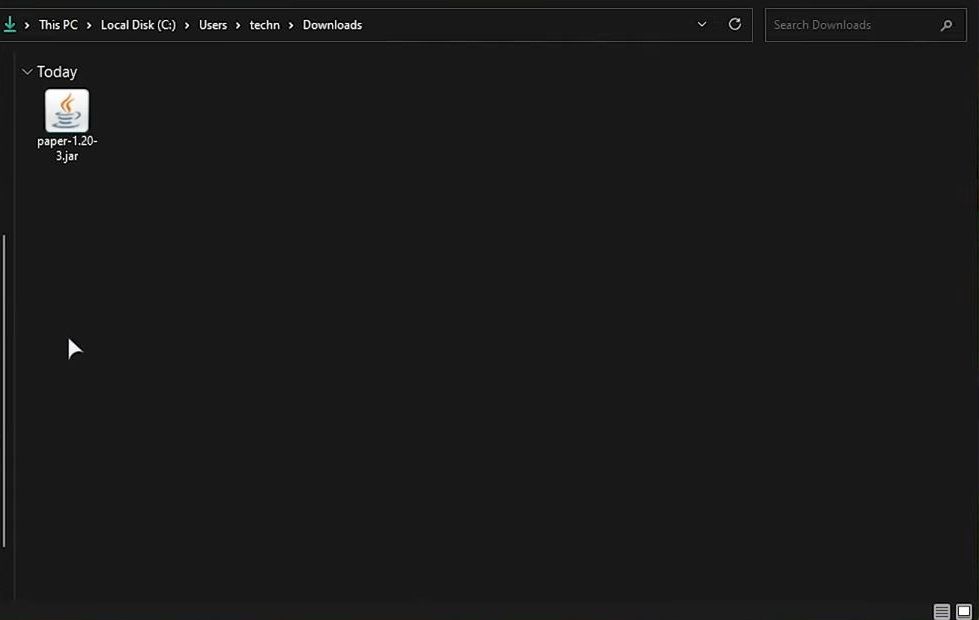
- Download the .jar file in the download folder or any other folder where you want to access it in the future.
Installing Server
This section describes how to install the server. First, create a new folder on your desktop and rename it as “Paper 1.20.” Make sure to confirm the name change and then open the “start.bat” file to initiate the installation.
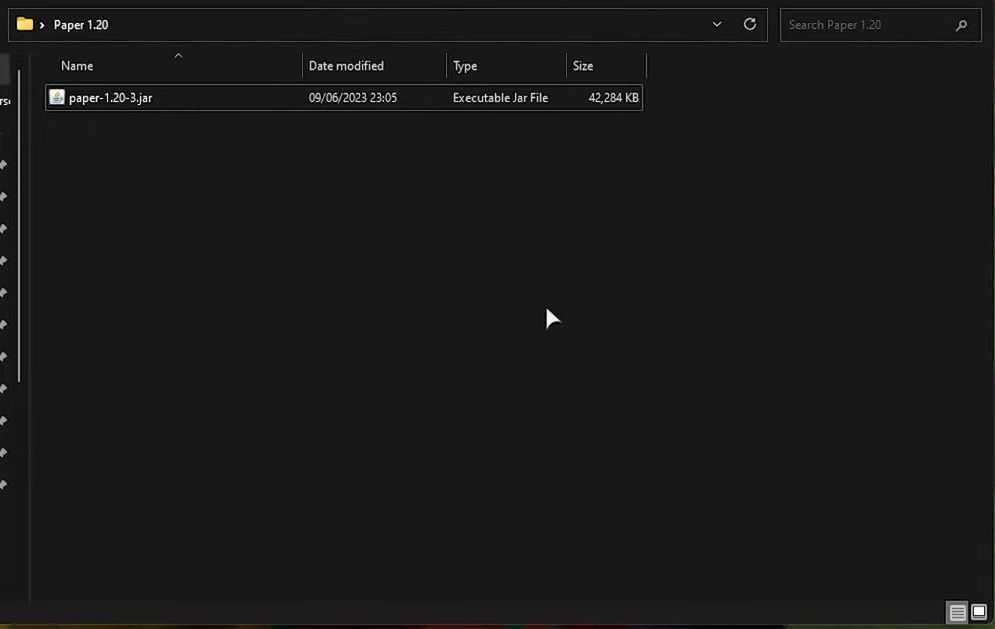
- Create a new folder on your desktop and name it Paper 1.20.
- After that, move the .jar file from your recent location to the newly made folder and open it for setting up your server.
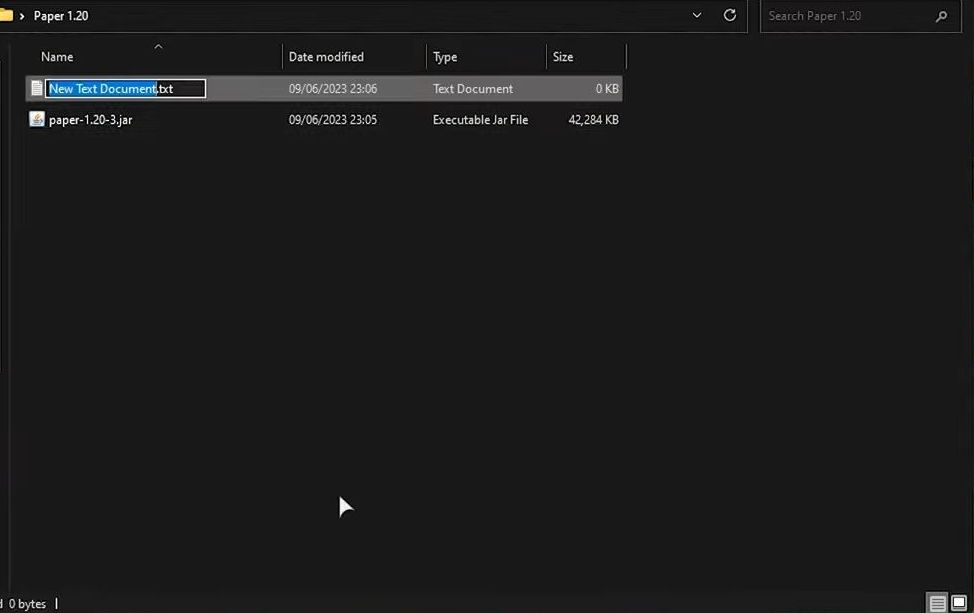
- You need to make a new text document to launch this jar file. Right-click in the folder, create a new text document and name it “start.bat“.
- Remove the dot text after the name to change the file format.
Ensure you confirm the change in formatting by clicking the Yes button.
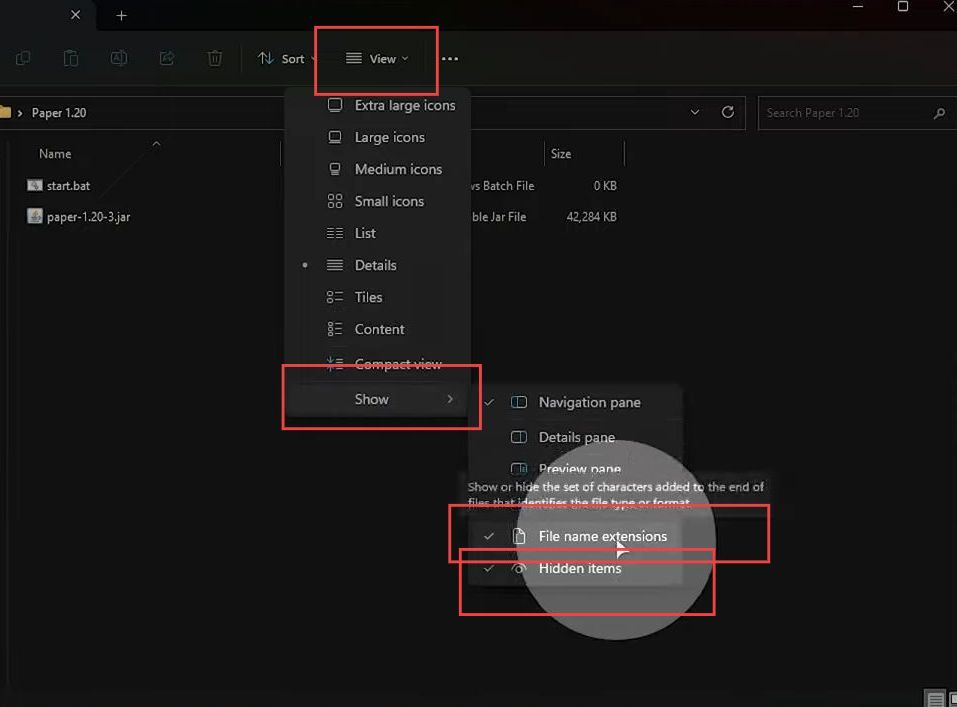
- If you cannot see the file type of your file, then click the View tab from the menu.
- Checkmark the file name extensions and hidden items options.
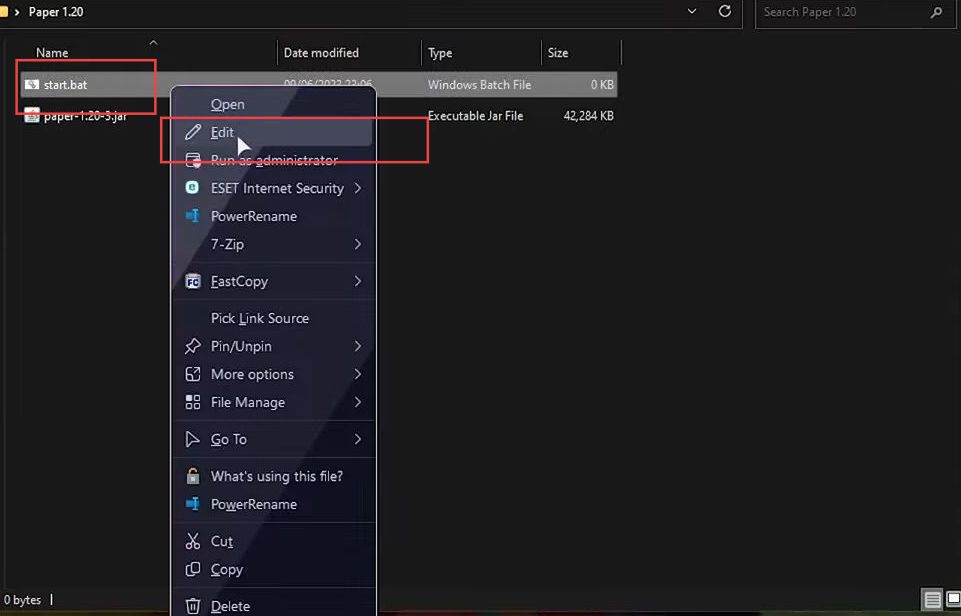
- Now open the start.bat file by right-clicking on it and then selecting the Edit option from the listings.
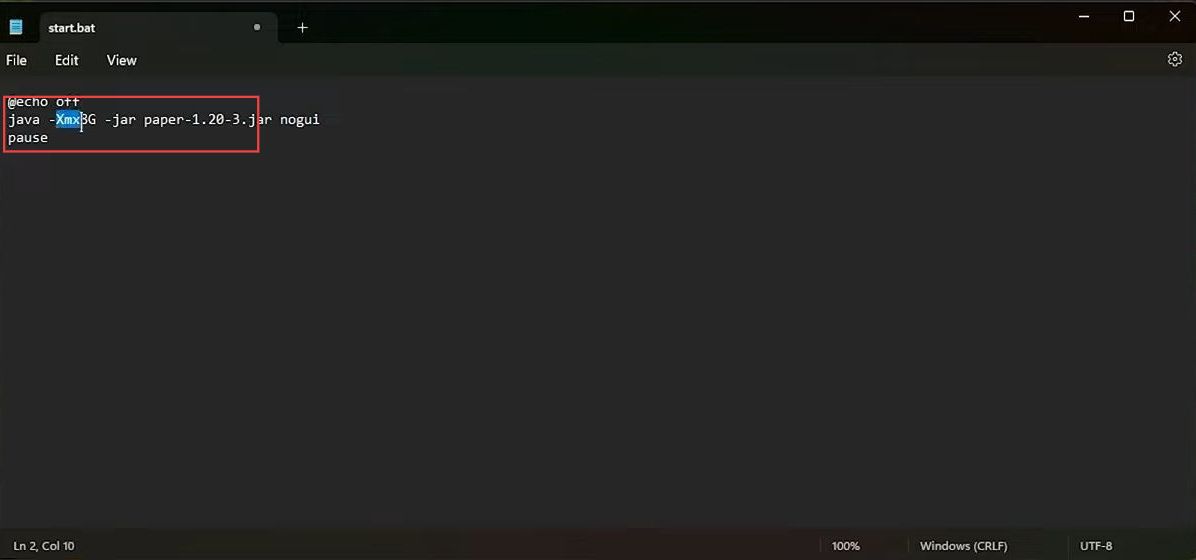
- After that types these commands in the start.bat file.
Ensure to write your correct file name after the Java command and save this file.
@echo off
java -Xmx2G -jar paper-1.20-3.jar nogui
pause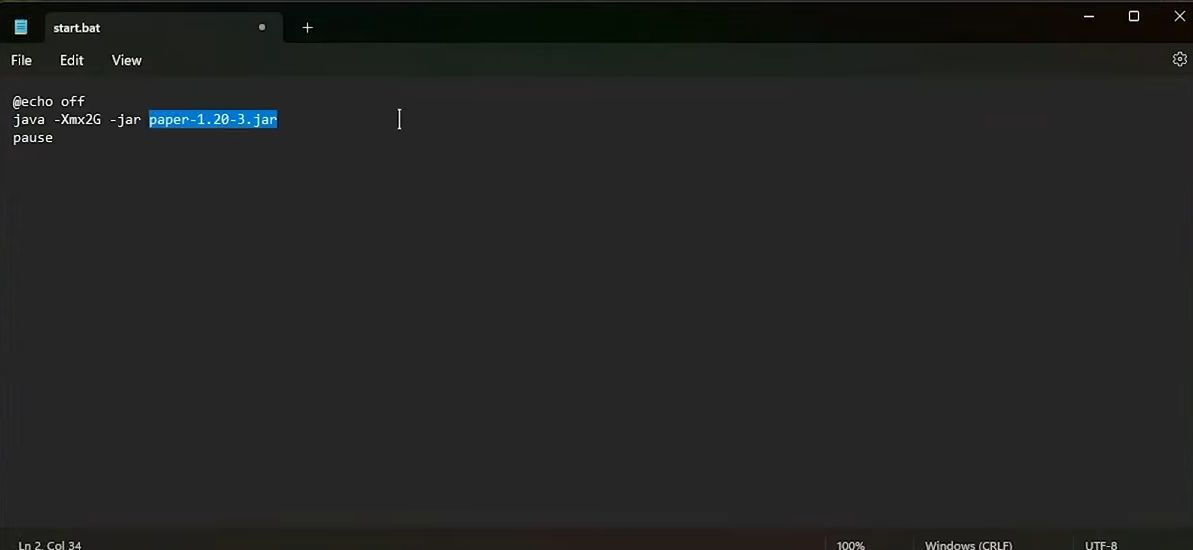
Changing RAM for Paper 1.20 Server
This section explains how to change RAM for your server. it is recommended to provide a larger amount of RAM for optimal performance.
- If you run it on your server, it will start with 2 gigabytes of RAM.
It is suggested to give enough amount of RAM such as 4 or 6 gigabytes. You can give it as much RAM as you have available. - For that, go to your task manager by pressing Ctrl+shift and escape keys.
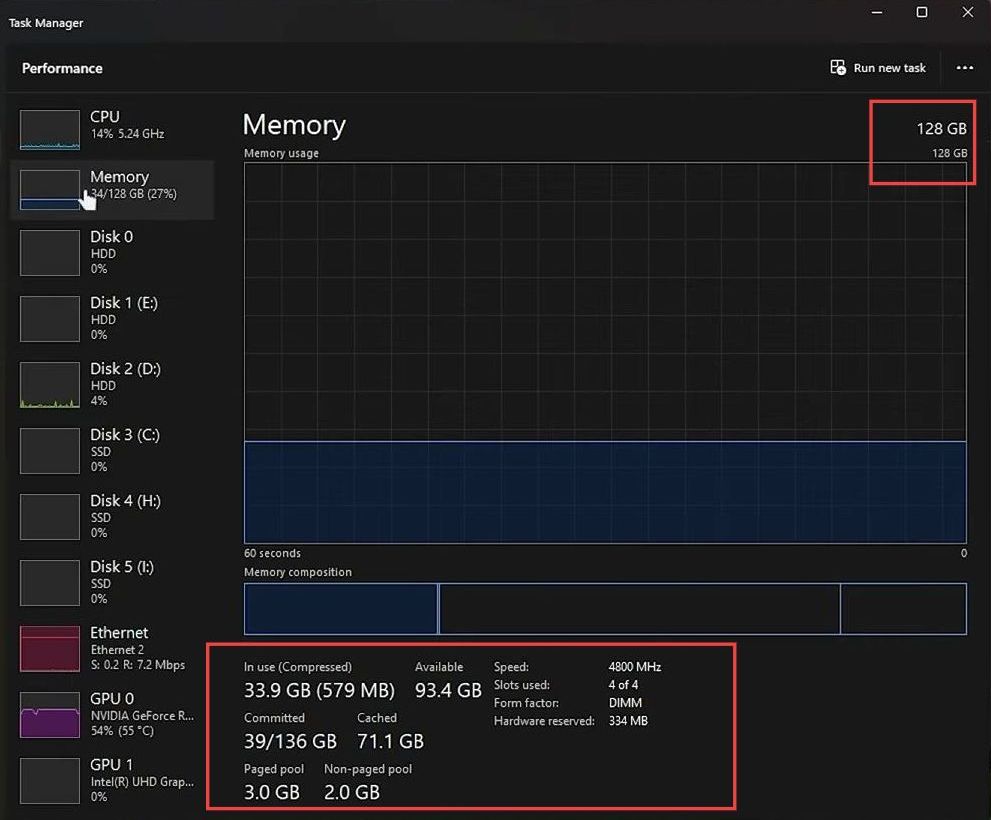
- Click the Performance tab from the left side.
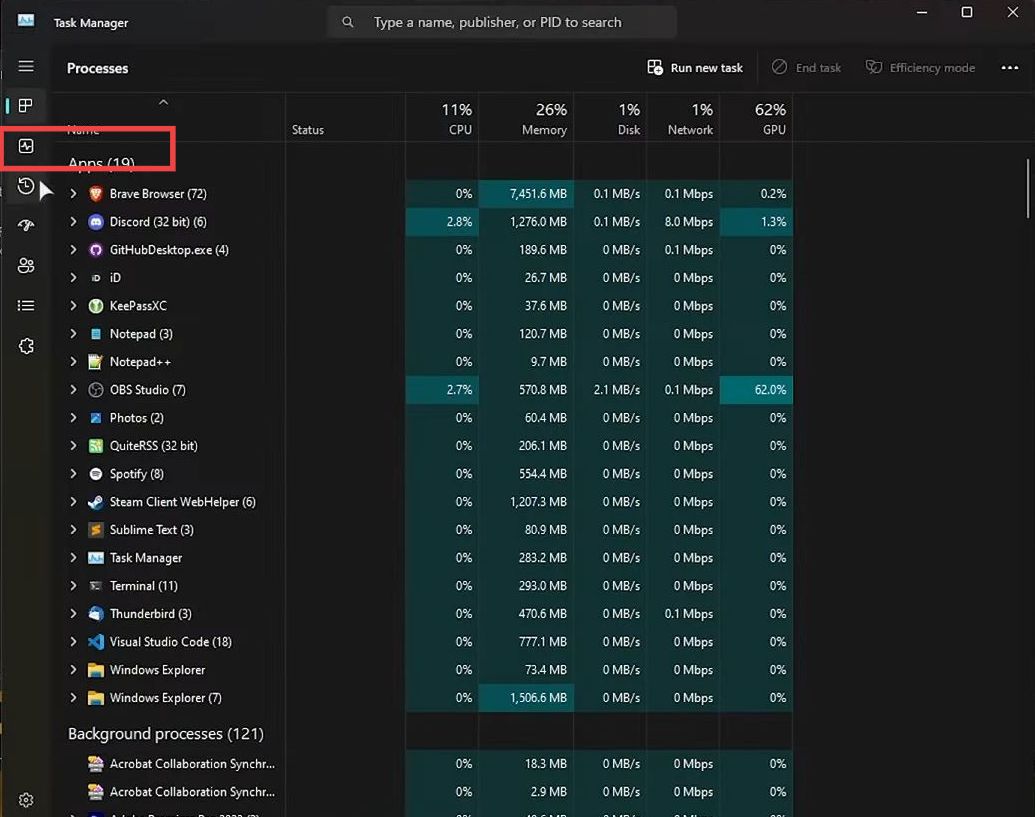
- After that click the Memory tab to check your total and available memory.
- If you have, for instance, 10 gigabytes available in your RAM, then you can distribute this to your server.
Ensure to spare some RAM for other software and services to launch.
- If you want to give 8 gigabytes of RAM, then write 8 in the script as 8G.
You can also write 8000M which is equivalent to 8G.
Generating server files & EULA
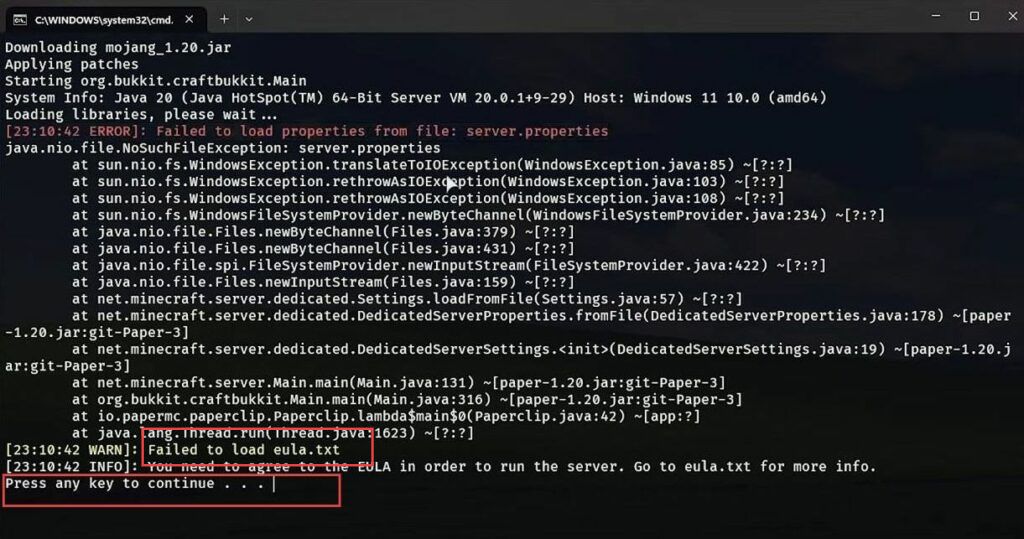
This section describes how to generate server files. For that, you must set up the server and ensure you have installed Java. Then change the Eula file from false to true.
- Double-click the start.bat file to launch and set up the paper server.
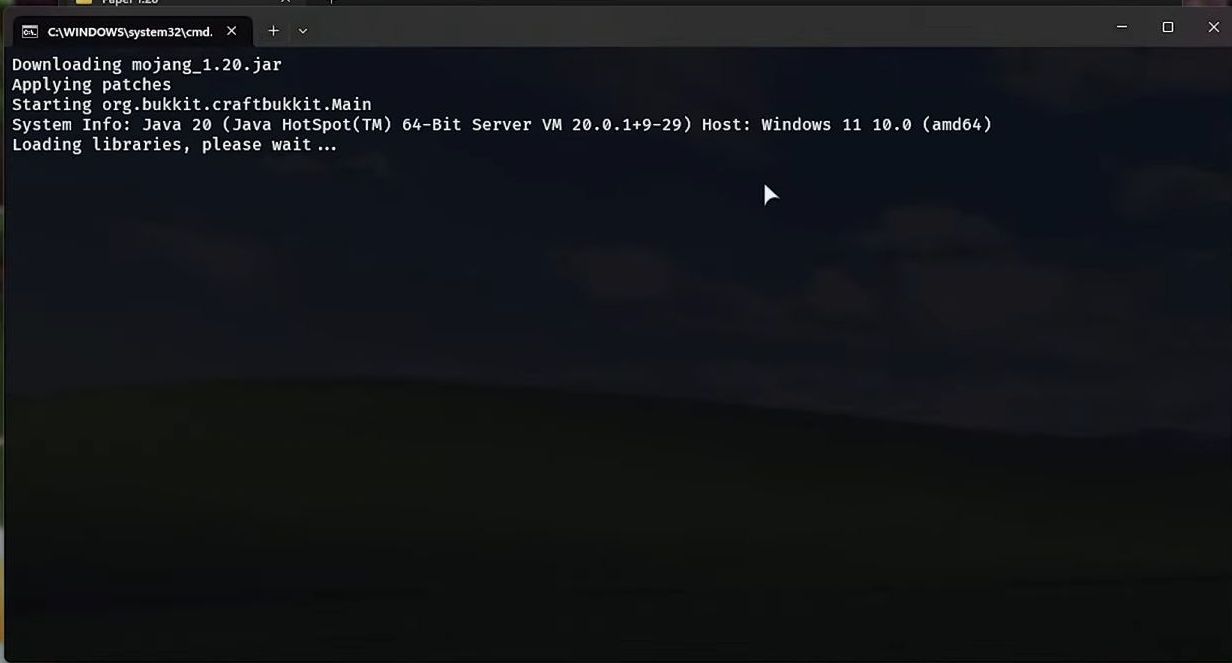
- If you get the ”failed to load eula.txt’‘ error, then you need to close this file using any key.
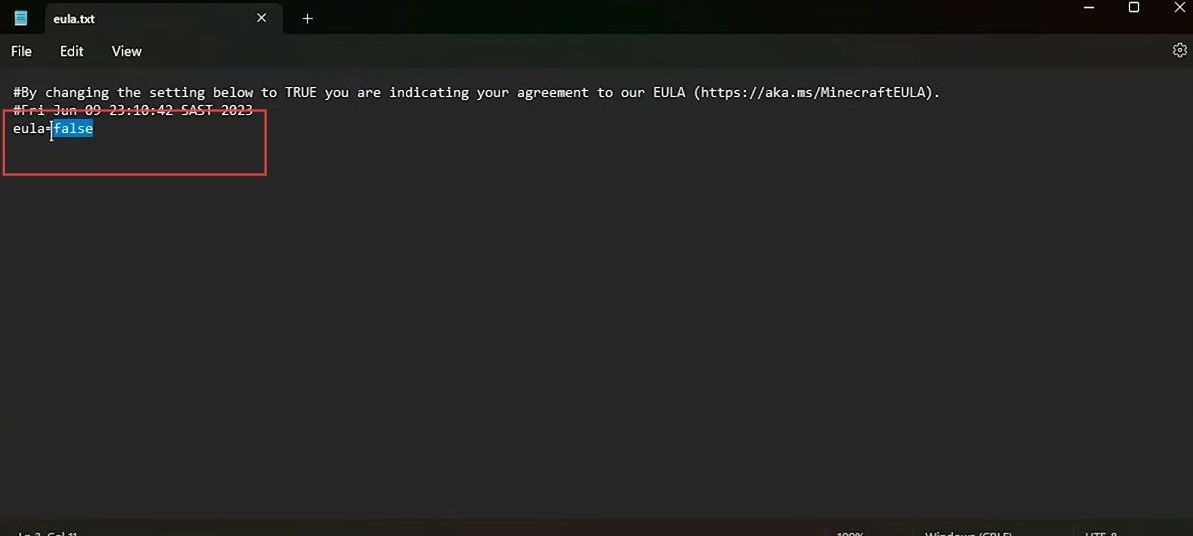
- Now open the Eula.bat file with Notepad from the menu.
- Change eula-false to eula-true and save this file, then close it.
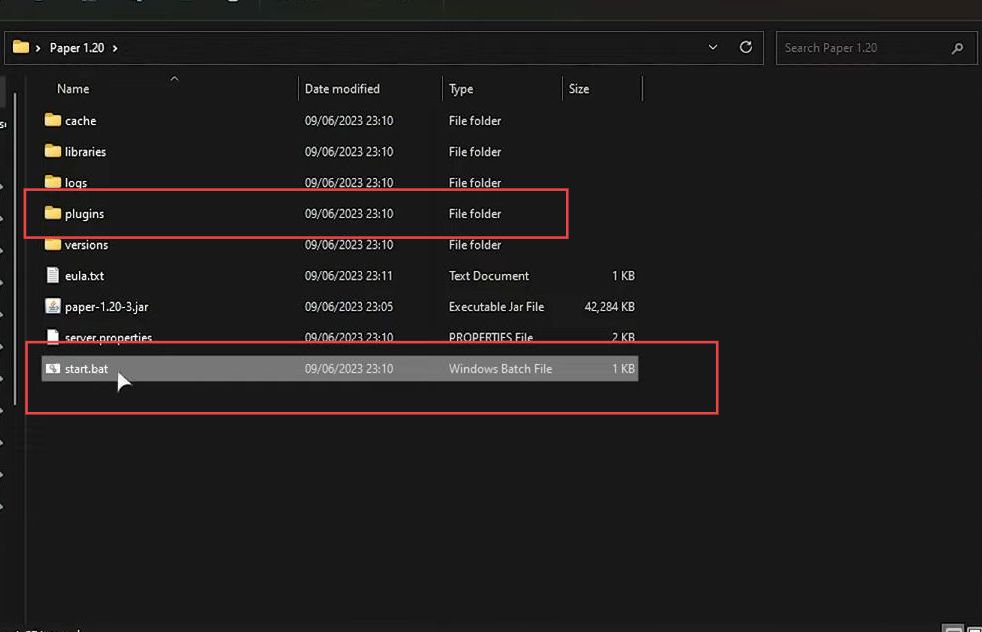
Installing Paper 1.20 Plugins
This section describes how to install the paper 1.20 plugin by launching the actual server.
You will find a plugins folder in the Paper 1.20 folder.
This is where you can place paper plugins.
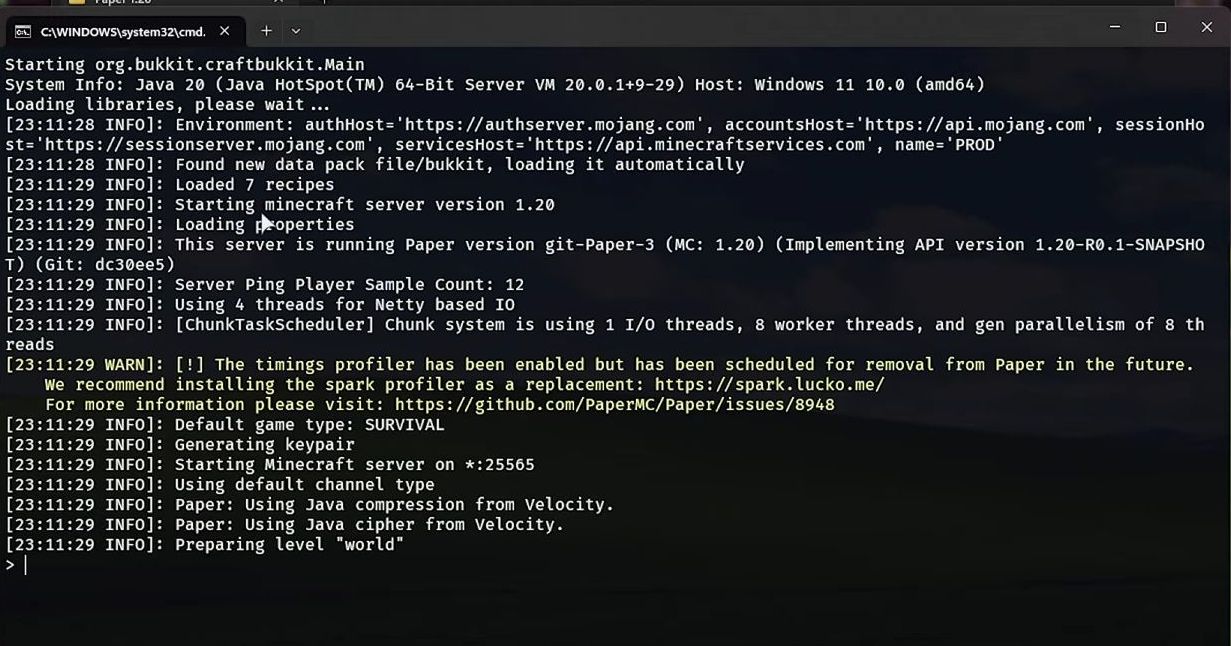
- You have to launch the actual server using start.bat.
Once the server is launched and starts generating Word files, now you can join paper 1.20.
Joining your Paper 1.20 Server
This section explains how to join your paper server. Once connected, you will be able to run commands in the game mode.
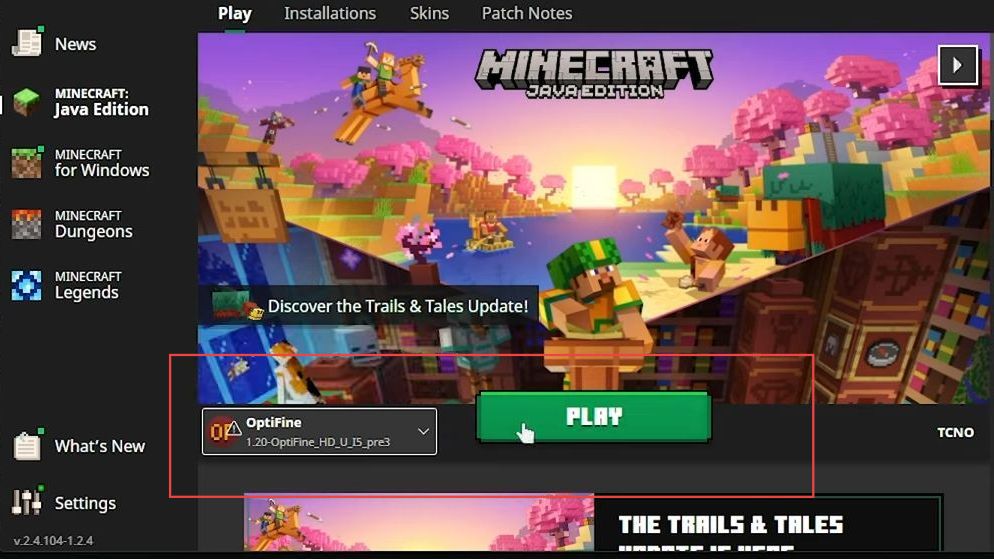
- Open the Minecraft launcher on your computer and click on the version selection dropdown.
- Scroll through the list and select “OptiFine 1.20“. After selecting the OptiFine version, hit the “Play” button in the Minecraft launcher.
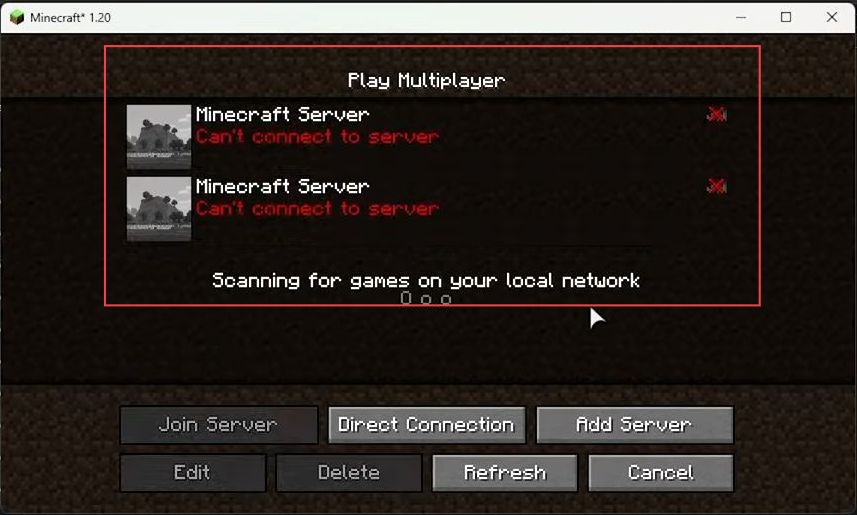
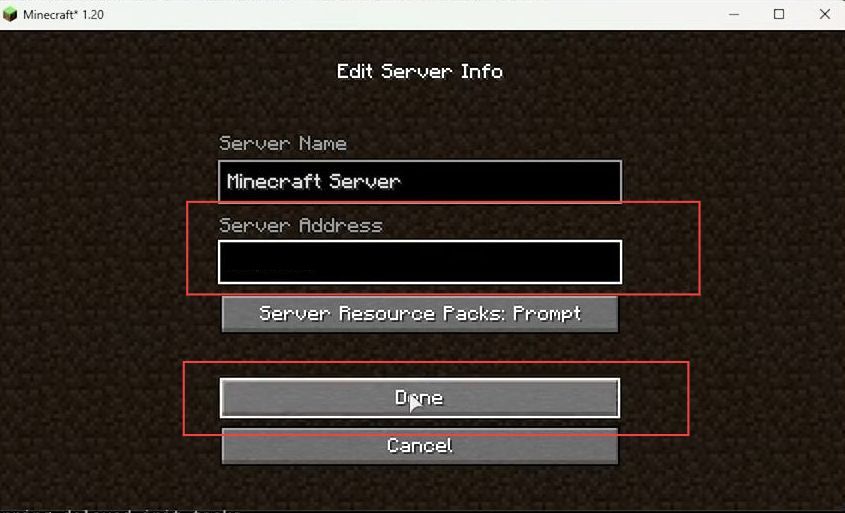
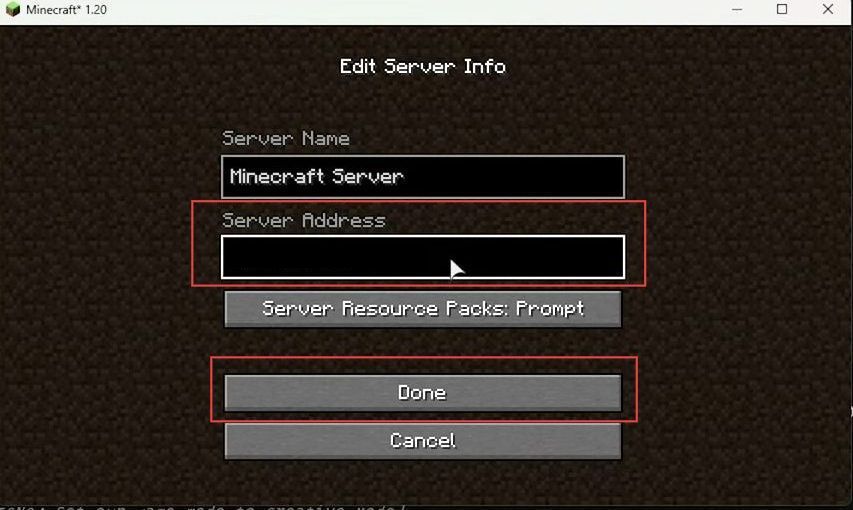
- Once Minecraft sets up, click the Multiplayer option from the menu and hit the Add Server button.
- Now write your local host address in the server address box.
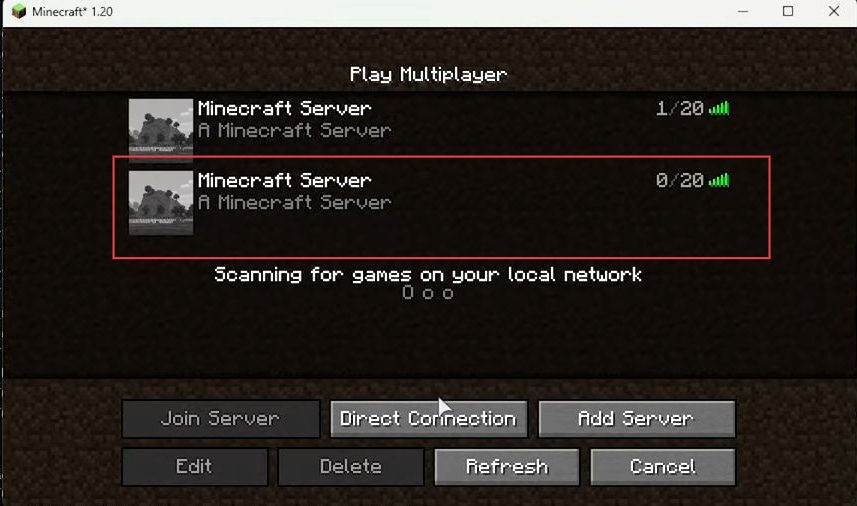
- Once the server appears, click it to join your game as your own server.

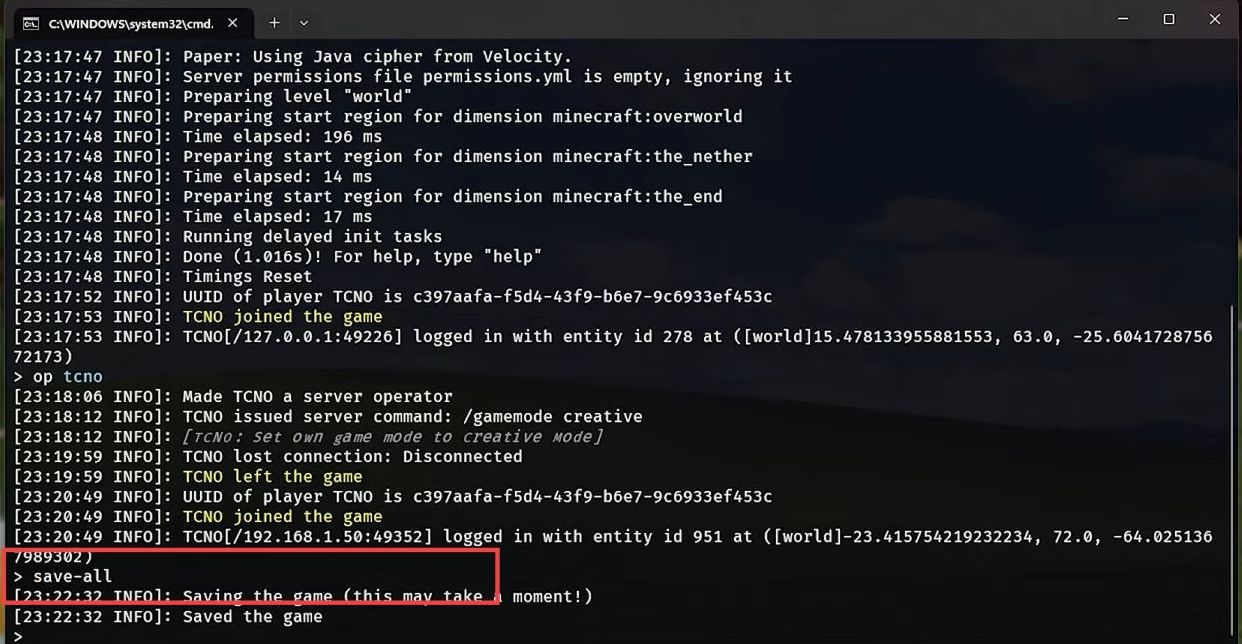
- After that, run the ”op space (your user name)” command in the terminal to make yourself an operator in the game.
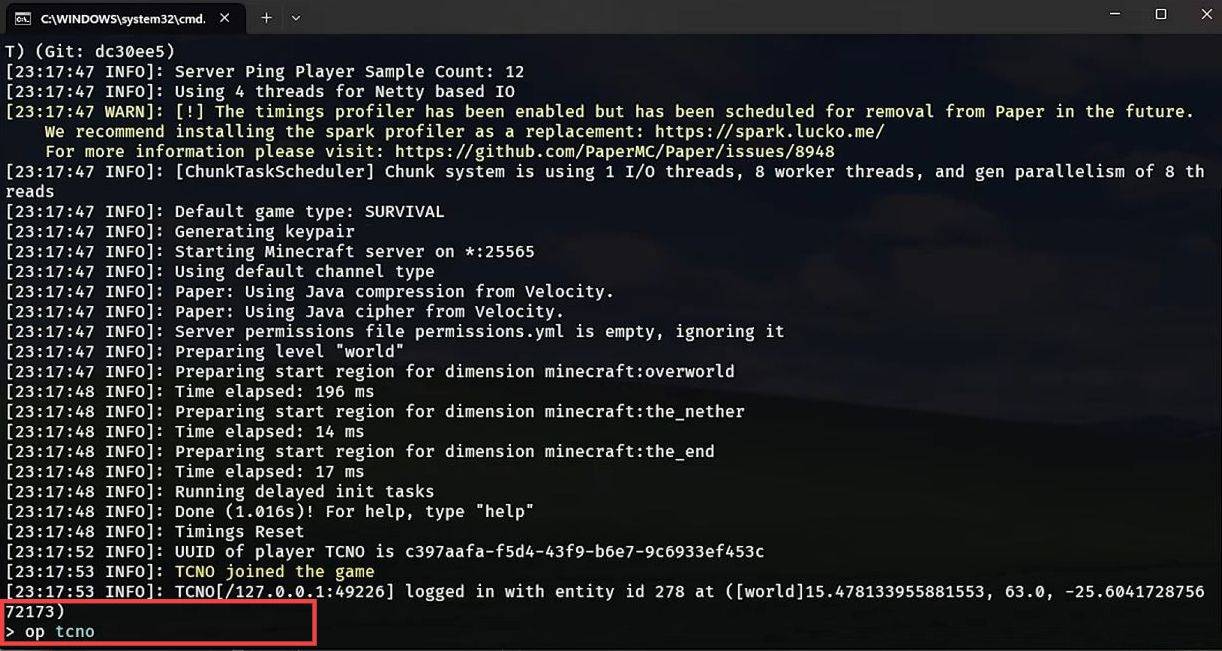
- Now you can run commands in the game mode to alter your game mode to creative or something like that.
Firewalls
This section describes how to connect with other people on your server. To allow port 25565 through the Windows firewall, you need to open the Terminal as an administrator and execute several commands.
- To connect someone in the game using the same router and network, you must allow port 25565 using the Windows firewall.
This can be applied if you are using a third-party firewall.
- You need to allow it through several commands if it connects with the Windows firewall rules.
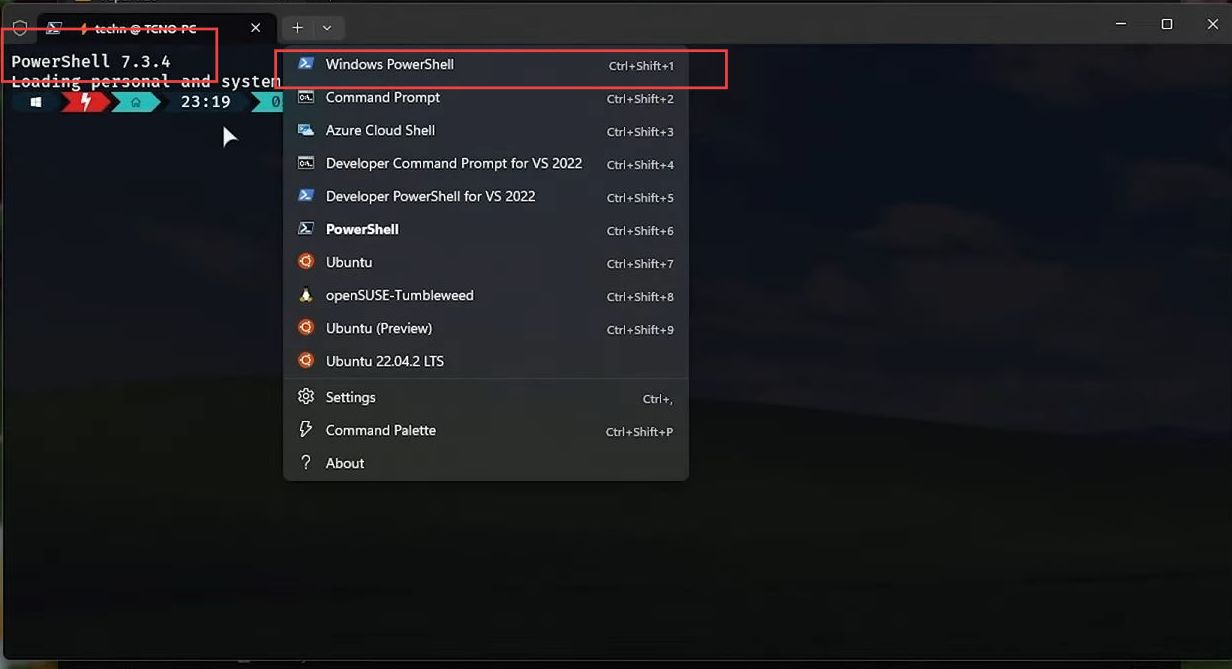
- Open PowerShell as administrator from your start menu.
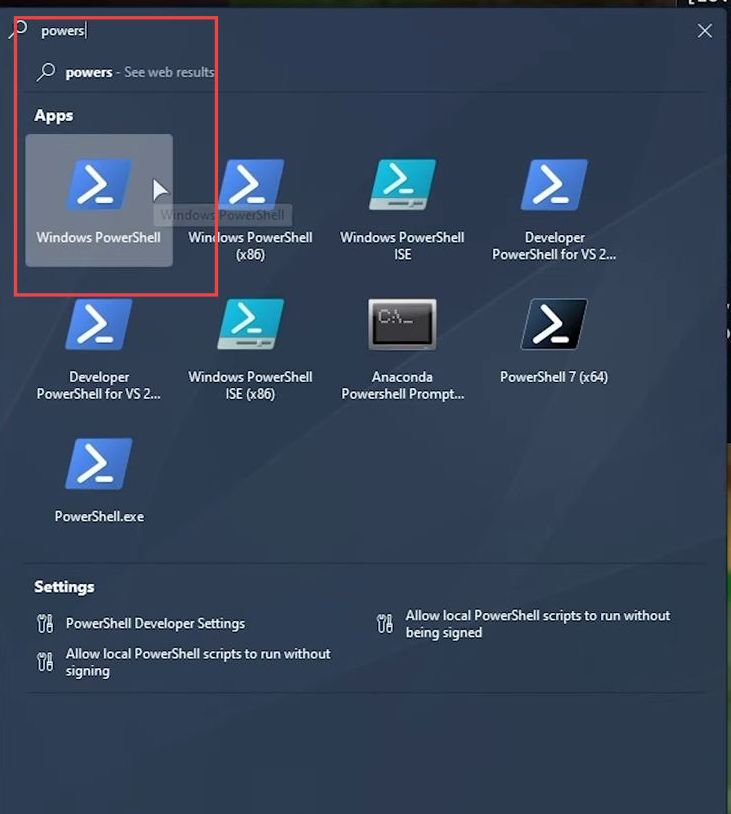
- Or open the Terminal as admin, if you have that installed, and make sure PowerShell appears at the top. Otherwise, select it from the dropdown menu.
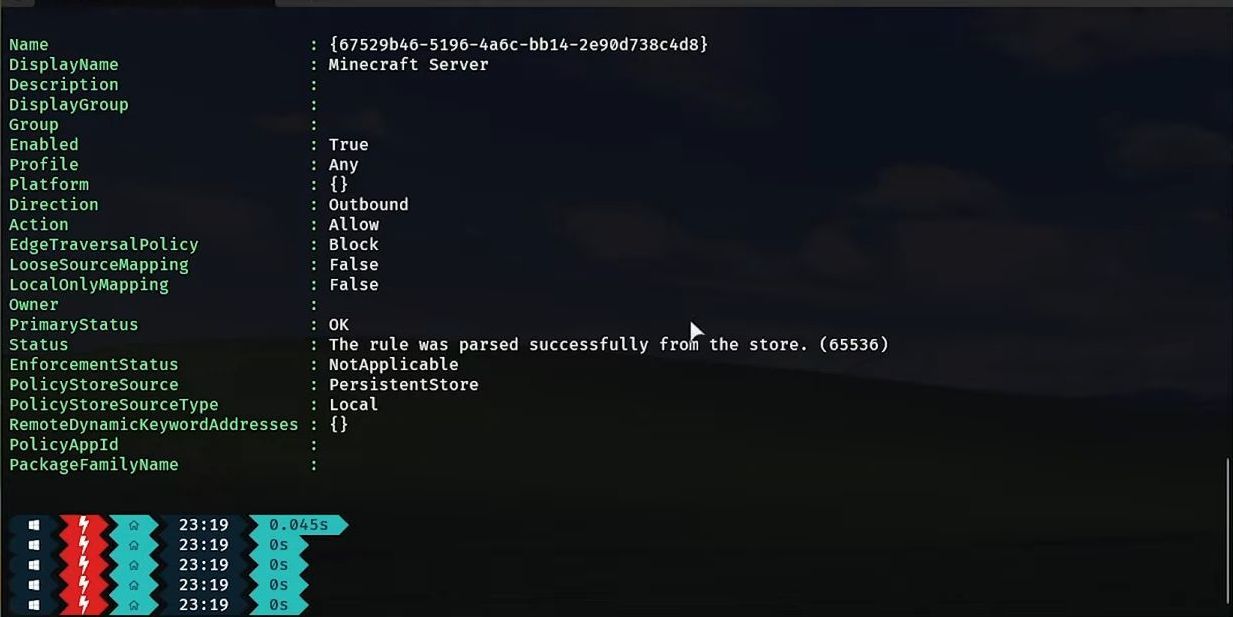
- Now, run the following commands to allow traffic for port 25565 through to your computer:
New-NetFirewallRule -DisplayName "Minecraft Server" -Direction Inbound -LocalPort 25565 -Protocol TCP -Action Allow
New-NetFirewallRule -DisplayName "Minecraft Server" -Direction Inbound -LocalPort 25565 -Protocol UDP -Action Allow
New-NetFirewallRule -DisplayName "Minecraft Server" -Direction Outbound -LocalPort 25565 -Protocol TCP -Action Allow
New-NetFirewallRule -DisplayName "Minecraft Server" -Direction Outbound -LocalPort 25565 -Protocol UDP -Action Allow- Type enter from your keyboard to ensure everything works properly.
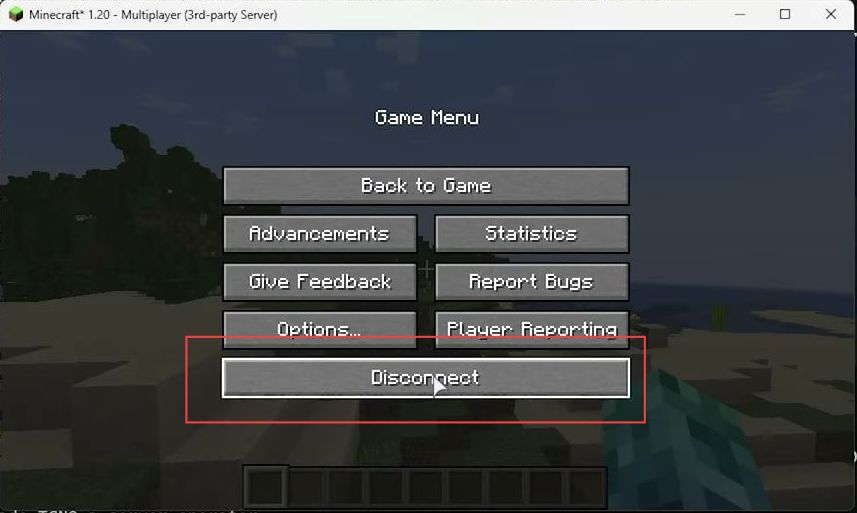
- After that click the Disconnect button from this menu.
- Connect a new server which is your local IP address.
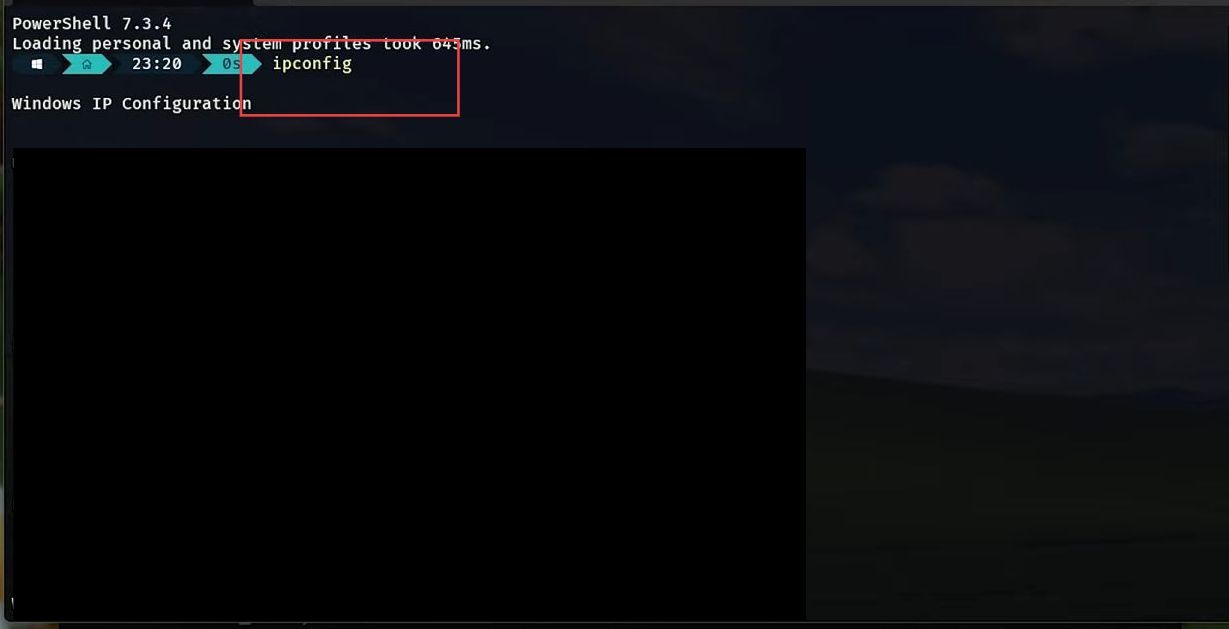
- To check your IP, open PowerShell or terminal for another time and write the ”ipconfig” command.
You can see your IP information by selecting the type of internet you are having and checking the IPV4 address which is your IP address.
- Input this local IP address in your server and click done.
This will let people from the same network connect to your server.
You can see that your server is connected to the game.
Port Forwarding info
- To connect people with different networks and over the other internet and play on your server, you must allow them to use your router firewalls and redirect the traffic on the 25565 port to your computer.
The procedure is quite simple if you know the password of your router.
Saving and exiting the Paper 1.20 server
This section describes how to manage your server. The users have to enter a specific command to save the progress of the server.
- Go to the console and write ”save-all” to save the paper 1.20 server.
- To completely close the server you must write ”stop” in the console.
It ensures that everything is saved and stopped properly otherwise you may lose some data.
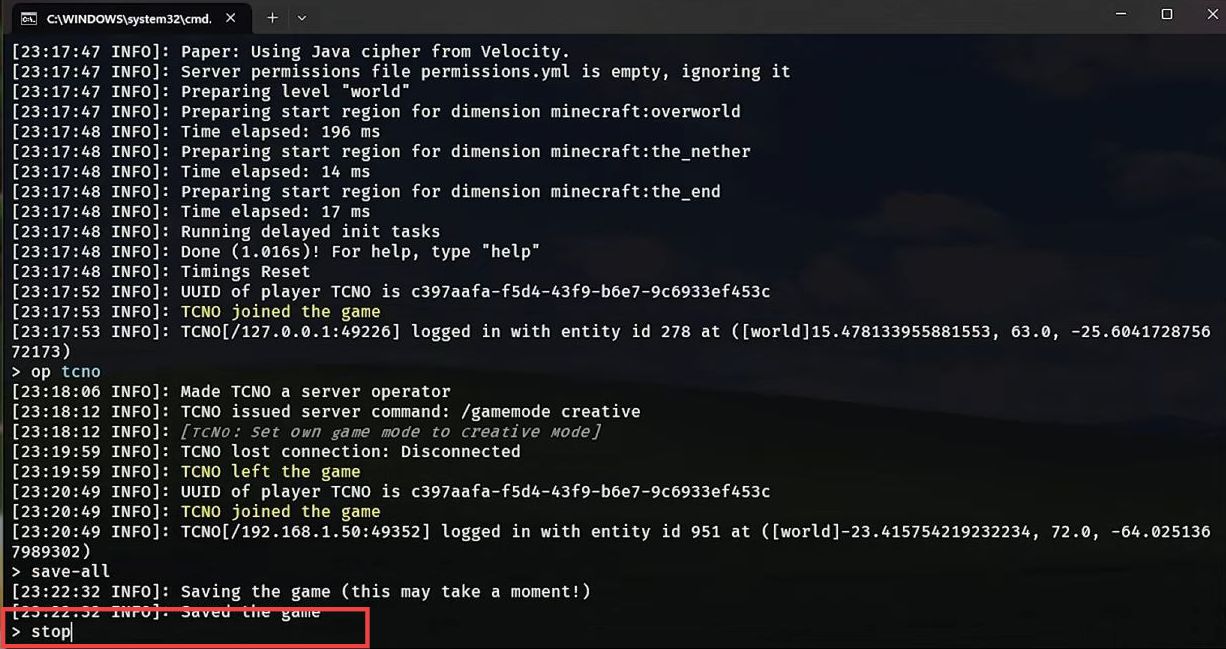
Now your server would be offline.