In this guide, you will come to know how to kill the boss in the first zone in Returnal.
The first zone is basic monsters.
With only an easy dodgeable AOE ball attack and melee, if you’re near, you can kill them with your normal shots or with a melee attack.
Next, any monsters/ plants/ shields with this effect must be killed with your melee attack.
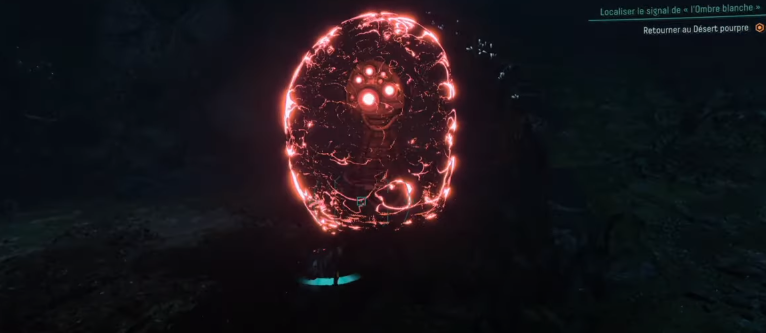
If you are beginning the game, your first goal will be to recoup your sword for melee attacks.
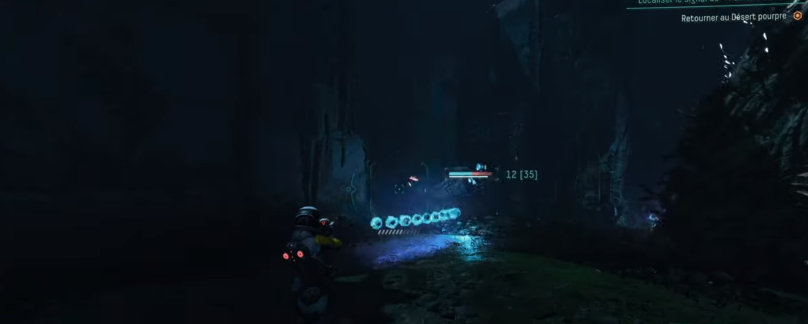
Next, recoup the door key for the boss chamber.
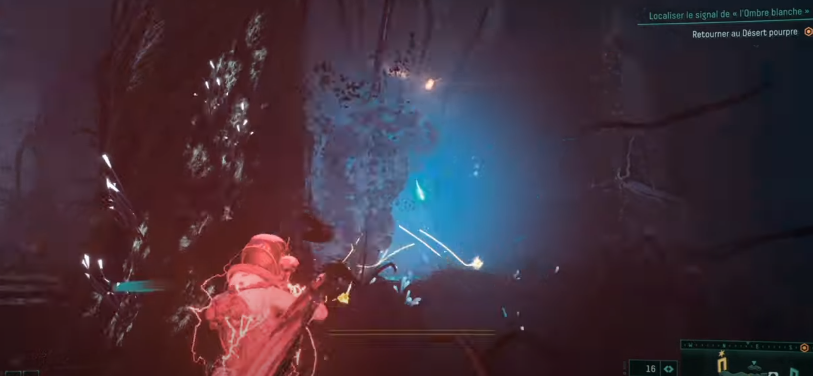
Your map will be really useful, it will show you items/ wraps and the location of the different doors. Here are the important ones.
Doors with stars are the locked event waves, doors with circles are the next zone (if the boss is killed), and the doors with triangles are the zone boss (need a key).
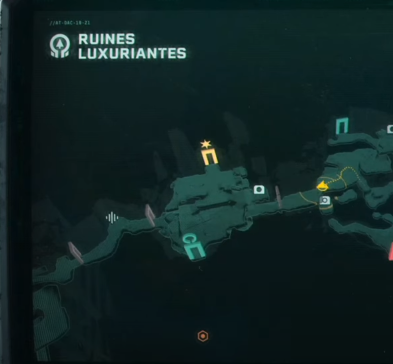
If you have already killed the first boss, the rush circle door will enable you to go to the second zone directly.
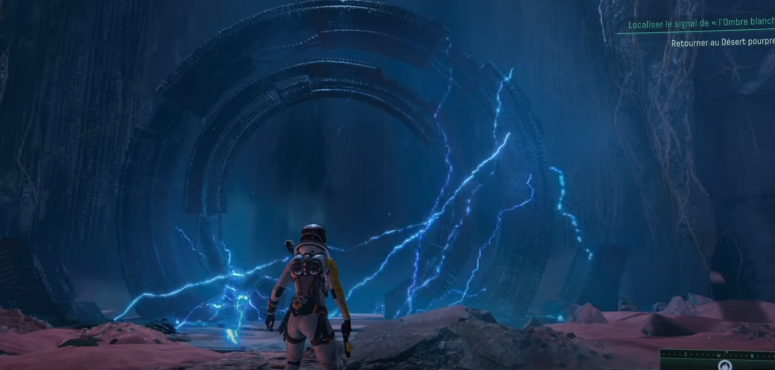
The star door will lock you in the event of 3 monster waves; you won’t be able to leave this event until you kill all the monsters. So be sure to finish all the waves without dying before entering this event. You will encounter new monsters which are a little more powerful.
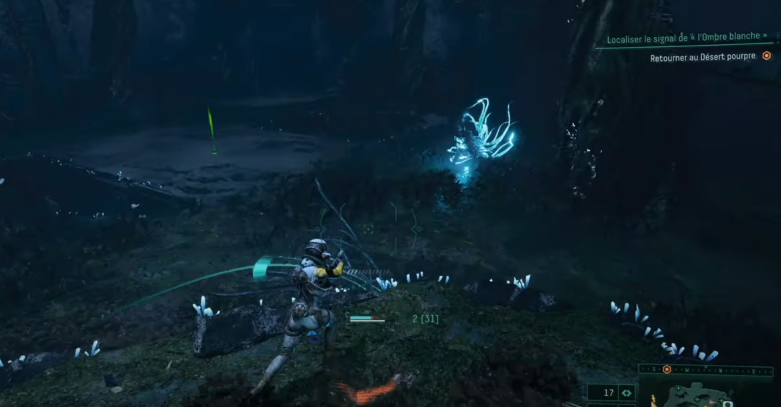
When they begin changing/ charging color, you have to prepare to dodge a big aoe attack or a big dashing melee attack. Doing this event will give you items and/or weapons each wave. The boss will be easier with more boost items and a better weapon than the basic pistol!
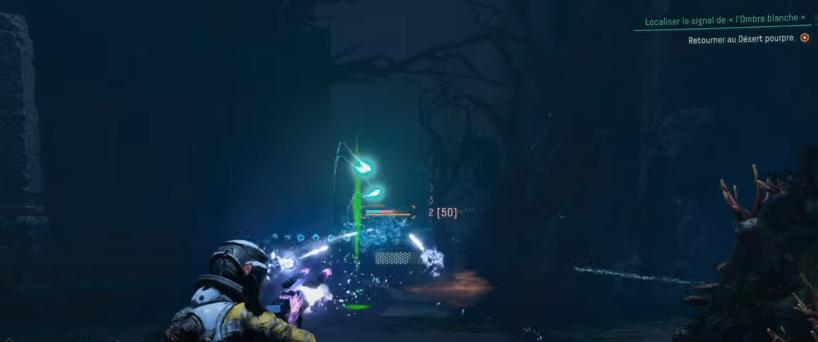
This new monster can “teleport” himself next to you. Take care of his back attacks while fighting others.
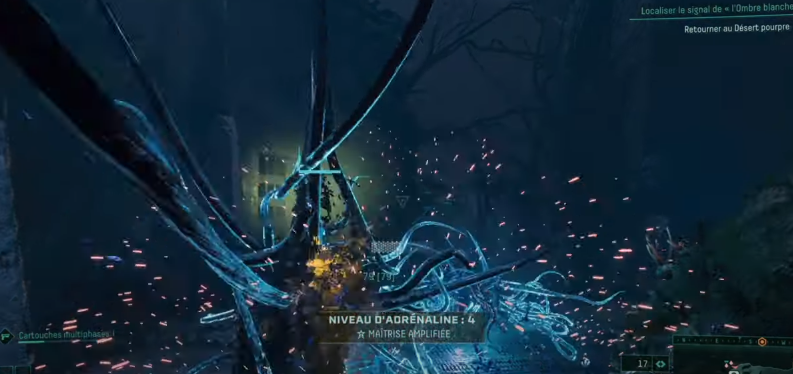
Finally, you can find the chests here. An excellent way to get stuff. When you get the door key, you will need to head to the red triangle door. You will always have a weapon here before the boss.
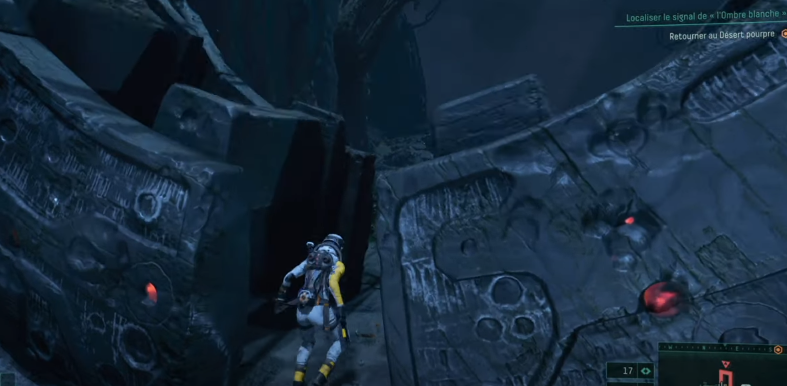
The Boss fight will be in 3 Phases. You can skip Boss Intro with Holding X.
You will always have to watch him see which attack pattern he is going to do!
This attack can be dodged by only going in one direction constantly. The raining ball is easy to dodge but take care with his following attack. You will have to change direction to avoid being it like go: left-right- left-right etc.
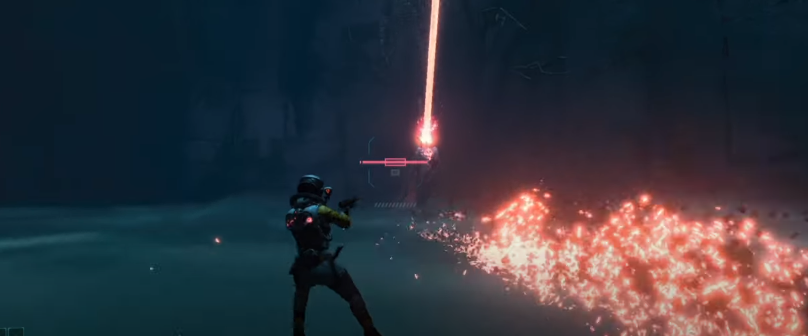
Lastly, he will make the beam attack; you have to dash or jump side. He will repeat these attacks until phase 2 begins when he loses his first life bar.
Again here, left- right- left – right, etc.
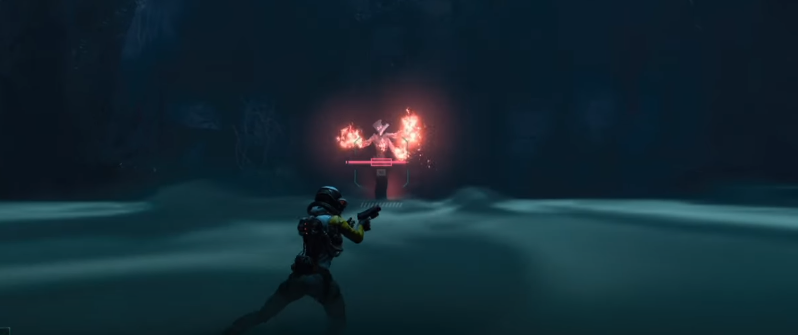
Sometimes, he will go to the ground and reappear next to you, So take your distance and continue the fight like before.
A little bit more interesting with his Phase 2!
He will have the same attack pattern as in phase 1 but also have some new attacks.
He will do a circling beam and then charge you. So you have to be prepared to dodge the charge attack and jump the beam.
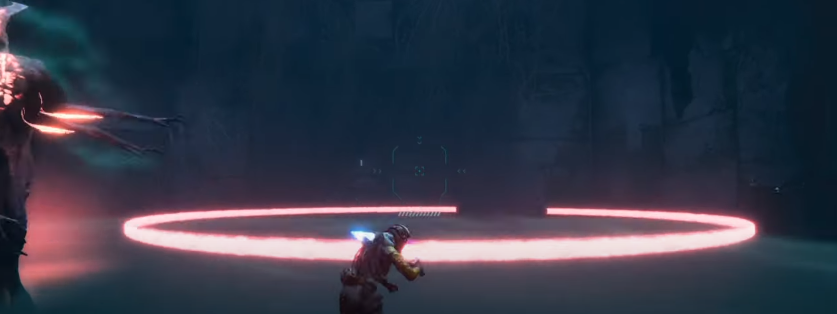
Like in Phase one, the left-right left-right attack will last much longer.
And now he will also do an arc beam. Be prepared to jump-dash when you see him casting. The key to the fight is knowing what he will do and how to dodge it. So really, take care of his attack animations. That’s all for Phase 2; he will recast all of these attacks until Phase 3.
The real fight will begin with phase 3.
Now he can make twice his Charge attacks. Take care of it, as he will do Twice some previous attacks as well.
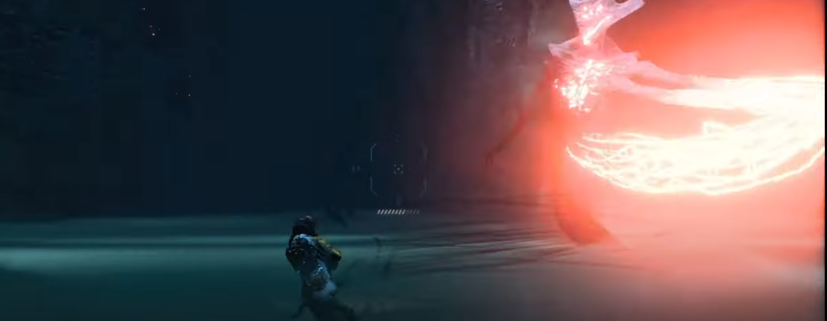
He will now do an Aoe grounded ball. So, you will need to move to dodge the balls (they can also be recouped). He will also launch blue projectiles at you simultaneously; just move in one direction as usual to dodge. His raining ball will be cast Twice now, and take care of his direct beam!
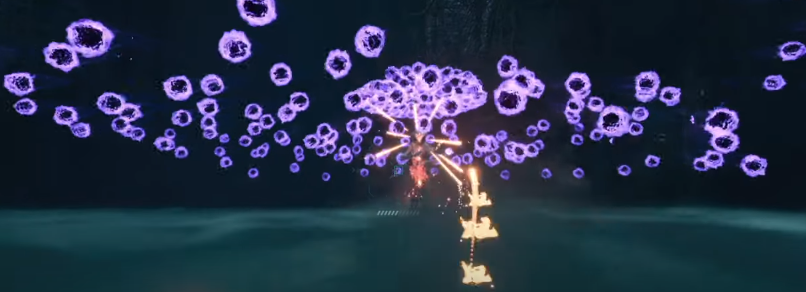
Also, there will be 2 Circles Beams now. Be prepared to jump twice or a Big Dash.
That’s all; you now know every attack he could do!
Just focus on dodging/adapting to his attacks, and you will kill him easily.
You don’t need to zoom while attacking or secondary attack. Just hold your attack button and focus on dodging. If you feel comfortable enough, you can use them.
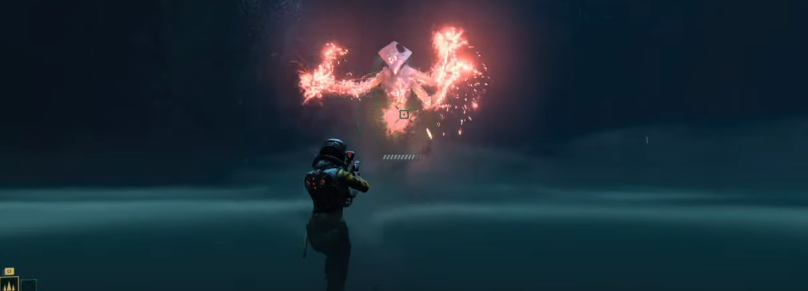
While you are holding a movement direction, take care of obstacles that can prevent you from moving. Go left-right and not forward or backward, or you will lose your life like that.
