In this guide, you will come to know how to do FPS Optimization for low-end PC & laptops. Go through the guide and follow all the steps to do so.
Overwatch 2 Video Settings
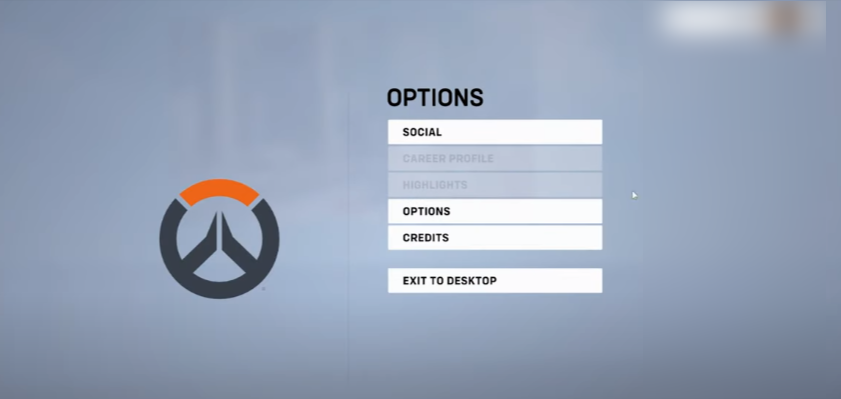
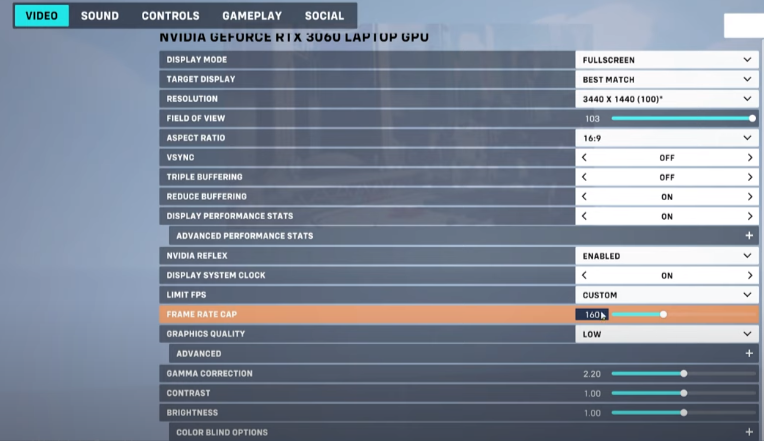
You have to open up Overwatch 2 and navigate to your Video Settings. Most of these settings are also available in Overwatch 1, but some additional texture and detail options are available here. First of all, you have to set the Display Mode to fullscreen; it will improve your performance in most cases. And also, set the Resolution to your native monitor resolution. The Field of View will not change your performance, and increase this option to 103.
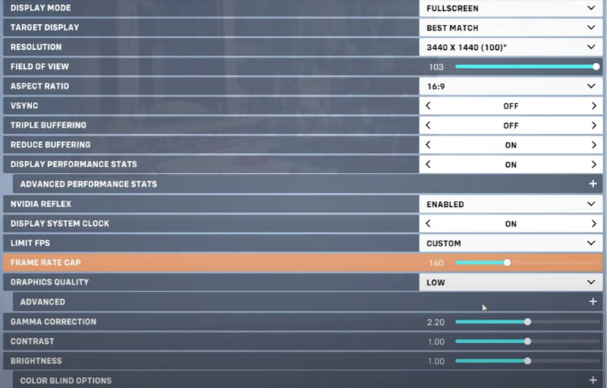
After that, disable V-Sync, especially on monitors with a low refresh rate. You also have to disable Triple Buffering and enable the Performance Stats option, including all available performance indicators, such as the FPS, GPU temperature, and VRAM usage, to see how well the game runs on the system. In most cases, NVIDIA graphics card users should set the NVIDIA Reflex option to Enabled. It will reduce input lag and your overall GPU latency. After that, set the FPS Limit to custom, and set the Frame Rate Cap to a value above your monitor’s refresh rate.
Windows Display Settings
If you’re unsure about your monitor’s refresh rate, you need to right-click your desktop and select Display Settings. You have to select the correct display and click on Advanced Display under Related settings. There, you have to choose the highest refresh rate available to you. In your Overwatch 2 video settings, you can set the overall Graphics Quality preset to Low, Medium, or even High, depending on your PC’s performance. Setting it to Ultra or Epic will not make much difference when using a 1080p resolution on your monitor.
Advanced Graphics Quality Settings
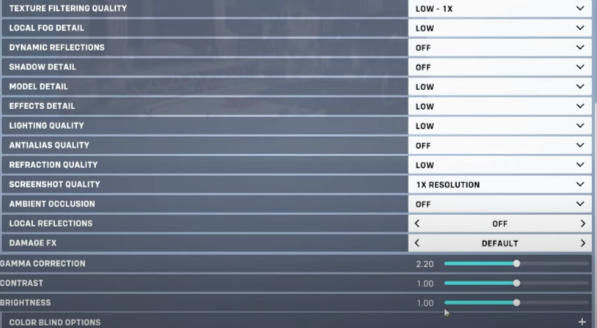
When expanding your Advanced Graphics Quality settings, you can set the Render Scale from 50% to 200%. This option will have a lot of impact on the game’s performance, especially when using a low-end graphics card. This option will be set to 100% by default. If you experience low system performance after lowering most of your video settings, then make sure to reduce the render scale to 75%. It will reduce the visual texture quality of the game, but it will certainly make it playable on your system. It is a competitive first-person shooter; you can reduce your texture and detail settings to get the most performance.
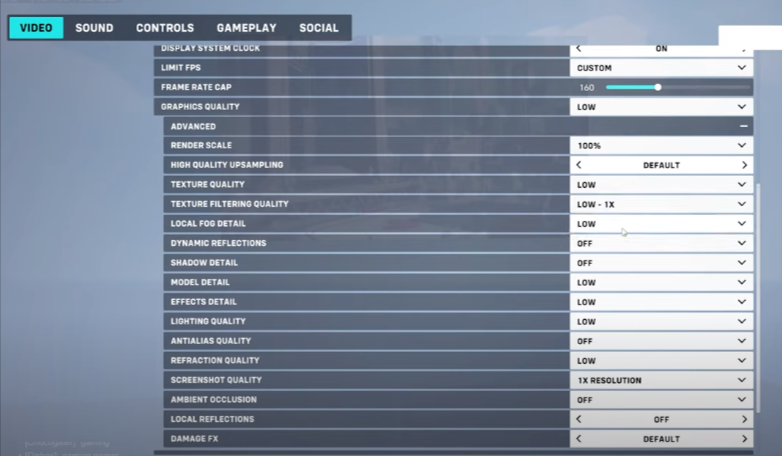
You might want to increase some of these settings when using a better PC. You have to set the Texture Quality to Low, which will still leave you with decent in-game quality. After that, disable the Reflections and Shadow Detail and set the Detail settings to Low. Turn off Anti-Aliasing as well as Ambient Occlusion. Lastly, you will need to disable Local Reflections, and the other settings, such as Gamma Correction, Contrast, or Brightness, will have no impact on the game’s performance.
End Resource Intensive Tasks
After applying your changes, you can close the game and open up your Task Manager. To reduce CPU utilization from other programs, you have to stop some programs from running in the background, which you don’t need when playing the game. But make sure to only end programs from running so that you know you won’t break your operating system. In the Startup tab, you can additionally prevent programs from starting up on system boot. You can then close your Task Manager.
Update Graphics Driver
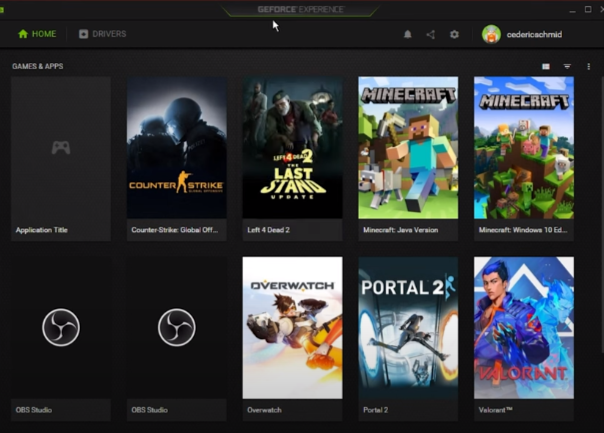
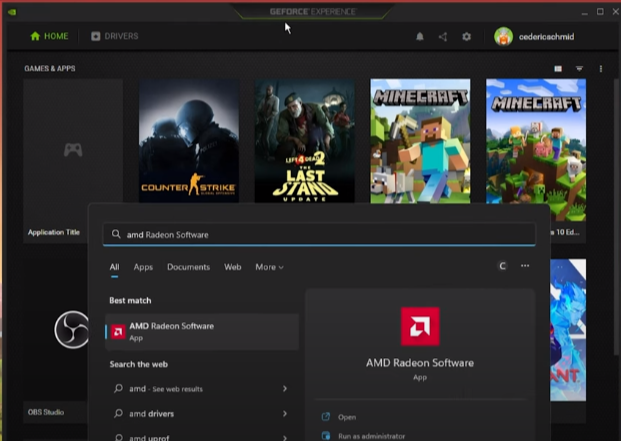
You should make sure that your graphics card driver is up to date. Use the GeForce Experience application if you’re using an NVIDIA GPU, but you can also use the AMD Radeon Software. In the Drivers tab, click on Download, and the application will automatically download and install the latest driver. Repeat this step at least a few times a year to ensure that you get the most out of your hardware.
NVIDIA Image Scaling & Overlay
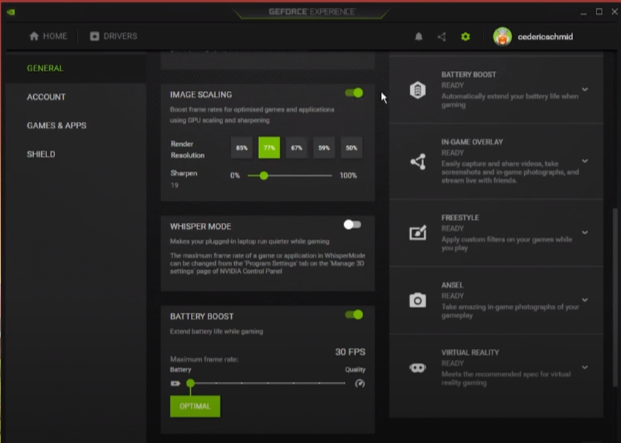
When navigating to your GeForce Settings, disable the In-Game Overlay in your General settings tab, as application overlays often cause performance issues. Below, you have the option to enable the Image Scaling option. This option is not available for some of you as your graphics driver is not up to date. Enabling NVIDIA Image Scaling can dramatically increase your frame rate for any game you play on your PC.
Windows Game Mode
After making sure that your GPU driver is up to date, open up your system settings window. Here, navigate to the Gaming section. Under Game Mode, you can enable or disable Game Mode on your PC. In theory, Game Mode should prevent Windows Update from performing driver installations and sending restart notifications and help achieve a more stable frame rate while in-game.
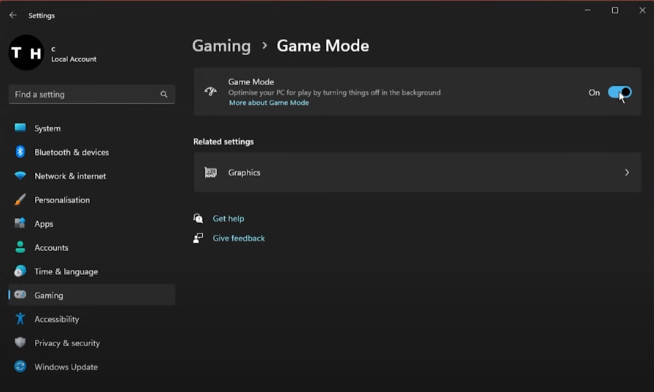
Windows Graphics Settings
In your Related settings, select Graphics. Click on Browse to change some custom graphics settings for Overwatch 2. In your File Explorer, navigate to the drive on which you saved the game. The file path is Program Files > Overwatch > beta and here, select Overwatch. It will add Overwatch 2 to this list below. When selecting Options for Overwatch 2, make sure to set the Graphics preference to High performance, which in most cases will take advantage of your graphics processor to help run the game on your system.

Windows Update
Keep your Settings window open and search for Update to get to your Windows Update settings. Make sure to check for recent updates, and in case there is an update available to you, make sure to download it before restarting your PC, which will install the update for you.
