By adjusting dead zones you can achieve pinpoint accuracy and responsiveness. Dead zones affect how much you need to move the thumbsticks before they register in-game actions. Follow these step-by-step instructions to set dead zones to zero on your controller for seamless precision in Fortnite.
Step 1: Accessing Controller Settings
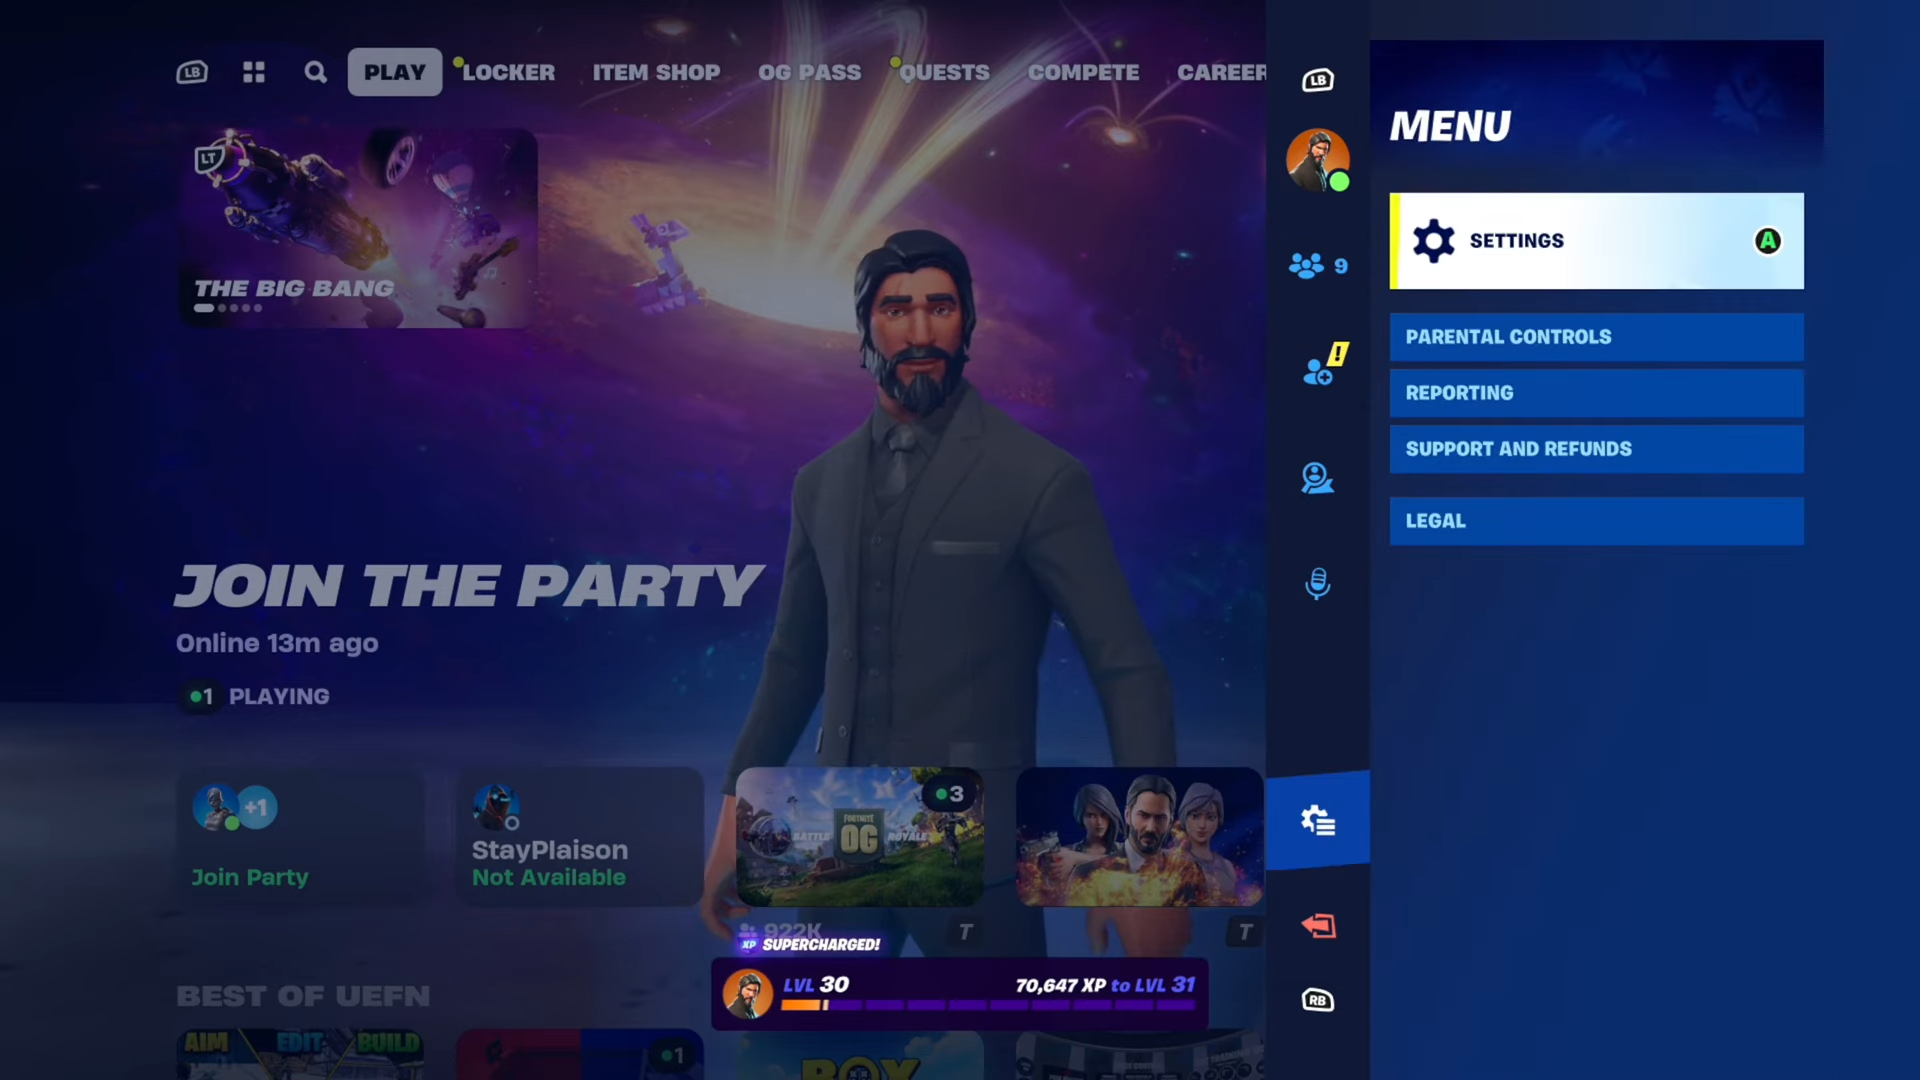
- Press the “Options” button while in Fortnite.
- Navigate down to “Settings” and select the “Controller” option using R1.
Step 2: Adjusting Dead Zones in Controller Settings
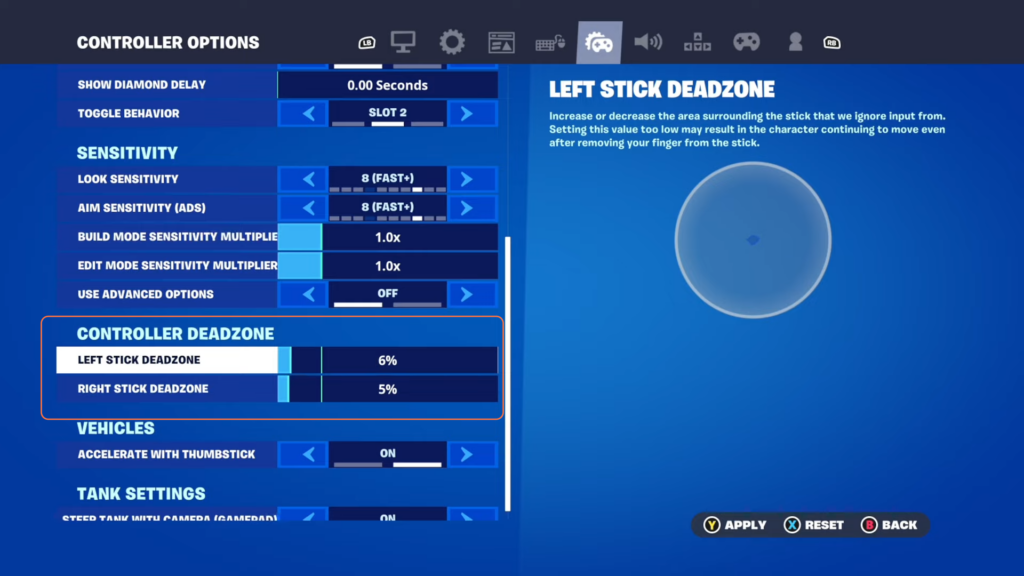
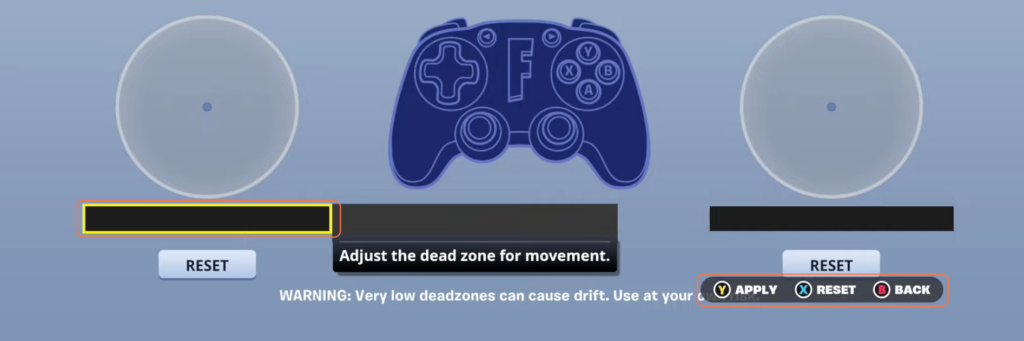
- Within the Controller settings, locate the dead zone slider for the right and left thumbsticks.
- Modify the dead zone sliders by moving them up and down to set your preferred dead zone. But remember that this initial adjustment might not offer absolute zero dead zones.
Step 3: Accessing Wireless Controller Custom Settings
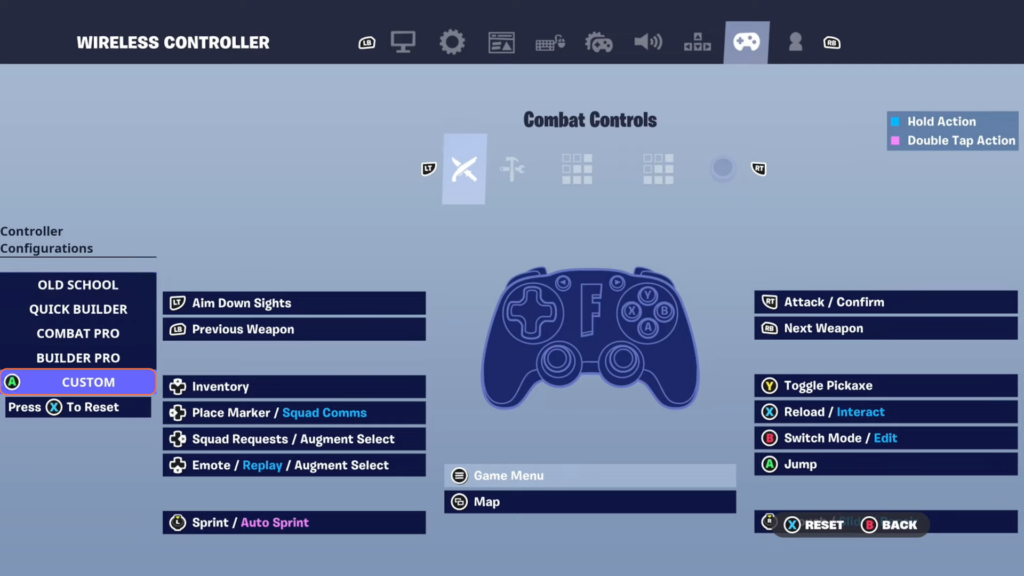
- Tab over using R1 to navigate to the “Wireless Controller” section.
- Navigate to the ‘Custom’ option and select it.
Step 4: Fine-Tuning Dead Zones
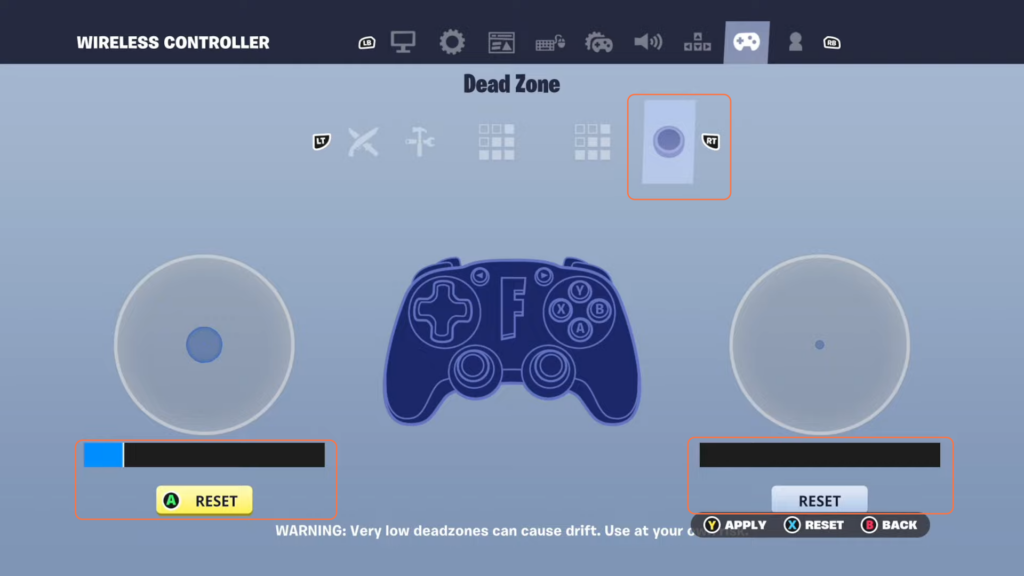
- Within the Custom settings, locate and press the ‘RT’ button to access the dead zones option.
- Adjust the dead zone settings for both the left and right thumbsticks according to your preference. Remember, these adjustments won’t display your stick movements in real time.
Step 5: Applying Dead Zone Changes
- Apply your chosen dead zone settings by pressing the ‘Y’ button. This locks in your adjustments.
- To return to the default dead zone settings, select the option to reset. This restores the initial dead zone configuration.
Remember, while setting dead zones to zero can provide maximum responsiveness, it may also lead to controller drift issues.
By following the above steps you can easily adjust the Deadzones to Zero in the Fortnite game.