This guide will show you how to change the DNS server on your PlayStation 5. You have to navigate to the Set Up Internet Connection in the Network settings and try three different DNS servers to check which one fits well.
- You first have to access the main menu of your console and look for the “Settings” icon at the top.
- Select the “Settings” icon to access the settings menu.
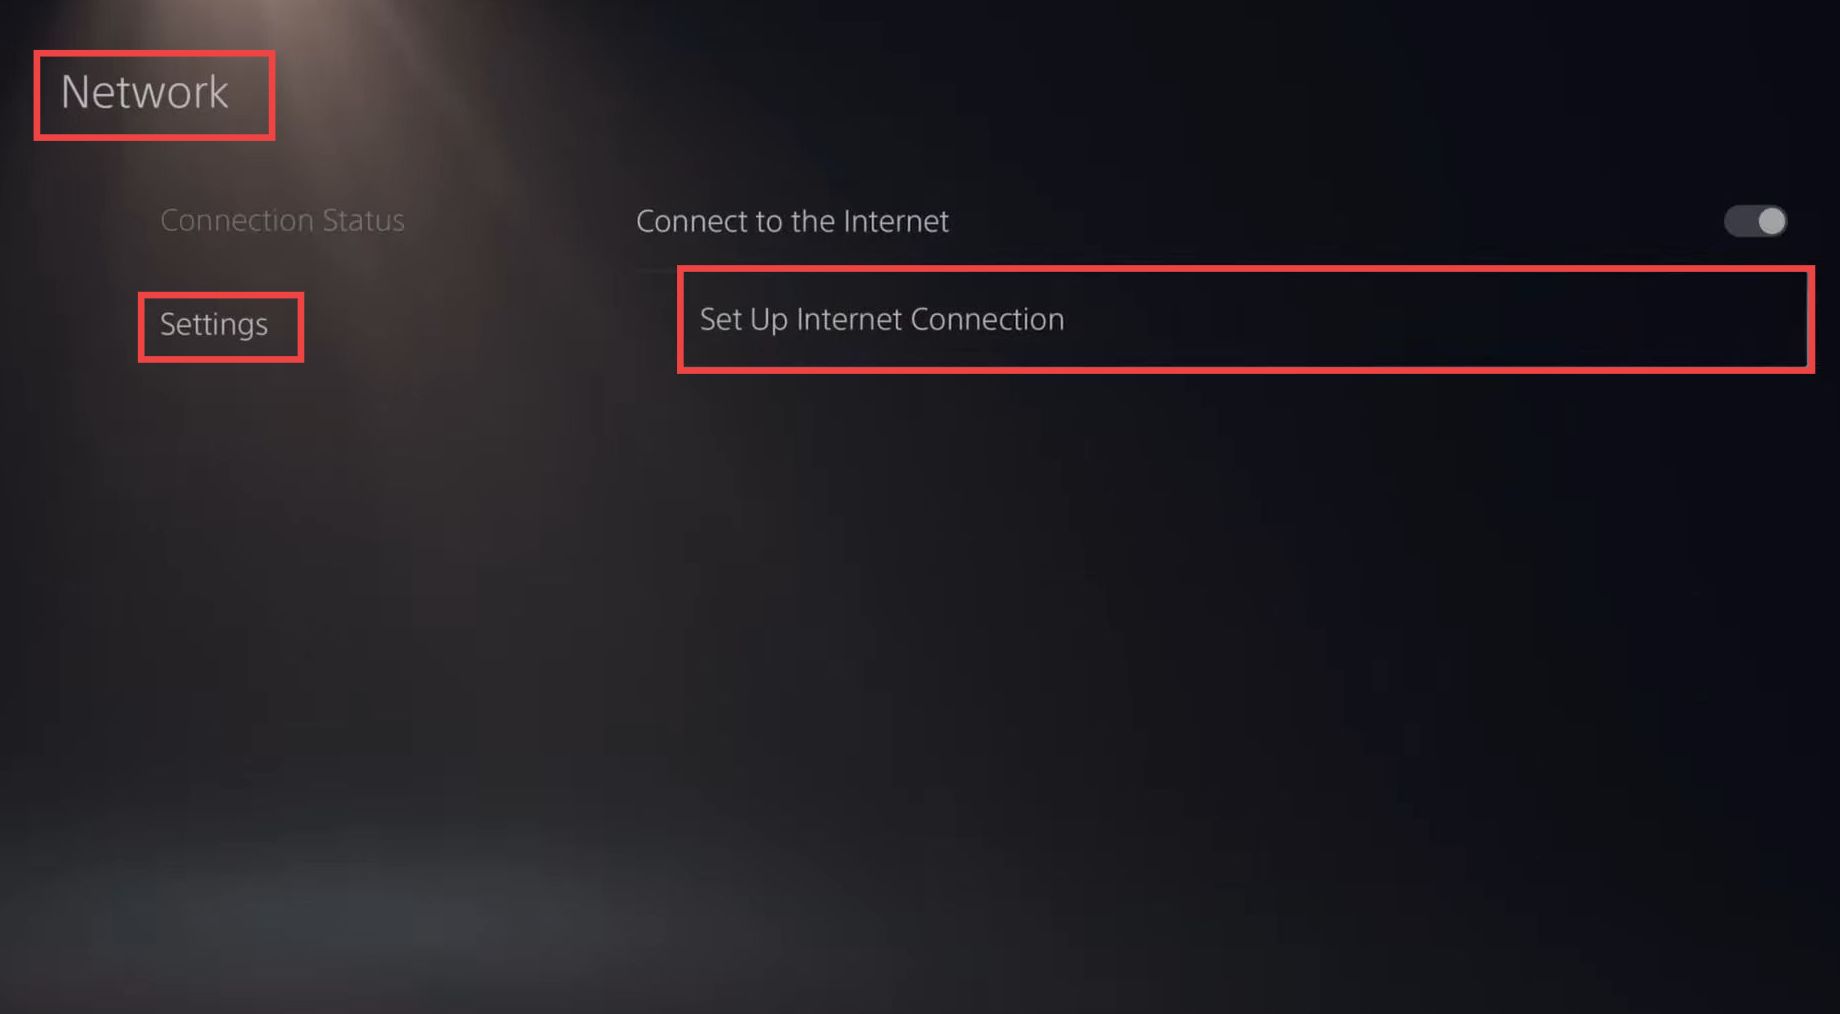
- Within the settings menu, locate and select “Network.” After that, click on “Set Up Internet Connection“.
This option is used to configure and establish a new internet connection on your console.
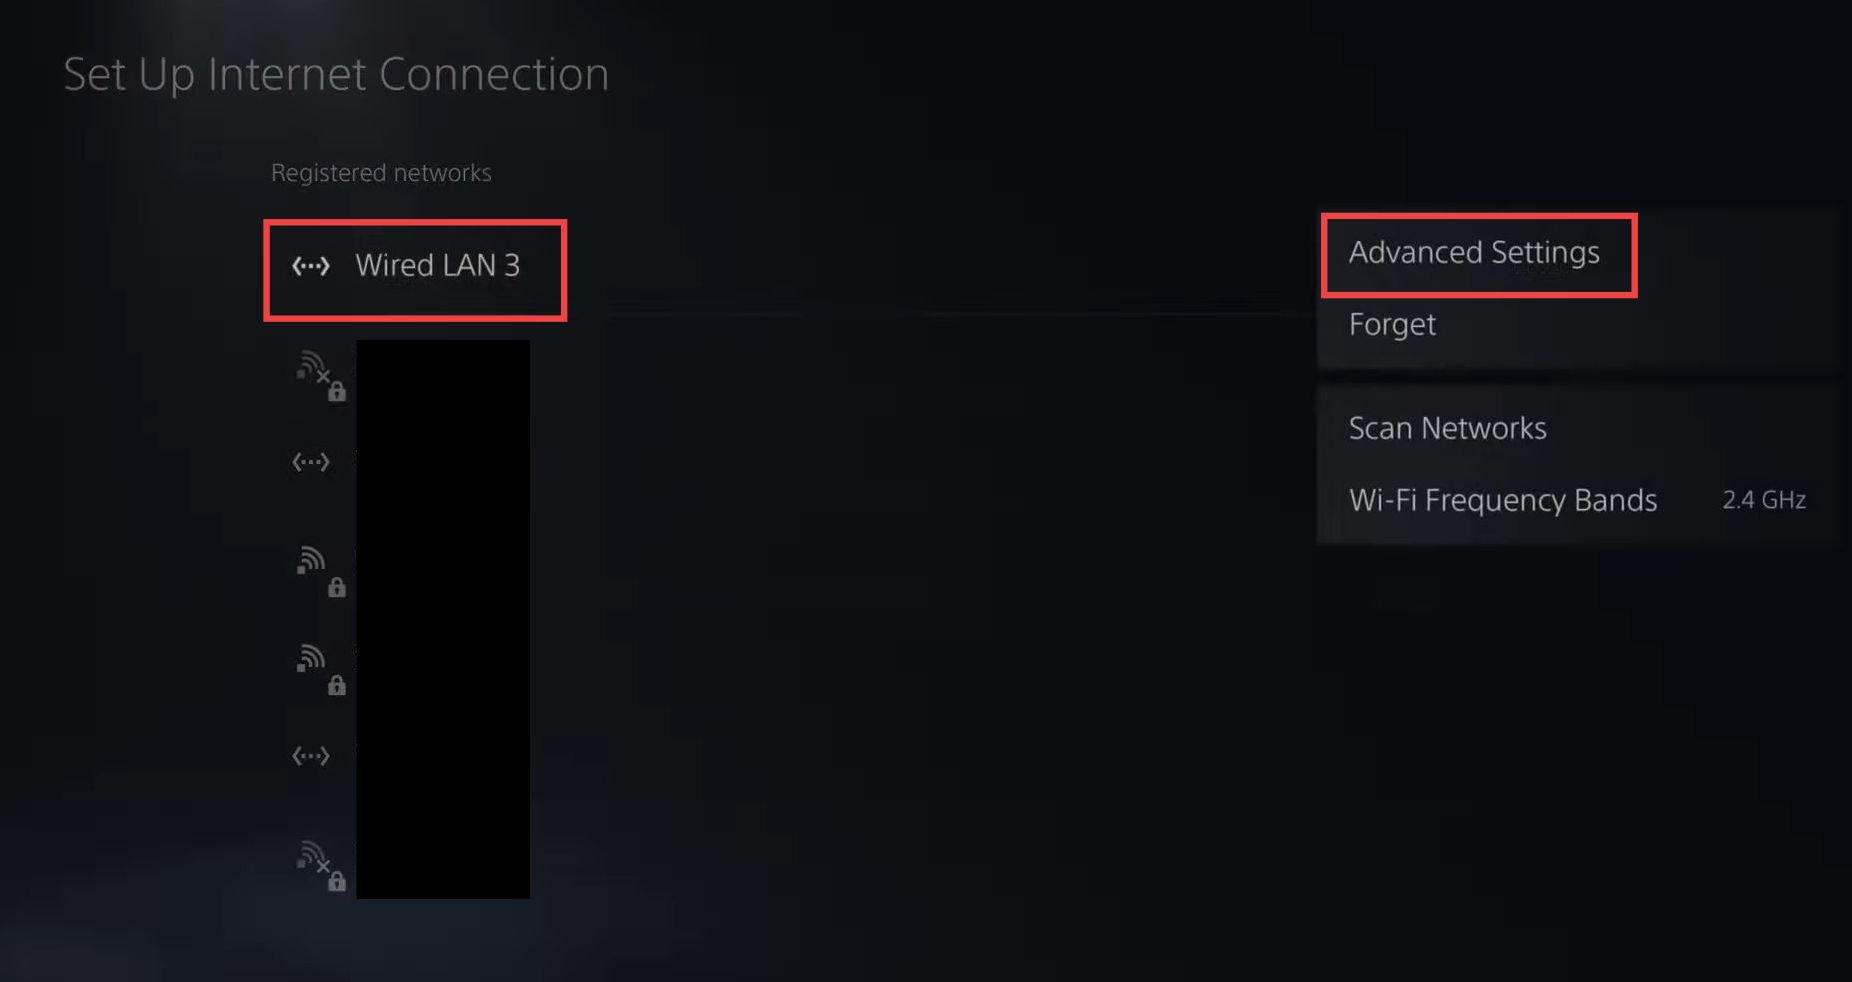
You will see a list of available internet connections.
- Select the internet connection you are currently connected to from the list and press the “Options” button.
- From the menu, look for an option labelled “Advanced Settings” and select it.
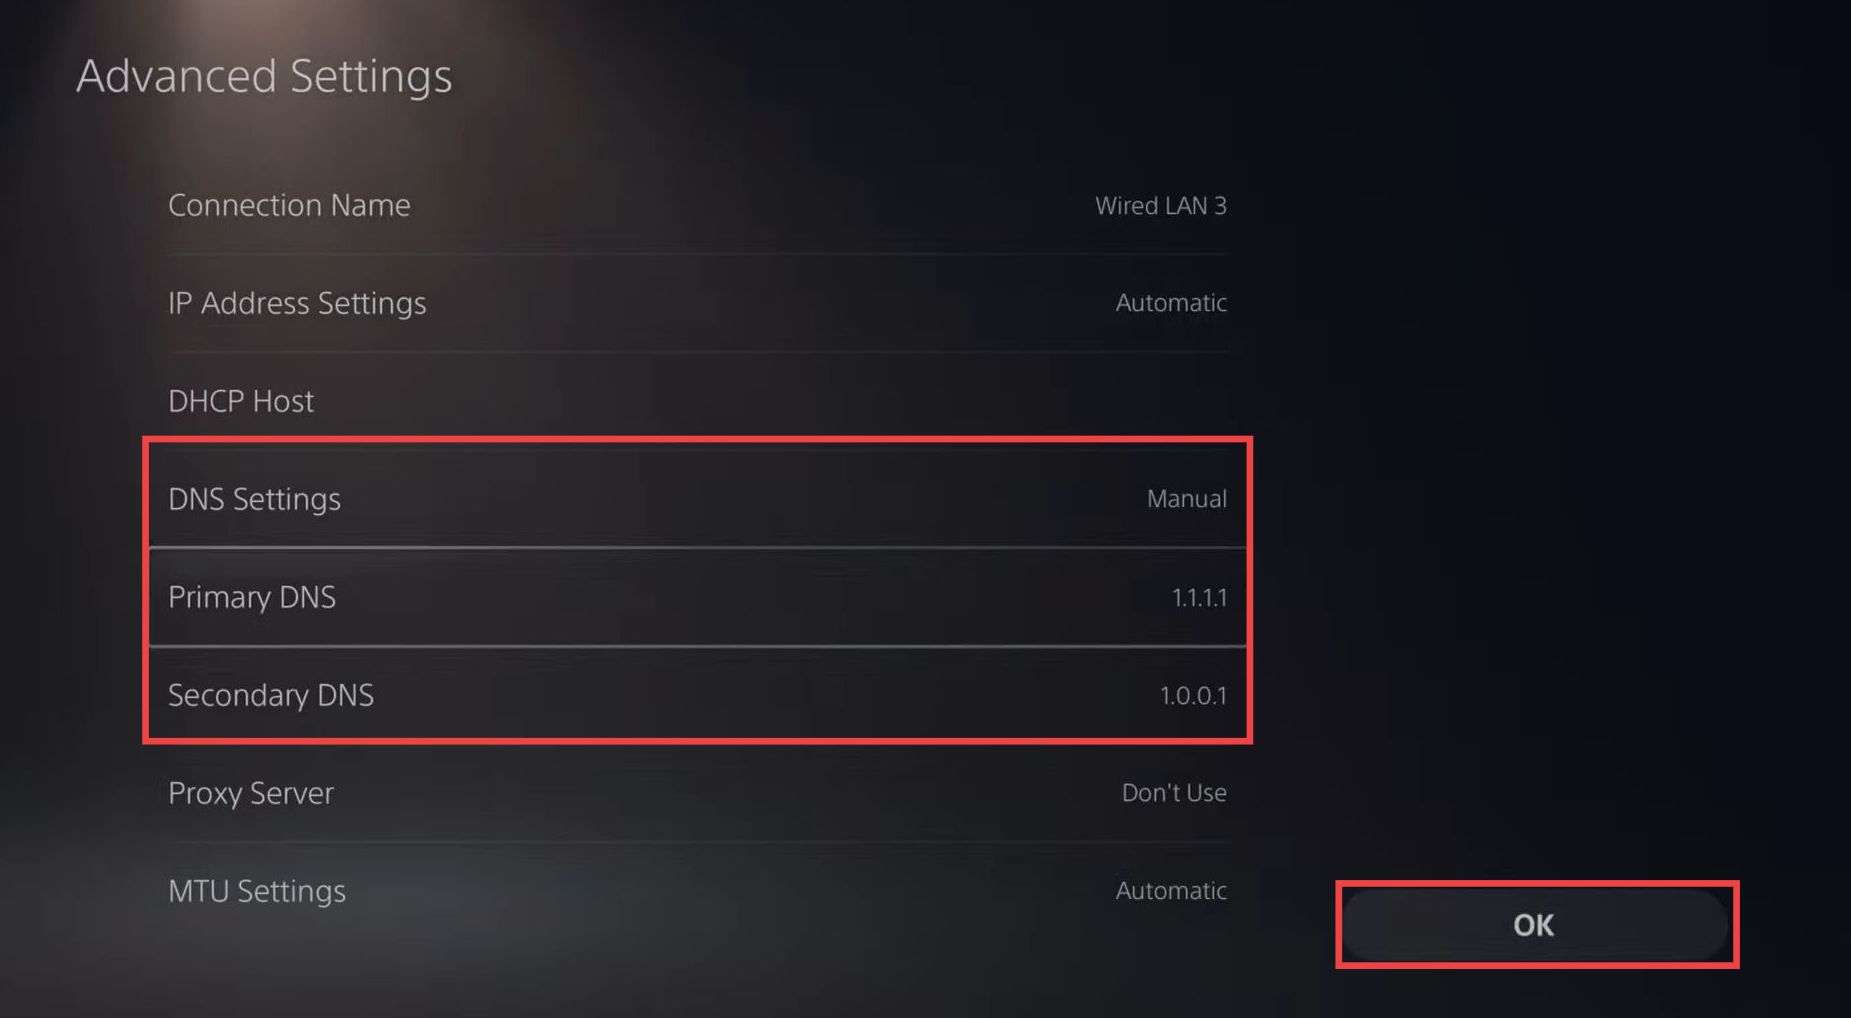
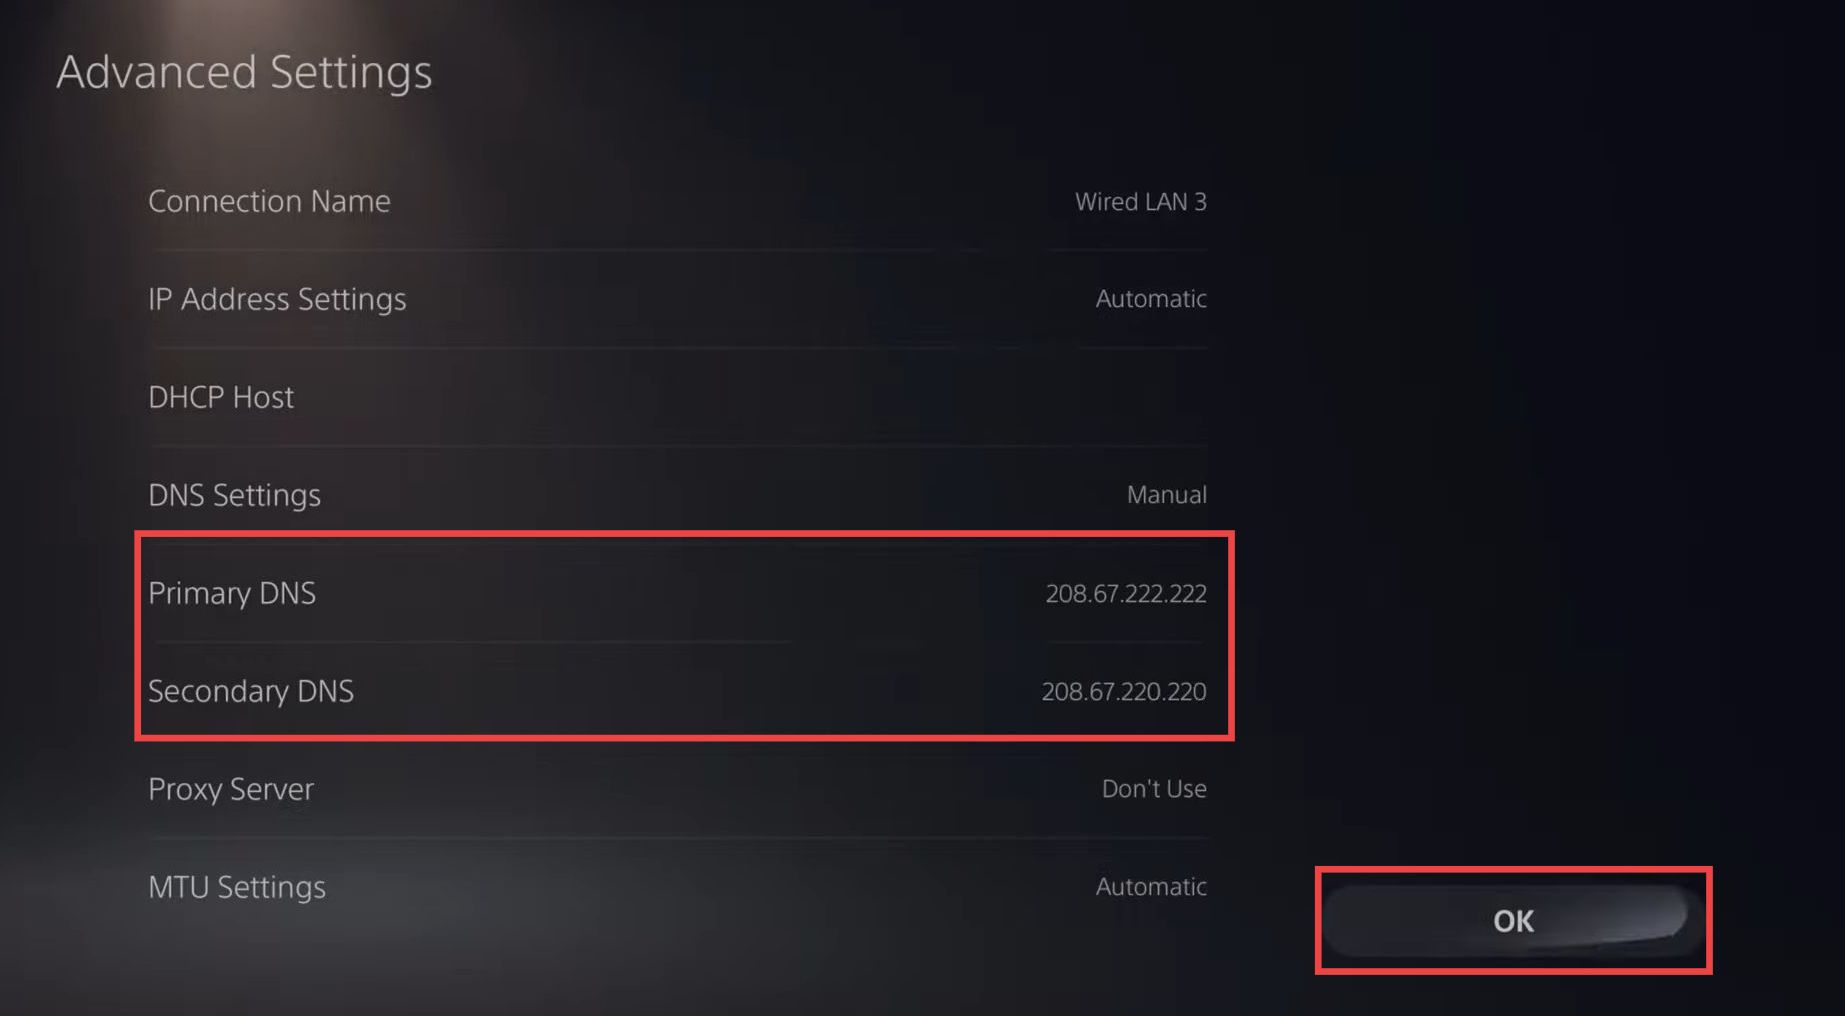
- Select the option to change the DNS settings to manual. Enter “1.1.1.1” in the field for the Primary DNS address and then input “1.0.0.1” in the field for the Secondary DNS address.
It is the Cloud flare DNS. - Once you have entered the DNS addresses, press the “OK” button to save the new DNS settings.
- If you encountered issues with the DNS settings you previously entered, then try the Google Public DNS servers.
- In the field for the Primary DNS address, enter “8.8.8.8” and enter “8.8.4.4” as the Secondary DNS address.
If the Google Public DNS option also doesn’t work, you have another alternative called “Quad 9 DNS,” which provides additional security features. - In the field for the Primary DNS address, enter “208.67.222.222” and input “208.67.220.220” as the Secondary DNS address.
- Press the “OK” button to save the changes.
Now your device will start connecting to the network using the new DNS server addresses.
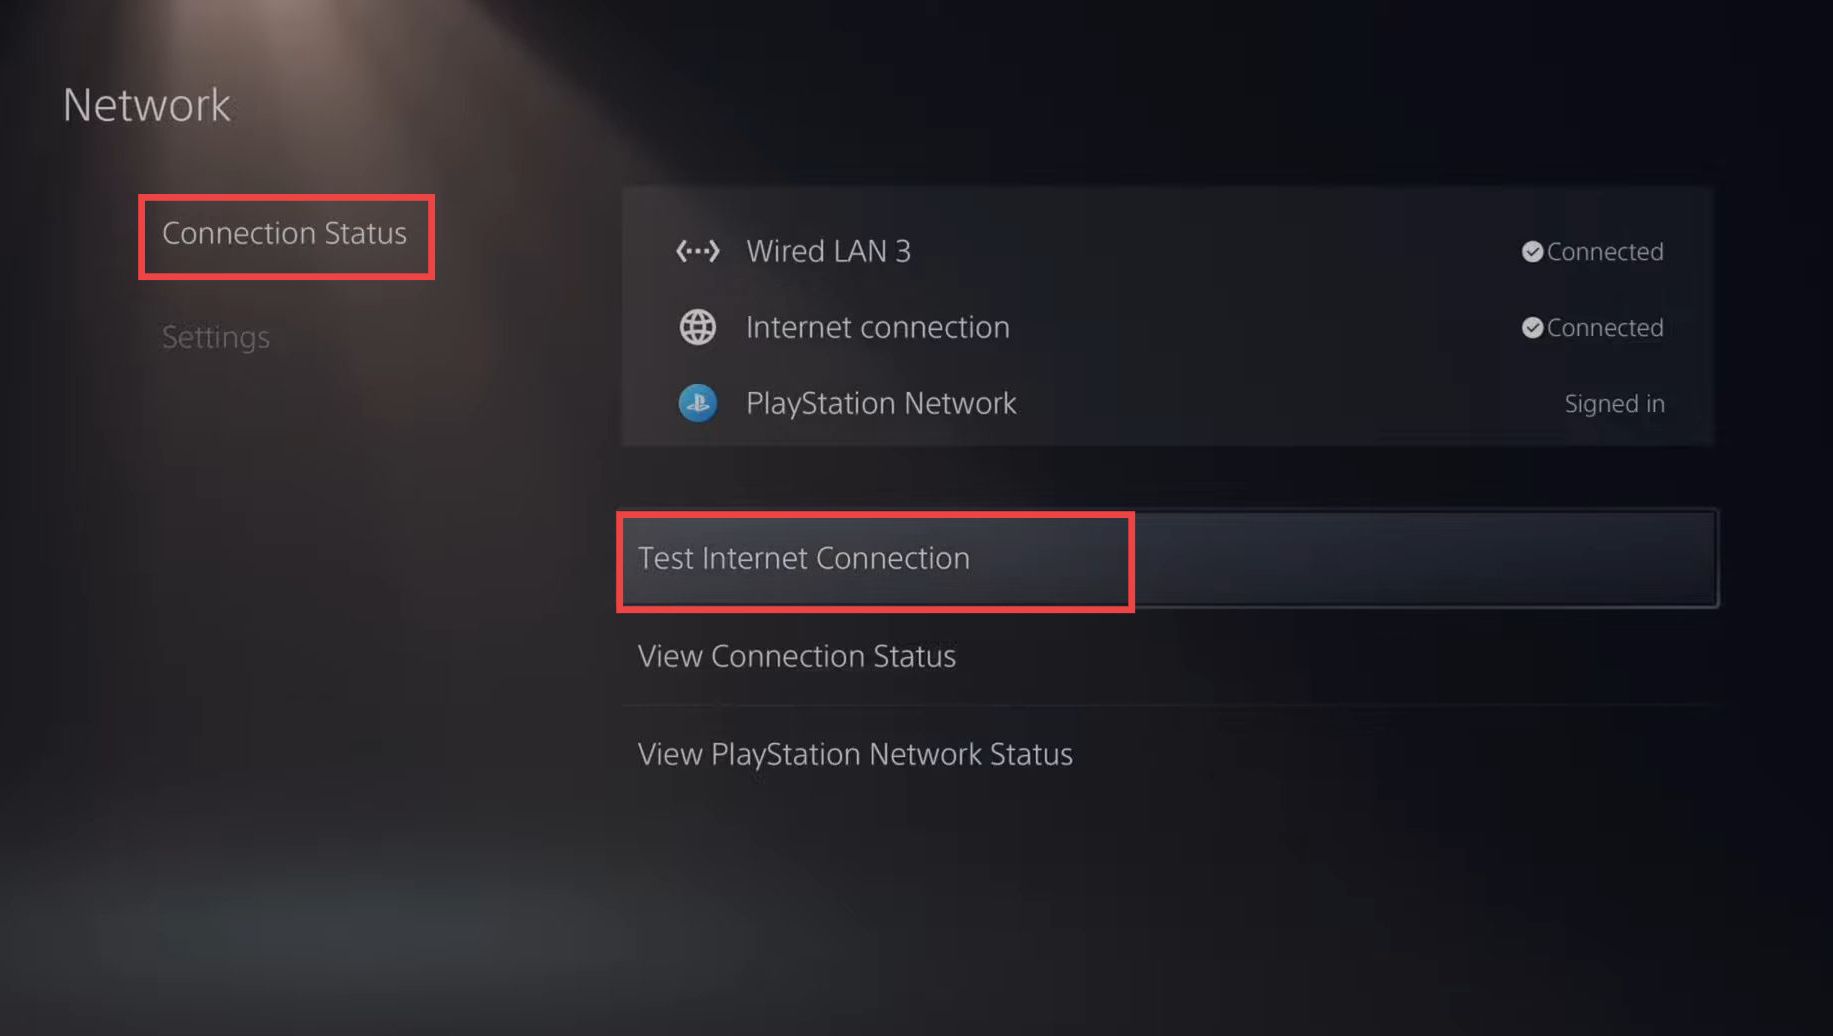
- After that, go to Connection Status and click on Test Internet Connection.
- Click on Start Test when a window pops up and check if the download and the upload speed are any different.
