This guide helps to connect Nintendo Switch Joy-Cons to Dolphin on Xbox. You first have to install Joycon Files, add an IPv4 address in the Better Joy, and then add an IPv4 address in DSUClient. After that, add Dolphin configuration settings to USB, and then add DSU Client from Joy-Con to Dolphin.
Installing Joycon Files
In this section, we will take you through the steps to download and install Joycon Files on your computer. First, you need to open the browser and download the Joycon Files in a suitable location. Extract the Better Joy zip and download the driver based on your computer operating system.
- First, you need to open the browser of your computer and download the Joycon Files for Nintendo Switch.
- Choose a suitable location for the downloads, such as your desktop or downloads folder. After that, click the Save button.
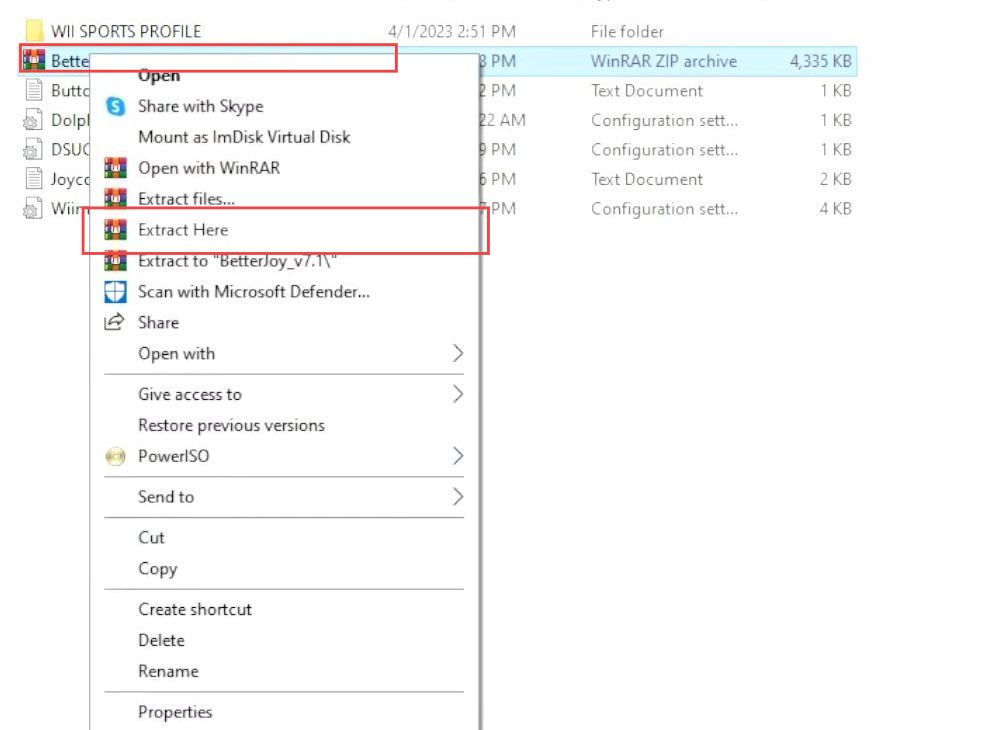
- Once the file is downloaded, navigate to the download location and right-click on the file.
- Now click the location where you want to extract this file such as Desktop. After that, double-click the Joycon extracted folder to open it.
- Right-click the Better Joy zip file and select the Extract Here option from the drop-down menu.
- You have to wait a few minutes till all the files are extracted.
- Once the files are extracted, double-click the Drivers folder from the top side to open it.
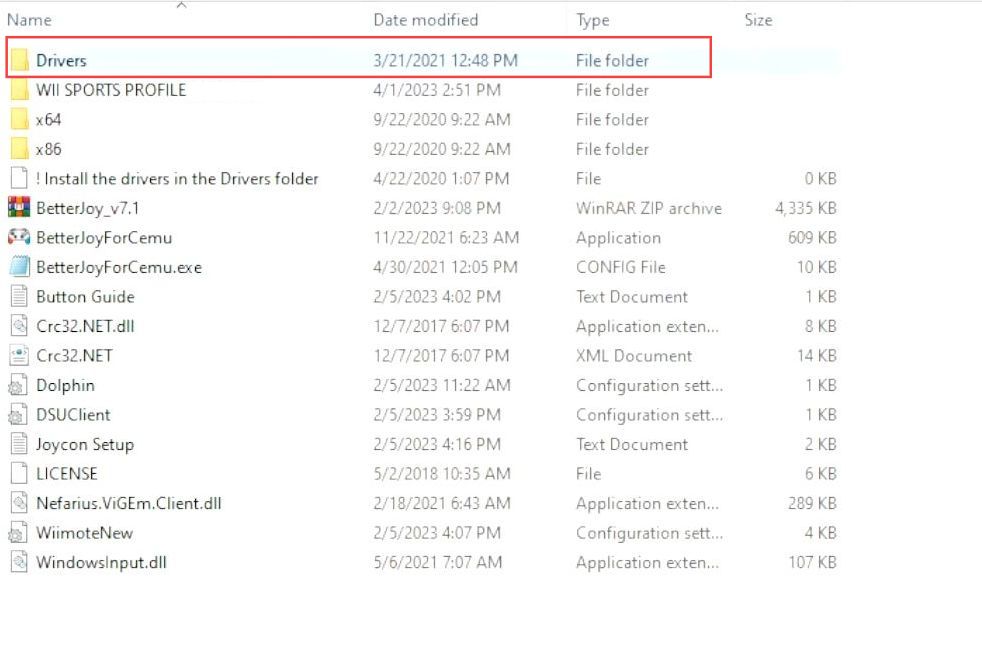
- You have to download the driver based on your operating system.
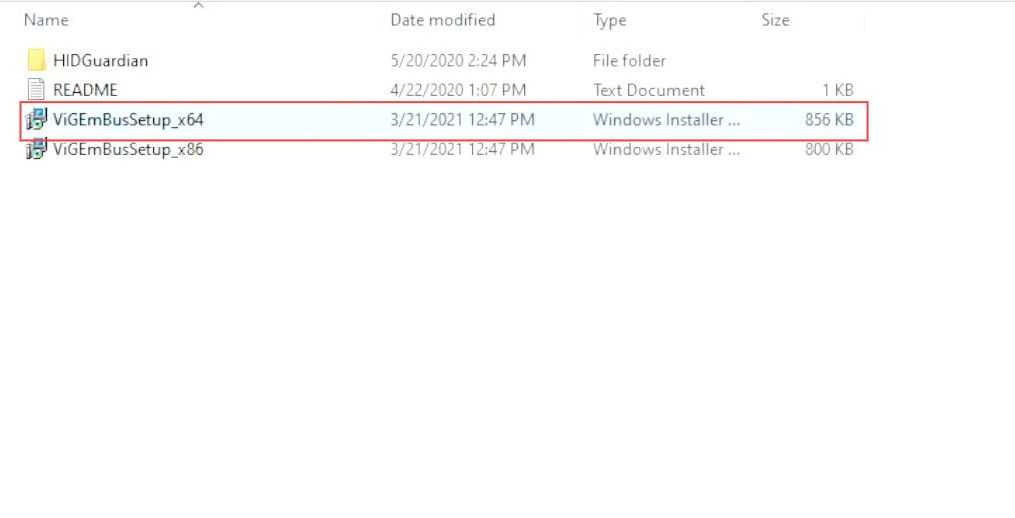
If you have a 64-Bit operating system, then download the file with x64 in it.
However, if you have an 86-Bit operating system, then download the file with x86 in it. - Click the ViGEmVBusSetup_x64 driver from the folder to download it.
- Now you have to wait a few times until the driver has been downloaded completely.
Adding IPv4 address in the Better Joy
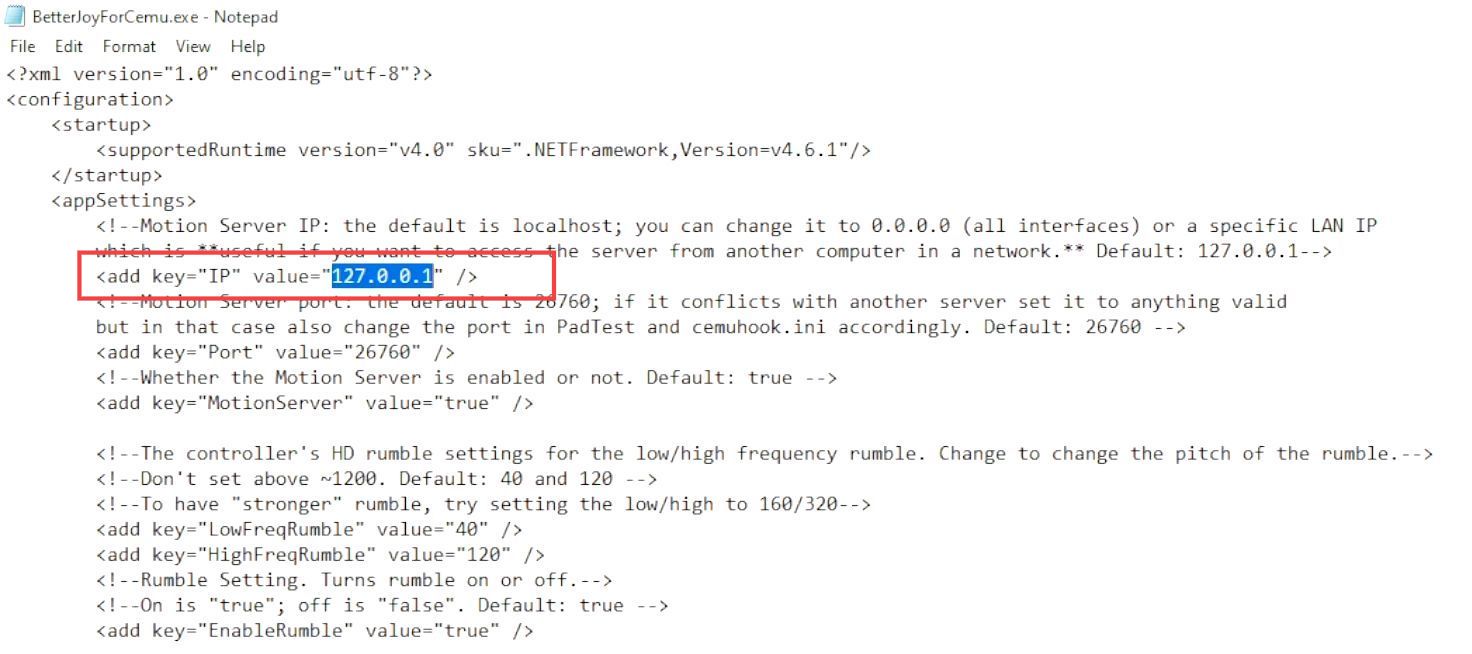
This section describes how to add an IPv4 address in the Better Joy for Cemu. First, you have to open the BetterJoy ForCemu.exe file using Notepad. Copy the IPv4 address from the internet and network settings and paste it into the BetterJoy.exe file.
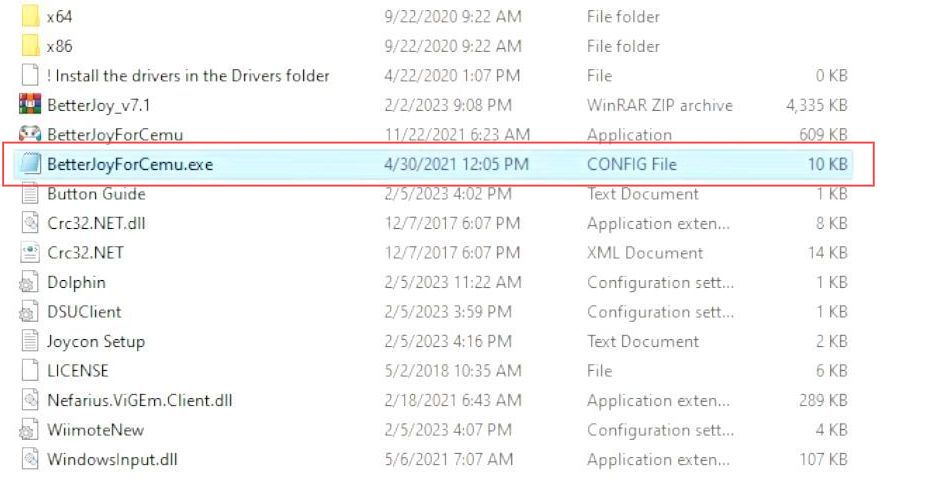
- Once the driver is downloaded, then go back to the previous folder.
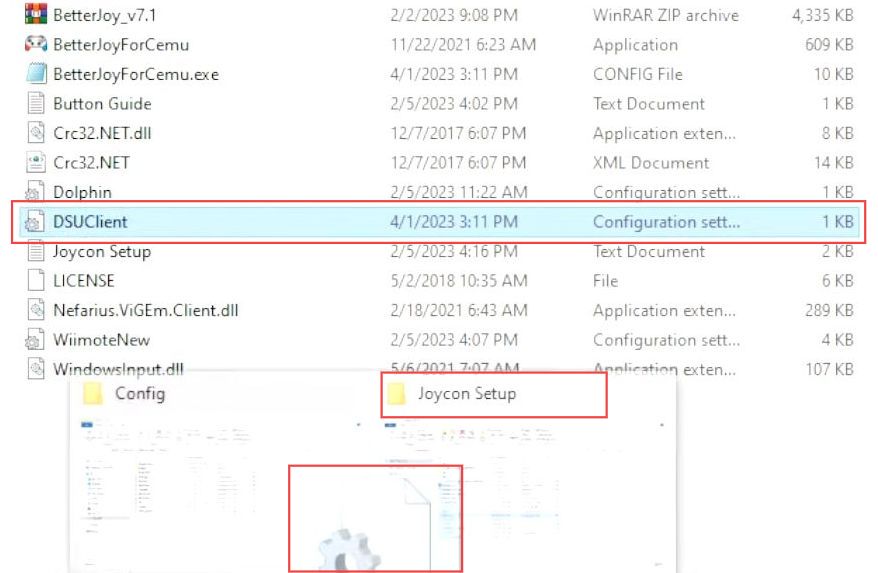
- After that, double-click the BetterJoy ForCemu.exe file from the listings to open it.
- However, if it does not open up quickly, then right-click on it.
- Select the “Open With” option from the drop-down menu.

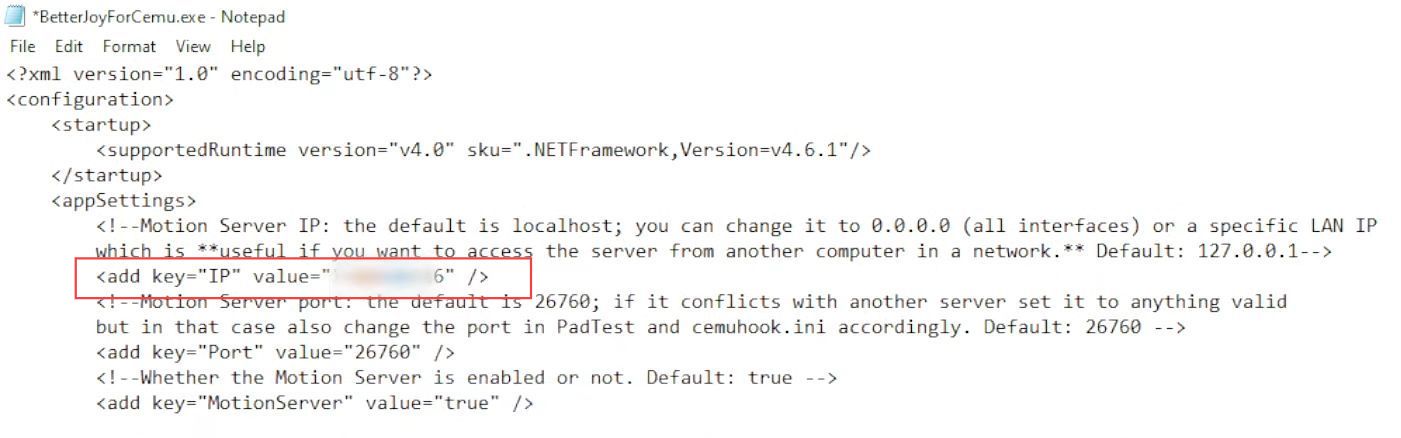
- After that, ensure that you have opened the file using Notepad and click the OK button.
- Now you have to put your IP address in the add key row from the menu.
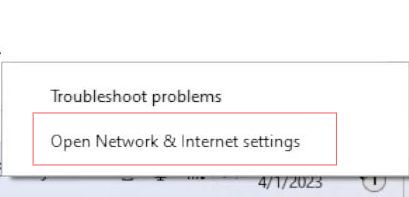
- To get your IP address, right-click the internet option such as Wifi from the taskbar.
- Select the Open Network & Internet Settings option from the listings.
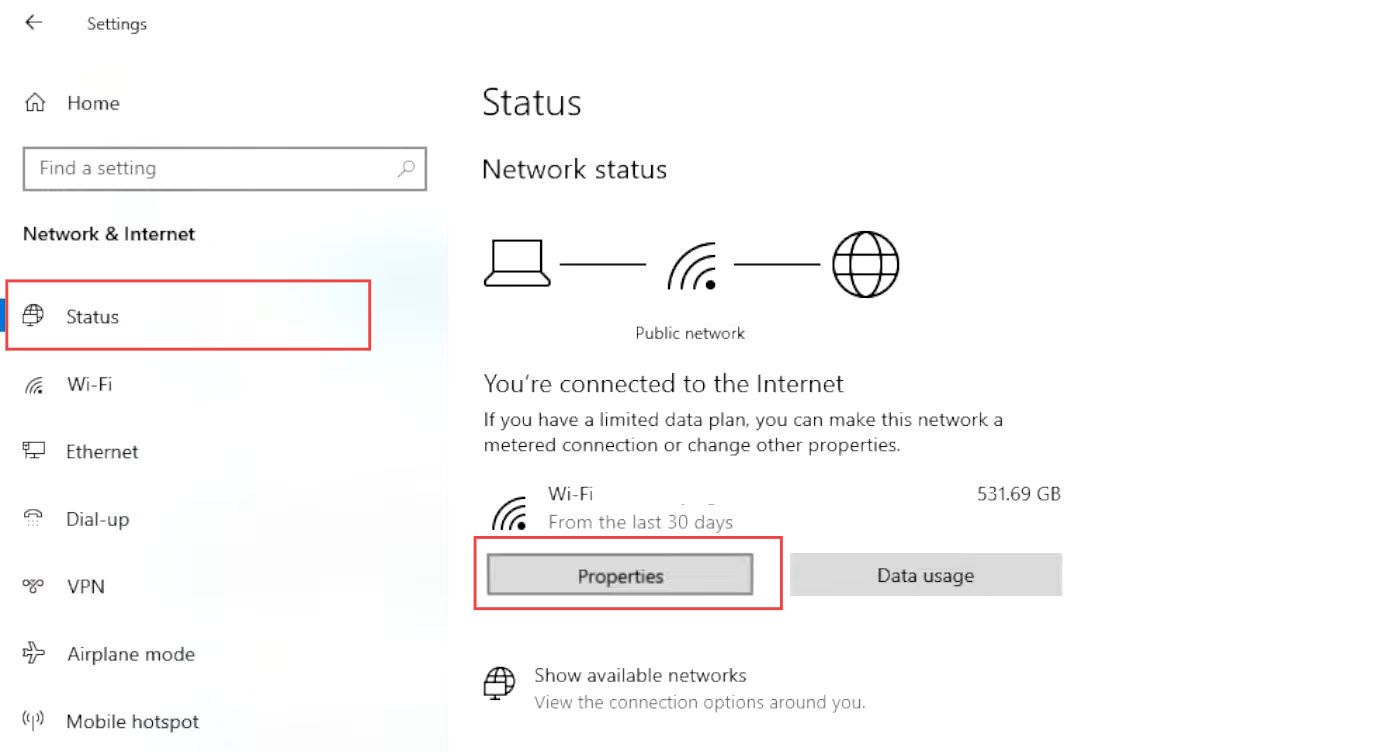
- Upon reaching this window, select the Status tab from the left side panel.
- You need to click the Properties button from the Wifi connection section.
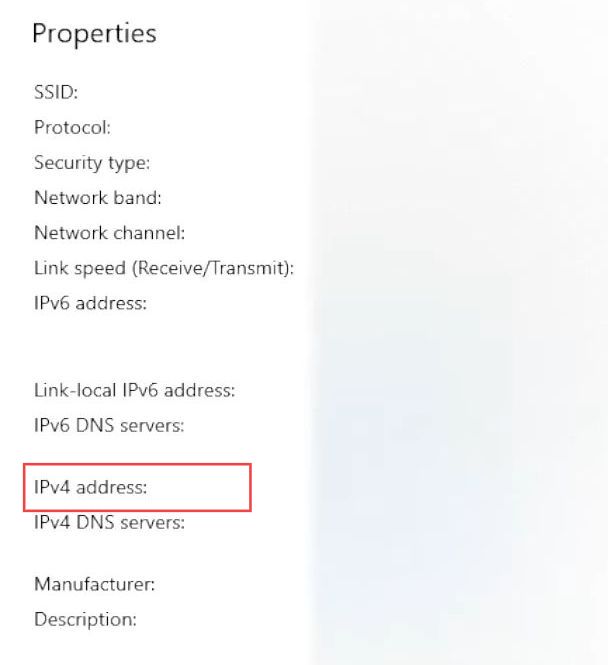
- Once this window is opened, scroll down until you reach the IPv4 address.
- You have to copy this address using Ctrl + C buttons from your keyboard.
- Now go back to the Notepad again and erase the previously mentioned address.
- Paste your IPv4 address in this place using Ctrl + V keys from your keyboard.
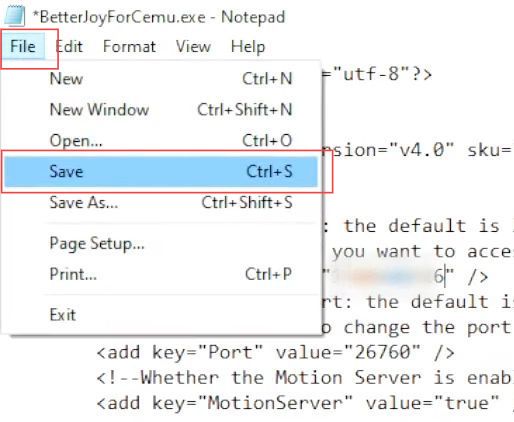
- Click the file tab from the quick access toolbar and then select the Save option from the menu.
Adding IPv4 address in DSUClient
This section explains how to add an IPv4 address in the DSUClient.
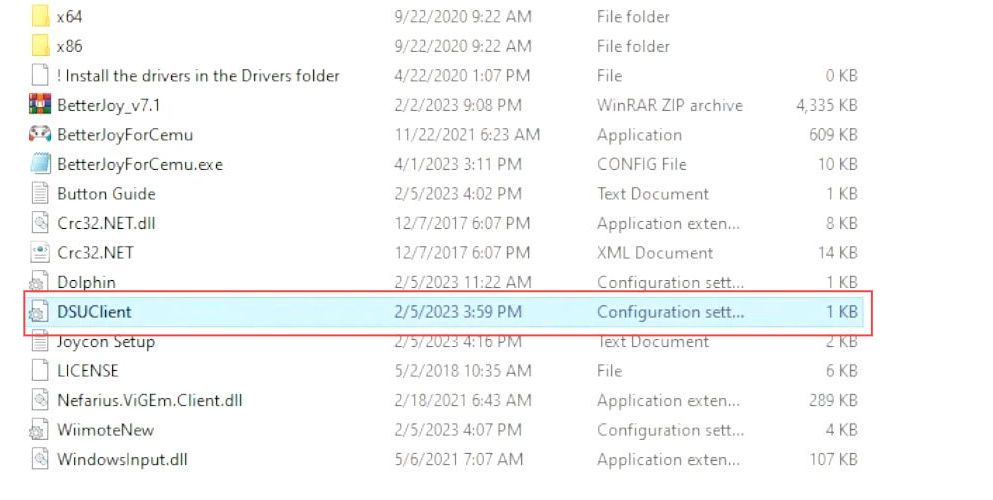
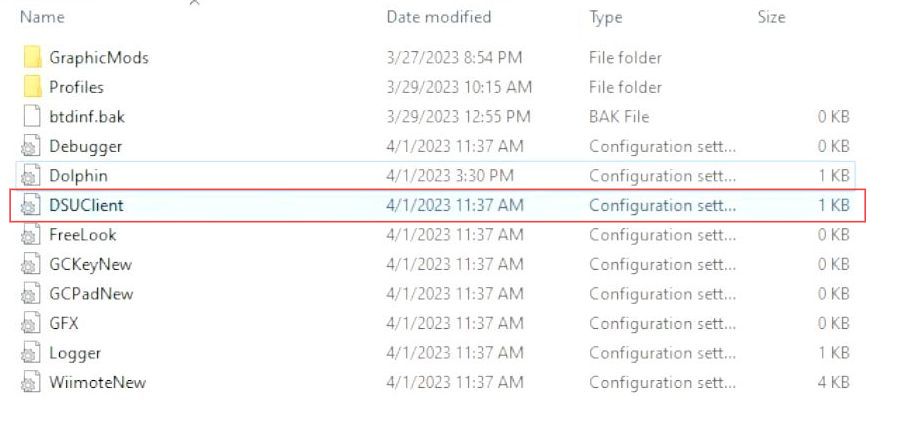
- You need to double-click the DSUClient file from the listings to open it.
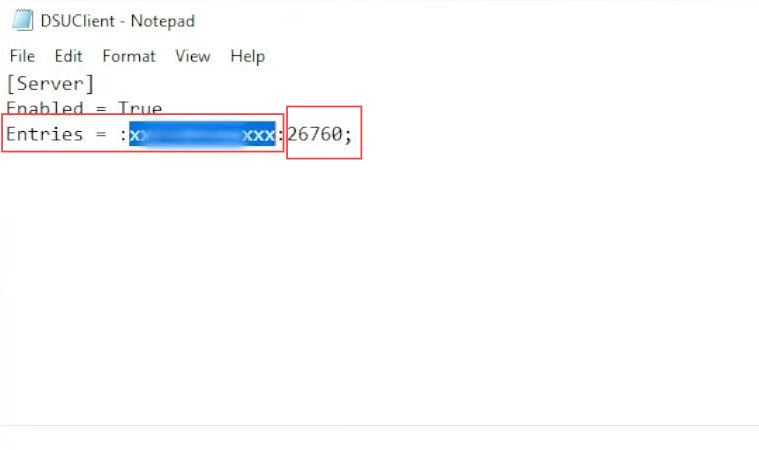
- Once the file is opened, input your IPv4 address in the row of Entries.
- Ensure to keep this 26760; remain in that place.
- Click the file tab from the quick access toolbar and select the Save option from the menu.
Now as your Better Joy and DSU have the same IPv4 addresses they should connect conveniently.

Adding Dolphin configuration settings to USB
This section describes how to add the Dolphin config to the USB drive. First, you have to open the Dolphin file using Notepad. Copy the content from Notepad and then open the configuration folder from USB and paste it into the configuration settings file using Notepad.
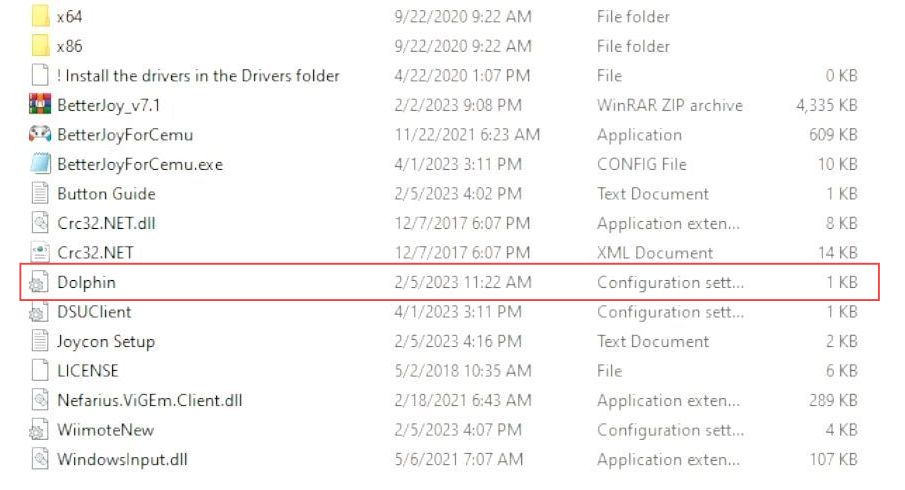
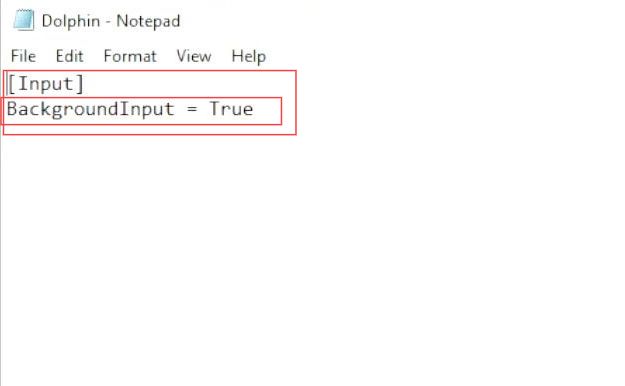
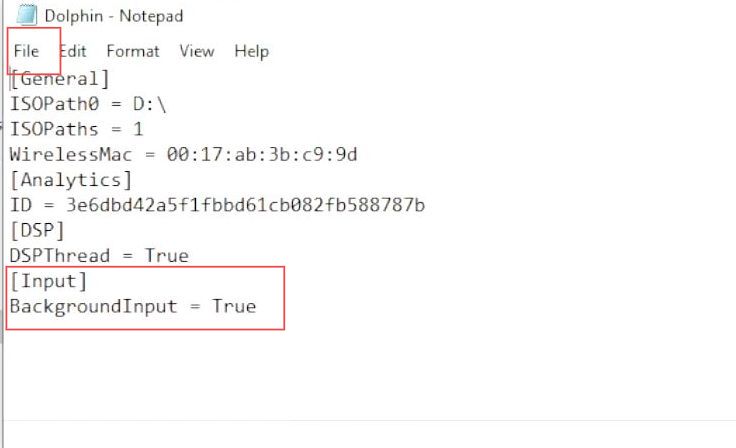
- Double-click the Dolphin file from the menu to open it.
- In the background input row, you have to write the True.
- After that, copy all the content in this file using Ctrl + C keys from your keyboard.
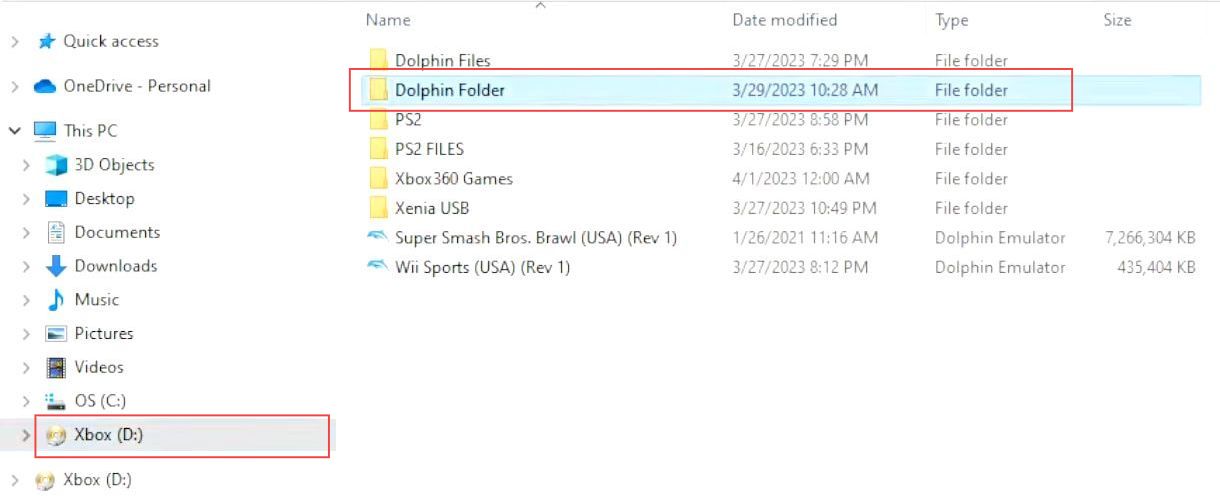
- Now click the USB tab from the left side panel which has all your Dolphin folders in it.
- Double-click the Dolphin folder to open it up.
- After that, navigate to the Config folder and double-click the Dolphin file to open it up.
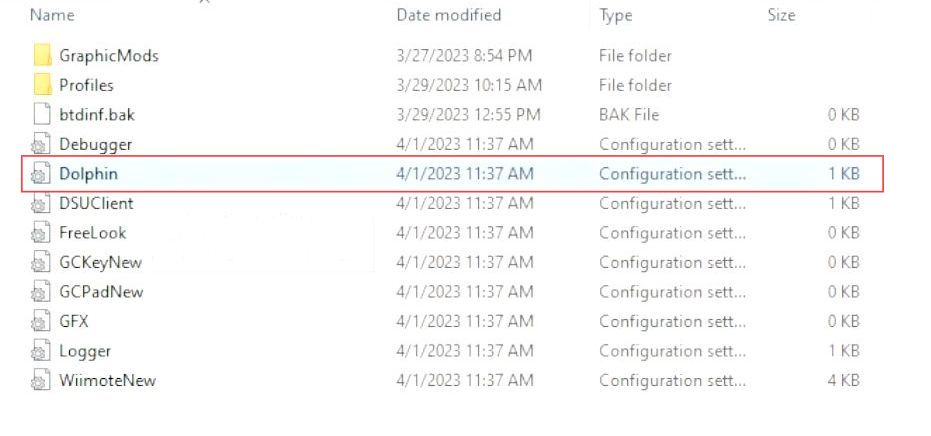
- Once the file is opened, paste the recently copied content using the Ctrl + V buttons from your keyboard.
- Click the file tab from the quick access toolbar and select the Save option.
Adding DSU Client from Joy-Con to Dolphin
This section explains how to add the DSU Client from the Joy-Con folder to the Dolphin folder.
- Now you have to delete the DSU Client file from the Dolphin folder using Ctrl + Delete keys from your keyboard.
- Double-click the Joy-con folder from your desktop to open it.
- Once the folder is opened, drag the DSU Client and drop it into the Dolphin folders which have opened recently.
Connecting Right and Left Joy-Cons to Bluetooth
This section describes how to connect the right and left Joy-Cons to Bluetooth. First, you have to open the Bluetooth and other devices settings from the start menu. Turn on the Bluetooth and wait for the inputs to appear in the listings. Once the inputs appear, then you have to click them to pair them with Bluetooth.
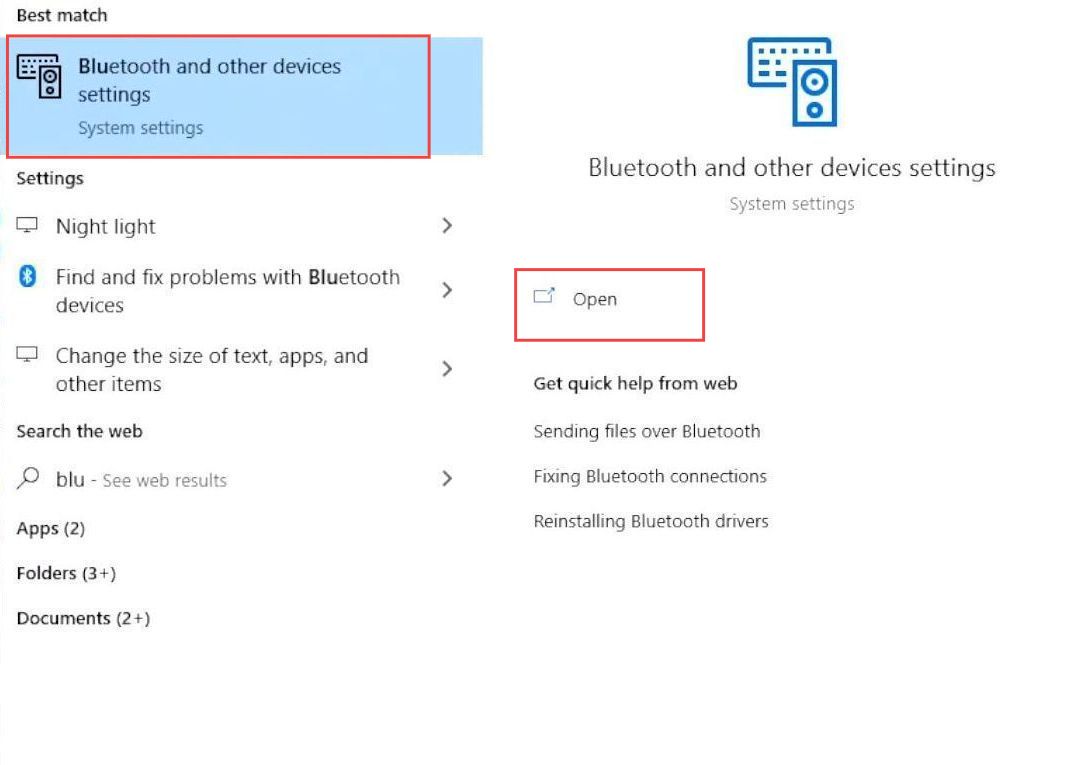
- Click the Windows button from your taskbar to open it.
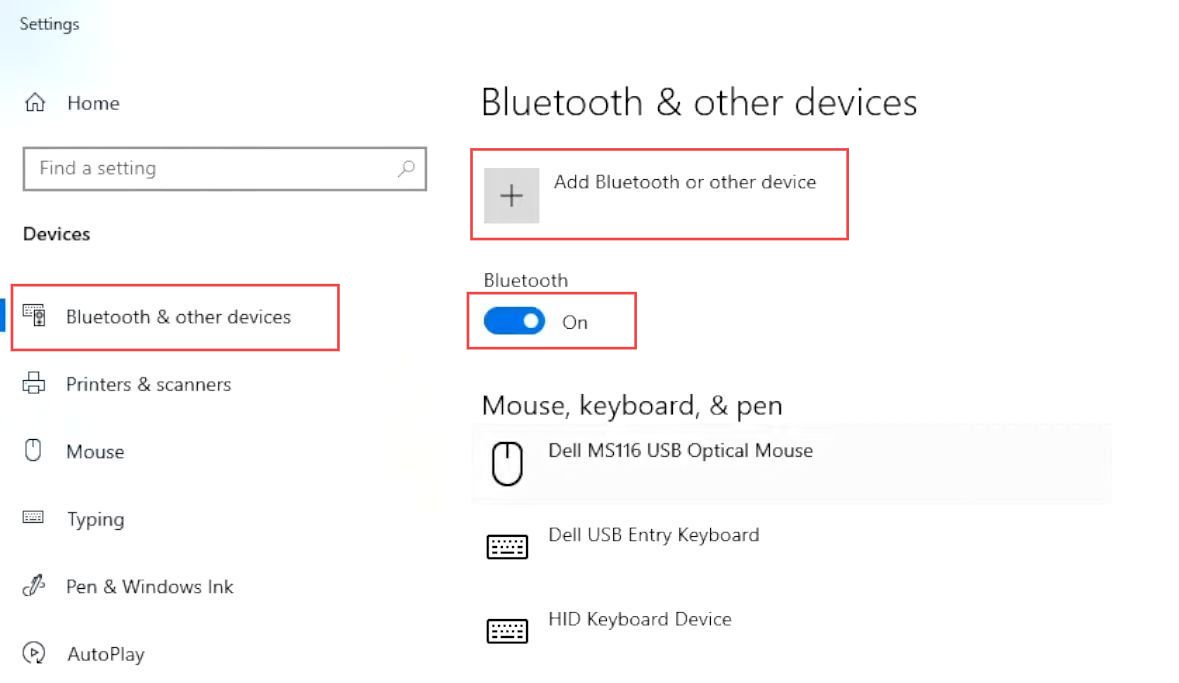
- Once the start menu is opened, write Bluetooth in it and select the Bluetooth and other device settings from the listings.
- Upon reaching the window, you must turn on the toggle named Bluetooth from the menu.
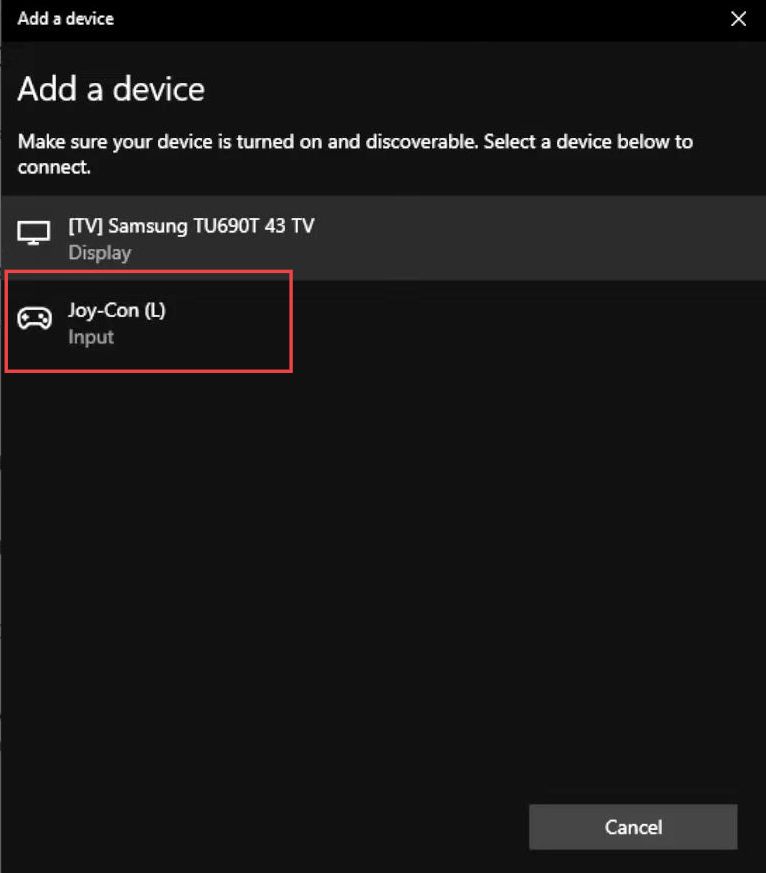
- You have to click the option named Add Bluetooth or other devices next to the plus sign from the top.
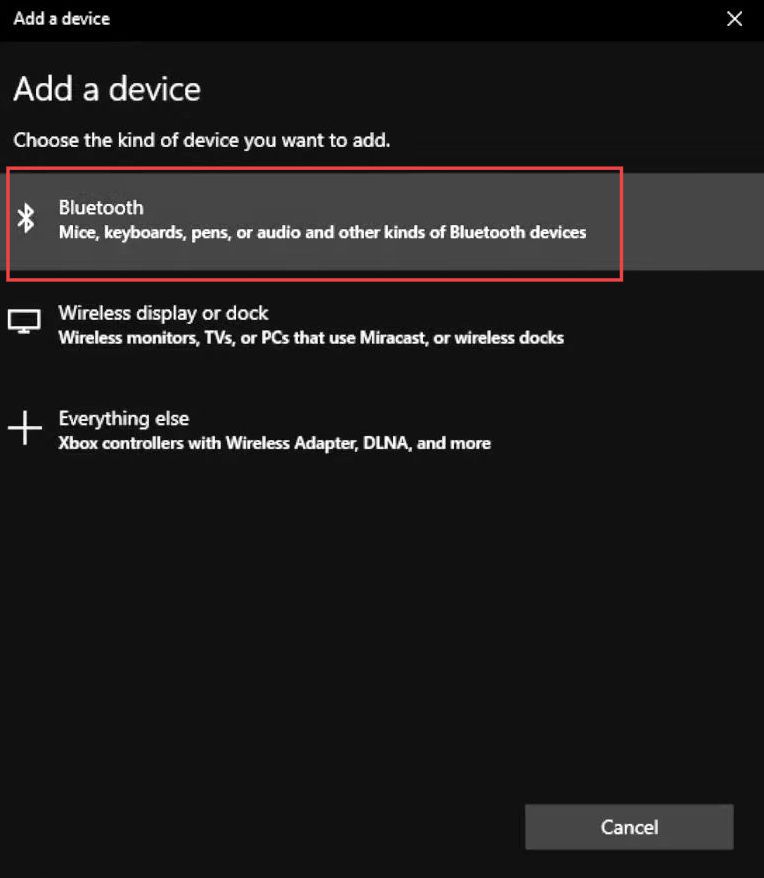
Once this window is opened, click the Bluetooth option from the menu.
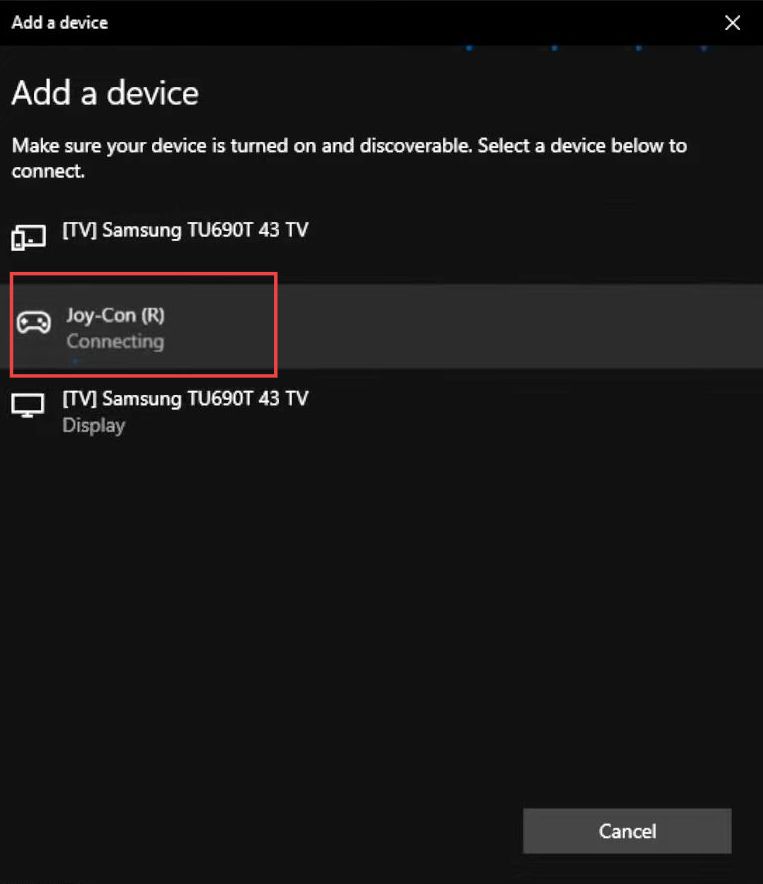
- After that, press the sync button a few times for the Joy-Con (R) to make it pop up.
- Click it to allow for connecting to Bluetooth.
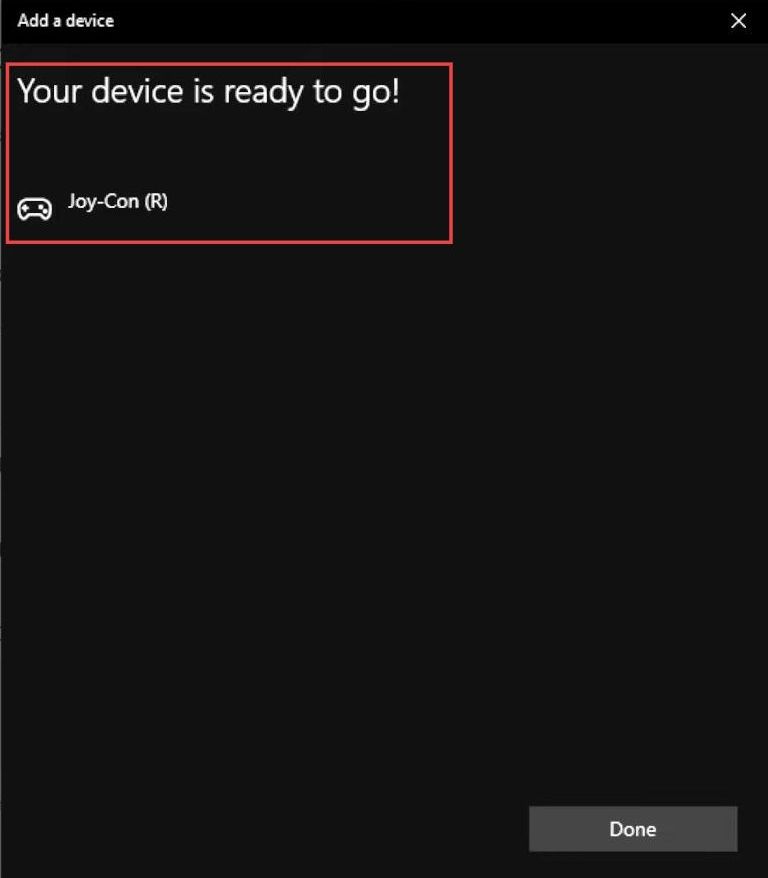
- After that, you will get a notification named your Joy-Con (R) has been connected and click the Done button from the button side.
- Now to connect the Joy-Con (L), again click the option named Add Bluetooth or other devices next to the plus sign from the top.
- Once this window is opened, click the Bluetooth option from the menu.
- After that, you have to press the sync button a few times for the Joy-Con (L) to make it pop up.
- Click it to allow for connecting to Bluetooth.
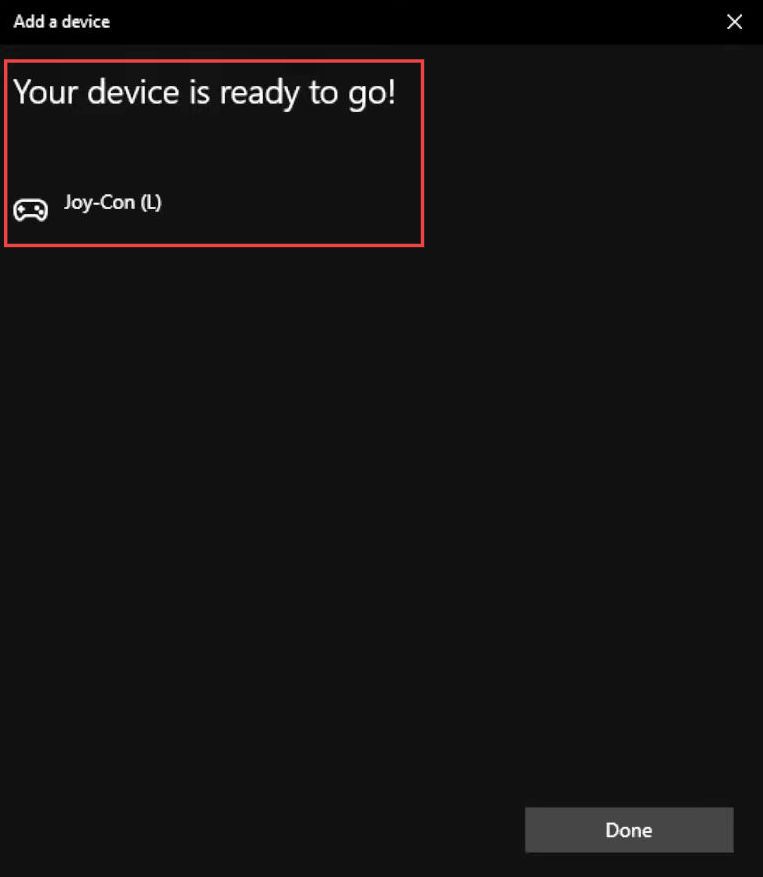
After that, you will get a notification named your Joy-Con (L) has been connected.
- Click the Done button from the button side.
Adjusting the Wiimote Configuration Settings
This section explains how to adjust the Wiimote Configuration settings.
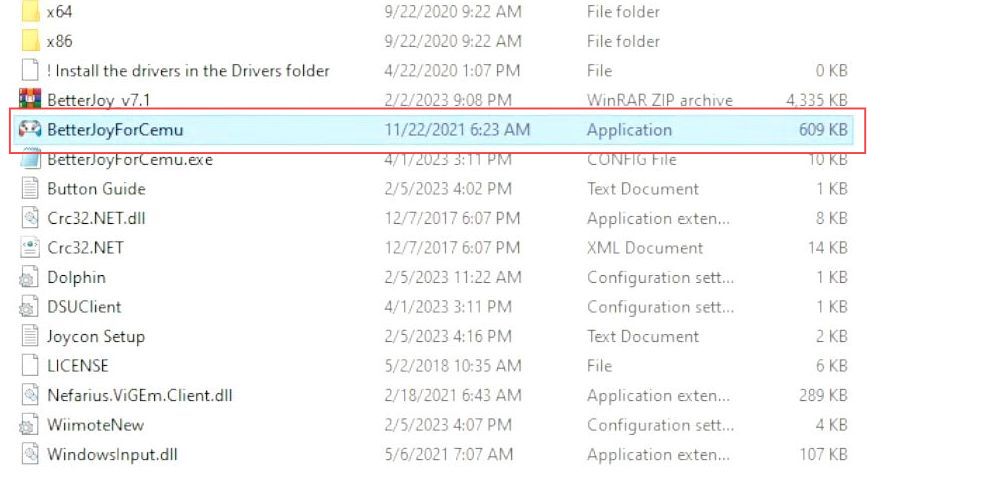
- Once the Joy-Con has been connected with Bluetooth, go back to the Joy-Con setup folder.
- Upon reaching this window, double-click the BetterJoyForCemu application to open it.
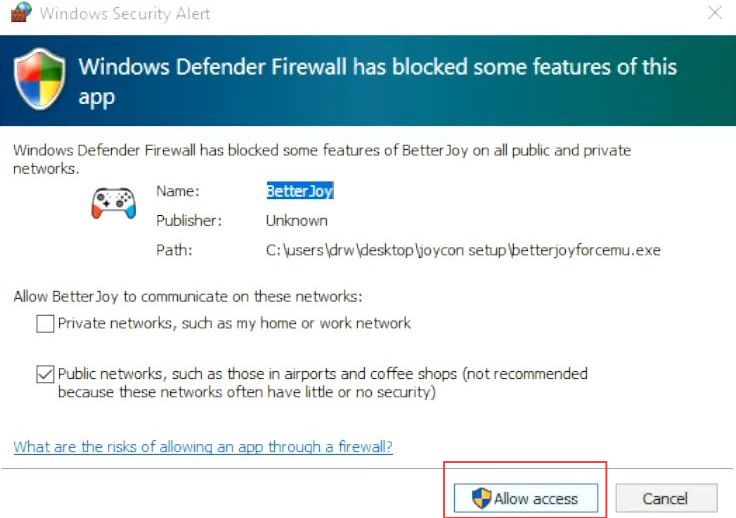
- You have to click the Allow access button once this window appears.
- Now click the Locate buttons from the BetterJoy window to vibrate them.
- After that, click the minimize button to disappear the window from the screen.
It will run in the background.

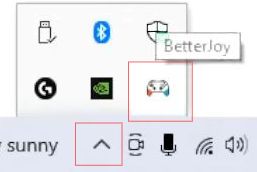
- To open it back, click the up arrow option from the taskbar.
- Select the BetterJoy icon to display it again.
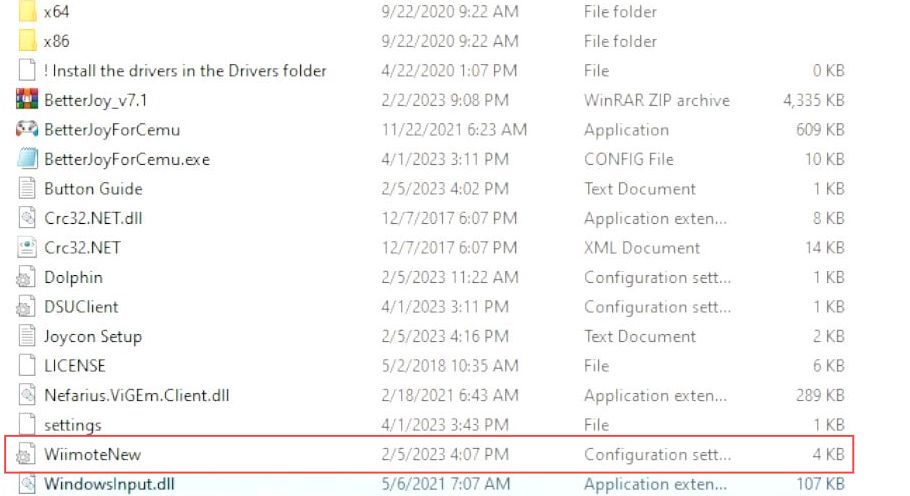
- Double-click the WiimoteNew file from the listings to open it.
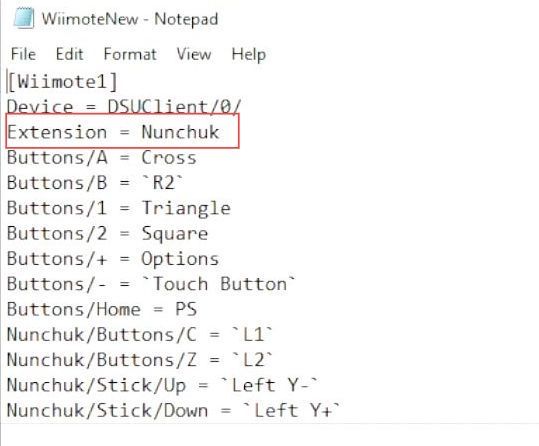
Once the file is opened, you can see the configurations of the left and right Joy-Cons.
Nunchuk shows the left Joy-Con, while the right one is denoted as Wiimote.
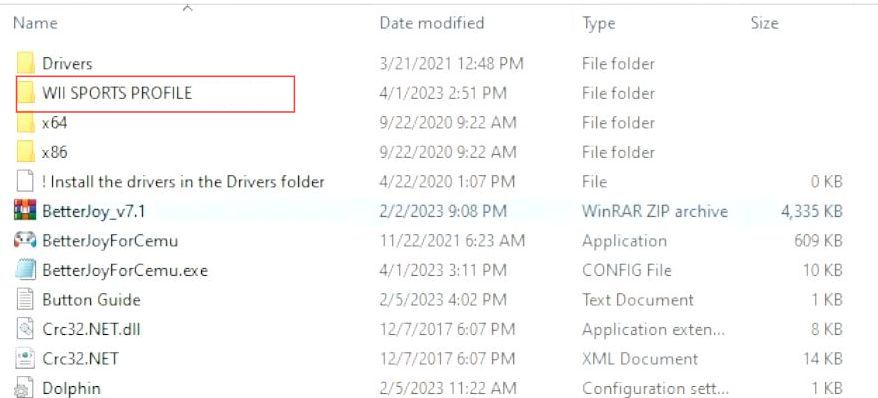
- Now you need to double-click the Wiimote Sports profile folder from the listings to open it.
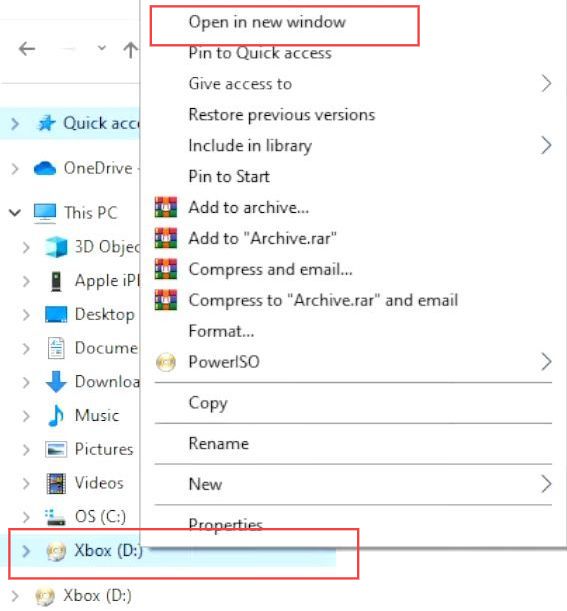
- Once the folder is opened, right-click the USB tab from the left side panel.
- Select the Open in a new window option from the drop-down listings.
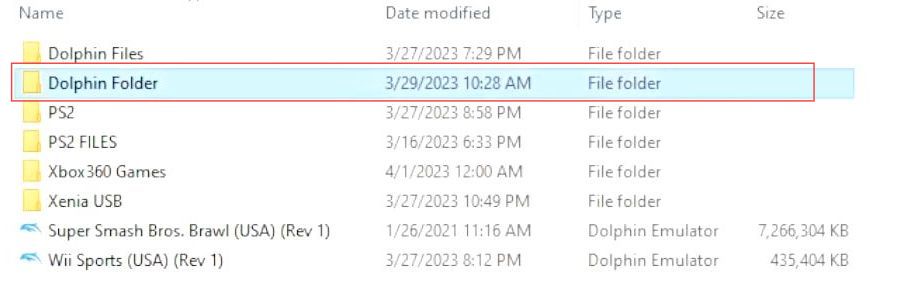
- After that, double-click the Dolphin folder from the listings of USB to open it.
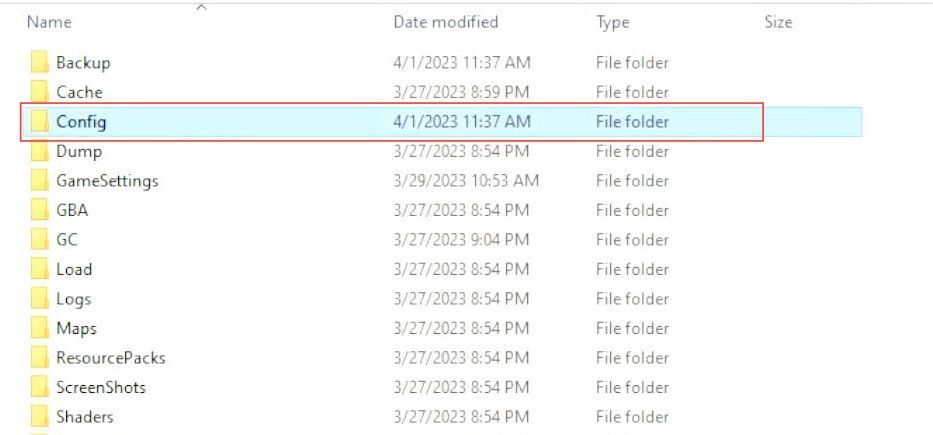
- Double-click the Config folder from the menu to open it.
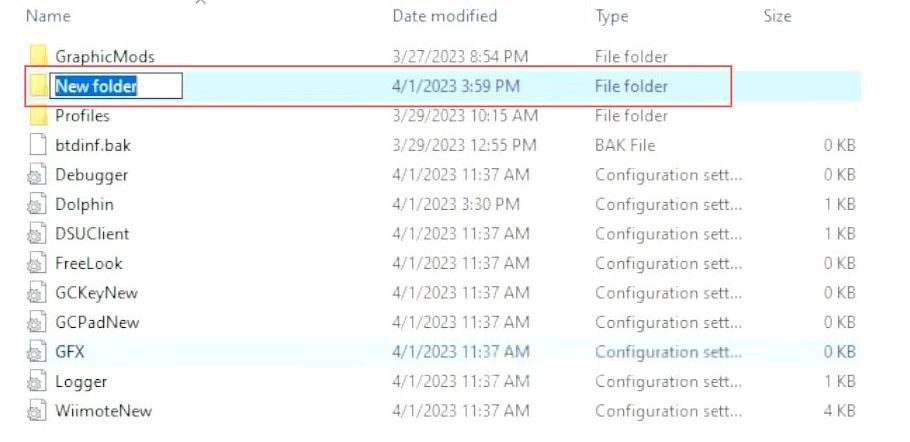
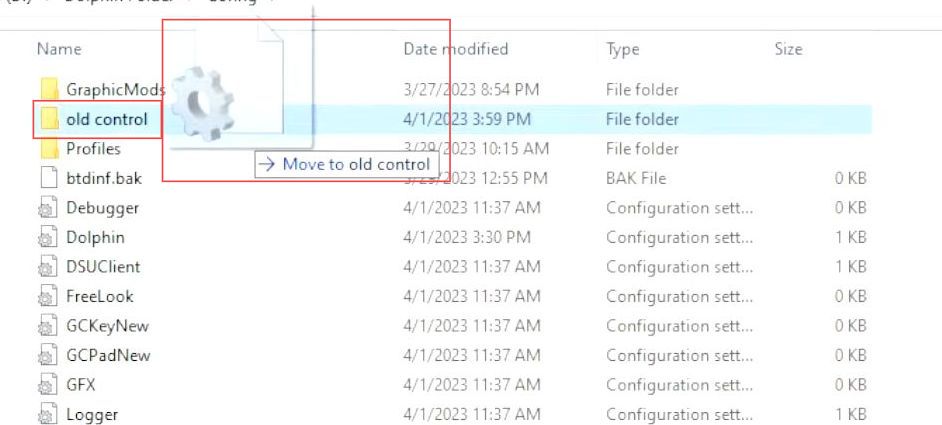
- Once the folder is opened, create a New folder inside it by right-clicking the screen and selecting the new folder option from the listings.
You can rename it to the old control.
- After that, drag and drop the old Wiimote configuration settings file into the newly created folder.
- Now go back to your Wii Sports Profile folder and drag & drop the Wiimote configuration settings file into the USB configuration folder.
This Wiimote file disables the nunchuck which is left Joy-Con and just left with the right Joy-Con.
So you can play all the sports with this Wiimote, however, you cannot use this Wiimote configuration profile for sports such as boxing.
Therefore, if you want to play the boxing game then you need to use the other Wiimote configuration which is in the other folder.

Checking Joy-Cons Controller
This section describes how to check both the left and right Joy-Cons controllers. You have to open the Dolphin application from your Xbox and check whether the controllers are working properly.
- You have to unplug the USB from your computer and connect it to the Xbox.
- After that, launch the Xbox on your computer.
- Open the Dolphin emulator from the left side panel to ensure that both Joy-Cons are working properly.
If you have an issue with Joy-Con such as it is going right and left, then press the right bumper on the top of the screen to recenter the Joy-Cons.
