The Roblox error code 522 occurs when a user is trying to join a player in the game who has left the game. It only occurs in a multiplayer game.
Follow the steps below to fix the Roblox Error Code 522 in Windows:
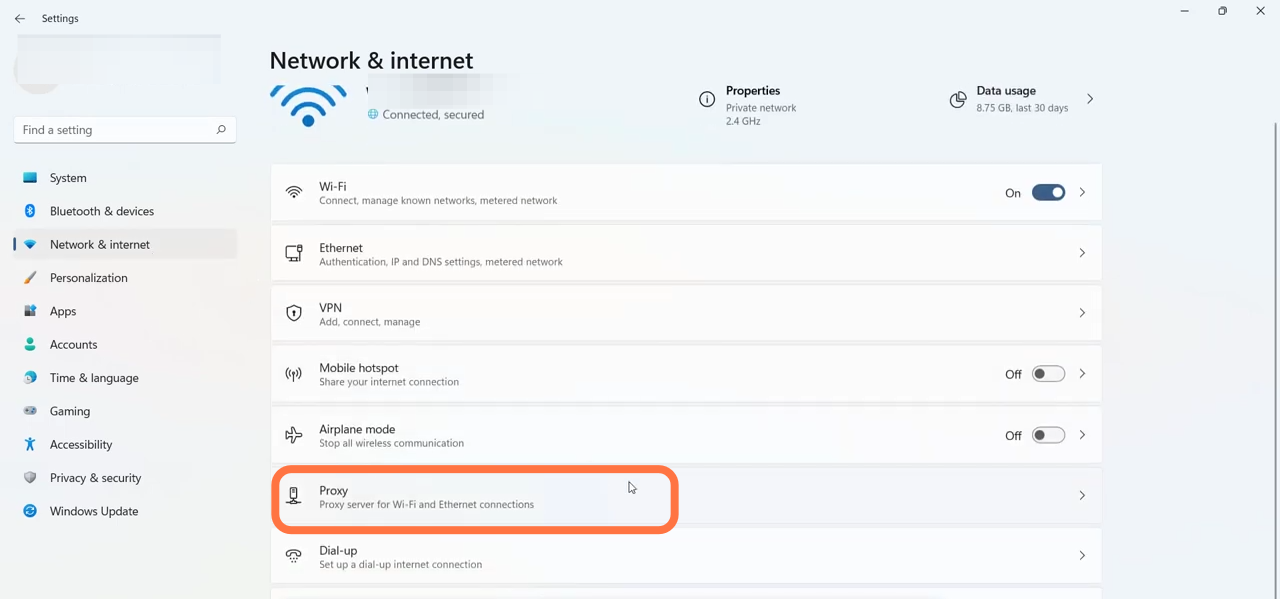
1. First, you will need to go into the settings of the PC

2. And select the Network & Internet option from the list on the left of the screen.

3. After that, click on Proxy
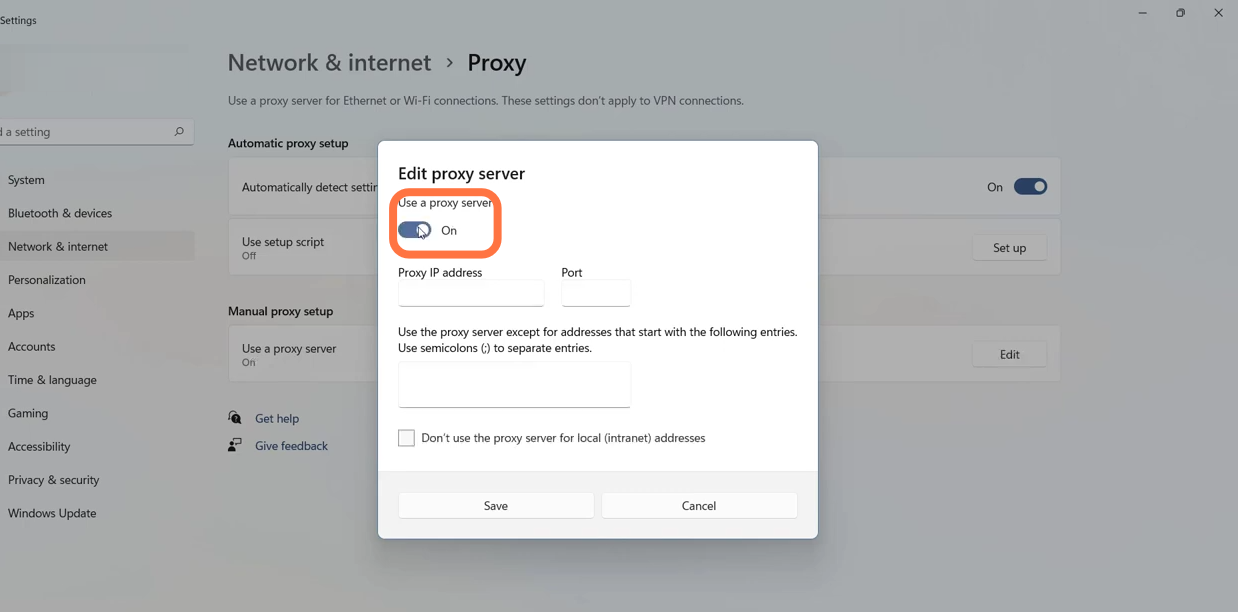
4. Now you need to Turn on the proxy server
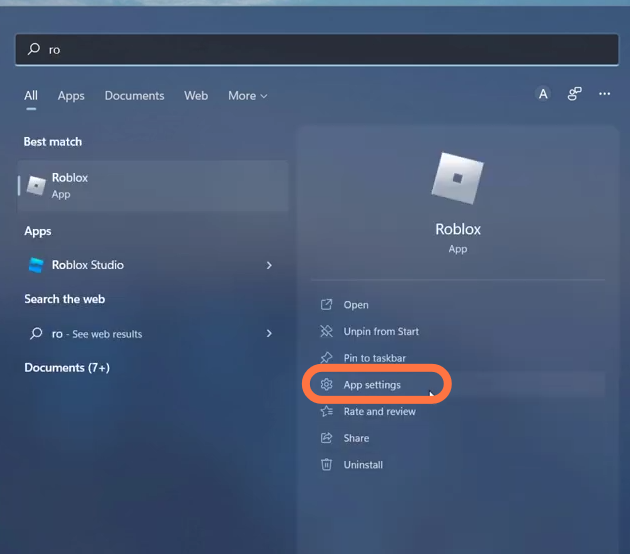
5. Click the Start button and type in Roblox and enter into the Roblox app settings
6. Then you have to click on the App feature and reset the App.
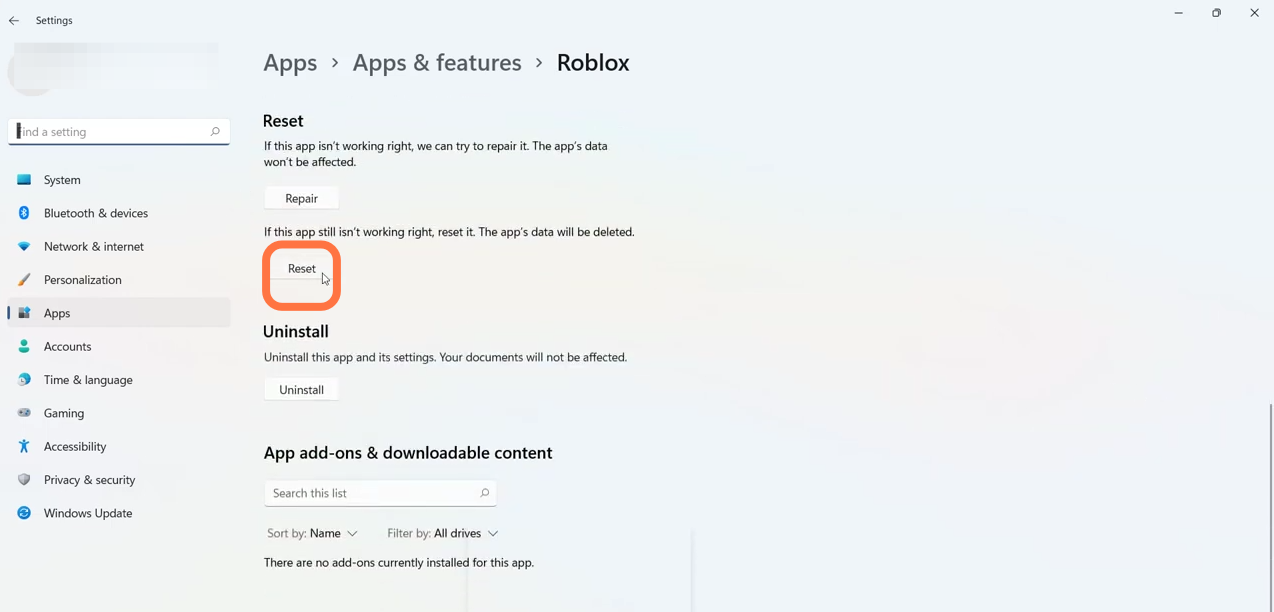
7. If it does not work, then just choose the Repair option. t.

8. After that, click the Start button and type in Command Prompt, right-click on the command prompt, and select Run as administrator.
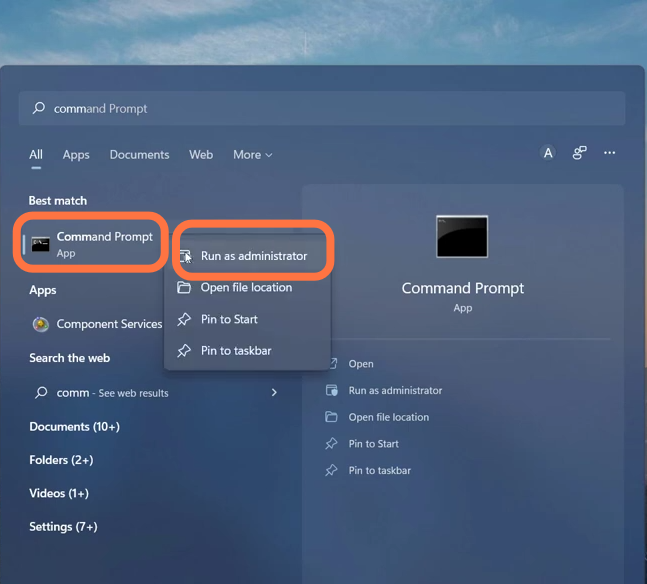
9. Type in ‘ipconfig/flushdns‘ command and hit enter to execute it. Then use the exit command to close the Command Prompt.

10. Now you have to open the Control Panel.

11. Click on the Network and Internet option.

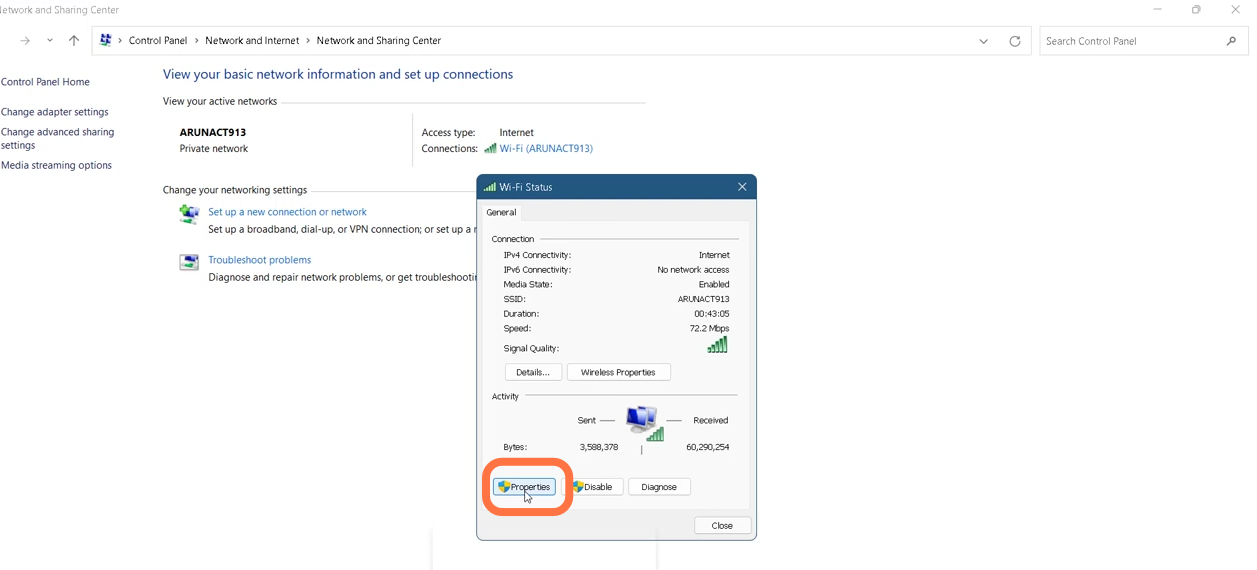
12. Then enter into Network and Sharing center.

13. Click on your network connection like Ethernet and go into your Network Properties

14. And then click on the Properties button.
15. After that, tap on Internet protocol version 4 (TCP/IP) in the list and go into properties.

16. You have to enable the use of the following DNS server address and replace the Preferred DNS server address with 1.1.1.1 and the Alternate DNS server with 1.0.0.1. Then you need to tick mark ‘Validate settings upon exit and click Ok.

17. Now simply Restart your PC
