If the render distance does not match your expectations even with your local settings maxed out and the server’s view falls short then follow this guide to fix it quickly.
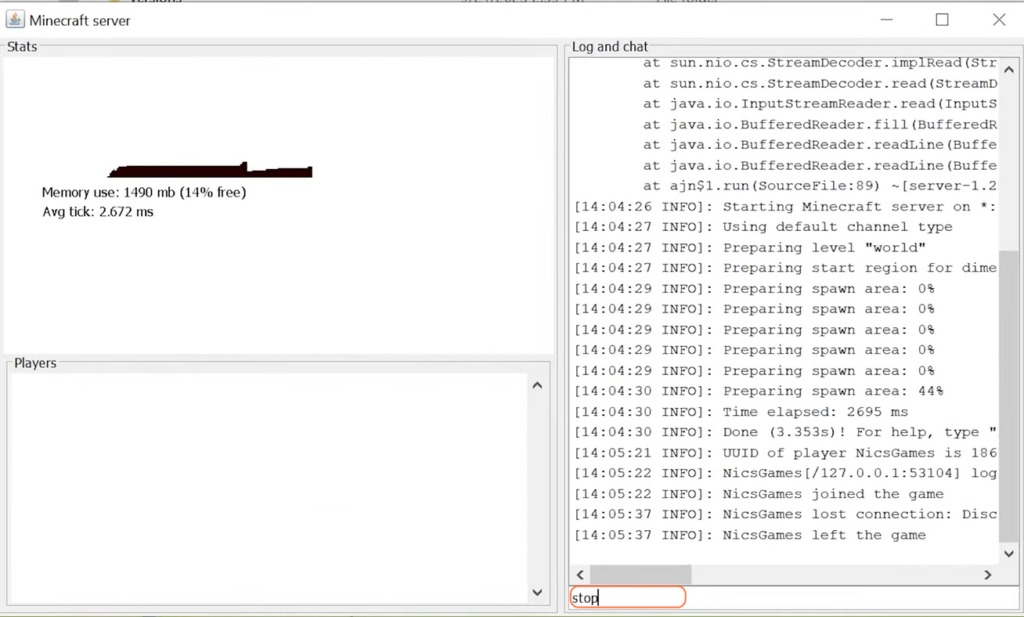
Step 1: Disconnect and Stop the Server
First of all, disconnect from the server. Then, halt the server to make adjustments.
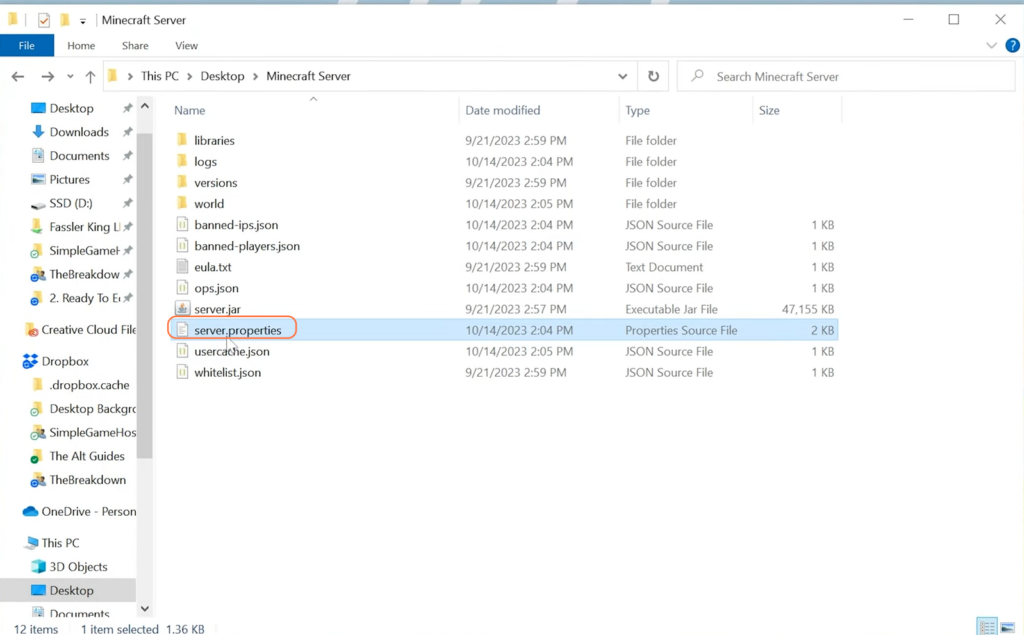
Step 2: Locate the Properties File
Navigate to your Minecraft server’s directory and find the server.properties file. If you’re using a hosting service, this file typically resides in the main folder housing all server files.
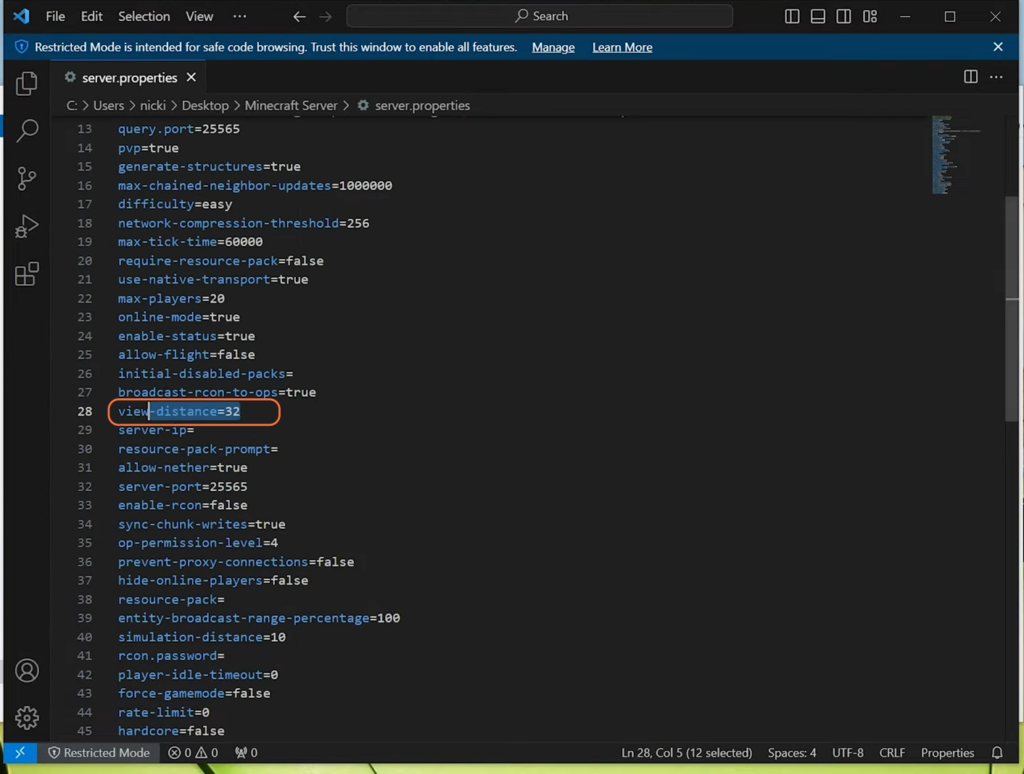
Step 3: Edit Properties File
Open the server.properties file and seek out the “view distance” setting. By default, it’s often set to 10 for Minecraft Java Edition. However, you can push this value to a maximum of 32 for Java Edition and even 96 for Bedrock Edition. Modify it to your desired view distance or set it to max as “view distance = 32”.
Step 4: Save Changes and Restart the Server
After updating the view distance value, save the changes to the server.properties file. Restart your server to implement the new settings.
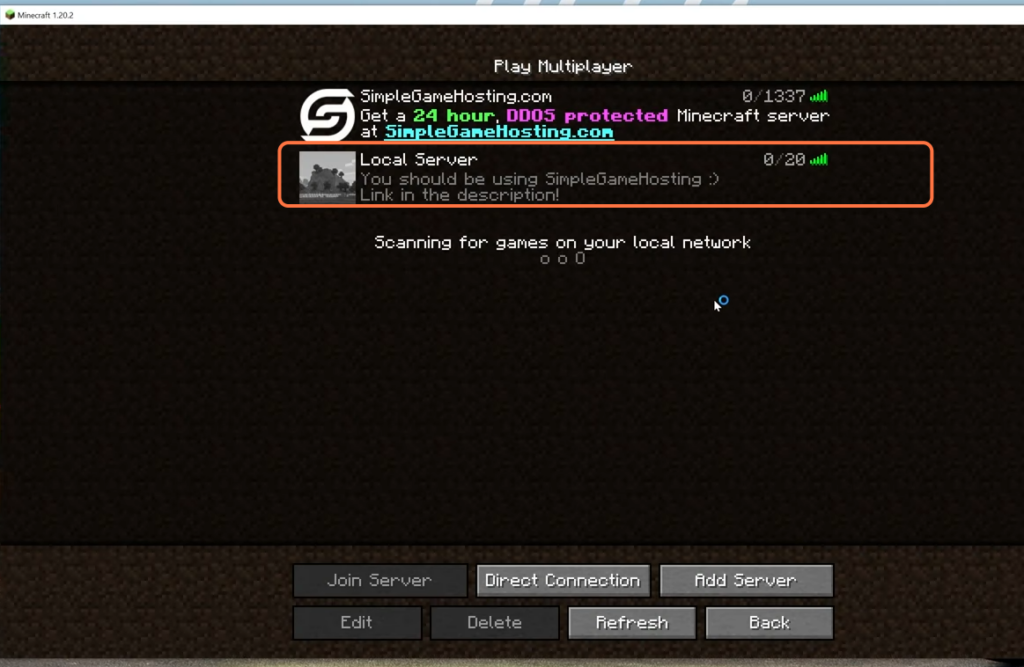
Step 5: Verification
Once the server restarts, log back in. Check the render distance to ensure it matches your adjusted settings. You should notice a significant boost in the render distance, with clearer views and reduced fog.

By following the above steps you can quickly and easily change the Render distance on your Minecraft server.