This guide will let you know how to install the 4k Satellite View map In GTA 5 and mod map in the game. Go through the guide and follow all the instructions to do so.
First, you will need to download the satellite-view-map file from the following link.
https://www.gta5-mods.com/misc/satalite-view-map
After downloading this file, you need to extract it and open up OpenIV as well.
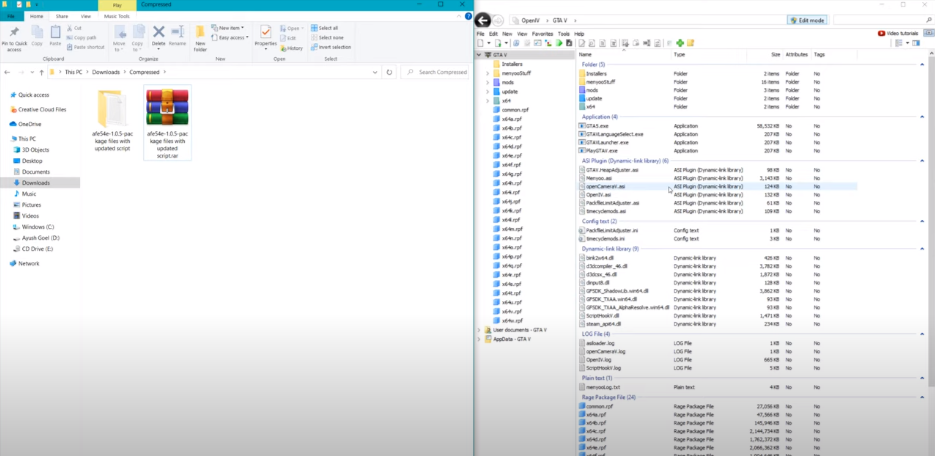
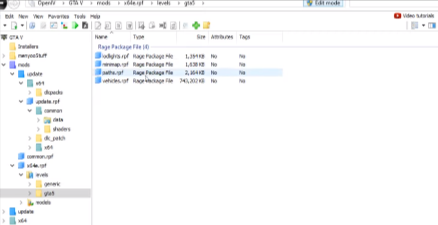
Turn on the edit mode in OpenIV, go to the mods folder, then navigate to the update folder. Next x64 folder, and you will find the dlcpacks folder there.
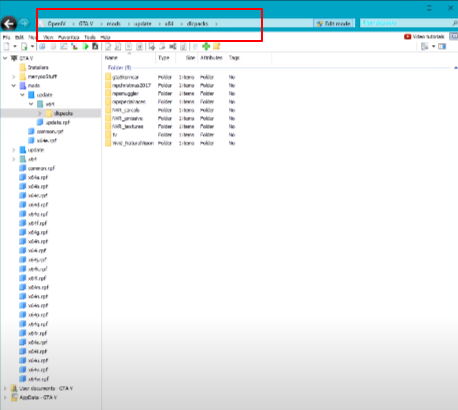
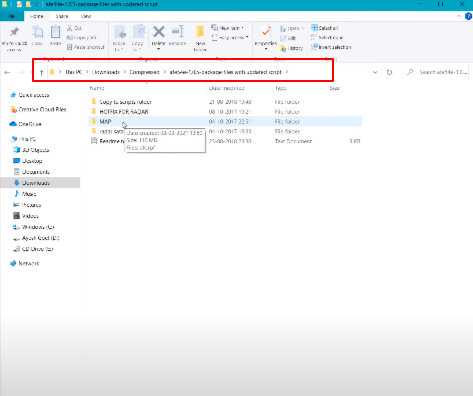
Now you have to go to the downloaded folder and copy the MAP folder. Go back to the OpenIV and paste it into the dlcpacks folder.
After that, you will need to go back into the GTA 5 folder in OpenIV and navigate to the data folder. Scroll down a bit, and you will find the dlclist.xml file.
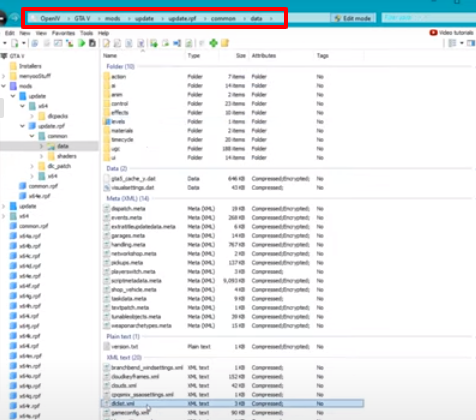
Right-click on that file, and select the edit option to open up the editor. Scroll down to the last statement in that file, copy and paste it under the existing statement. You have to double click on the middle word, select it, and then replace it with MAP, as shown in the image below.
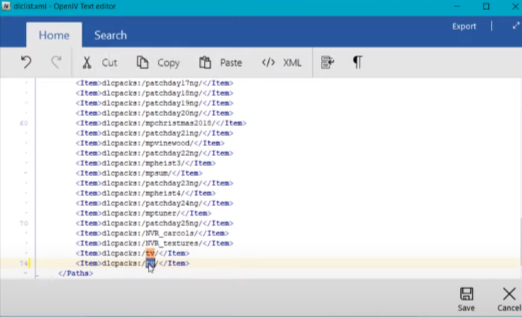
After replacing that word, you have to save it.
Now you have to open the compressed downloaded folder, go to copy to scripts folder, and copy the Radar Zoom folder.
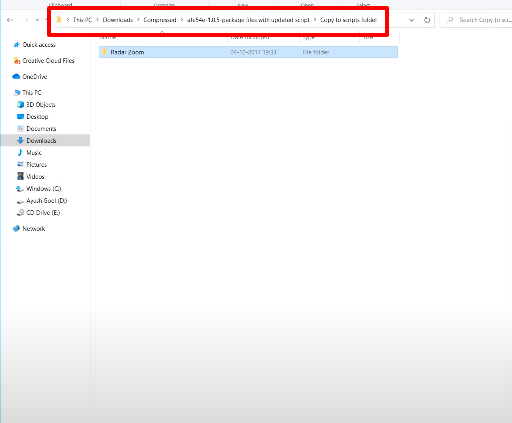
Now you will need to go to the GTA 5 game script folder and paste it there.
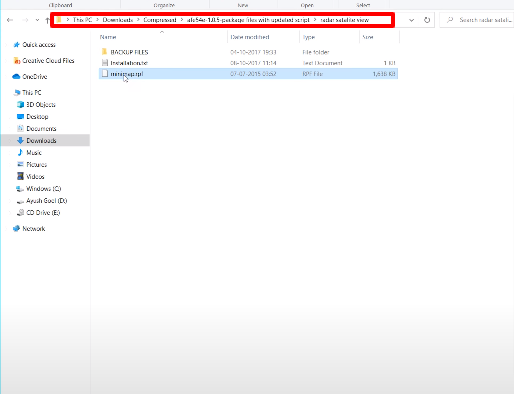
The next thing you have to do is go to the next folder, which is the radar satellite view folder in your compressed folder and then copy the minimap.rpf file.
Go to the OpenIV and scroll down to find the x64e.rpf file. Open it up, and next, you have to click on show in “mods” folder option.
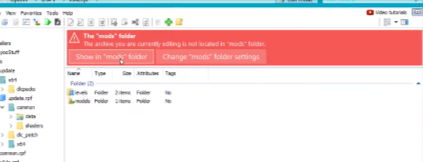
After clicking on this option, you will jump onto the mod folder, go to the level folder, and go to the gta 5 folder. Here, you have to paste the minimap.rpf file.
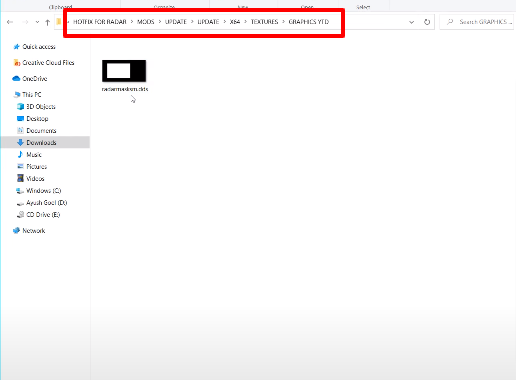
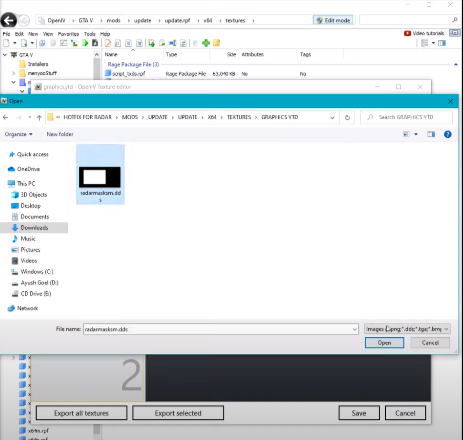
Now, you will need to install the next one, which is in the folder hotfix for radar folder and there you have to go to the mods folder and then navigate to the graphics.utd by following the path below.
AAfter this, you have to go to the OpenIV and follow the path below to the textures folder, and then click on the graphics.utd file.
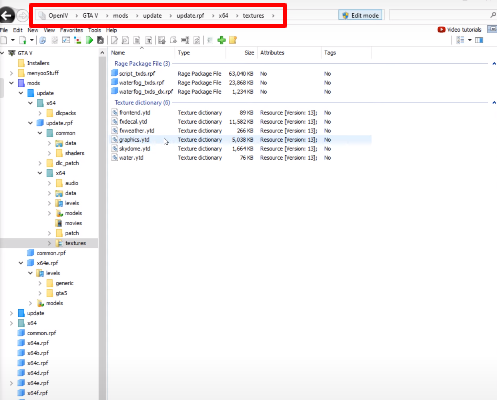
It will open up a new window, as shown in the image below.
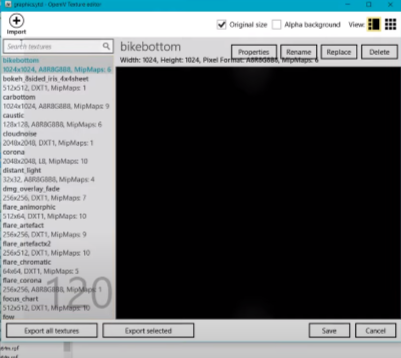
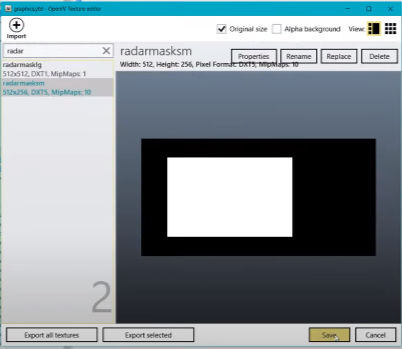
You have to click on the search bar and type radar in it; you will find a file named radarmasksm. Click on it and select the replace option to replace it with the file you have copied in the compressed folder.
Select that file and then click on the open button at the end of the window. After that, your file will be replaced, as shown in the image below.
Click on the Save button, go to the downloaded folder and then the radars folder, navigate to the mod folder, and go to the x64 folder. Do the same process in OpenIV as well, and then you have to click on the Copy to “mods” folder in OpenIV.

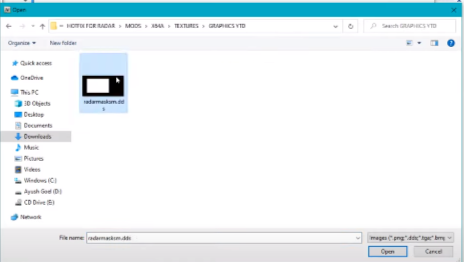
After that, you will be jump onto a new folder, and then you have to go to the textures folder and then go to the graphics.ytt file, as shown in the image below.

Open the file and go to the search bar to search for radarmasksm and you will find a file there, click on that file once and then go to the replace option. And then select the file from compressed folder located in the texture folder of the radar file named as radarmasksm file.
Select this file and replace it with the other one, as shown in the image below.
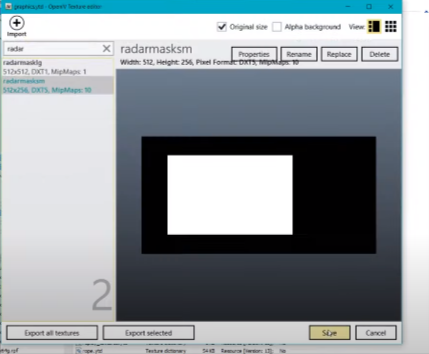
And click on the save option, close all the tabs as it is installed. Now start the game, and after that, you have to open the map.
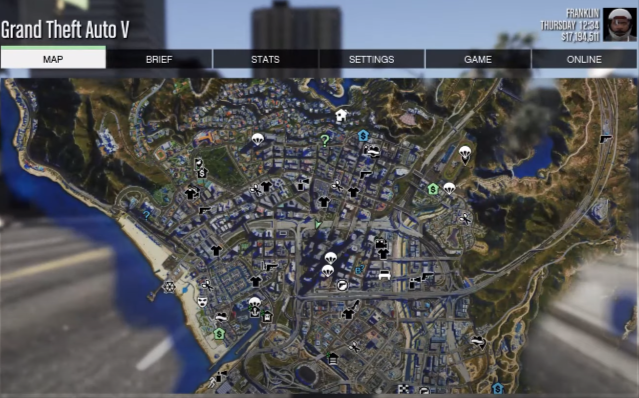
The whole map of your game will be changed, and now if you zoom the map, you will see everything clearer than before. And you will see the roads flyover station in HD, as shown in the image below.
