In this guide, you will find how to install Custom Animations [Add-On] in Grand Theft Auto 5.
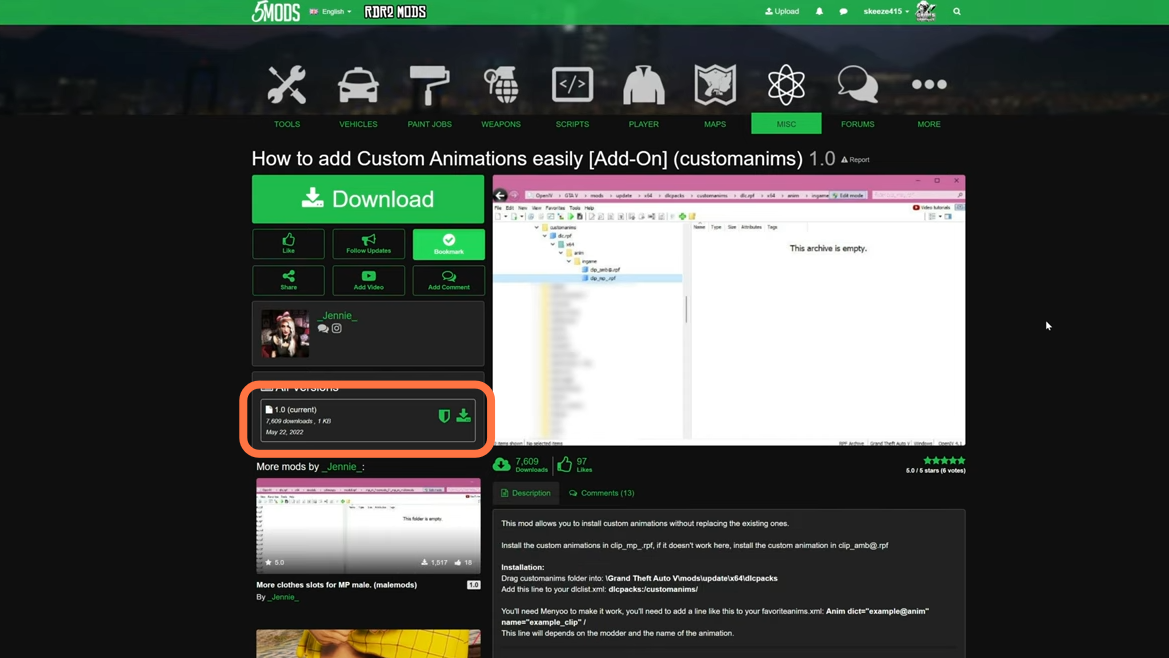
1. First, you will need to download the Custom Animations Mod from “https://www.gta5-mods.com/misc/custom-animations-add-on-customanims“. Open the link and click on the green arrow icon under the ‘All Versions’ section to download the mod.
2. You will require an archive manager for this mod to work which is “Open IV”. You can download it from “https://openiv.com/“. Also, you need to have the Menyoo GUI trainer mod which you can get from “https://www.gta5-mods.com/scripts/menyoo-pc-sp“. Once you have downloaded the required files and the Custom Animations Mod, you have to go to the downloads folder to open the files.
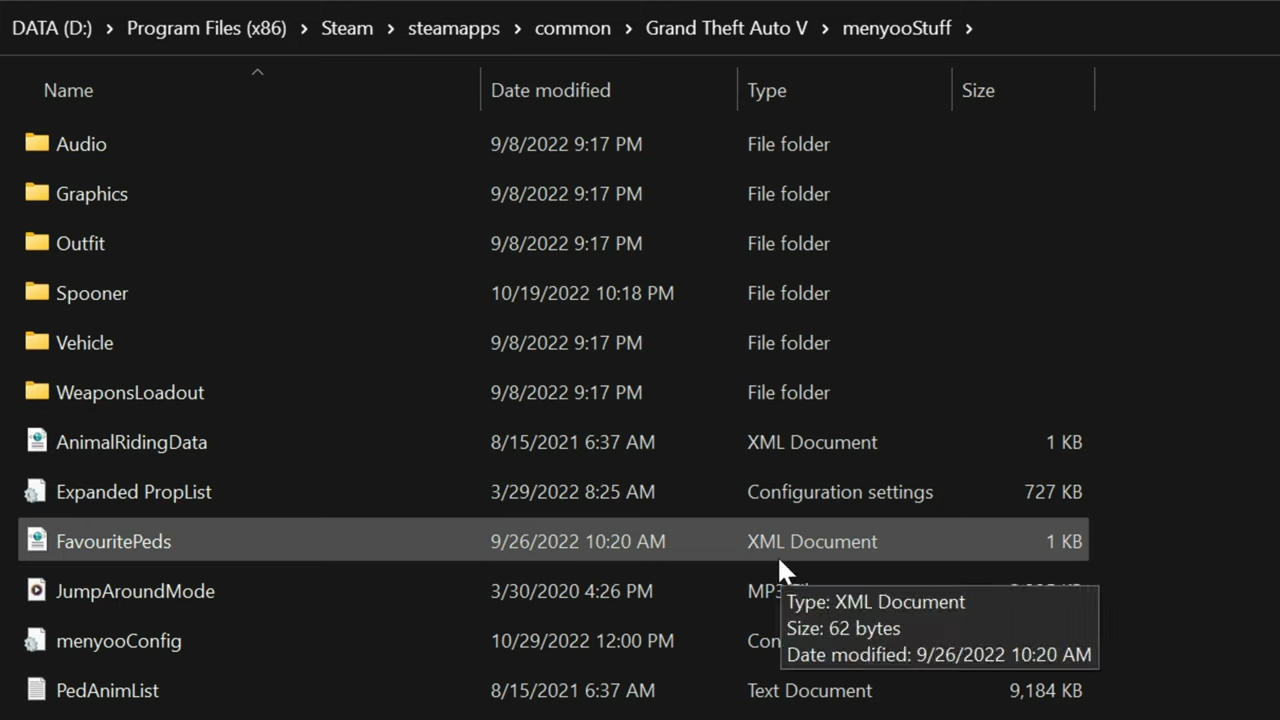
3. On the other hand, open the “GTA V” directory side by side with the downloads folder. After that, open the menyooStuff folder and look for the “favorite animation” file if you don’t have a favorite animation XML document. You need to have your favorite animations XML document in order to add in our custom animations.
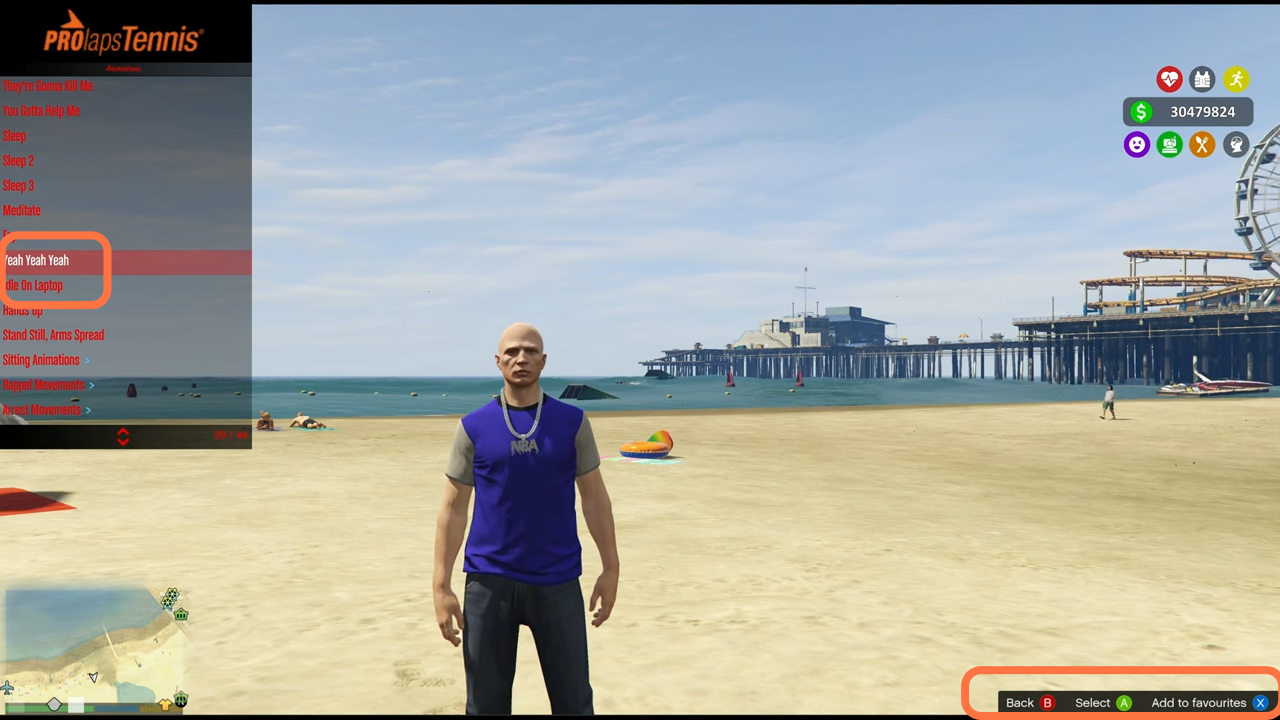
4. To get the “favorite animation” XML document, you have to run the game and open up the Menyoo. Then navigate to the player options and scroll down to animations.

5. You have to go to any of these animations and just press “X” to add it to your favorites or whatever key it indicates available at the bottom right-hand corner. So now when you go back to your GTA 5 directory and go inside the menyooStuff folder, you will find a favorite animations XML file.
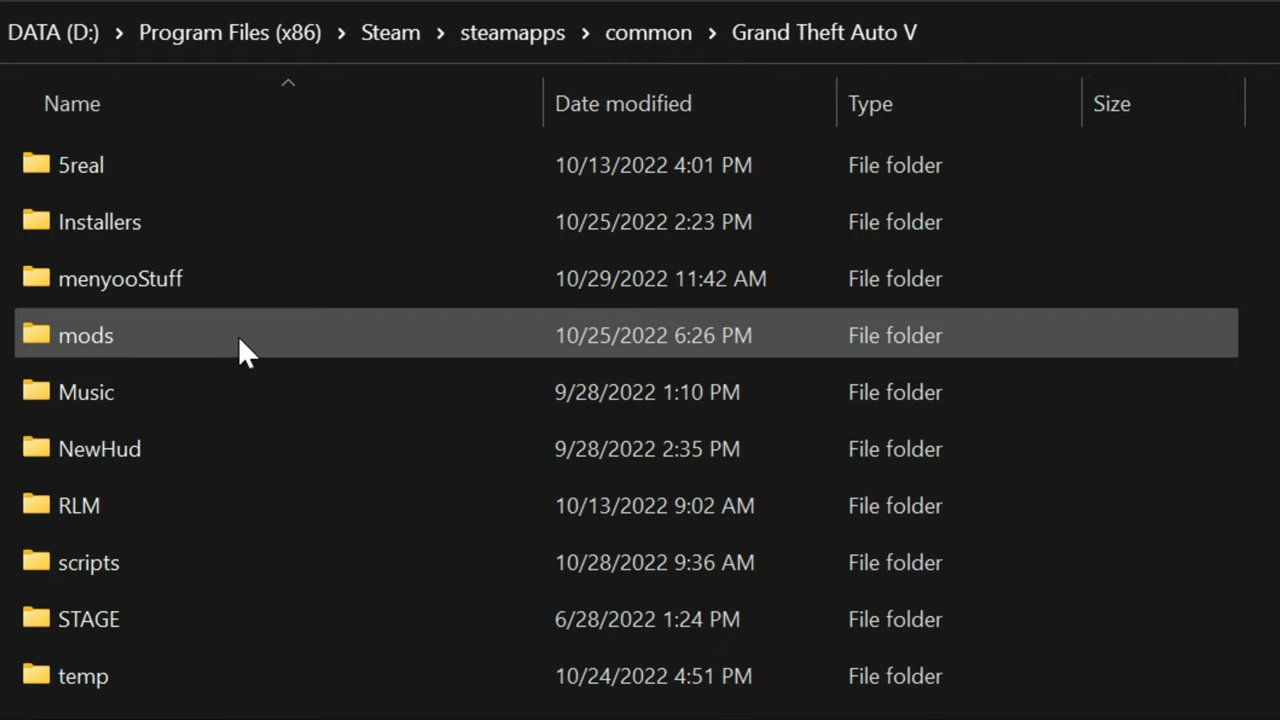
6. Open the mods folder of the “GTAV” and if you don’t see this folder here, then you need to create an empty folder and name it mods. After that, create another folder inside it and name it ‘update’.
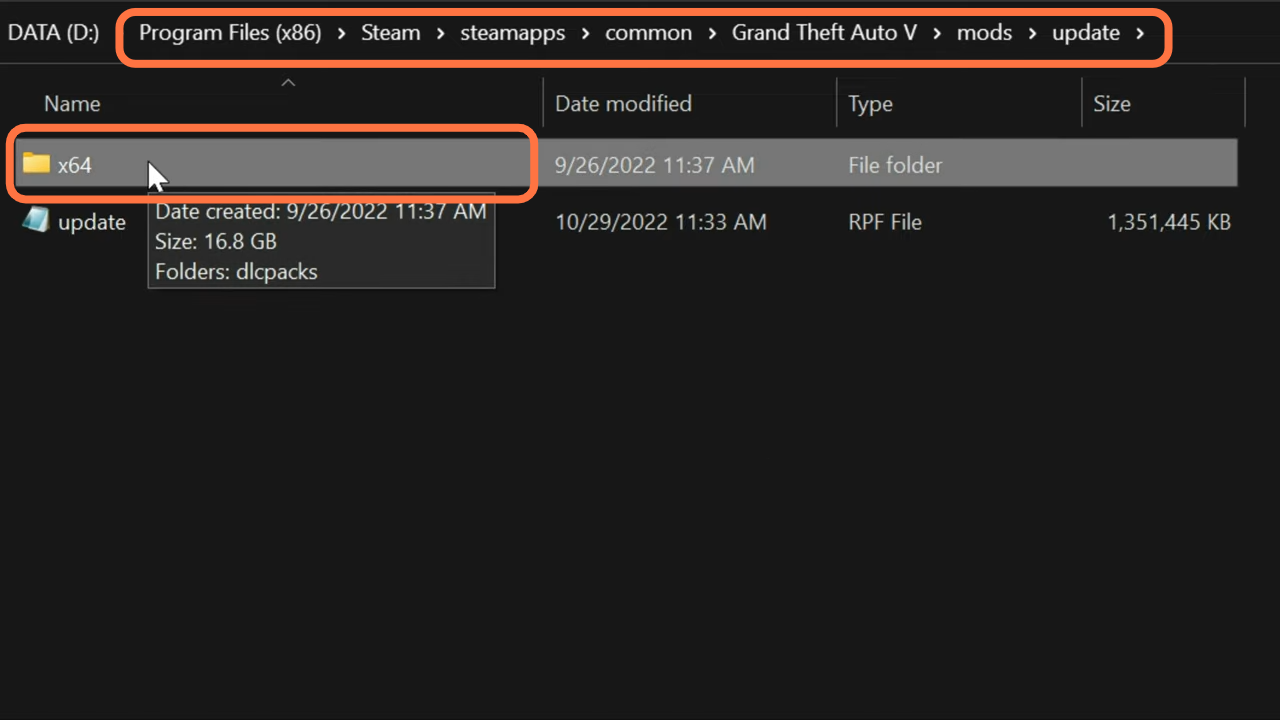
7. Go further inside this update folder to create another folder and name it x64.
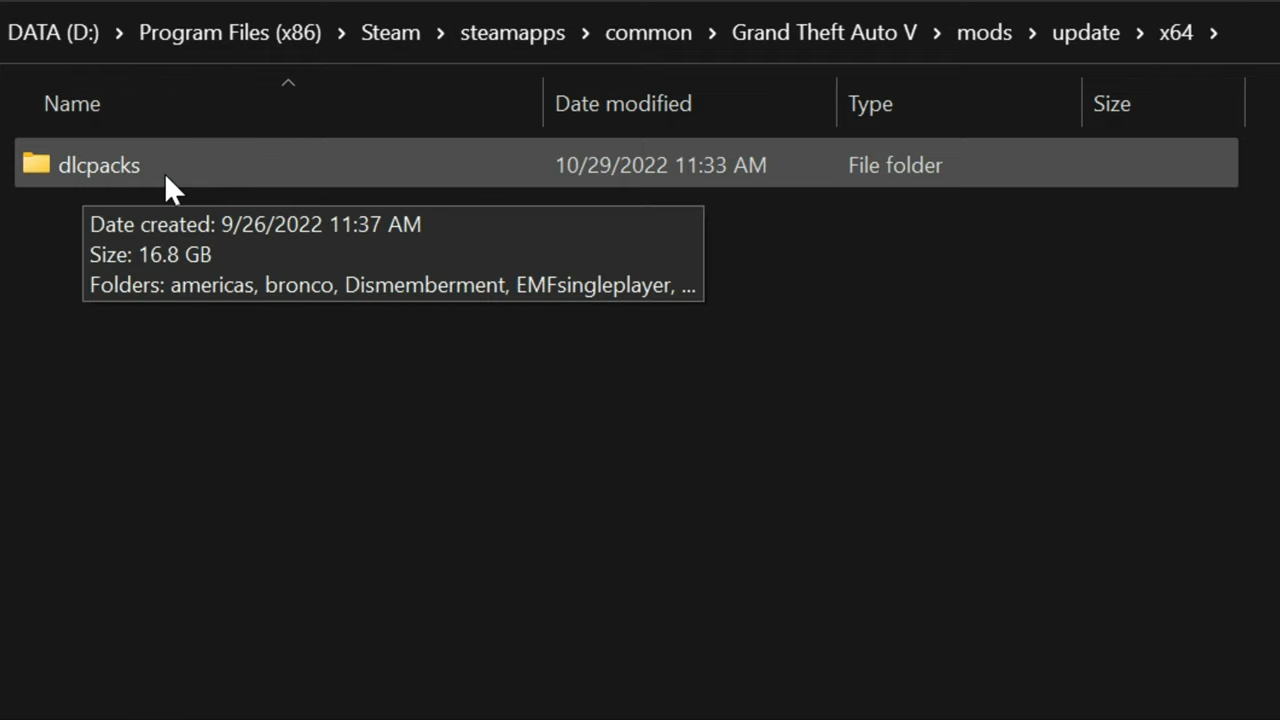
8. Then you need to go one step ahead and create a ‘dlcpacks’ folder inside the x64 folder.
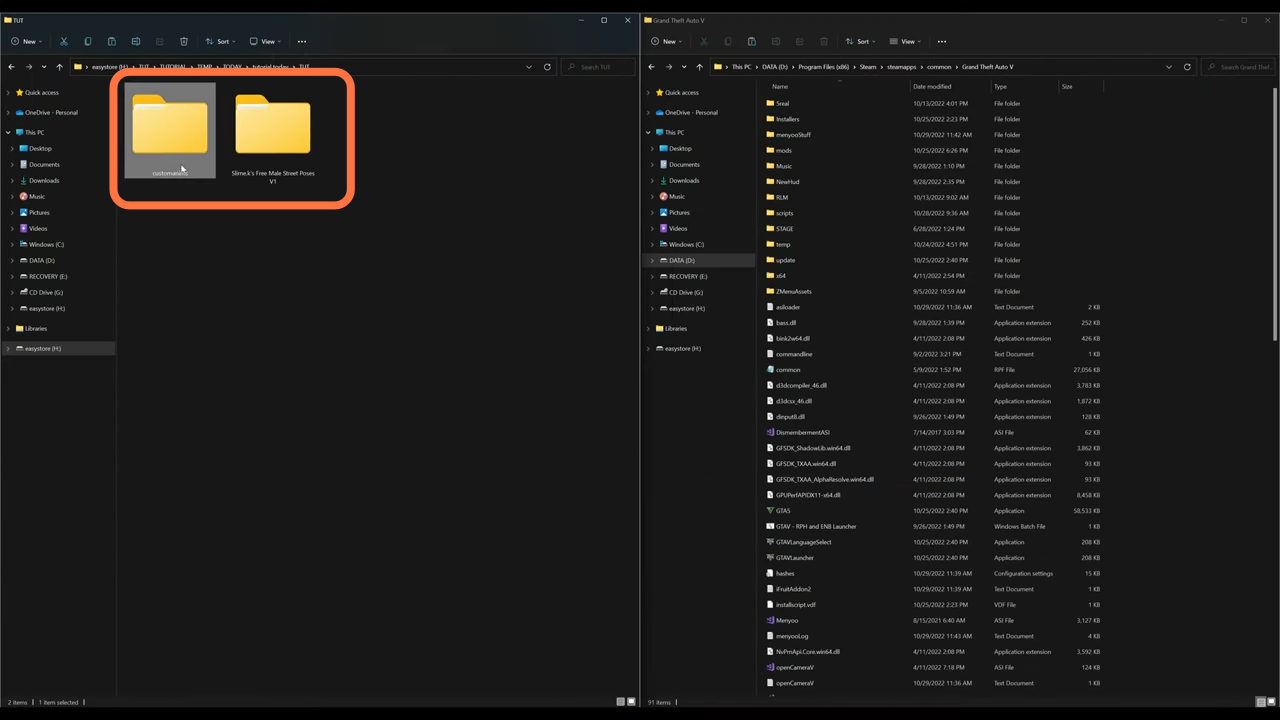
9. After that, go back to the downloads and open the “Customanims” folder. Inside this folder, there will be your DLC pack.
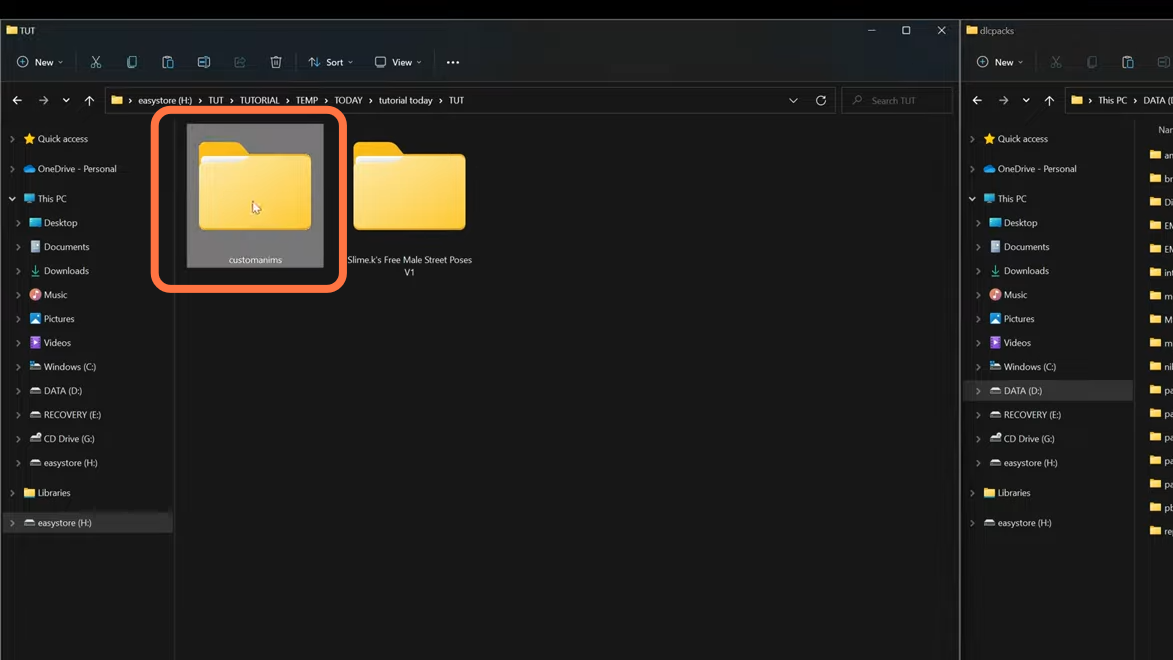
10. You need to drag this folder into the ‘dlcpacks’ folder you created in the mods folder of the GTA V directory.

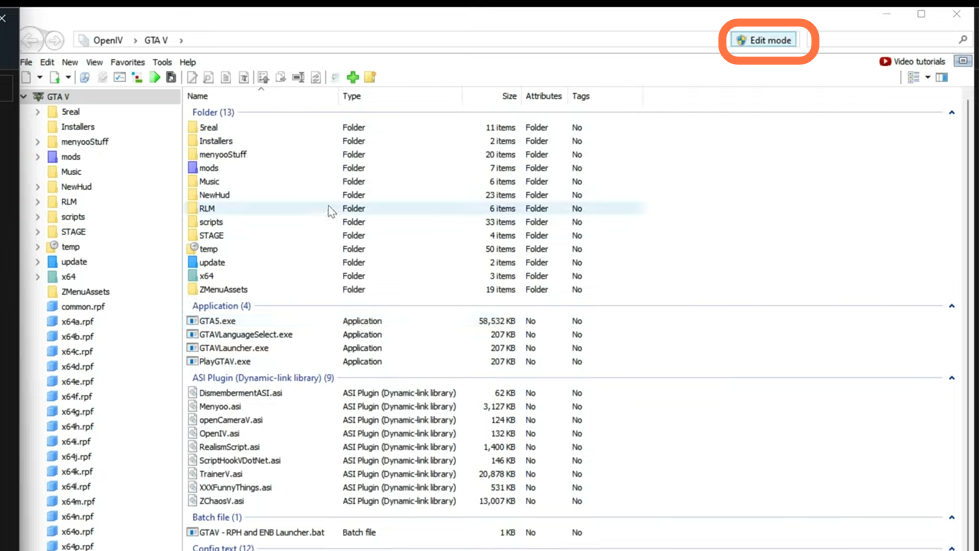
11. Now you have to open the ‘Open IV’ editor and make sure to click on the ‘Edit Mode’ to enable it.
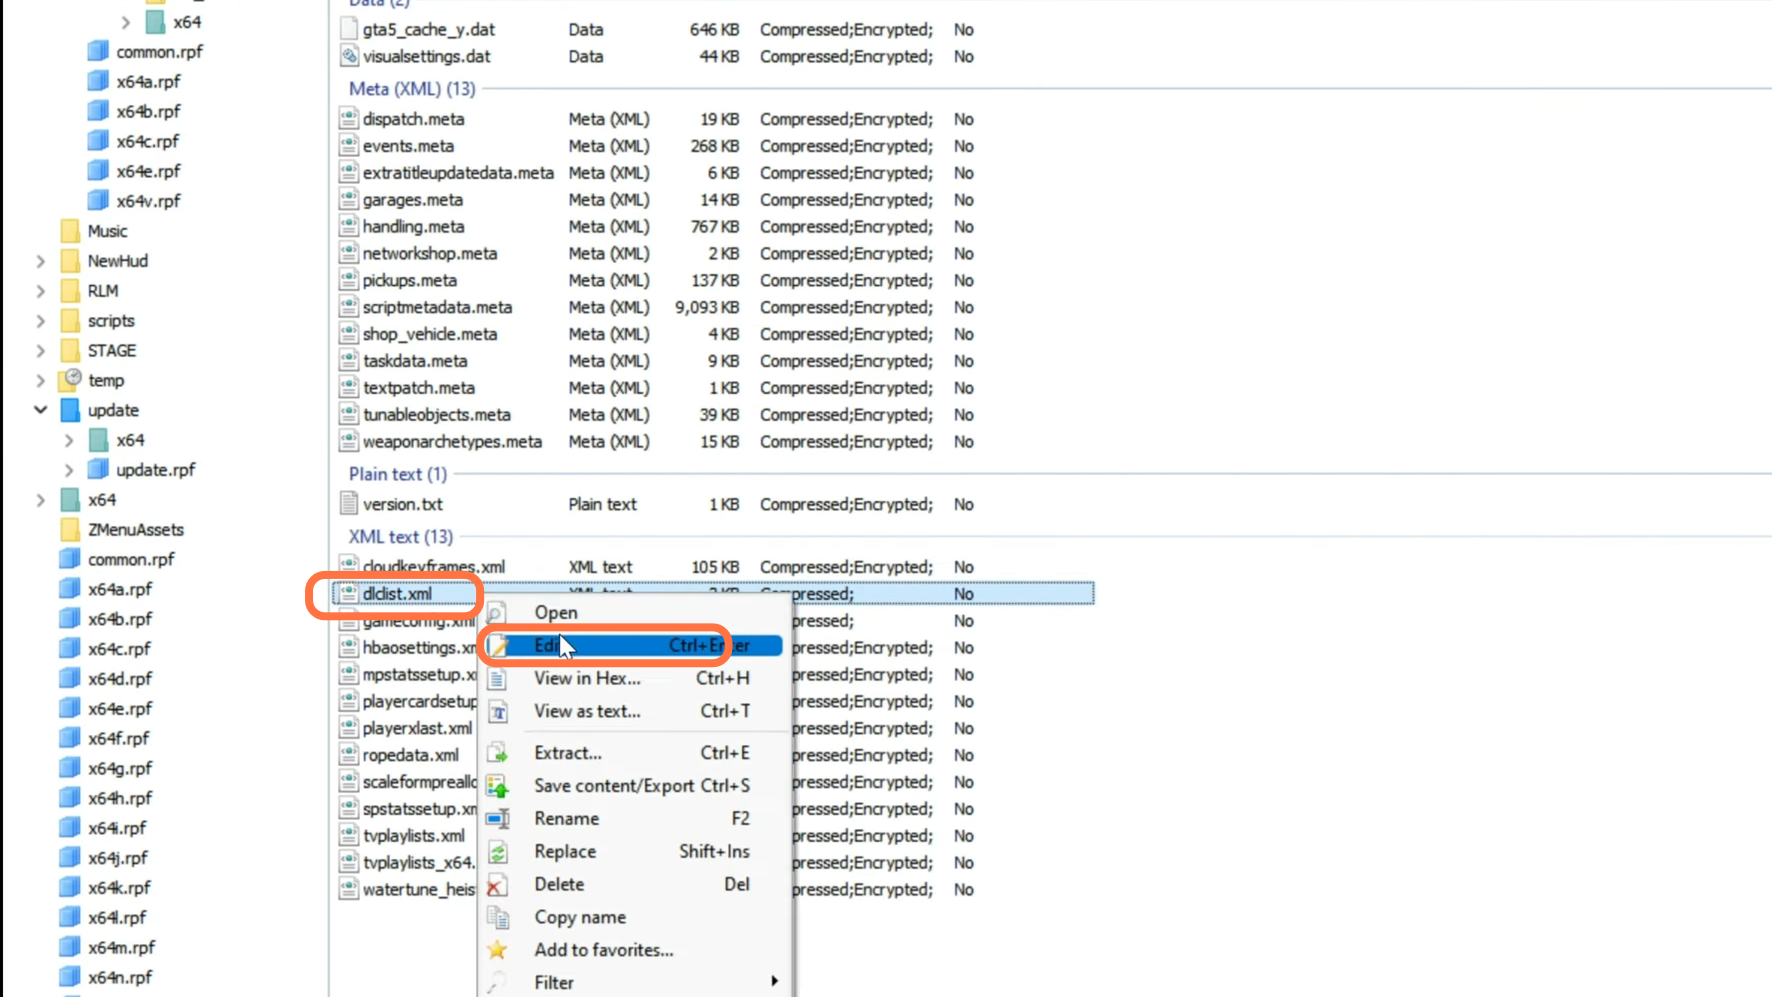
12. Move to the side column and go to this directory: update > update.rpf > common > data > and scroll down to find dlclist.xml. Right-click on it and select Edit.
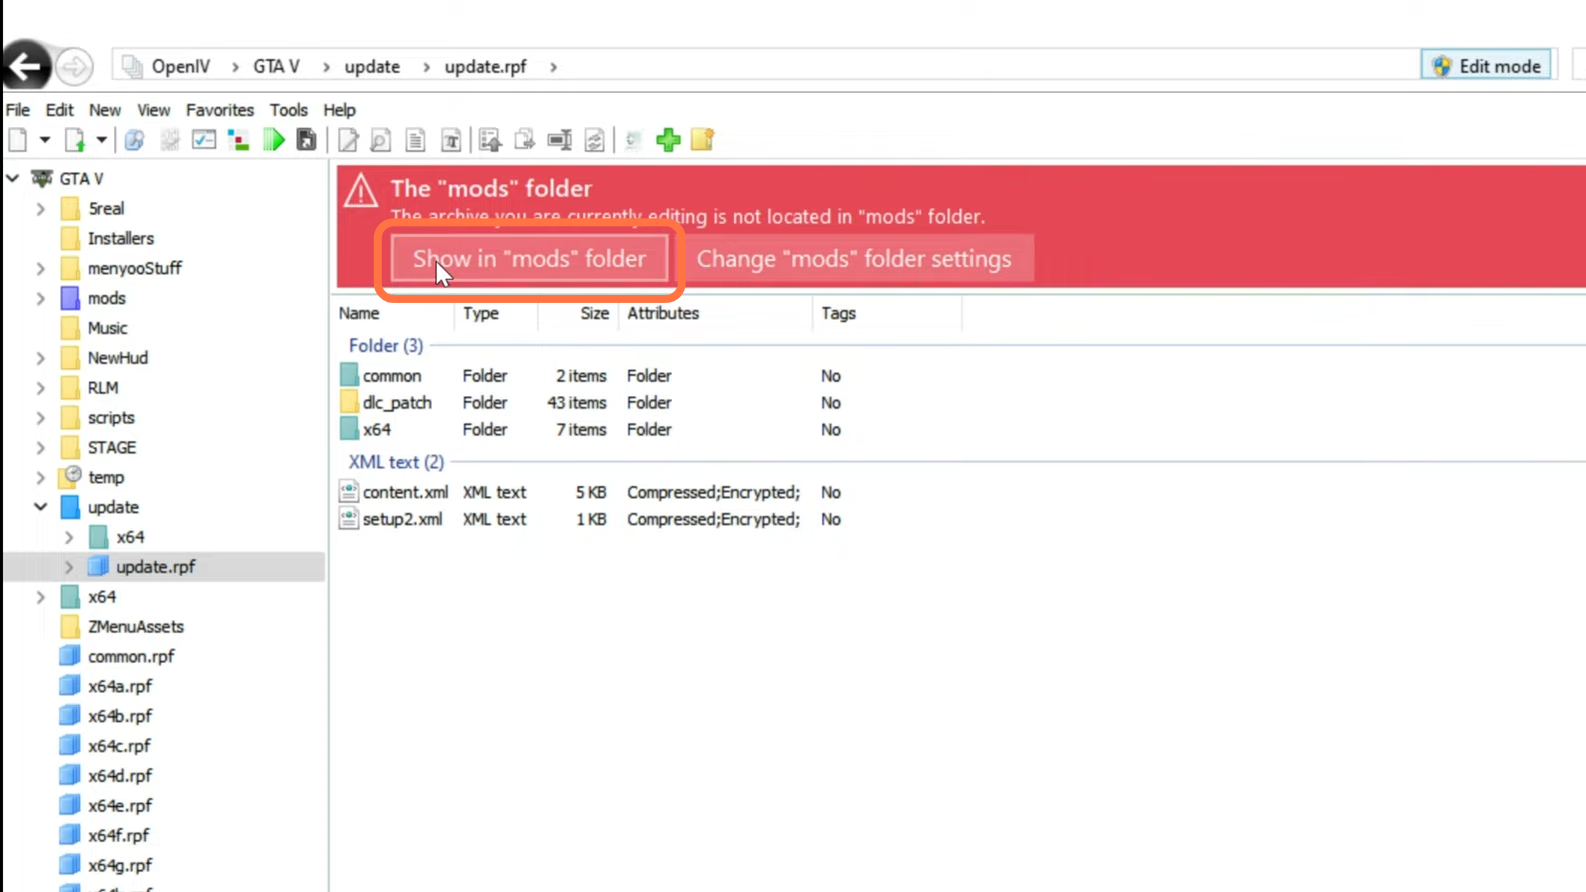
13. You may find a red banner pop up asking you to copy it to the mods folder when you are going to follow the directory in the above step. You need to click on the “Show in ‘mods’ folder” tab to do this.
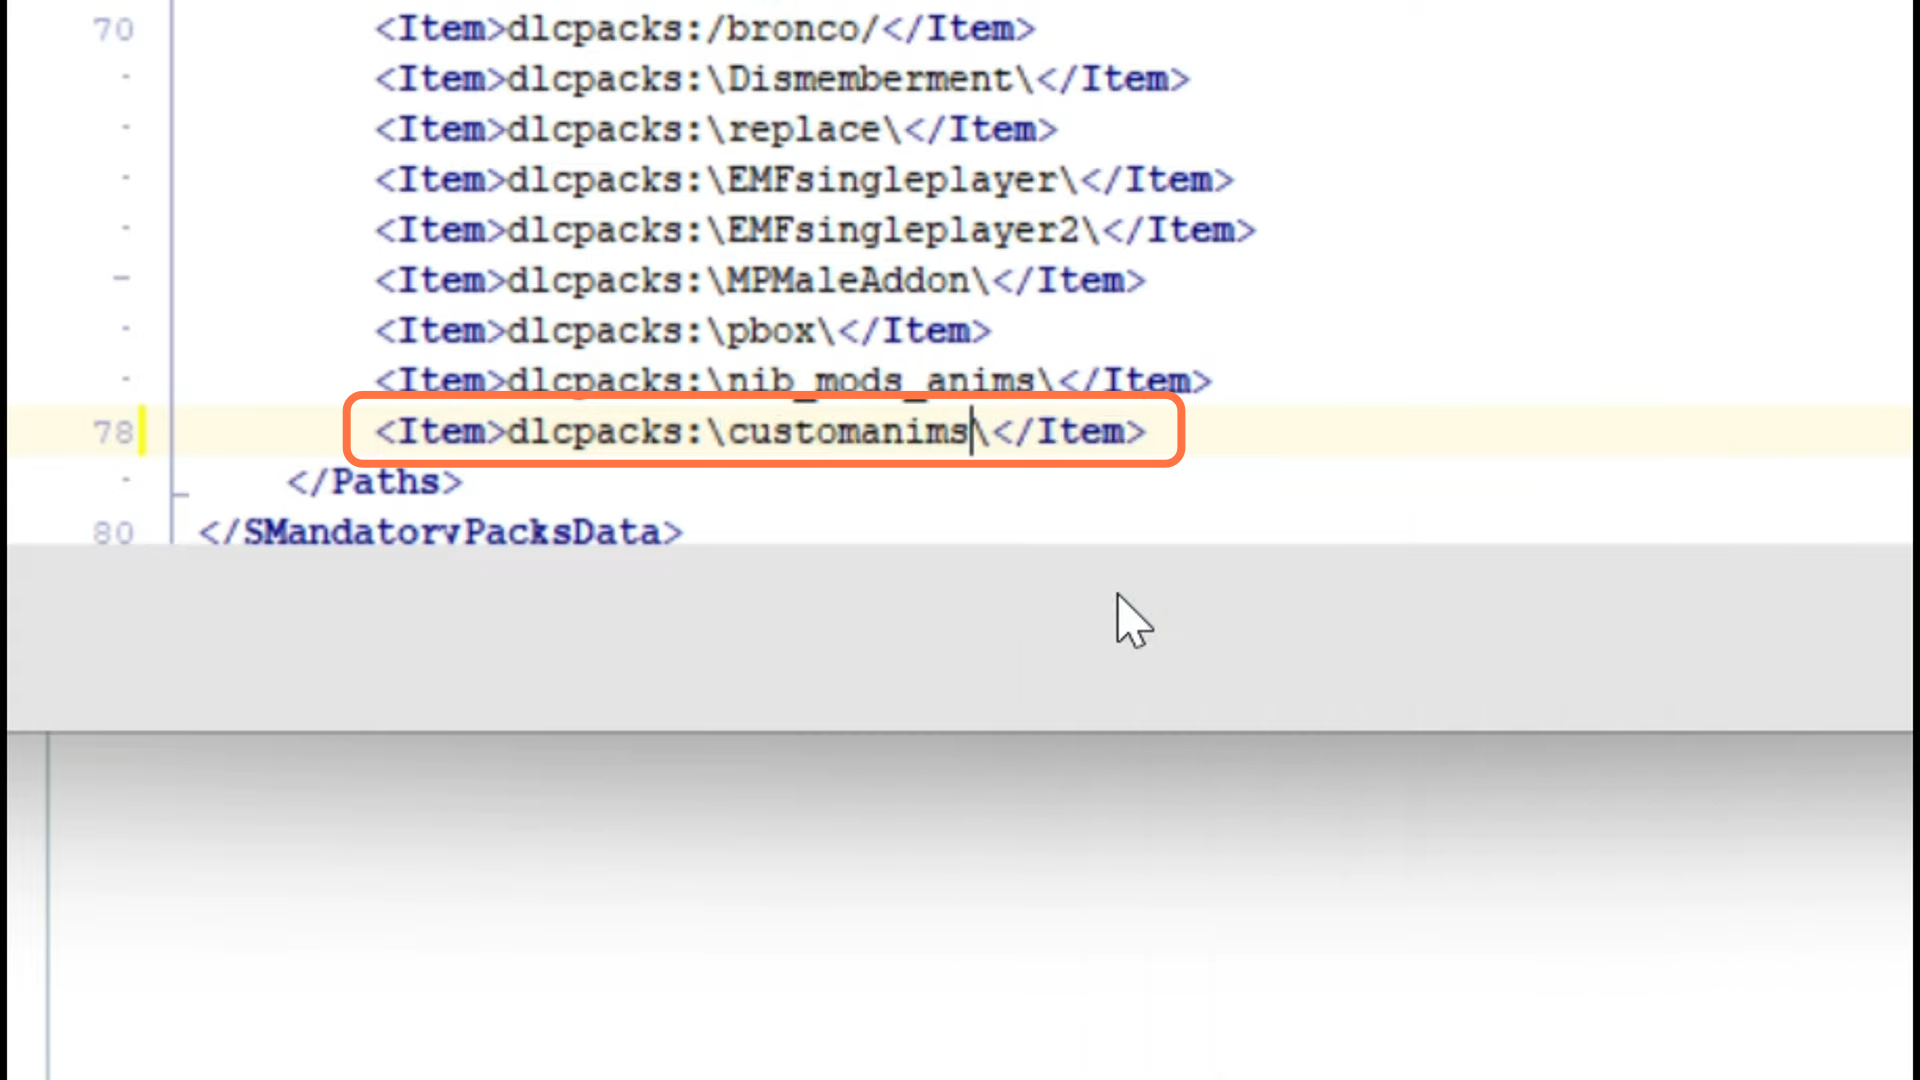
14. After that, scroll down to the bottom of the file and copy the very last item line, paste it just under this Item tag and copy the name of the downloaded folder which is “customanims” and place it inside the backslashes of item tags. After that, save the file and close it.
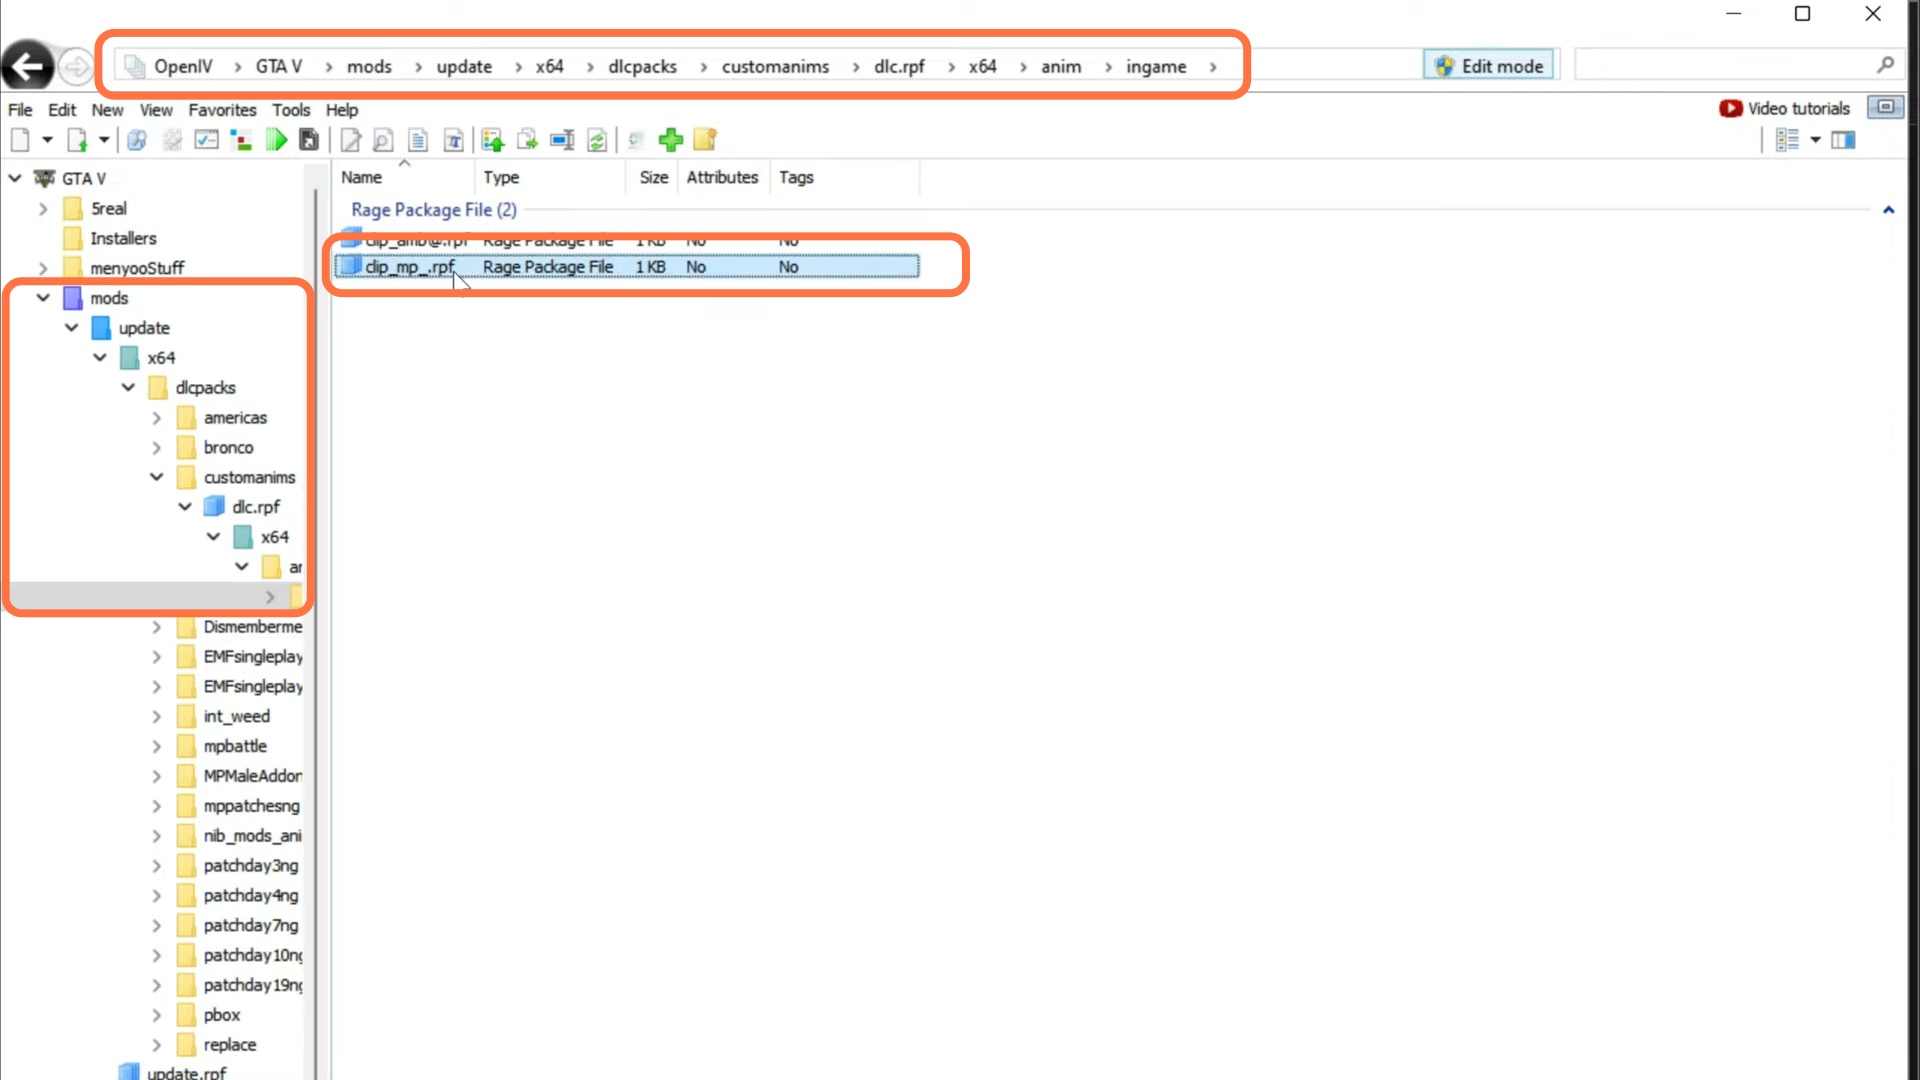
15. Then you need to come back to the main page of the Open IV and navigate to this directory “mods > update > x64 > dlcpacks > customanims > dlc.rpf > x64 > anim > ingame > clip_mp_.rpf.” You have to paste your Free Male Street Poses files there.
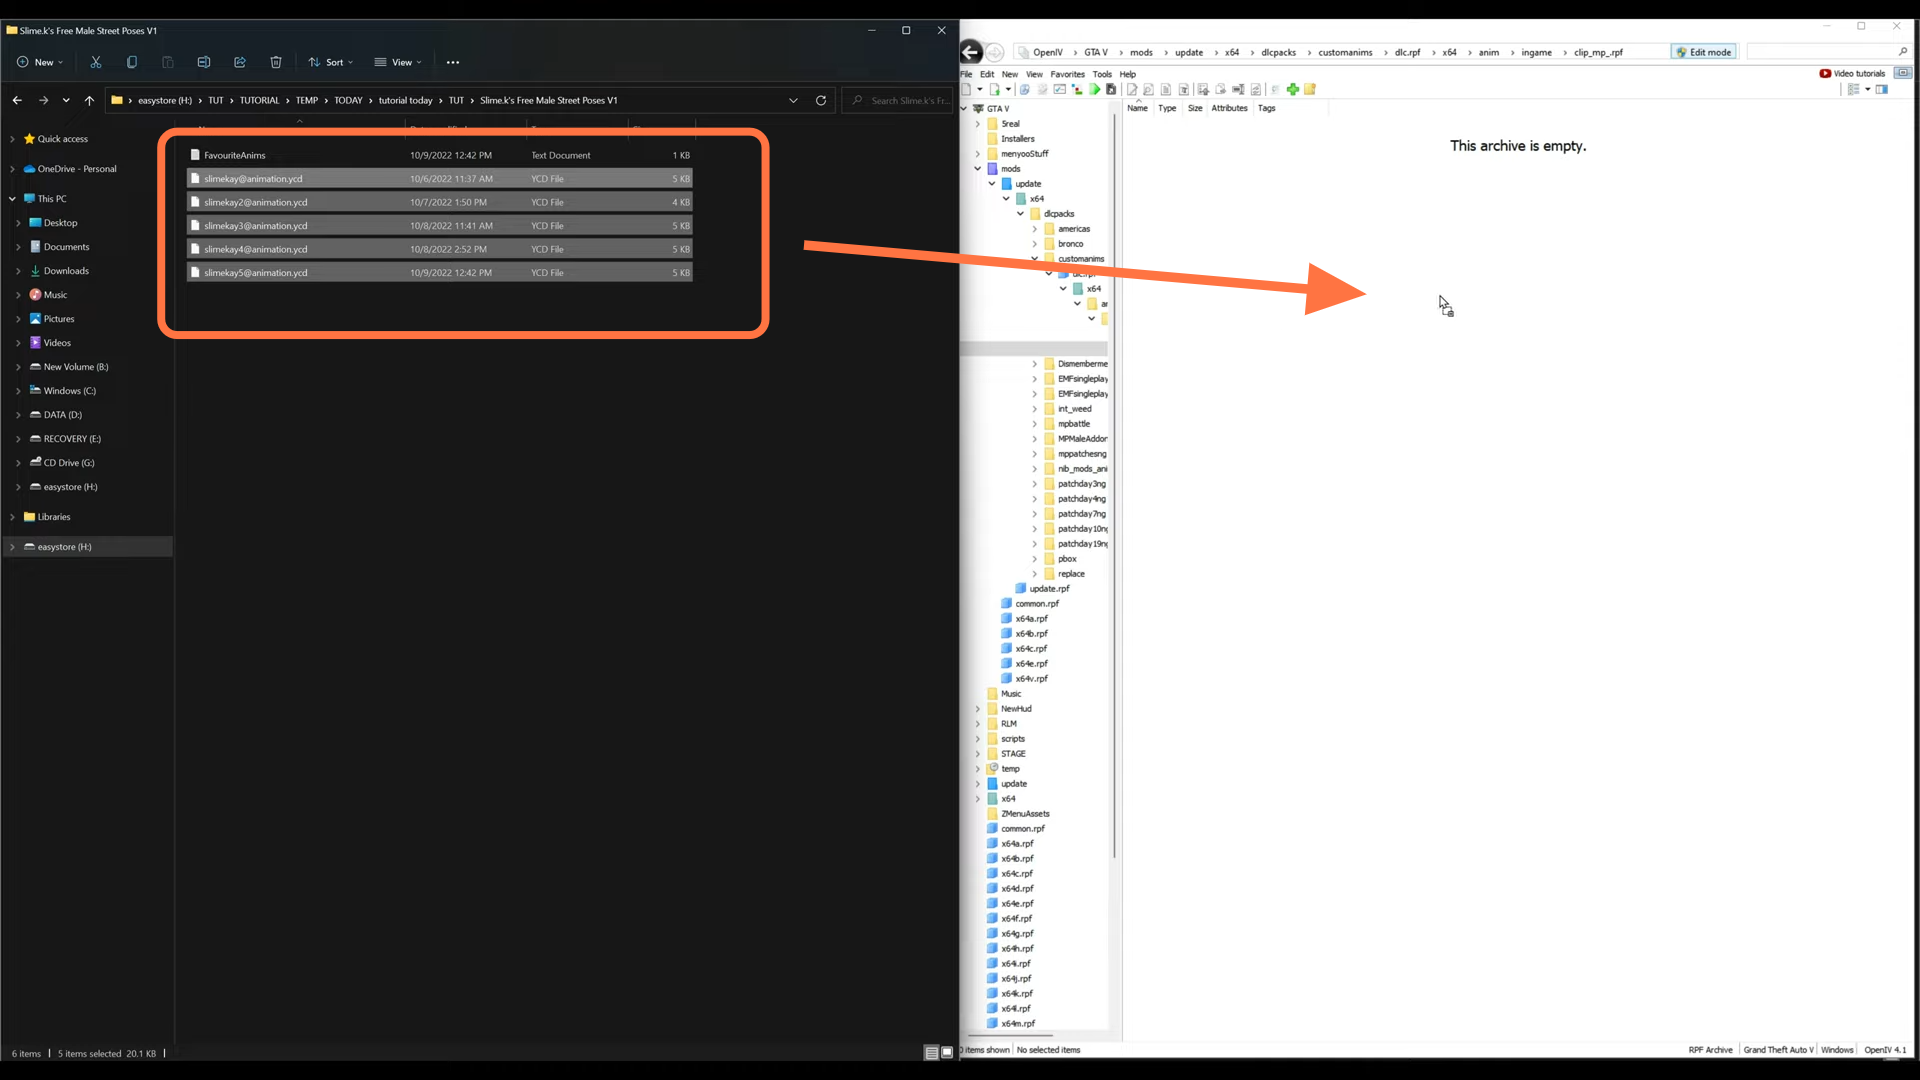
16. Open the Slime K free Male Street poses folder from the downloads and you will get animations there. There will be YCD files inside it, drag and drop all of them over to Open IV opened directory. After that, close all archives.
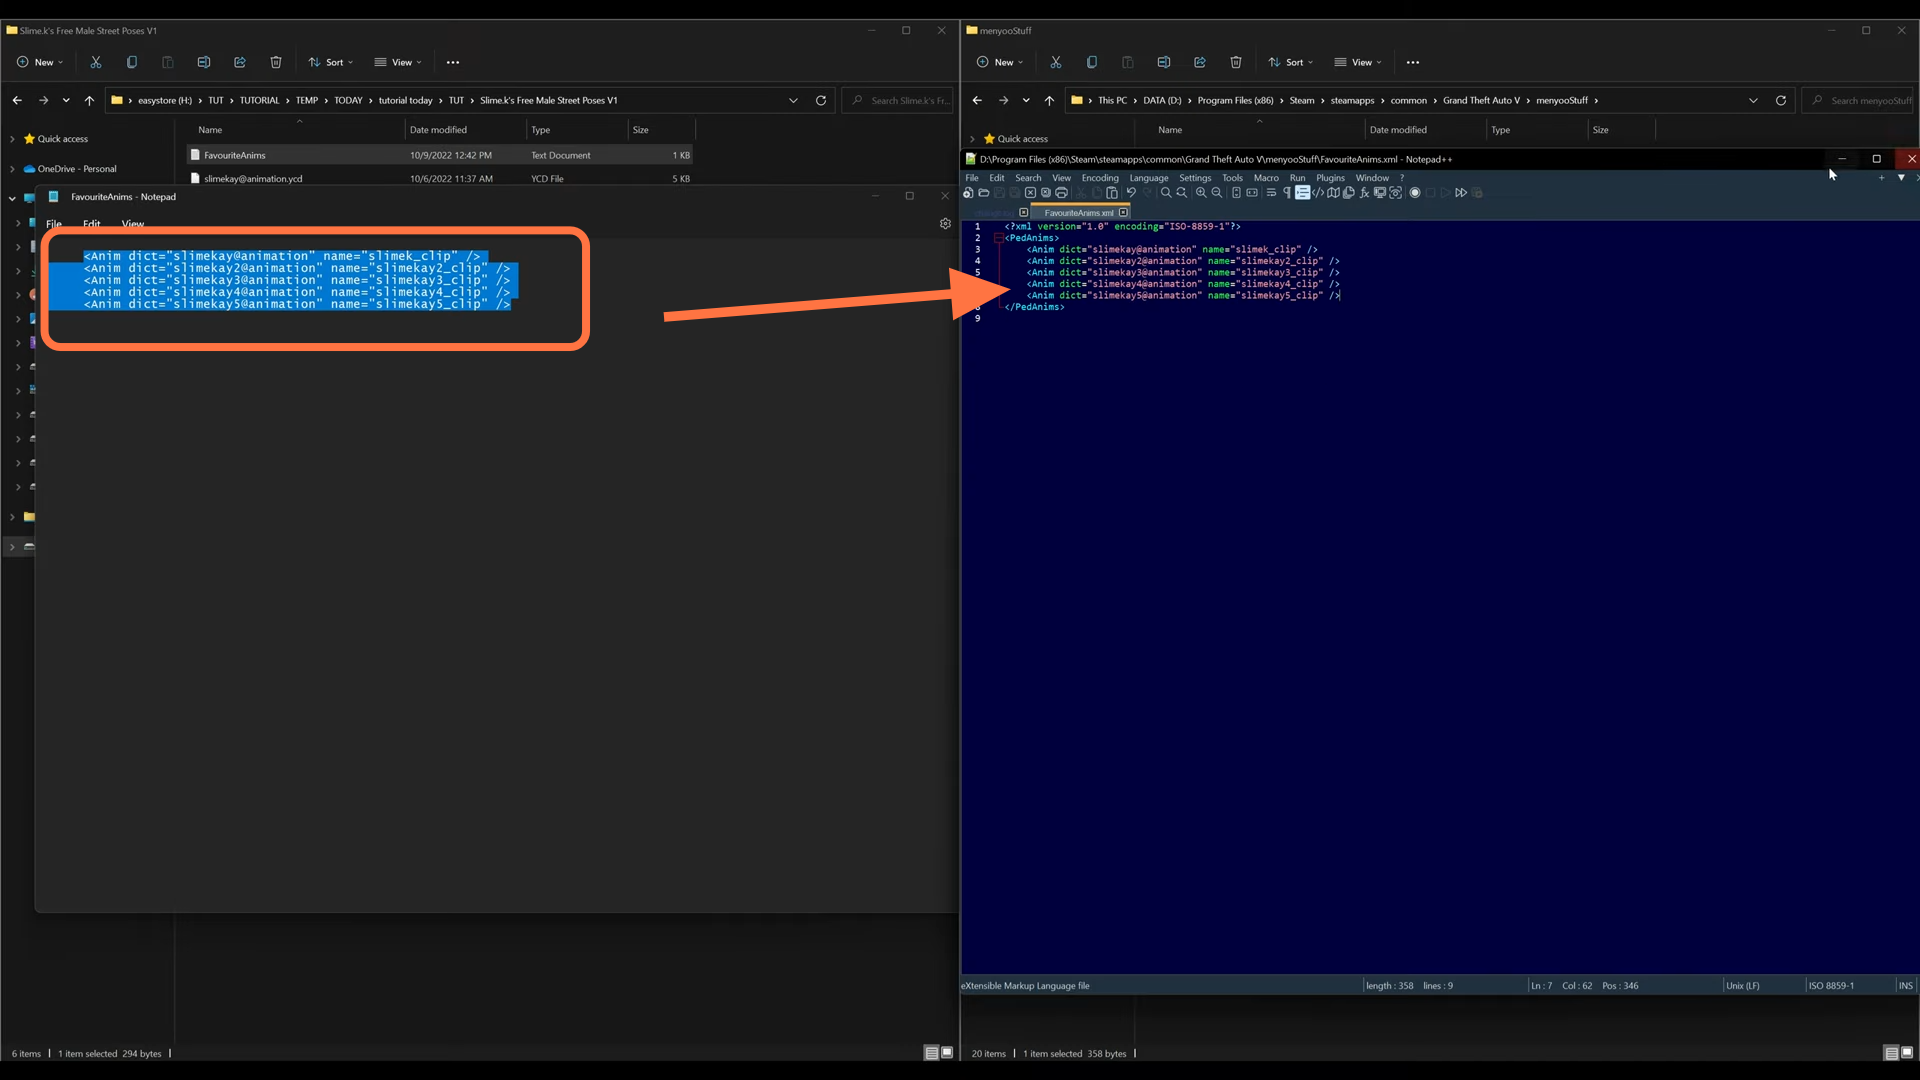
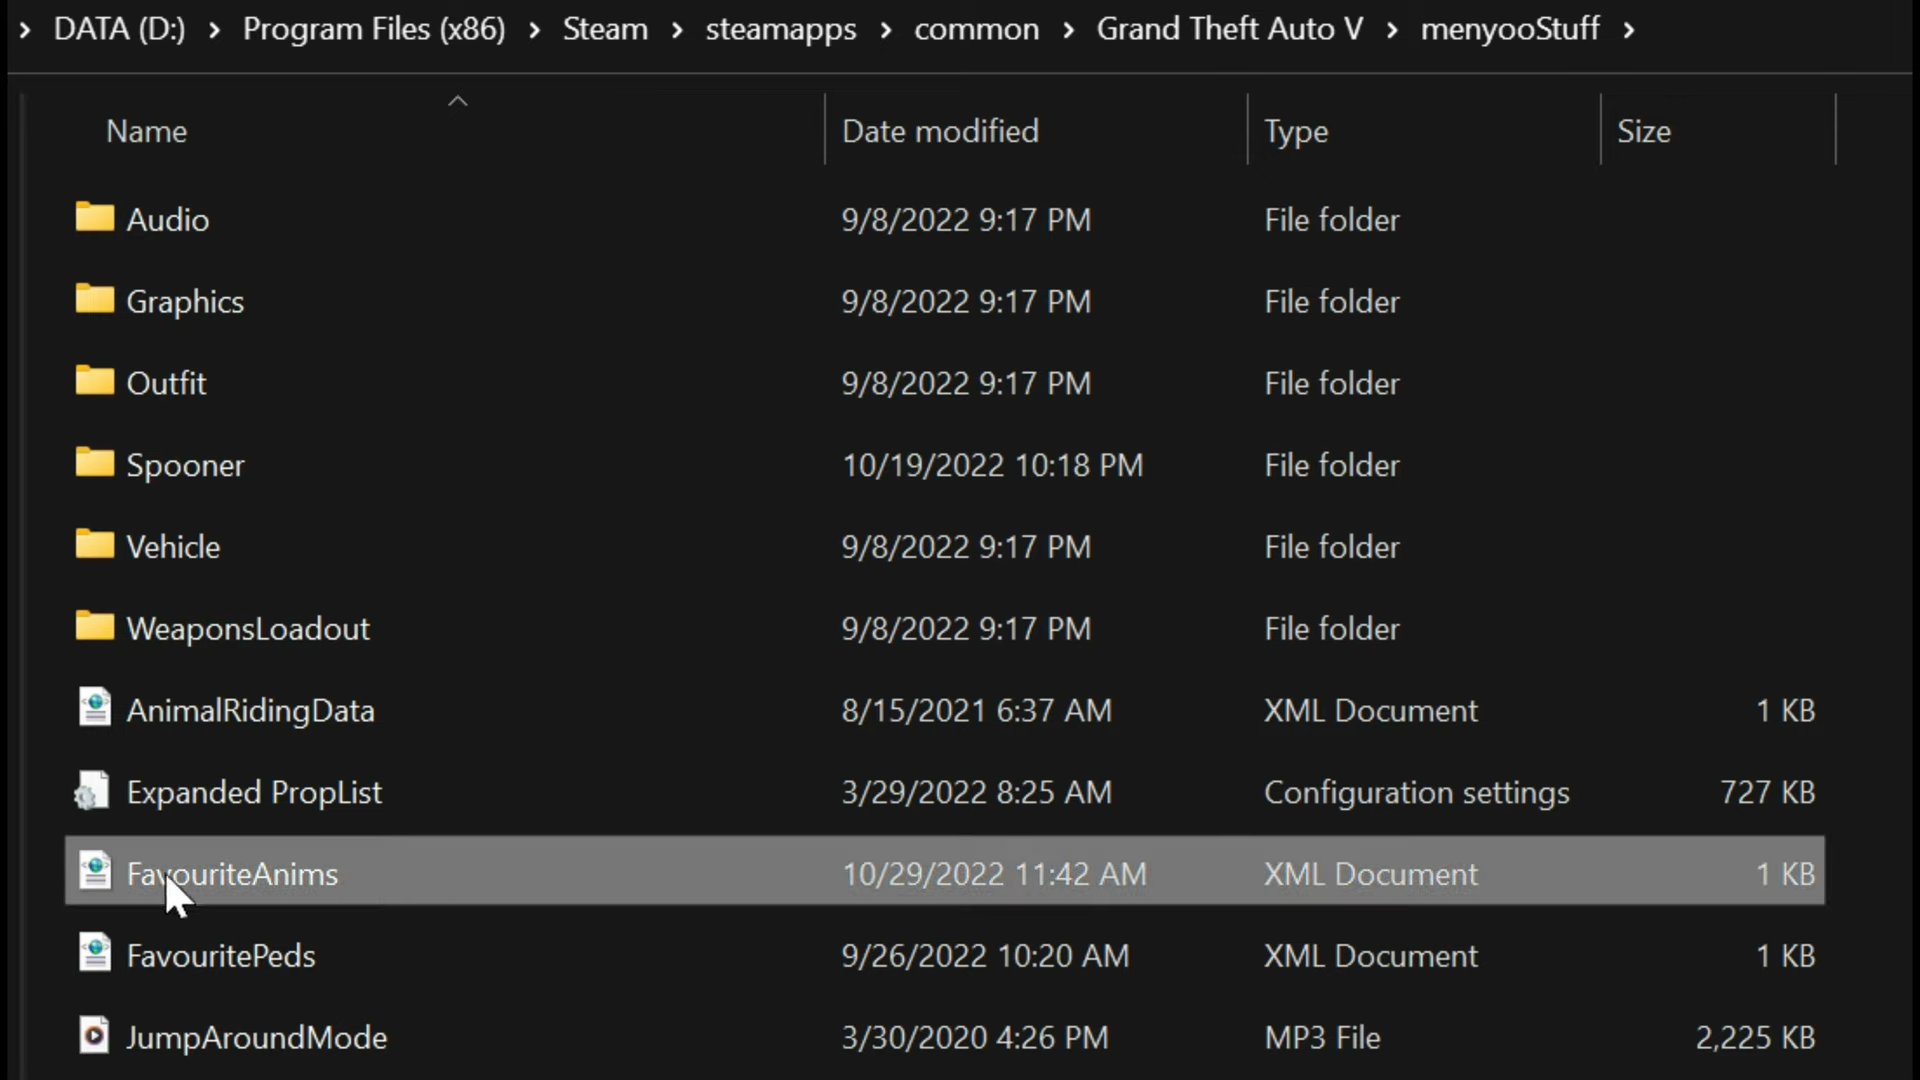
17. Now you have to go back to the GTAV directory and open the menyooStuff folder. You will find the FavouriteAnims XML document there.
18. Now open the animations you got from the downloaded Male Pose file and copy these animations into the FavouriteAnims XML file.