This guide explains how to install Minecraft on Steam Deck with controller support. It emphasizes following each step mentioned in the guide to accomplish the task successfully.
Install Minecraft
In this section, we will take you through the steps to install Minecraft on a device. It involves switching to the desktop, searching Minecraft in the Discover application and then installing it.
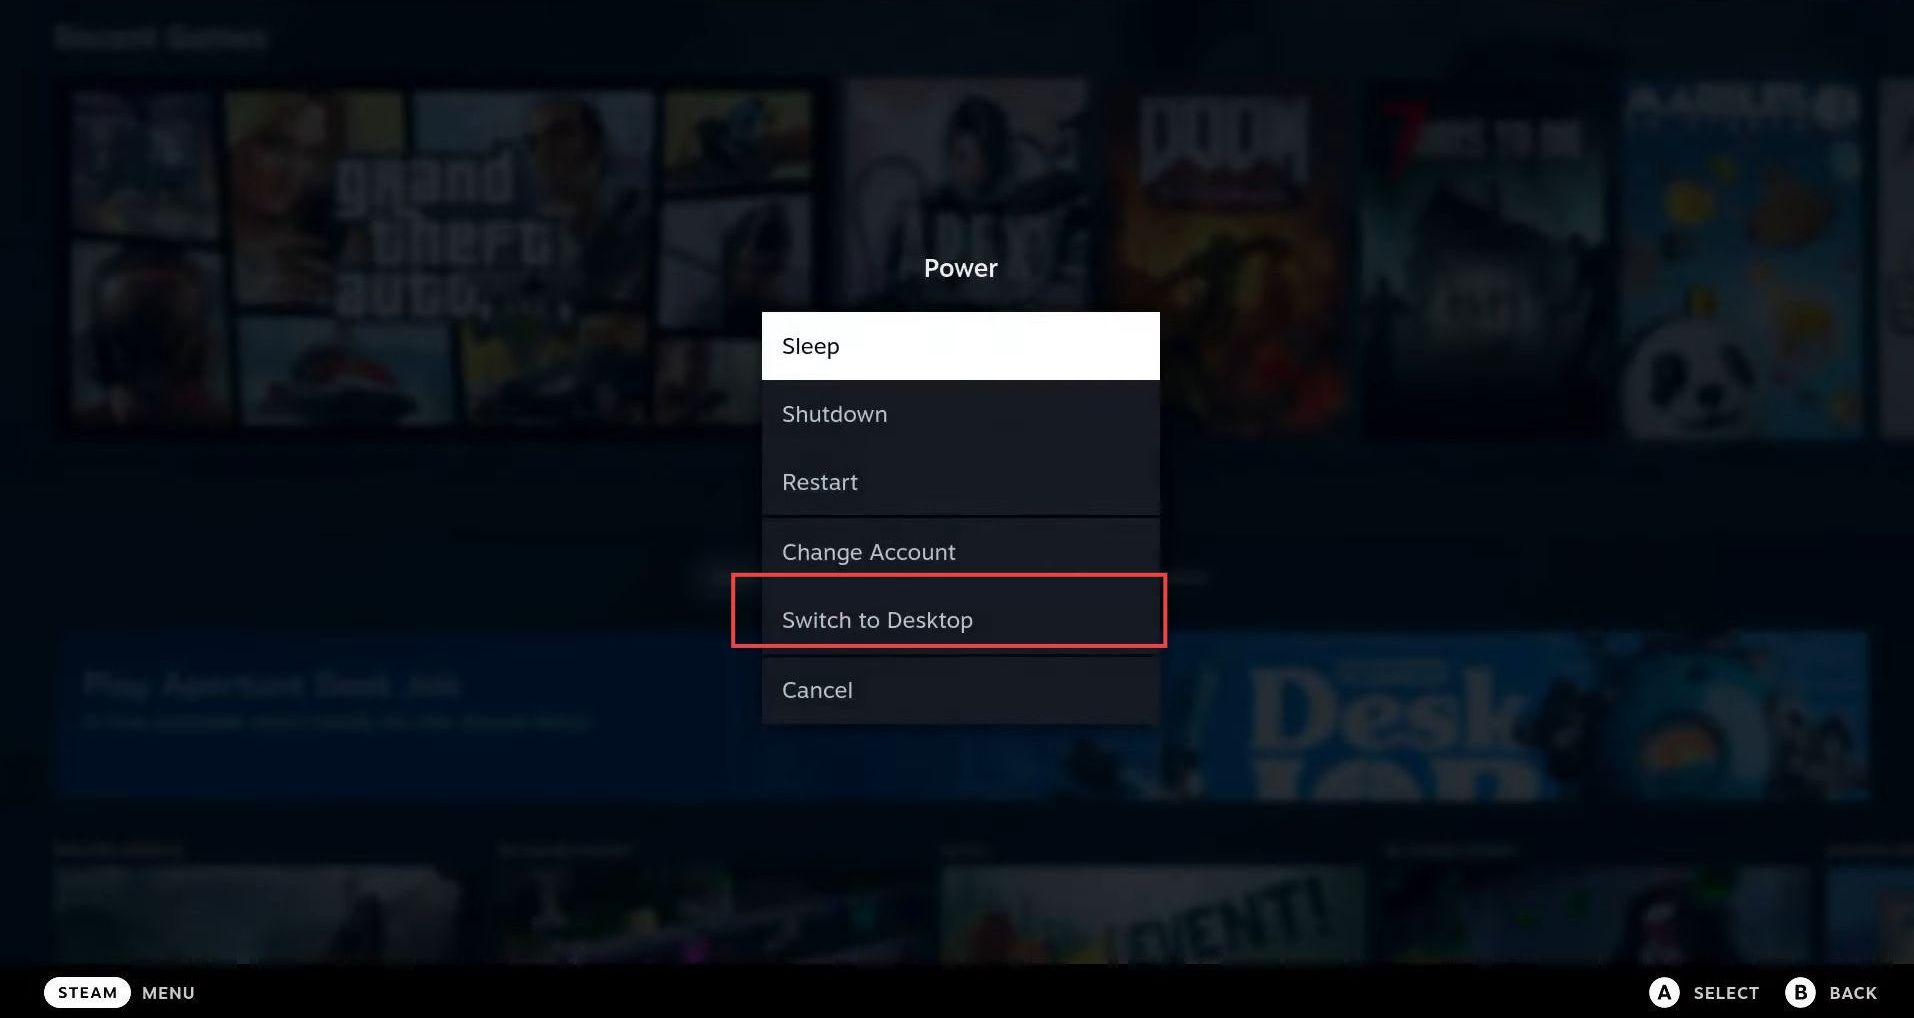
- Locate the power button on your device. Press and hold down the Power button until a pop-up window appears on the screen.
- Click on the “Switch to Desktop” option in the pop-up window.
- Look for the Discover icon on the left side bottom of your device’s screen. You need to click on this icon.
This will take you to the Discover page, where you can browse and download various apps and games. - Type “Minecraft” in the search box and then click on the “Install” button to install it.

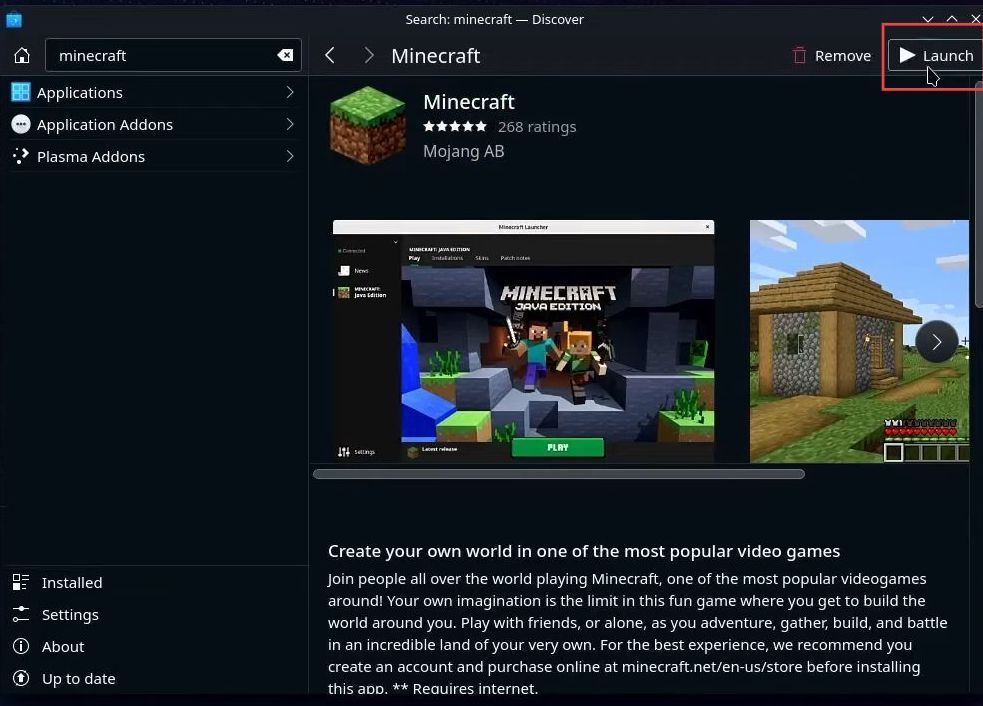
- Locate Minecraft that you just installed.
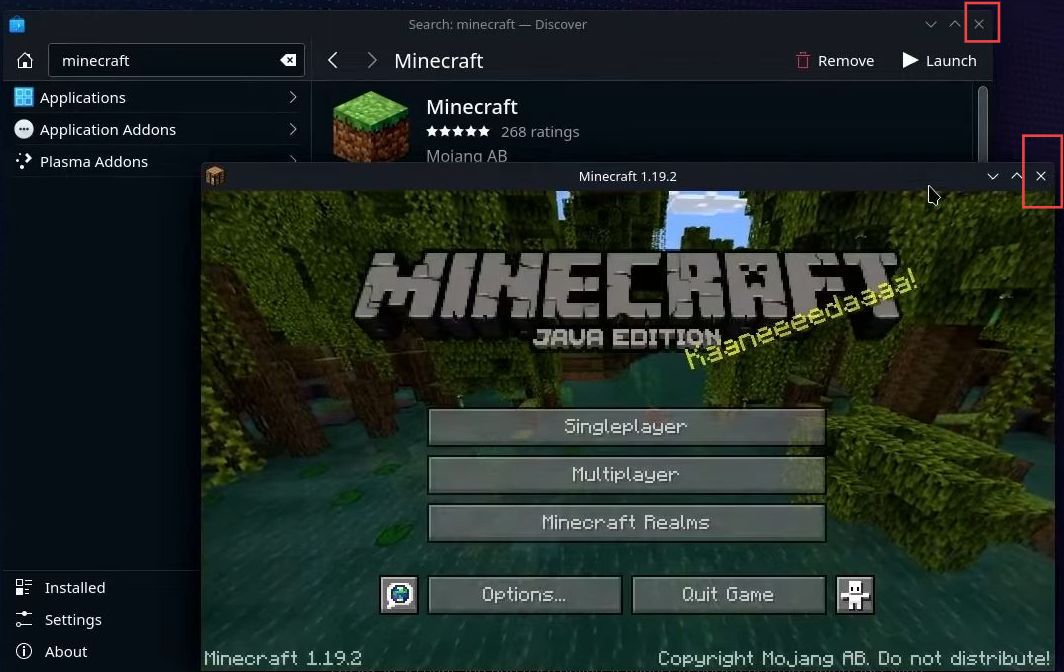
- Look for two buttons next to each other – one labelled “Remove” and the other labelled “Launch.” You need to click the “Launch” button.
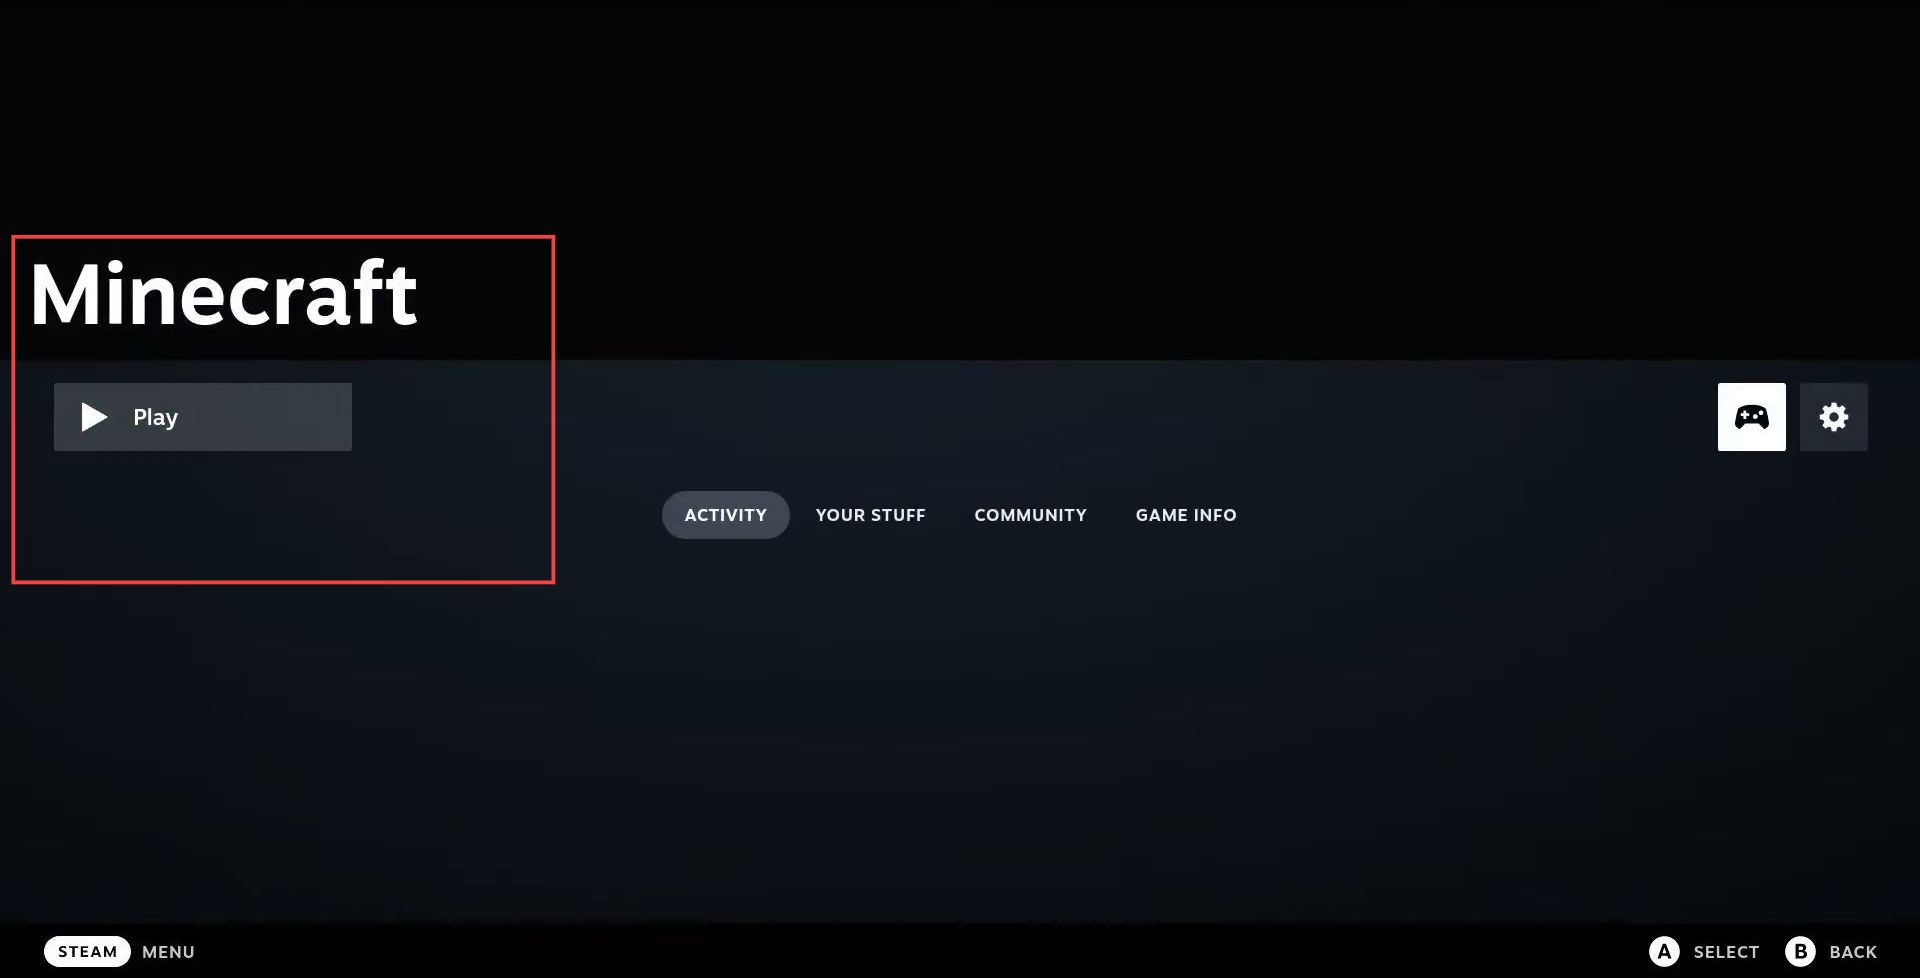
- After that, sign in, and click the Play button to open Minecraft’s Java edition.
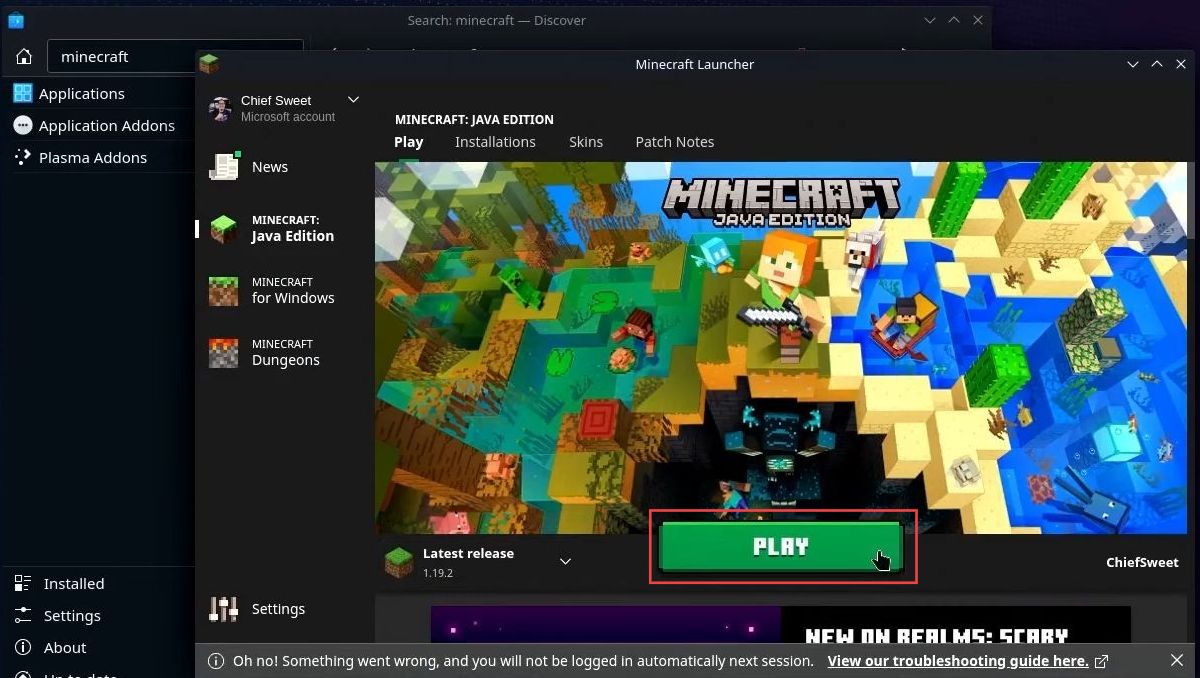
- Once the Java edition is opened up, you have to close all the windows.
Add Minecraft to Steam Library
This section describes how to add Minecraft to the Steam Library. By following the steps below, you will be able to choose Minecraft from a list of programs and add it to the Steam Library.
- Look for the Steam icon on your computer and double-click it to open it.
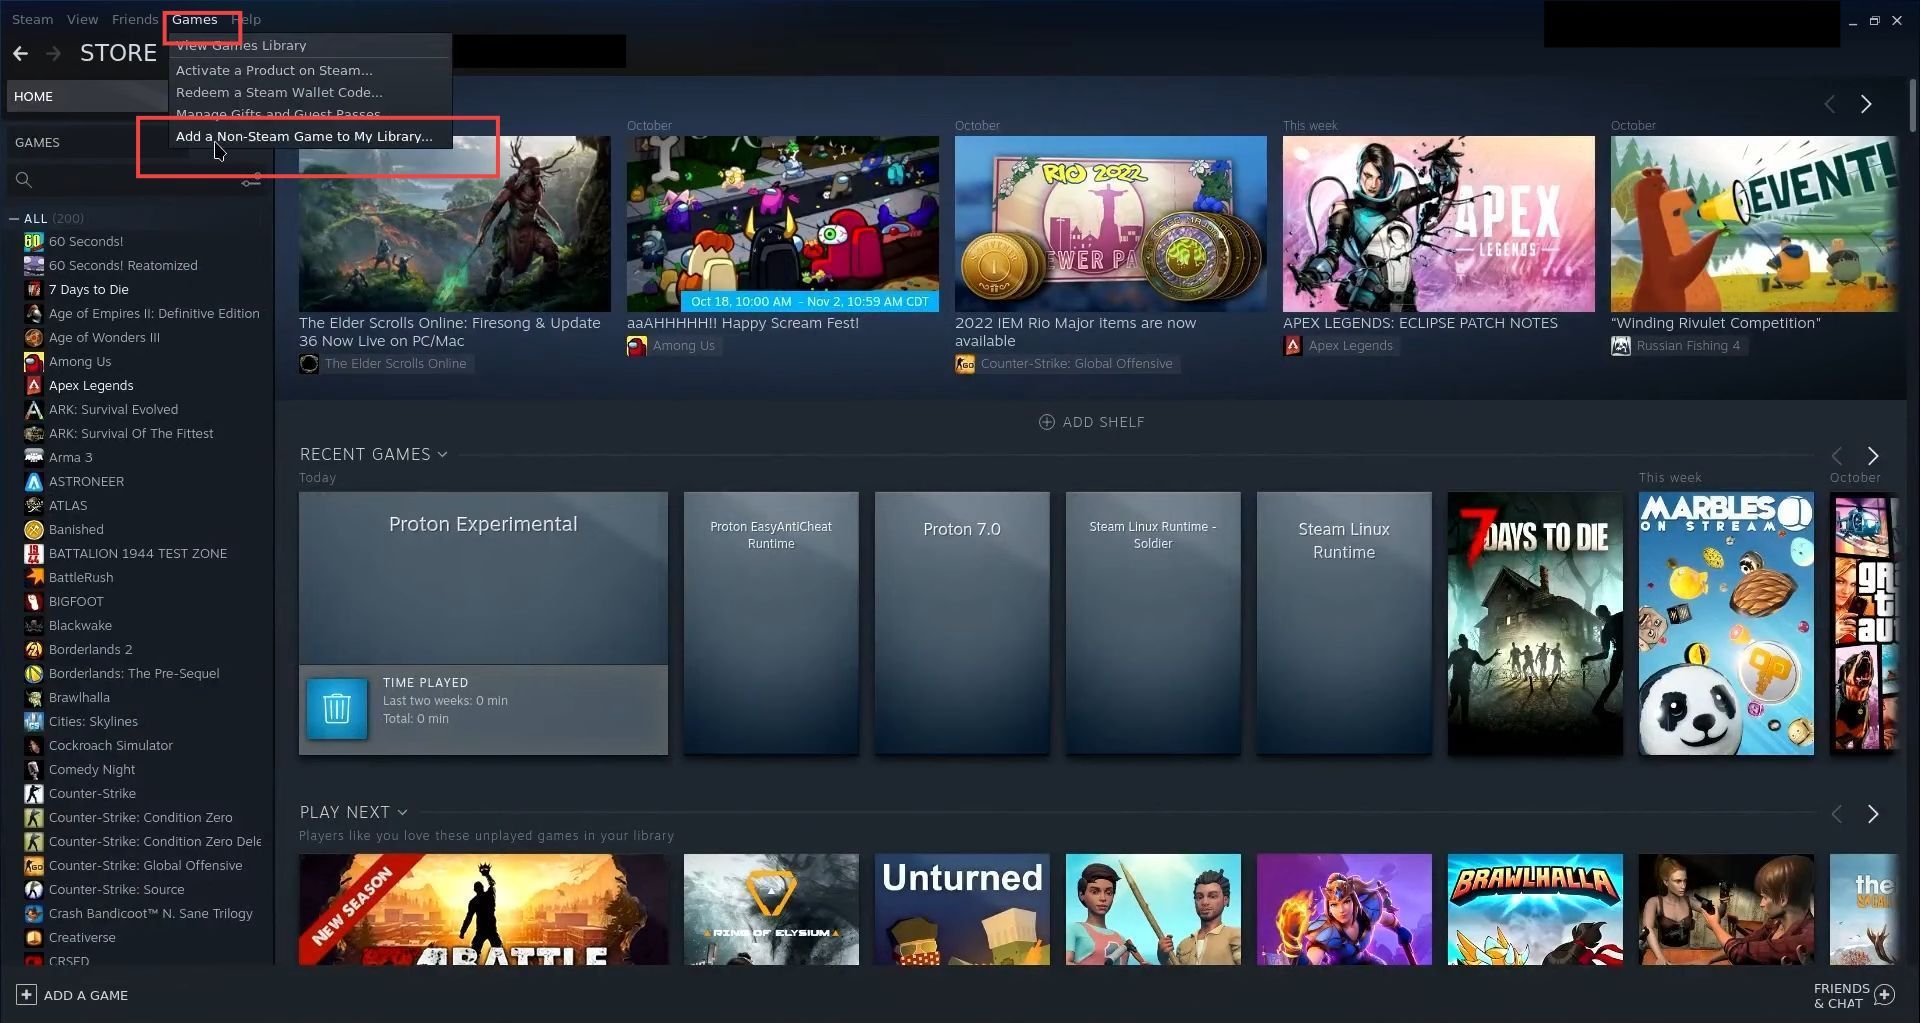
- Once Steam is open, you should see a navigation bar at the top of the window. You need to click on the “Games” tab.
- After that, click on the “Add a Non-Steam Game to My Library” button.
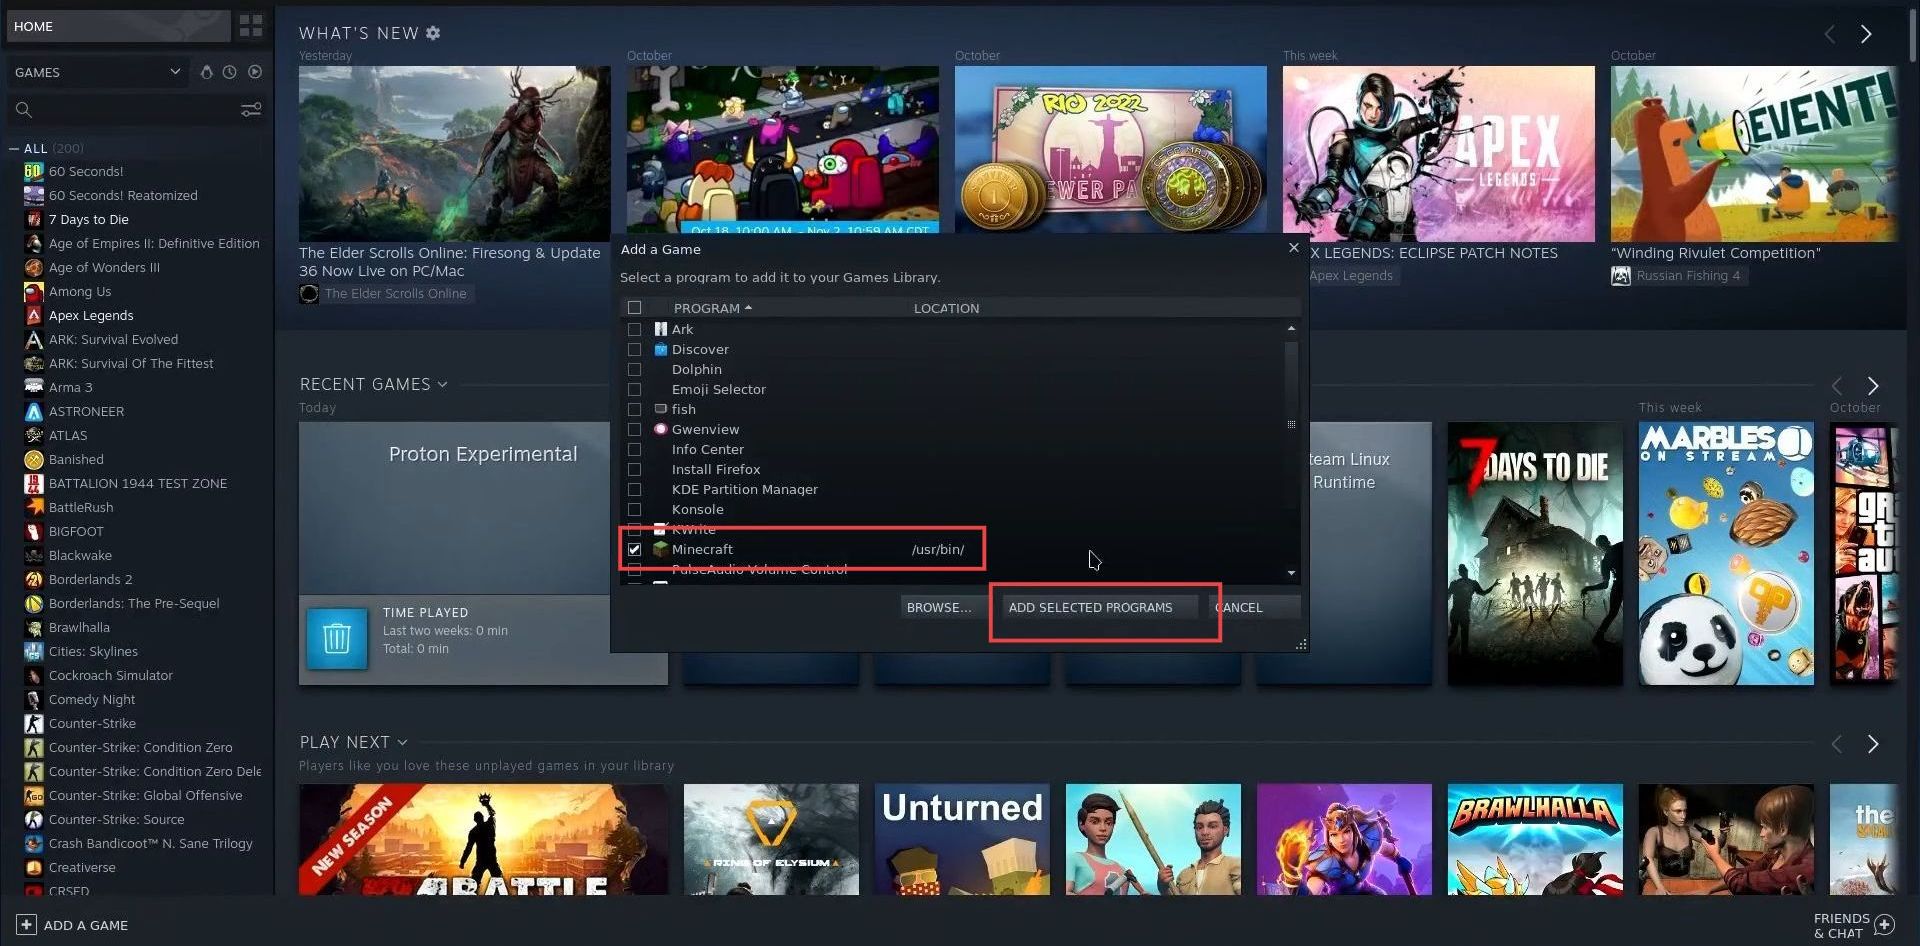
This will open a new window with a list of programs on your computer.
- Select Minecraft, and click the ‘add selected programs‘ button.
- After that, navigate to Library and select Minecraft. Then you need to return to the gaming mode.
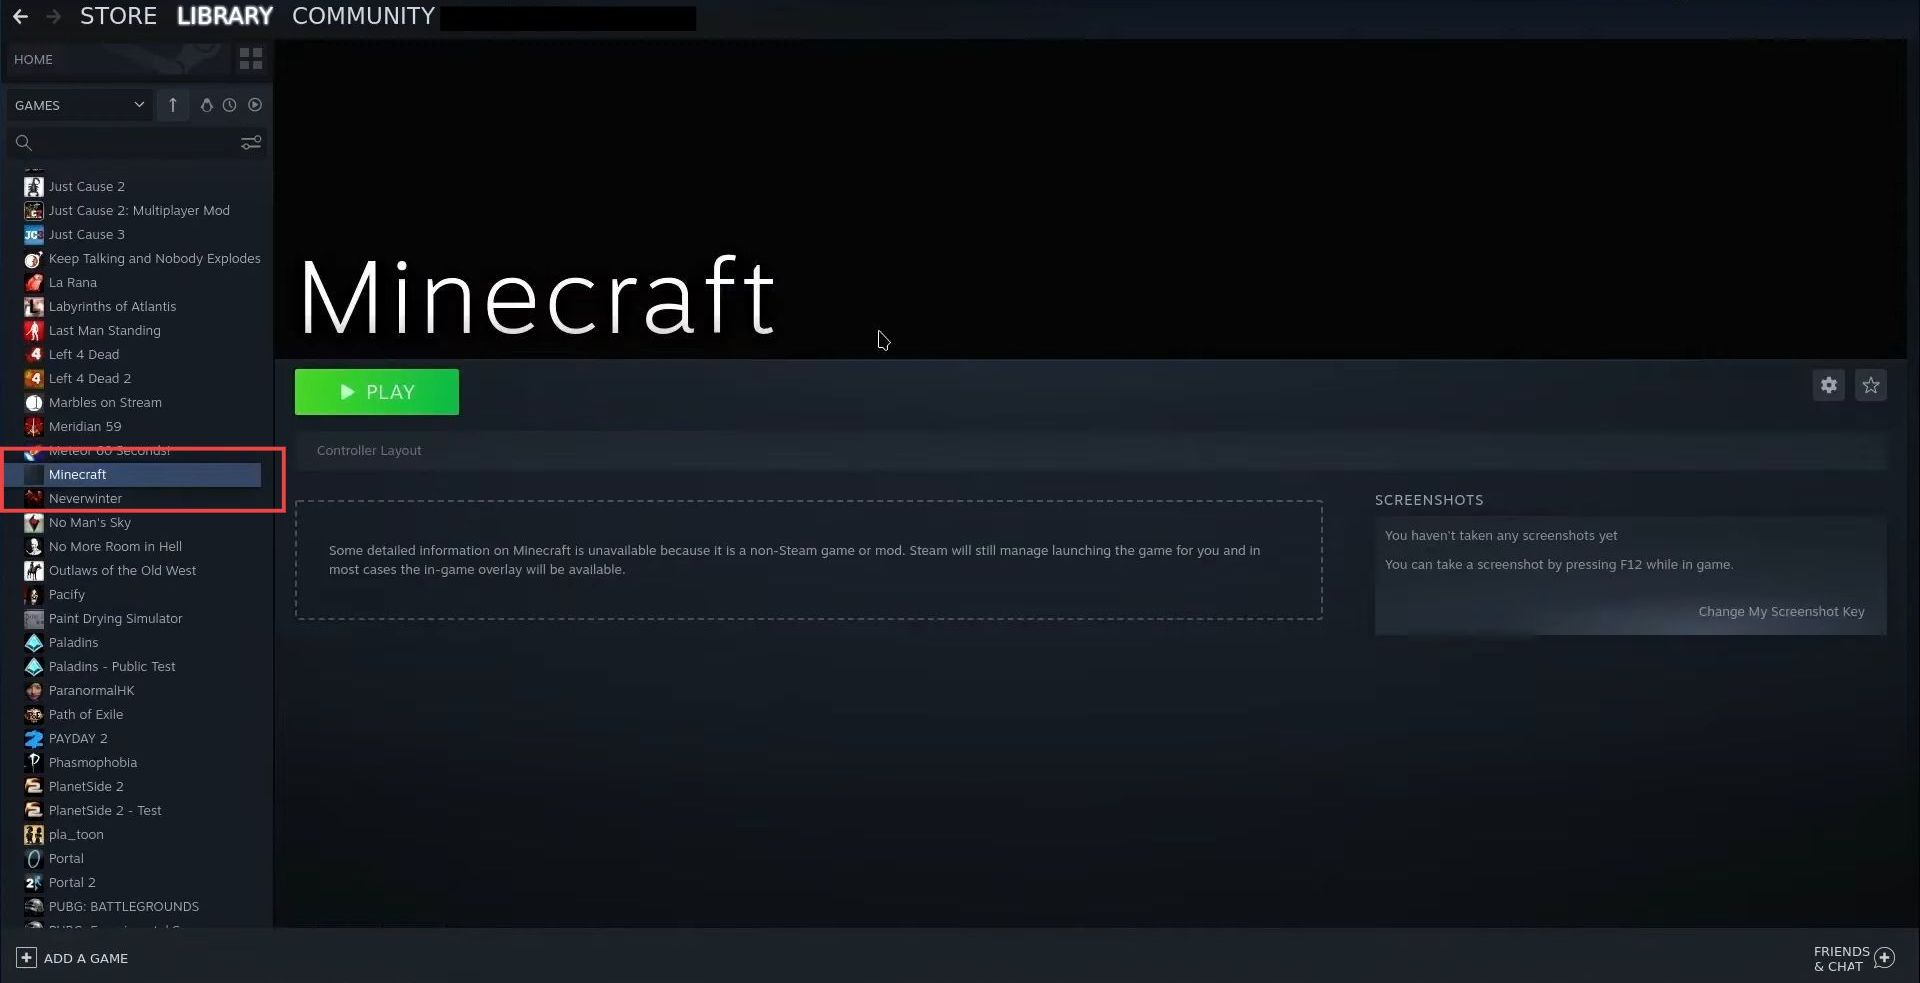
- Once you are in the gaming mod, select the play button and start playing the game.