To install mods for the ‘My Summer Car’ game through Nexus Mods, you’ll need to follow these steps. It is recommended backing up your game files before installing mods to avoid any issues.
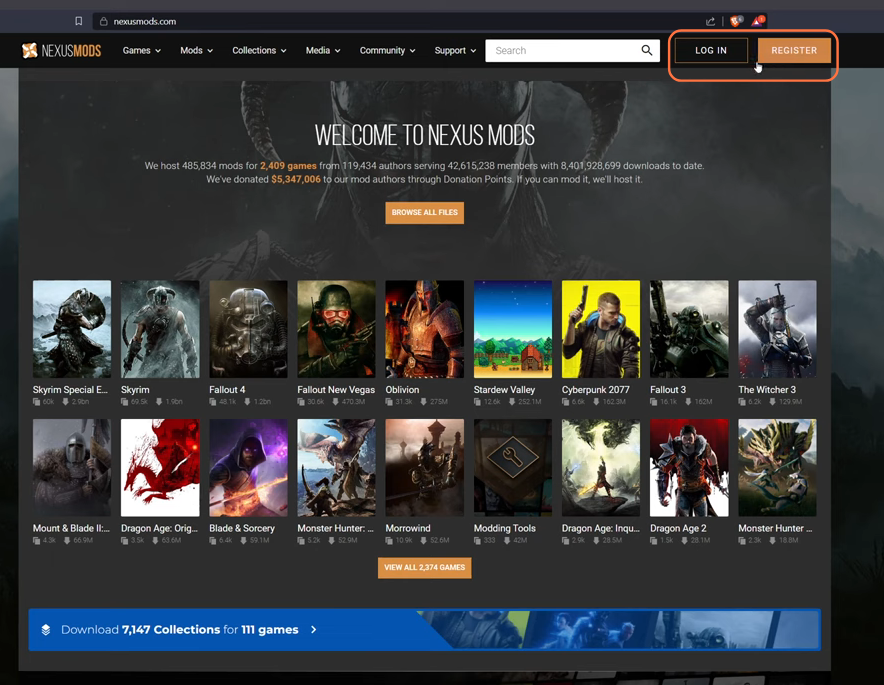
Step 1: Create a Nexus Mods Account
- Visit the Nexus Mods website, and create an account If you don’t already have one. This is necessary to download mods.
- Click the Login Button at the upper right corner to proceed.
Step 2: Find Mods
- Go to the “My Summer Car” Nexus Mods page and browse the available mods. Select the mod you want to install.

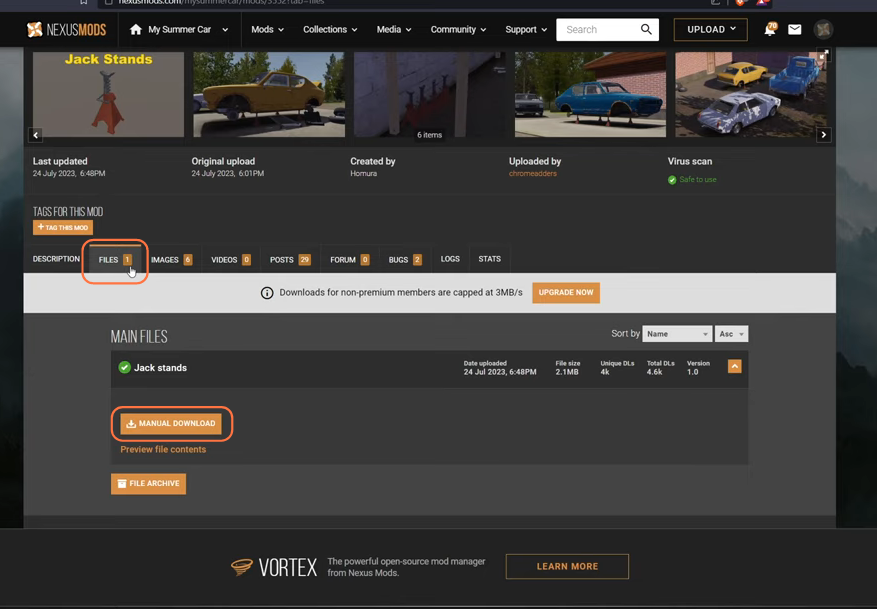
Step 3: Download the Mod
- Click on the mod you wish to install. On the mod page, you’ll find a ‘Files’ tab.
- Download the main mod file (usually a .zip or .rar file) by clicking the “Manual Download” button.
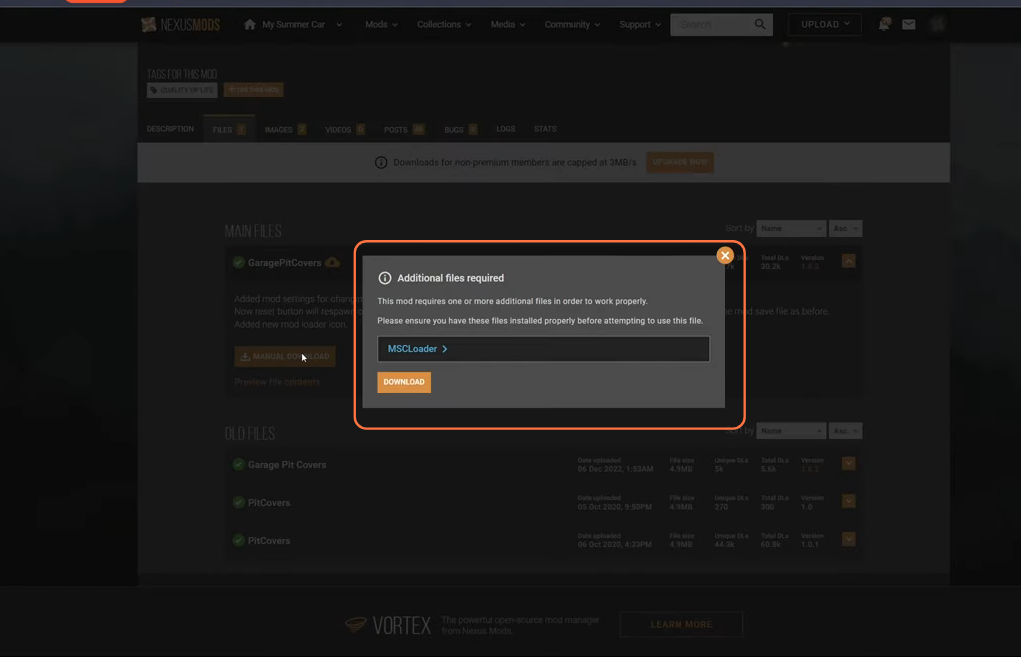
Step 4: Download Mods’ Dependencies
Certain mods may necessitate the inclusion of supplementary files, such as mod loaders. Therefore, it’s essential to download and install these components with the main mod as well.
Step 5: Extract Mod Files
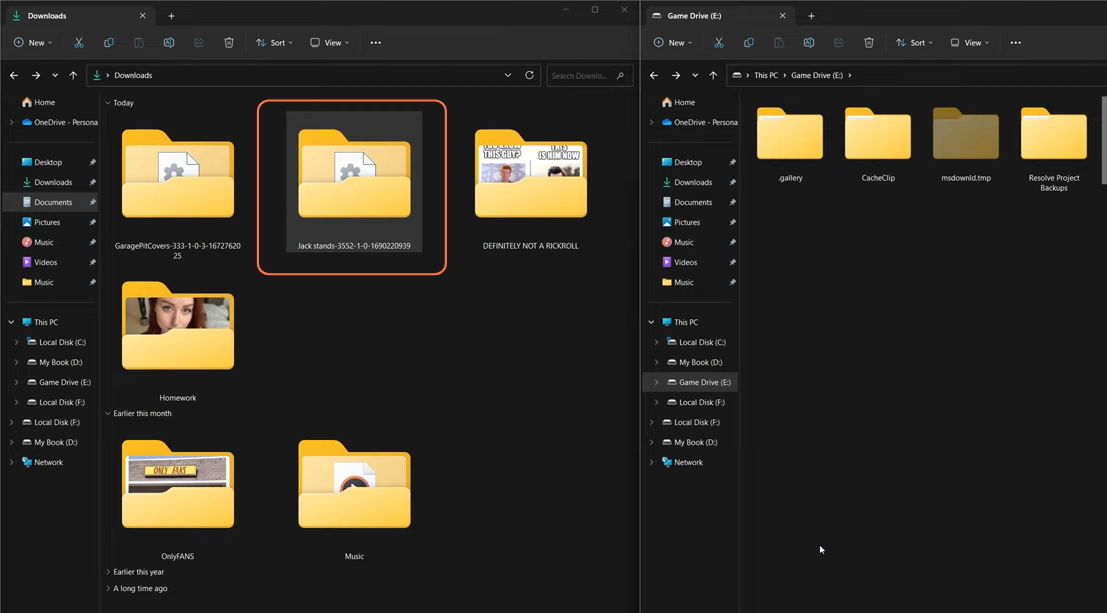
After downloading the mod go to your downloaded file location. Use a program like WinRAR or 7-Zip to extract the downloaded mod files. You should extract the files to a temporary folder on your computer.
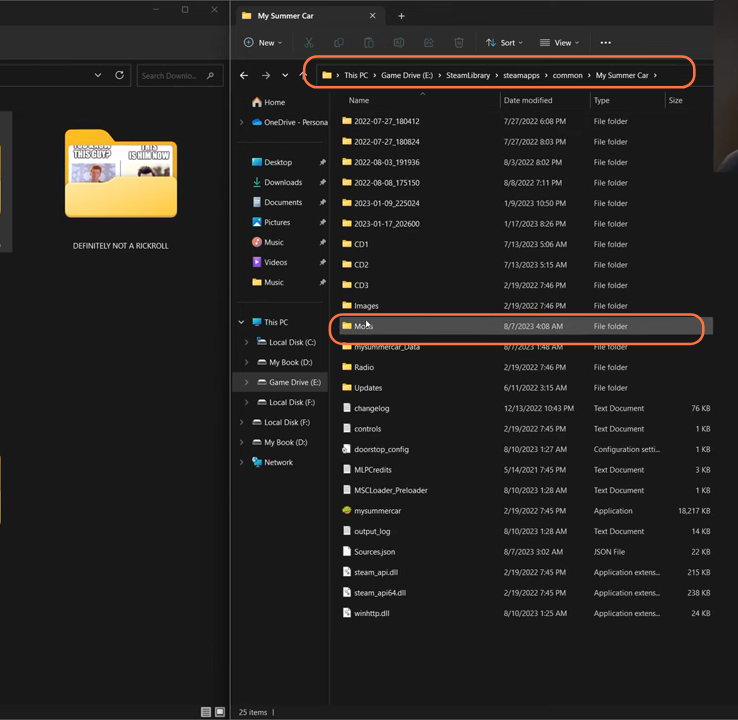
Step 6: Locate My Summer Car Game Directory
Navigate to the directory where My Summer Car is installed on your computer. Then move to the mods folder inside the game directory. The exact path may vary, so check your installation location.
My Summer Car location:
Local Disk (C:) > SteamLibrary > steamapps > common > My Summer Car
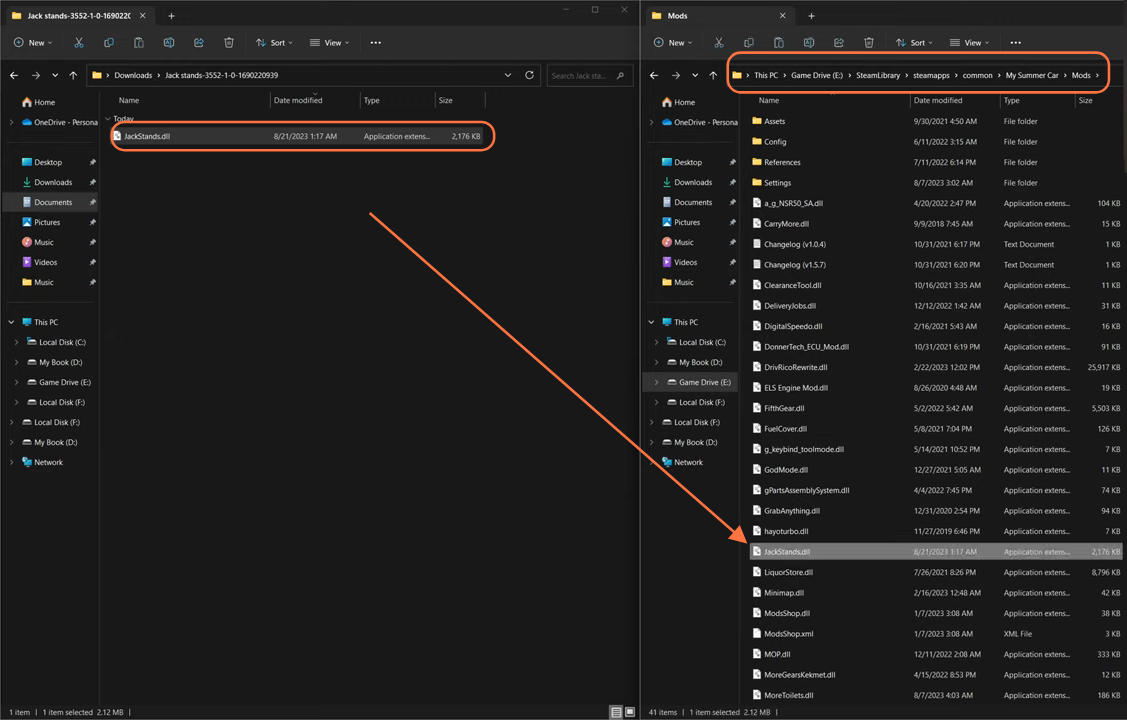
Step 7: Install the Mod
Depending on the mod, you’ll typically have to copy the mod files into the appropriate folders such as the Mods folder within your My Summer Car directory. So drag all the files from the downloaded mod file to the Mods folder of the game directory.
By following these steps, you can easily install mods in My Summer Car game.