Welcome to the guide on how to install PUBG on your Mac, follow the steps below to get started. You first have to install NOX Player and then you will be able to install PUBG on your Mac device.
Install NOX Player
In this section, we will take you through the steps to install NOX Player, an emulator, on a Mac. The steps include opening a web browser, selecting the Mac version, and initiating the download.
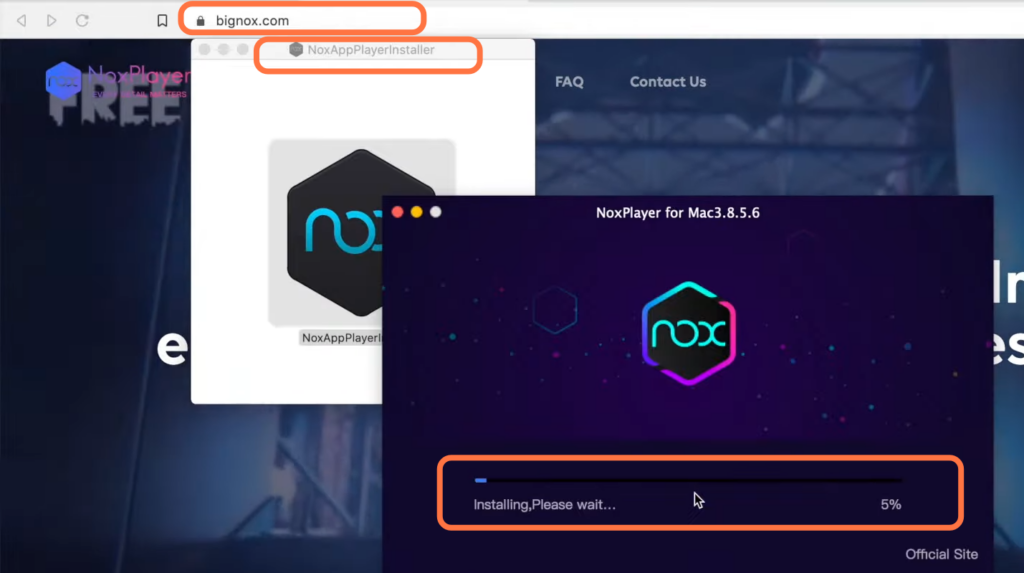
- First, you will need to open your web browser and download the Bignox emulator.
- Once you reach the website, locate the Download button and click on it.
It will start downloading the NOX Player. - Make sure to select the Mac version. Once the download is complete, launch the NOX Player installer and click on the Install button to proceed.
Game Installation
This section describes how to install the game after installing the NOX player.
- After successfully installing NOX Player, click on the Start button to launch the emulator.
- Once it opens, navigate to the home screen located on the bottom left-hand side of your screen.
- Instead of going directly to the app centre, go to “Tools” and then swipe or drag to the left.
You will find the Play Store icon. - You have to drag it onto your desktop. Open the Play Store and sign in using your Google account.
- Now, using the search bar at the top of your screen, enter “PUBG” and locate the game. Once you find it, click on the “Install” button to initiate the game download.

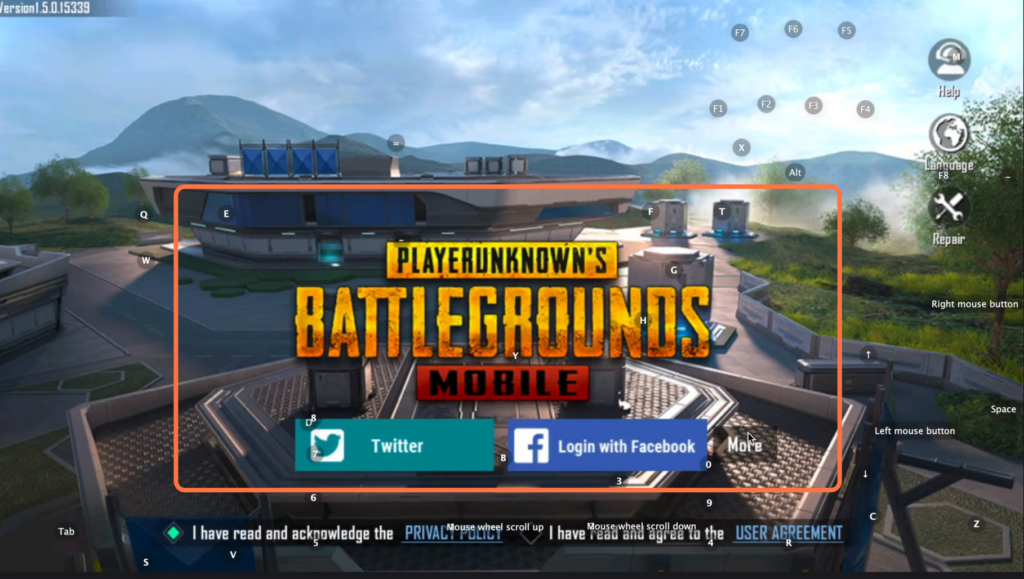
- Once the download is complete, click on the “Open” button to launch the game.
On the top left-hand side, you will find a keyboard icon. - Clicking on it to assign letters for in-game motion.
If there are any available updates, the game will install them first before launching. - Afterwards, sign in using your Facebook account, and you’re all set to start playing!
Now you can enjoy the game on your Mac and have a great time!