In this guide, you will find how to install Retroarch Emulator for Xbox series S or series X without developer mode using the easiest and quick way.
Download RetroArchv
In this section, we will take you through the steps to download and install the Retroarch emulator for Xbox series S or series X without developer mode.
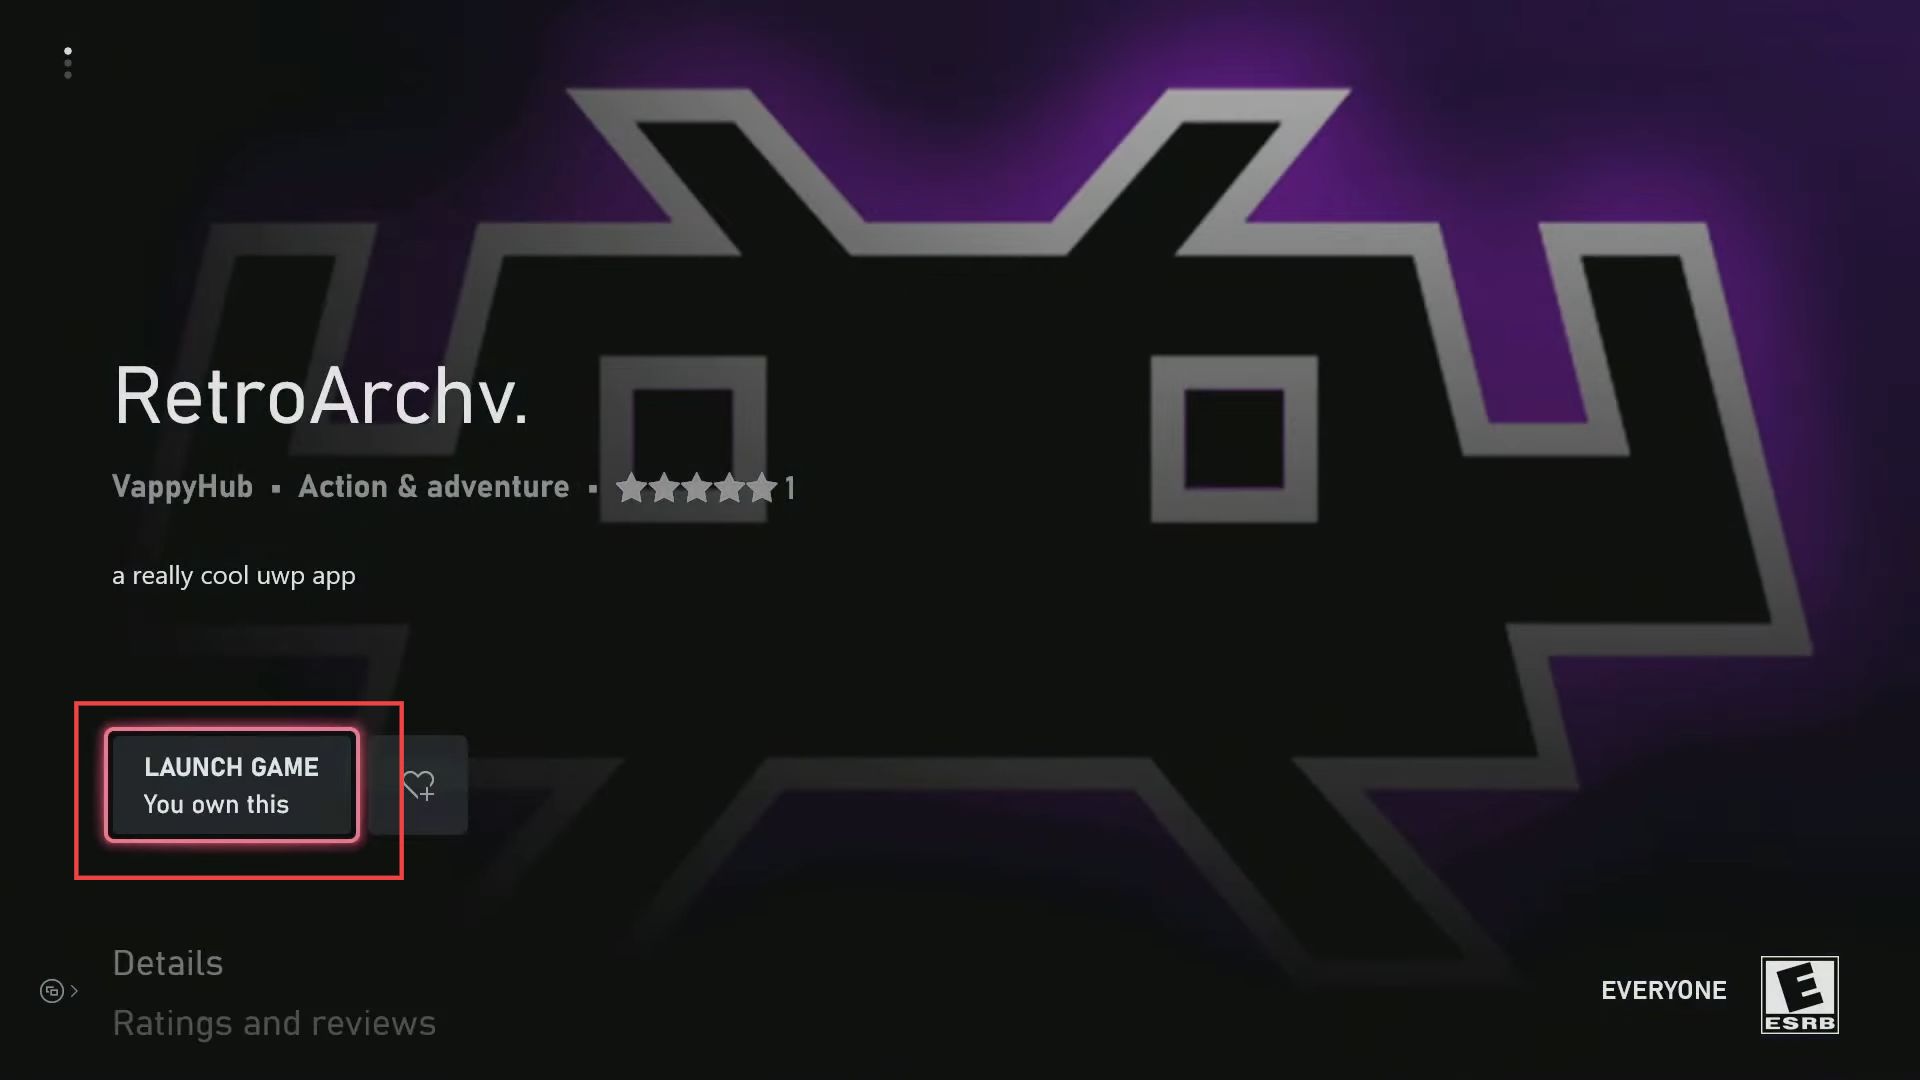
- First, open the browser from your computer and click on the Get button to install the RetroArchv from the Microsoft Store account.
- Now you have to wait for the installation to complete.
- Once the installation is done, click the Launch Game button from the menu.
Configure Emulator Settings
This section describes how to configure emulator settings to operate the game at its best performance.
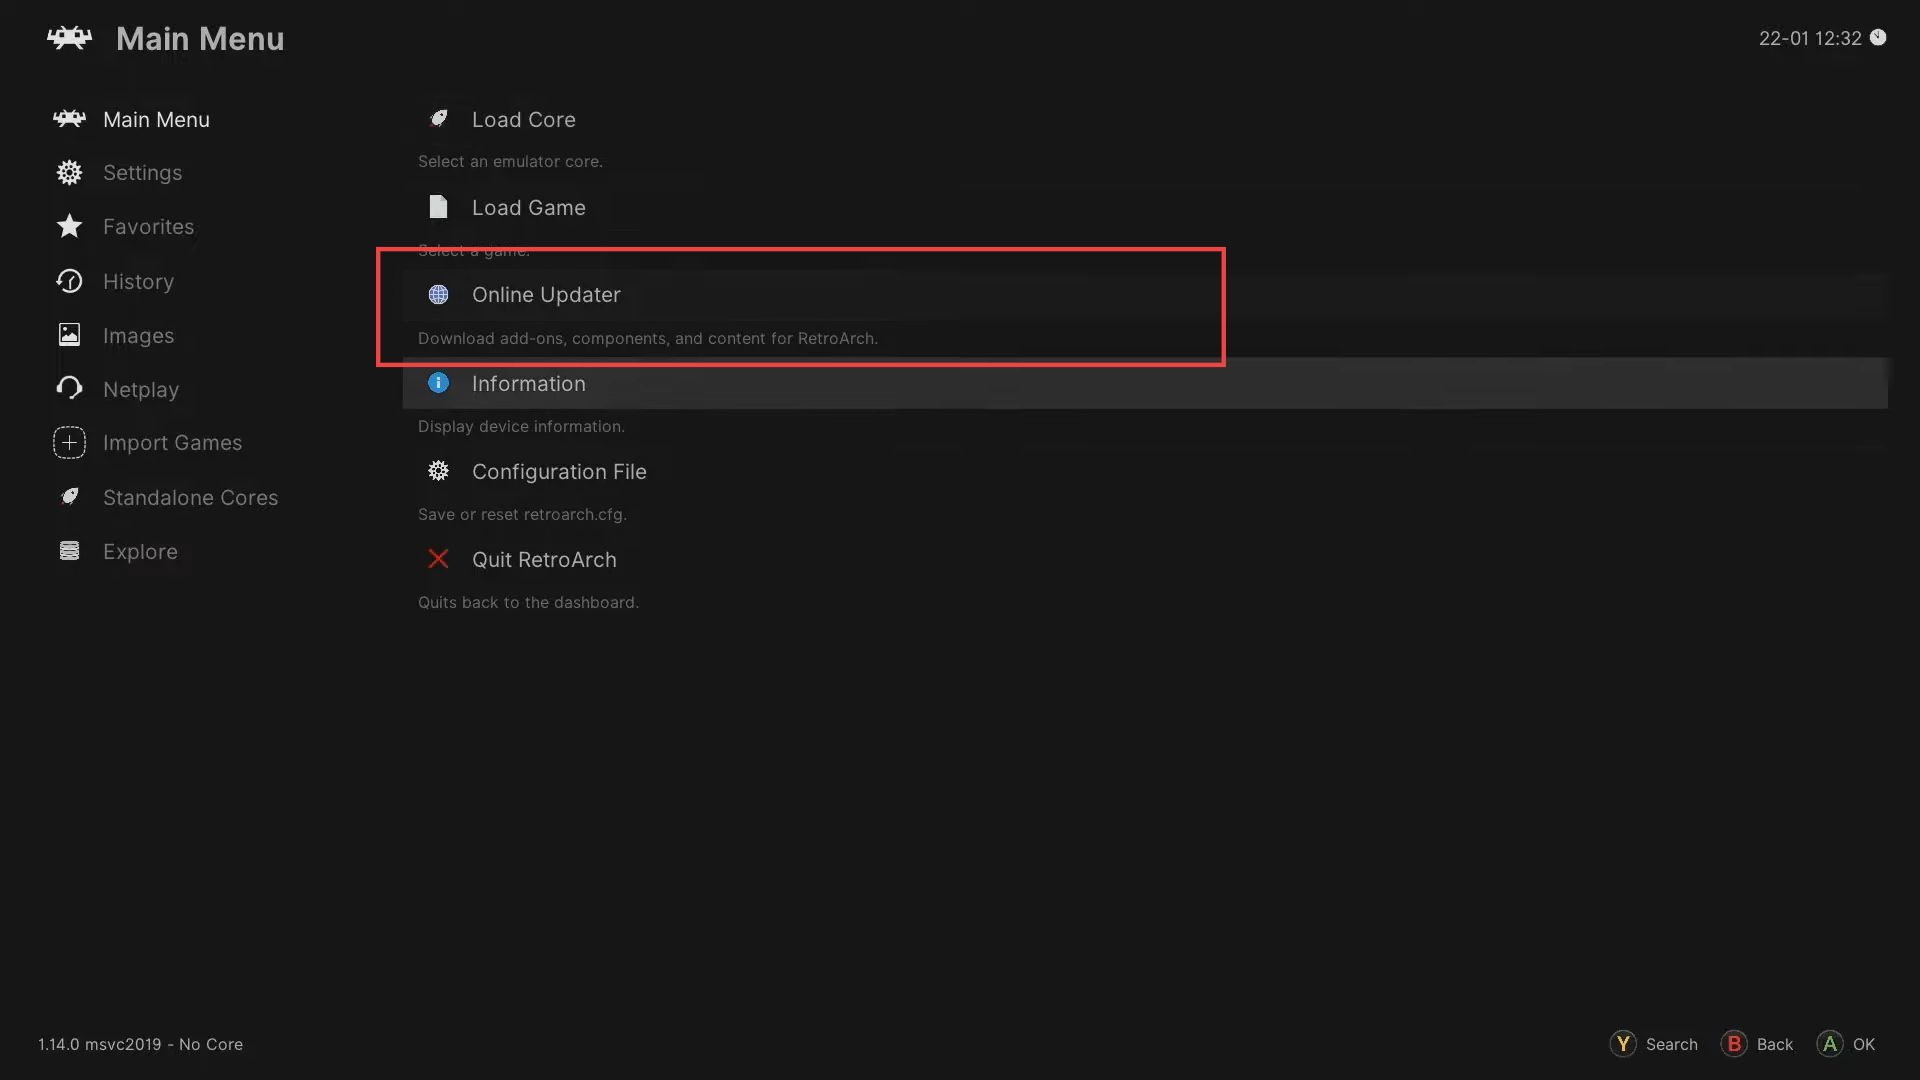
- After launching the game, click the Online Updater option from the menu.
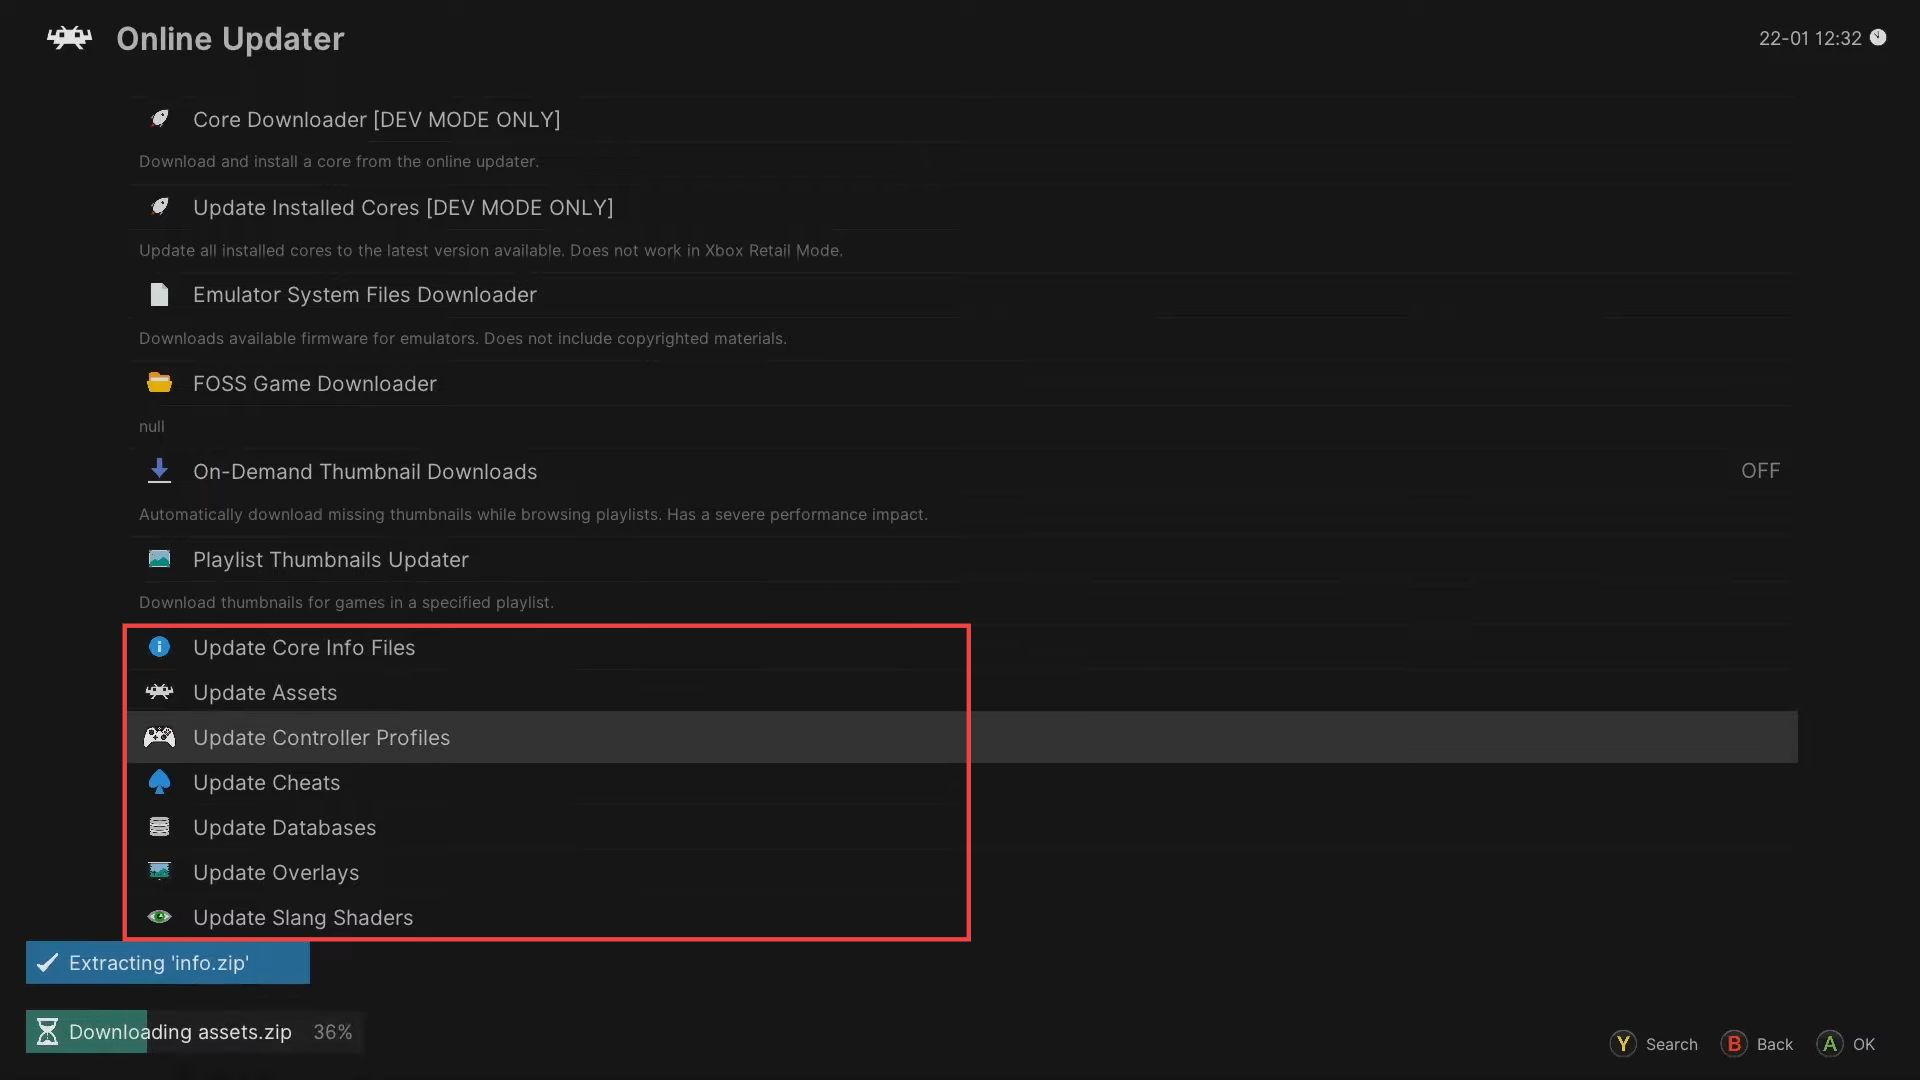
- Once this window is opened, you need to click to Update all these files.
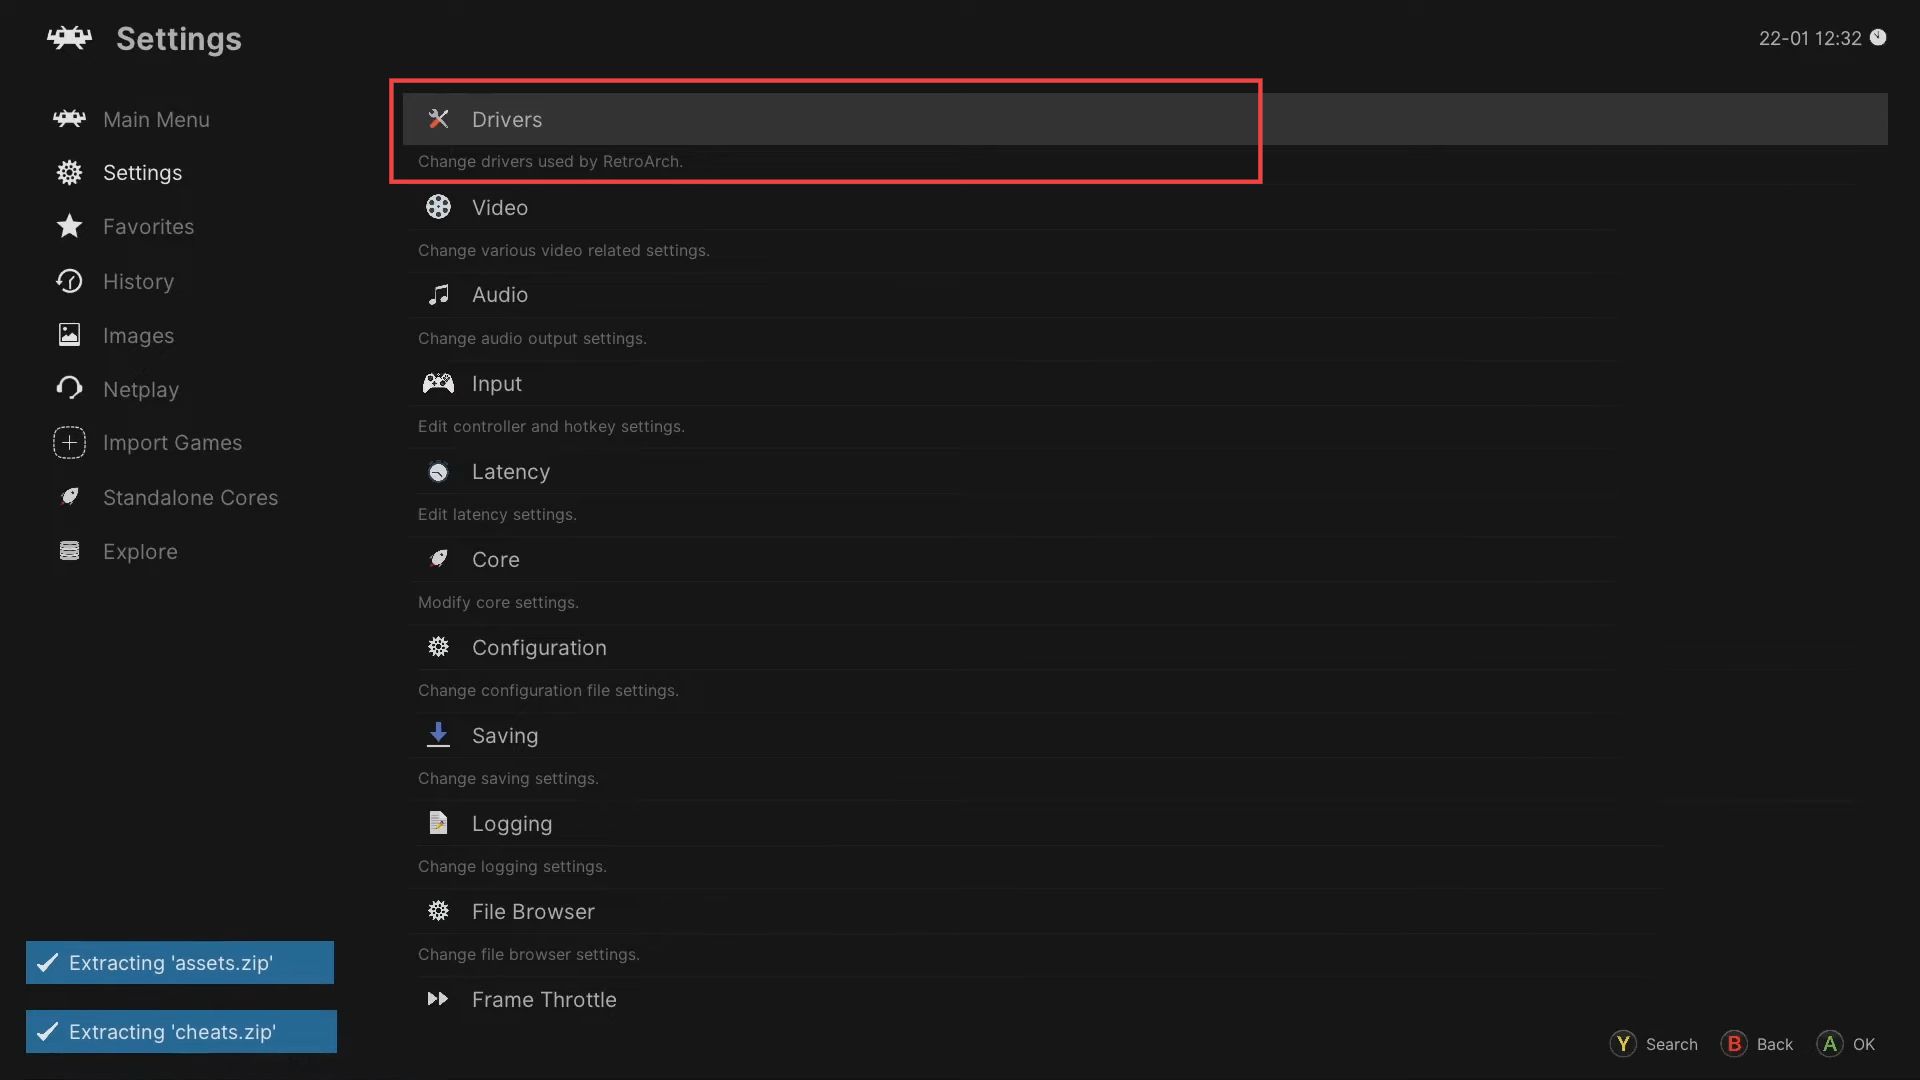
- To change the menu, click the Settings option from the left side panel.
- After that, click the Drivers‘ option from the listings.
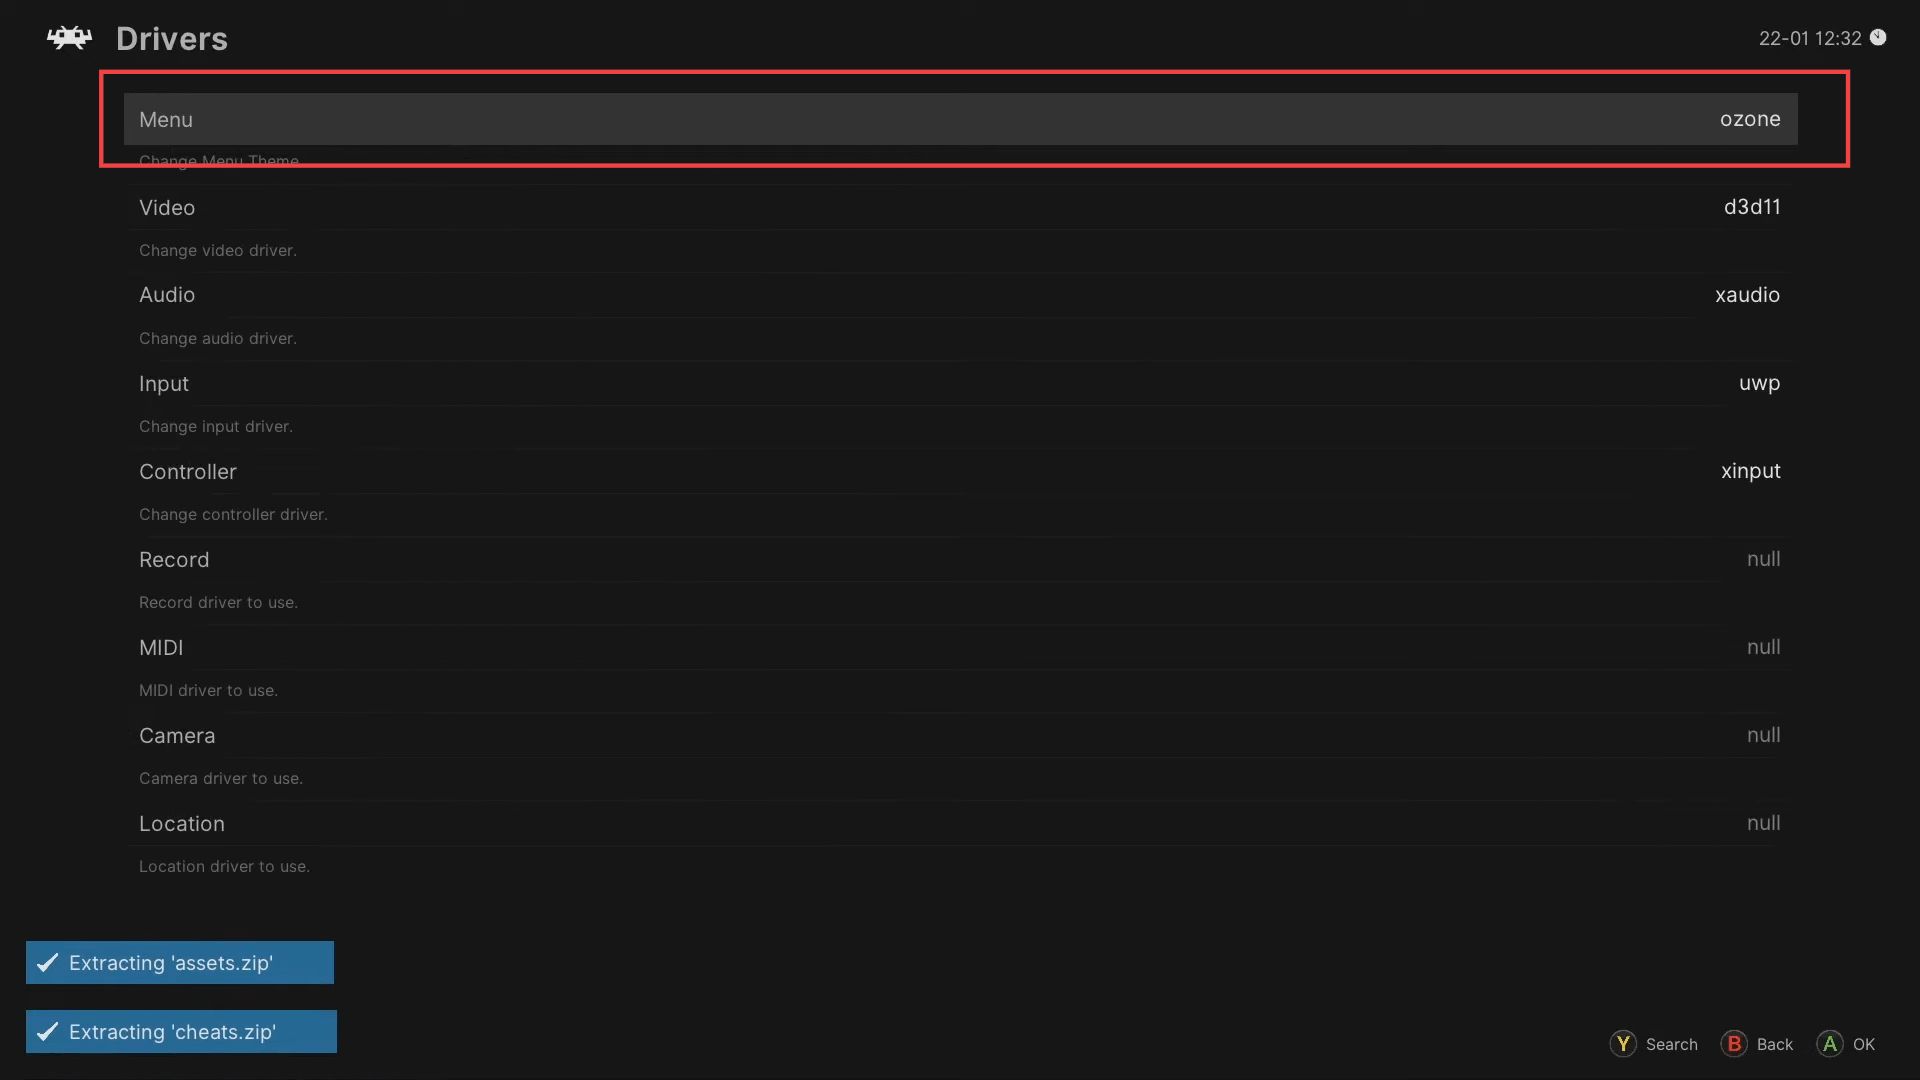
- Click the Menu tab from the Drivers section.
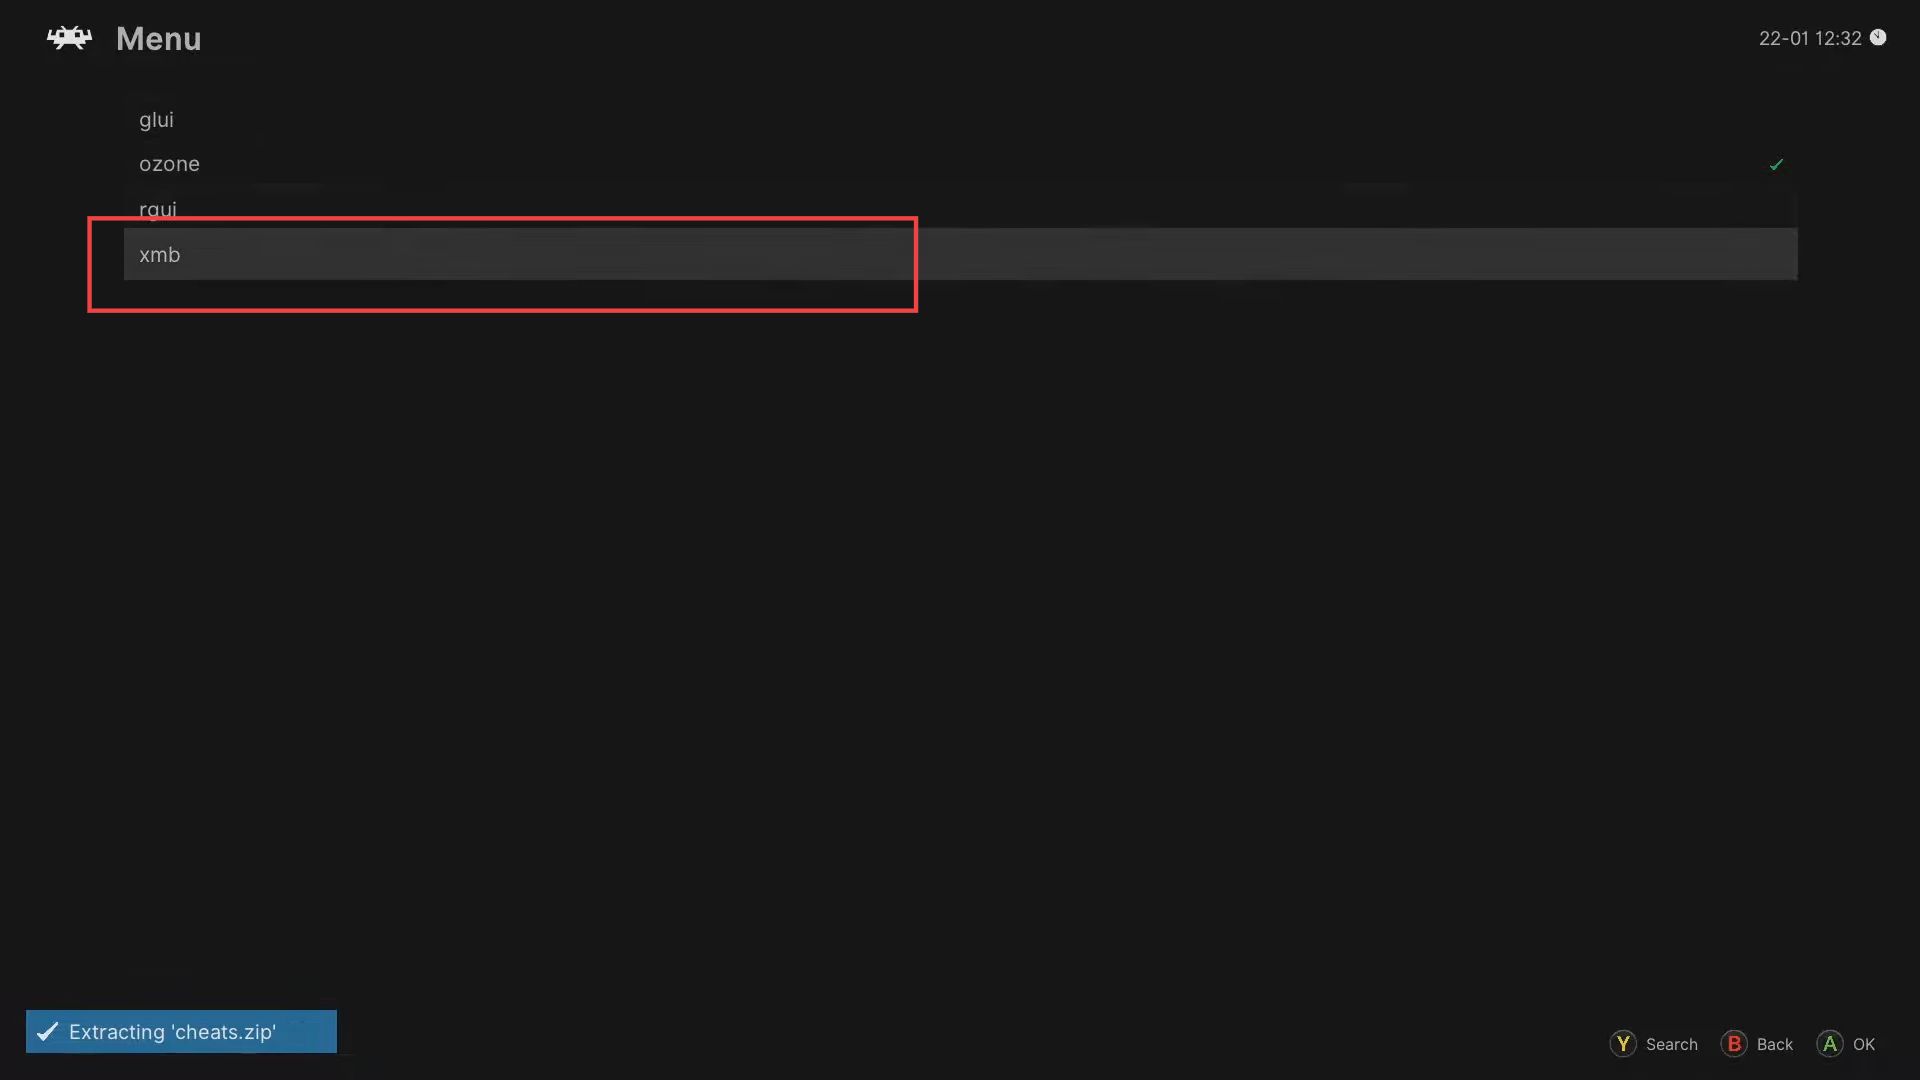
- Now click the Xmb option from the listings.
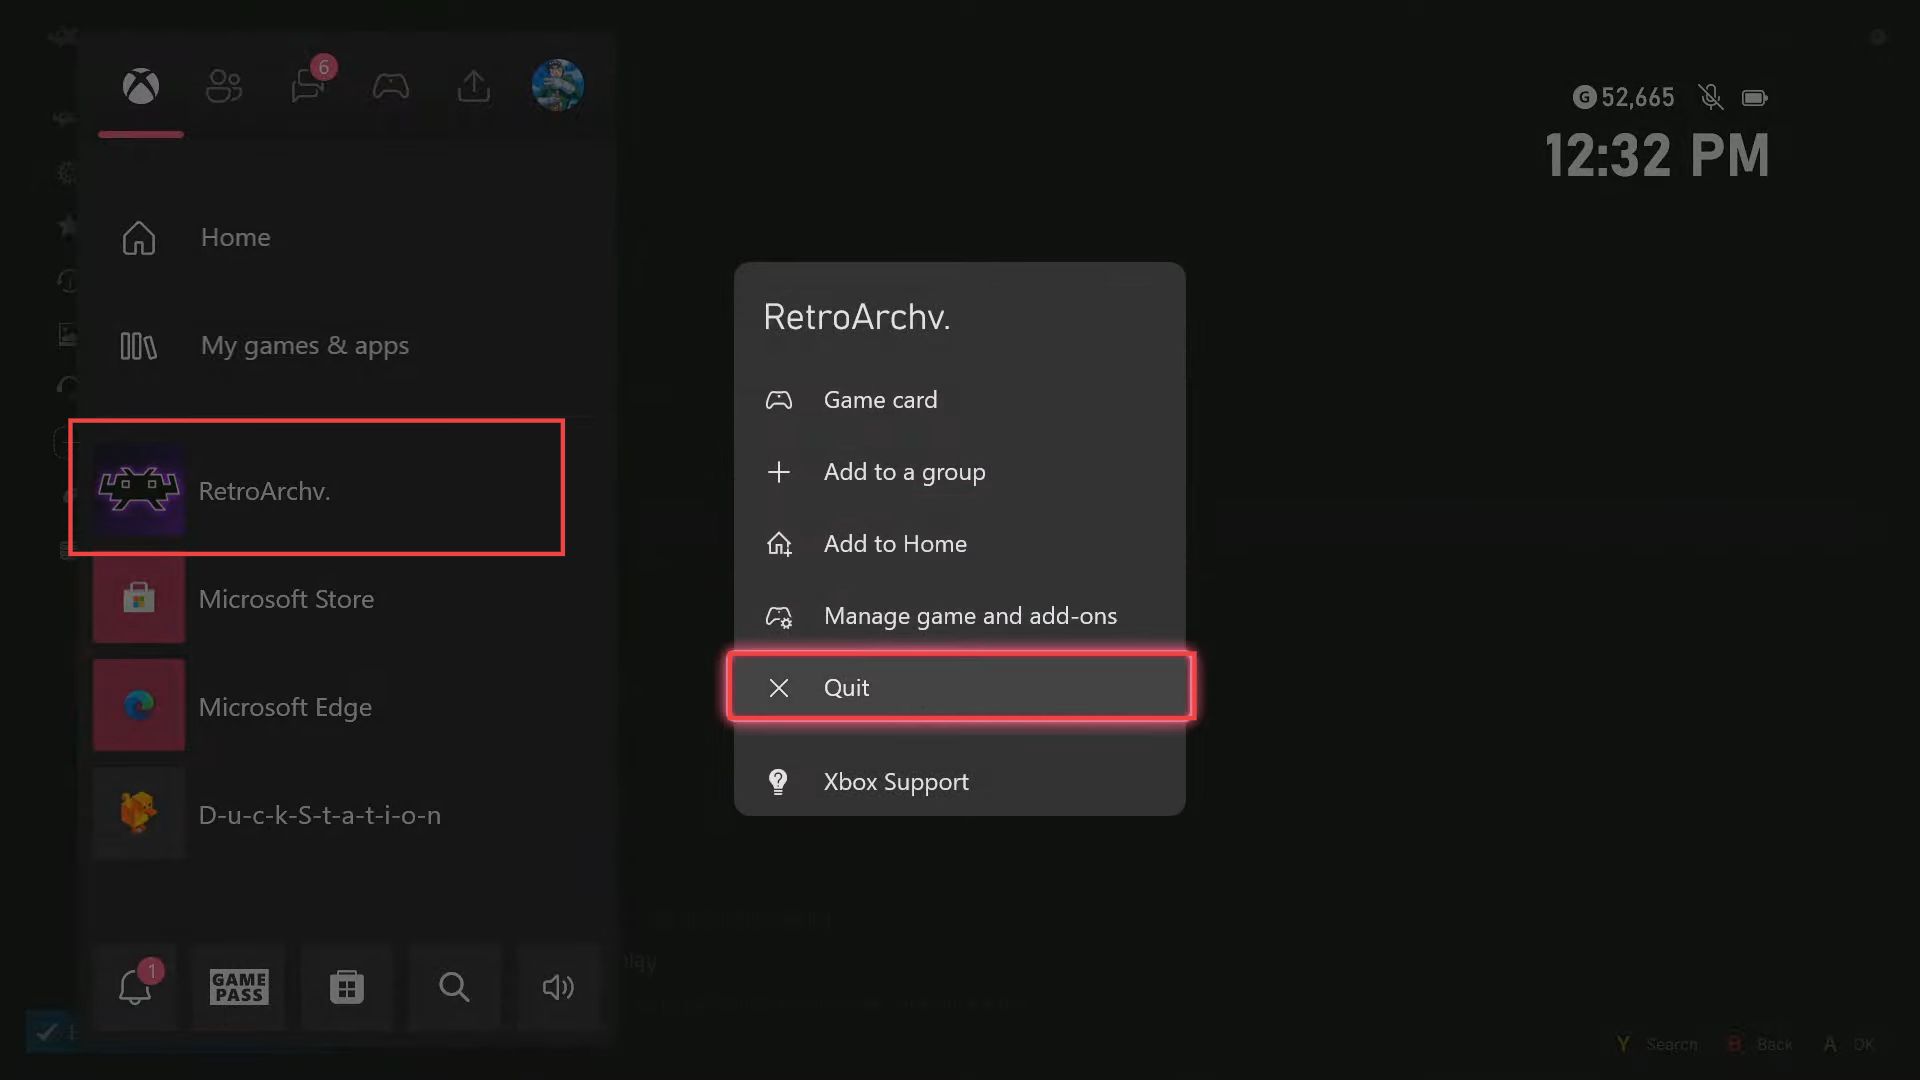
- After that, press the Xbox button and select the RetroArchv tab from the left side panel.
- Click the Quit button from the drop-down menu.
- Now everything is updated and running at the best performance.
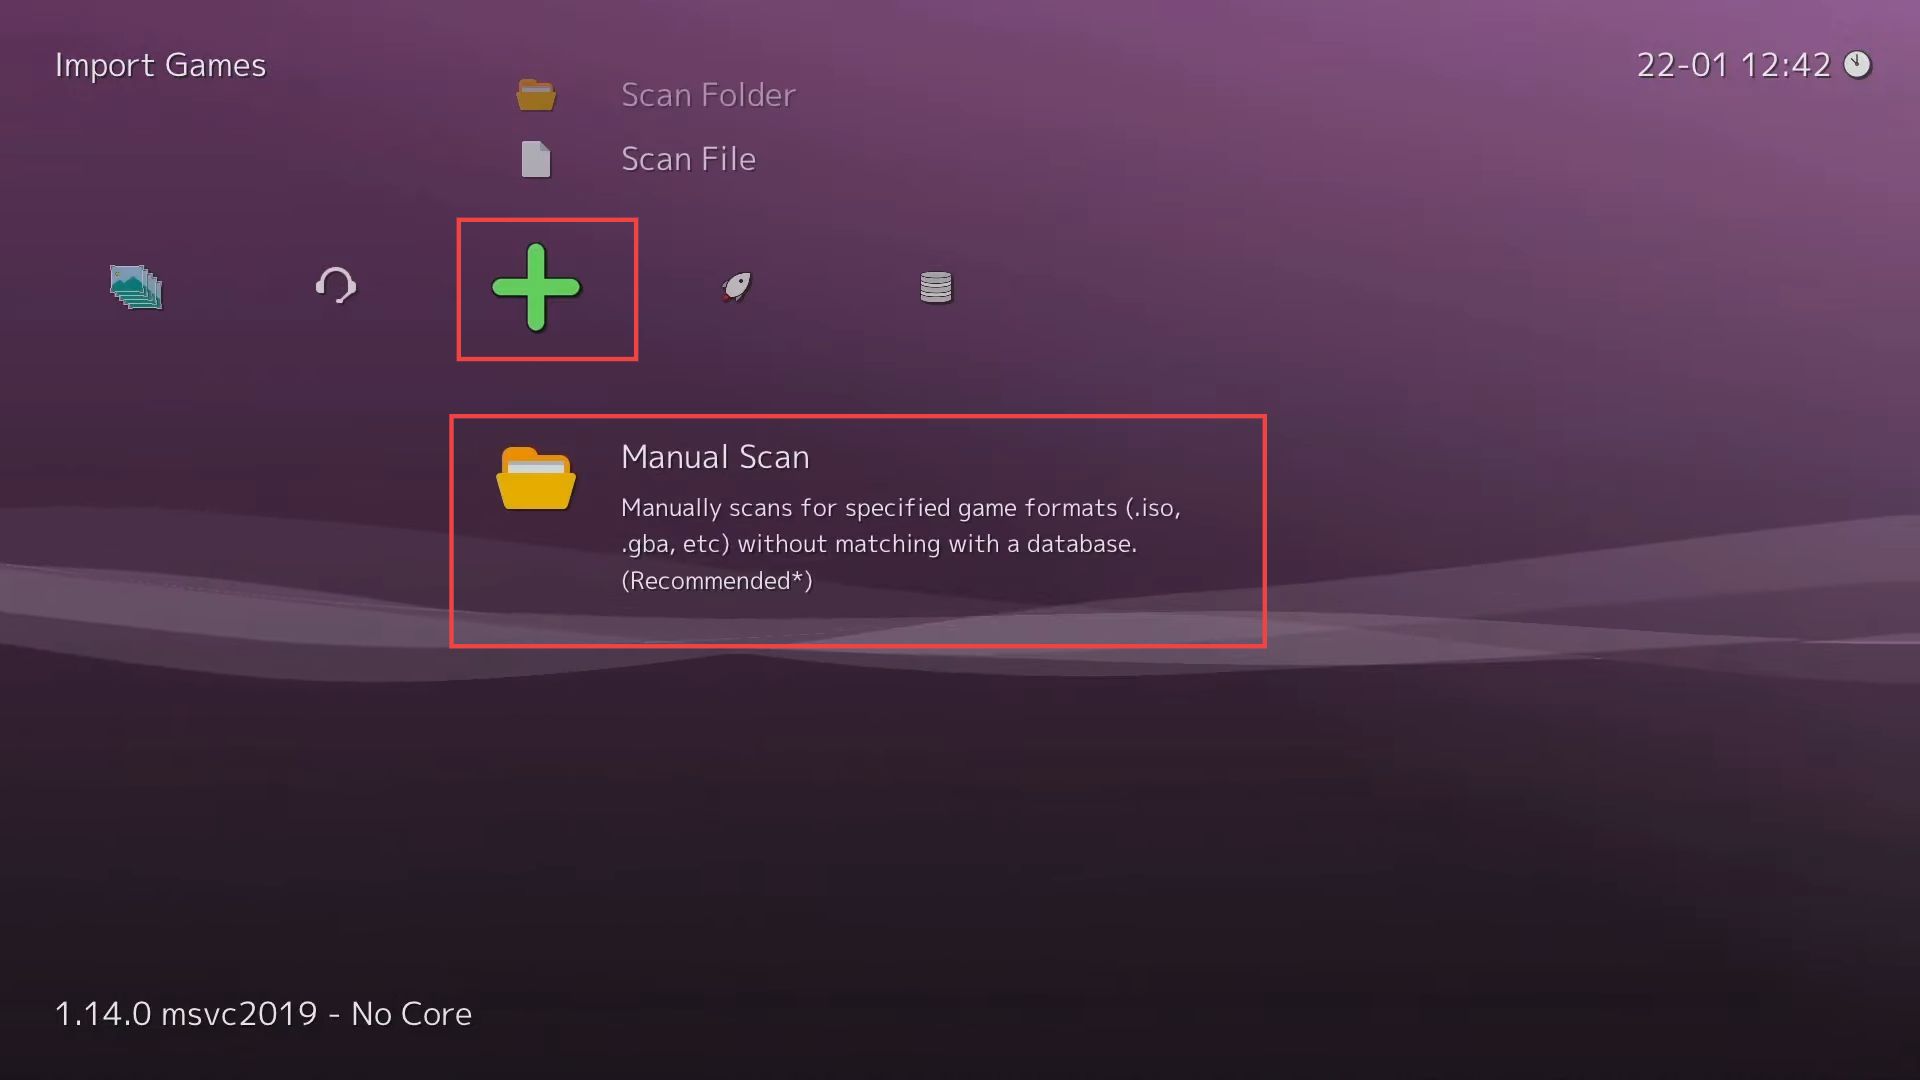
You need to get your games on a USB or external hard drive. - Click the Plus sign from the quick access toolbar.
- After that, click the Manual Scan option from the menu.
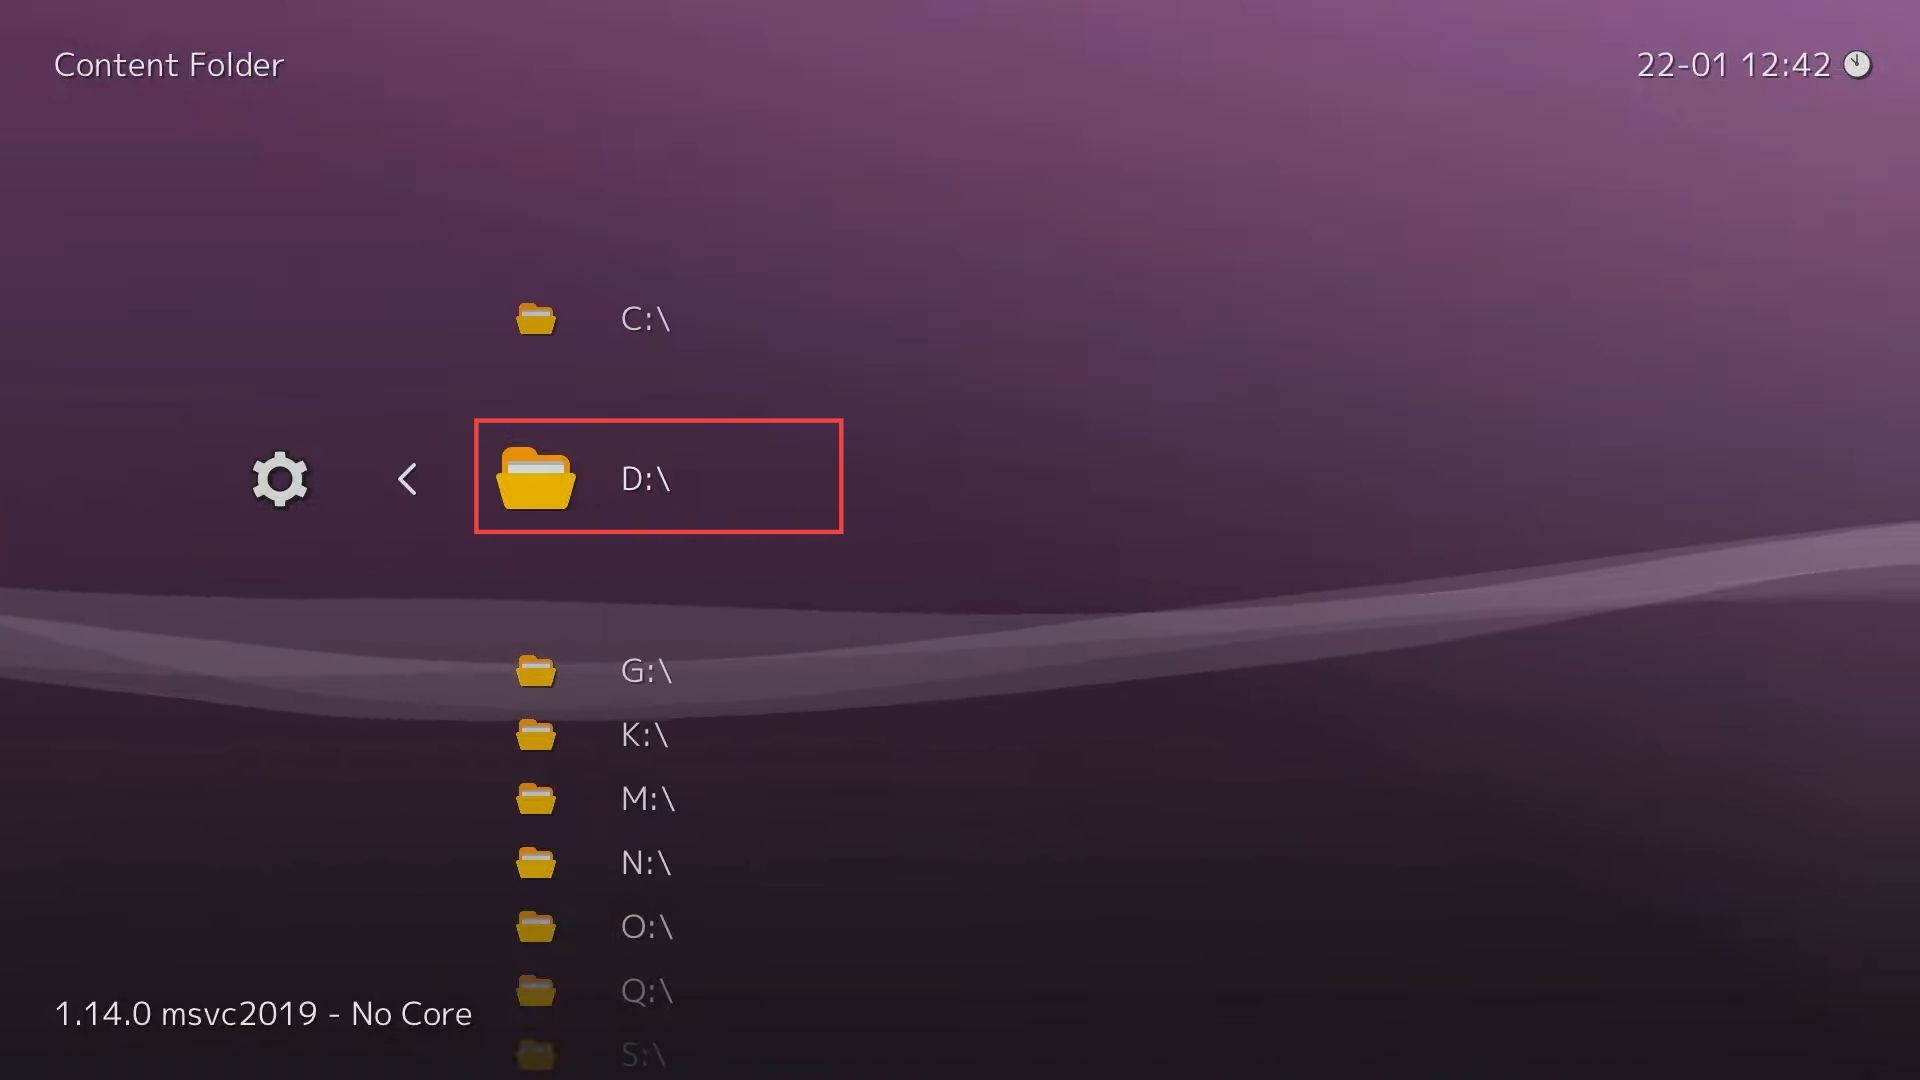
- Click the Edit content folder from the listings.
- If you have plugged in USB in the front side of the Xbox, then click the D drive.
- Now select GC or GameCube games folder from the listings.
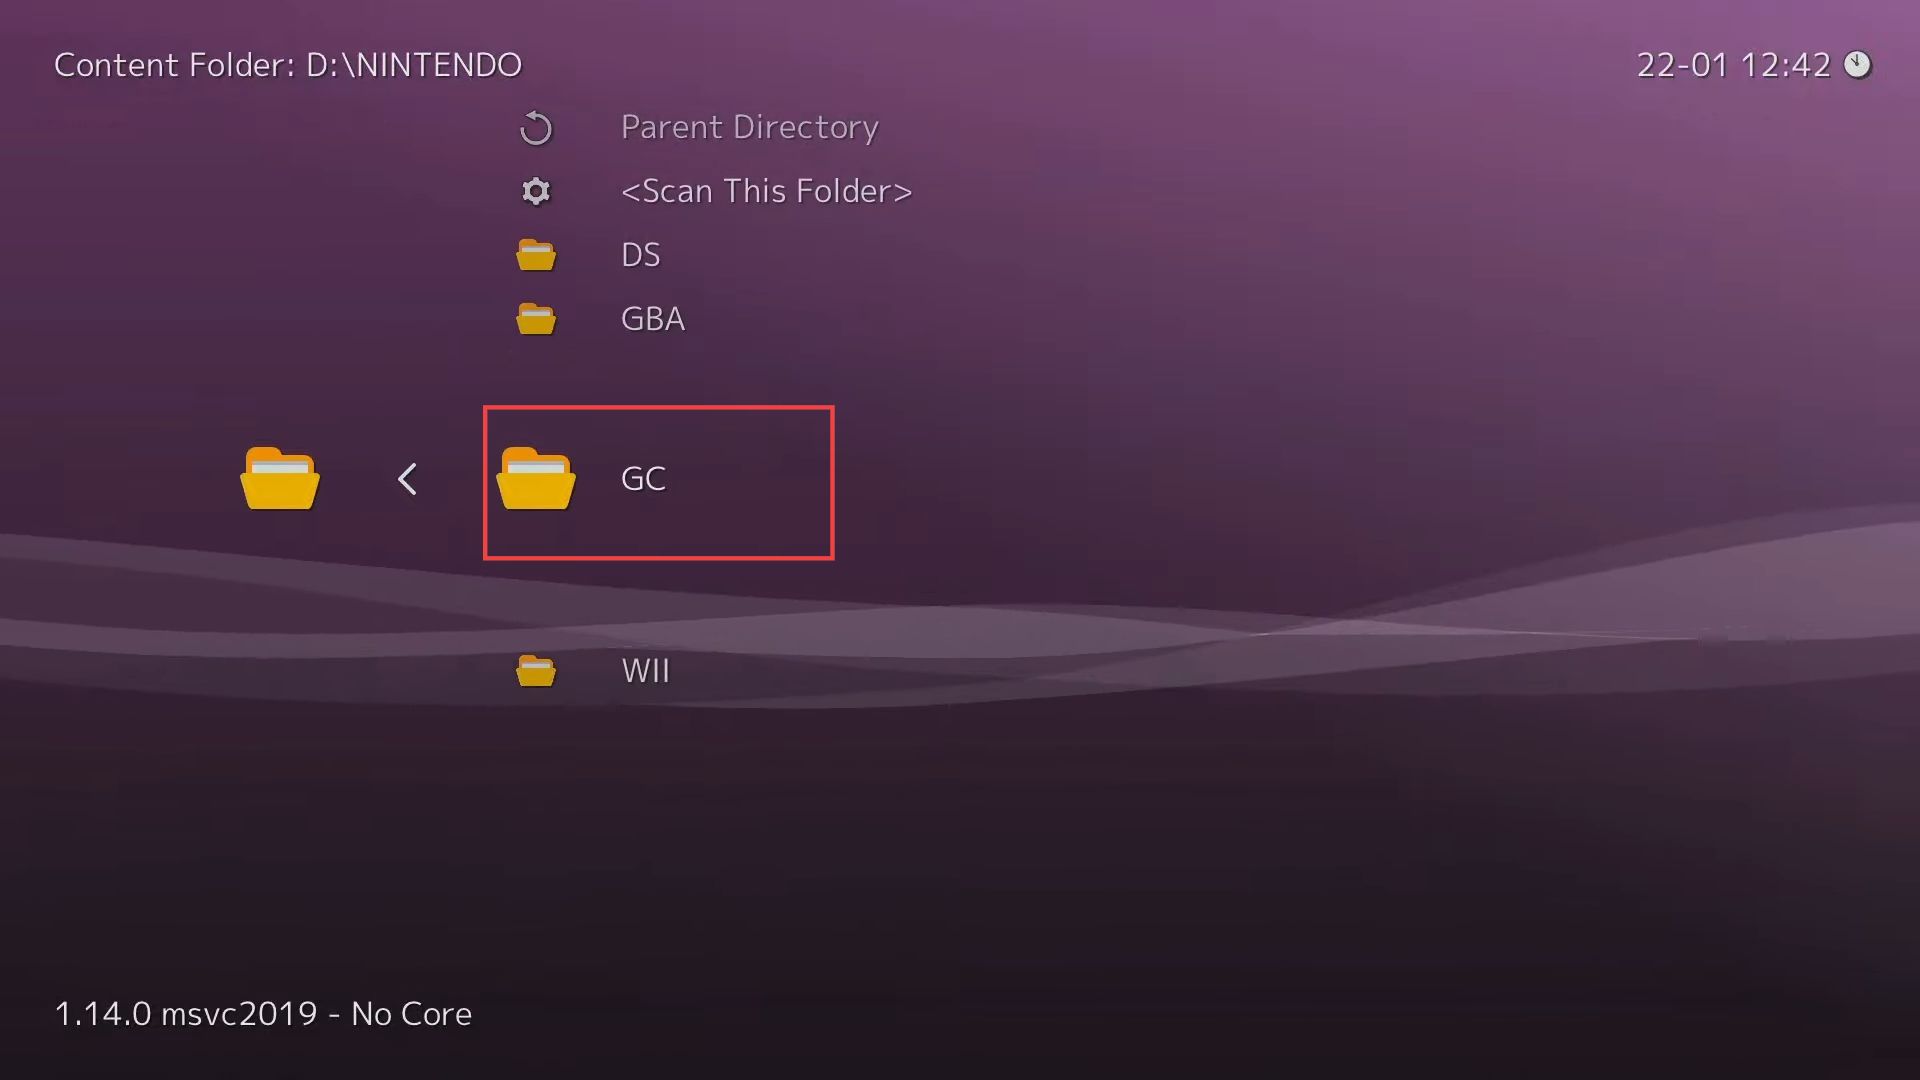
- After that, click the Scan This Folder option from the parent directory section.
- Scroll down and click the Default Emulator Core from the listings.
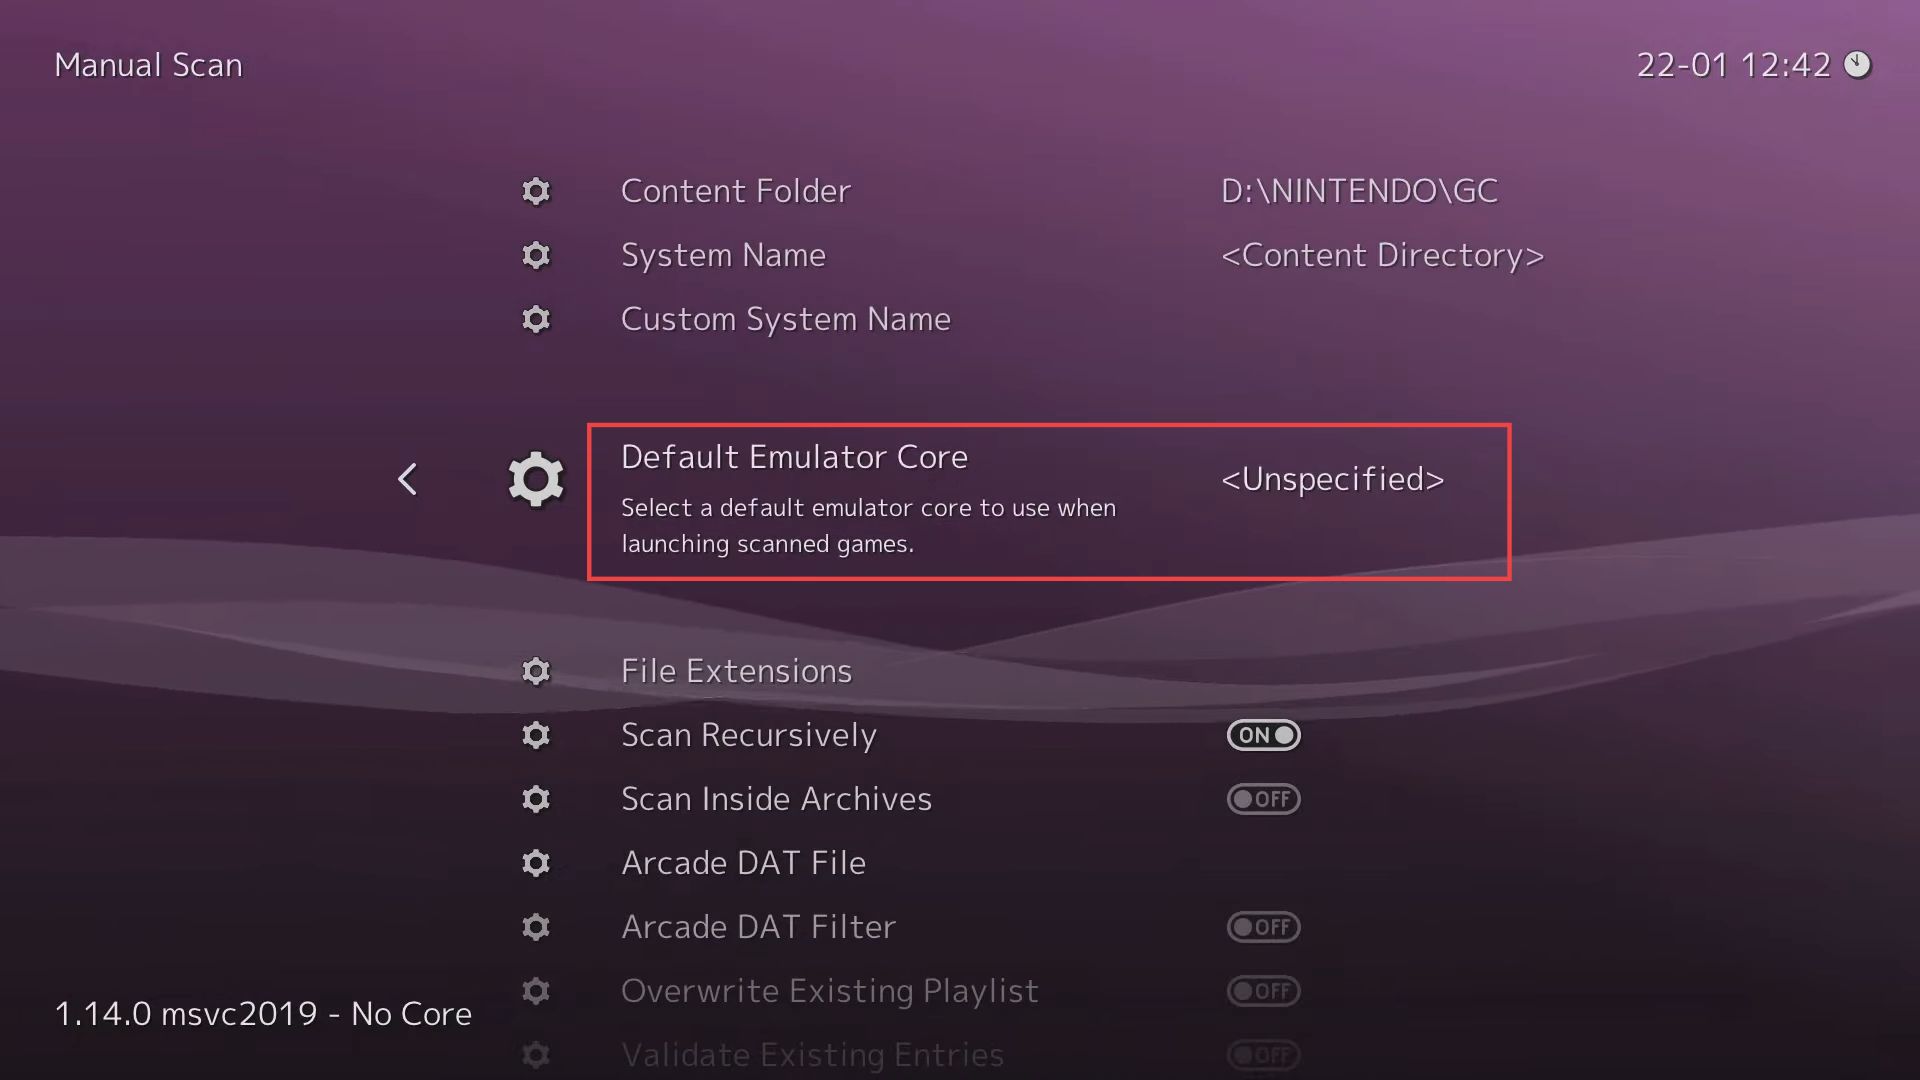
- Scroll down until you find the Nintendo-GameCube/Wii (Dolphin) option from the listings and click on it.

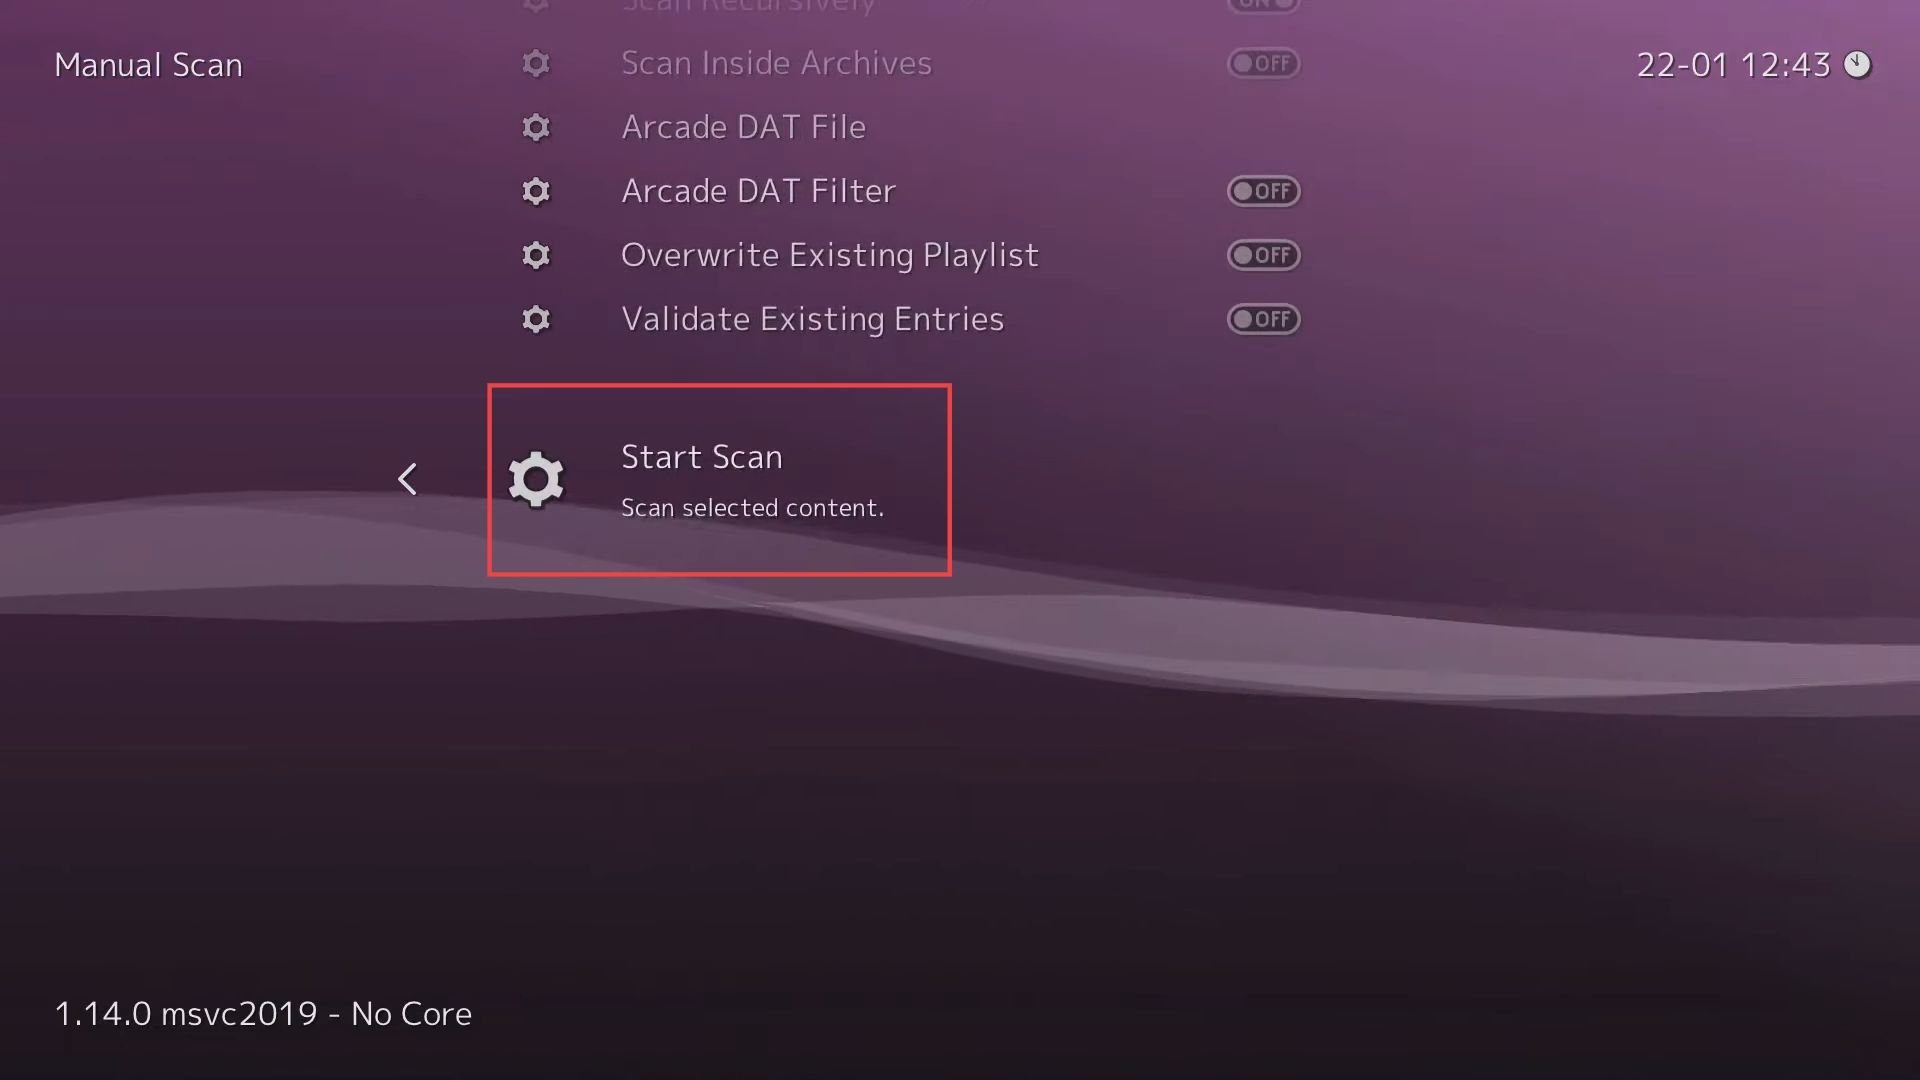
- After that, scroll down to the end and click the Start Scan option from the menu.
You need to wait which depends on the number of games that you are going to scan.
It will optimize the loading and start the game conveniently.
- Once you have completed the scanning, go to the extreme right side of the quick access toolbar where you have the Default tab.
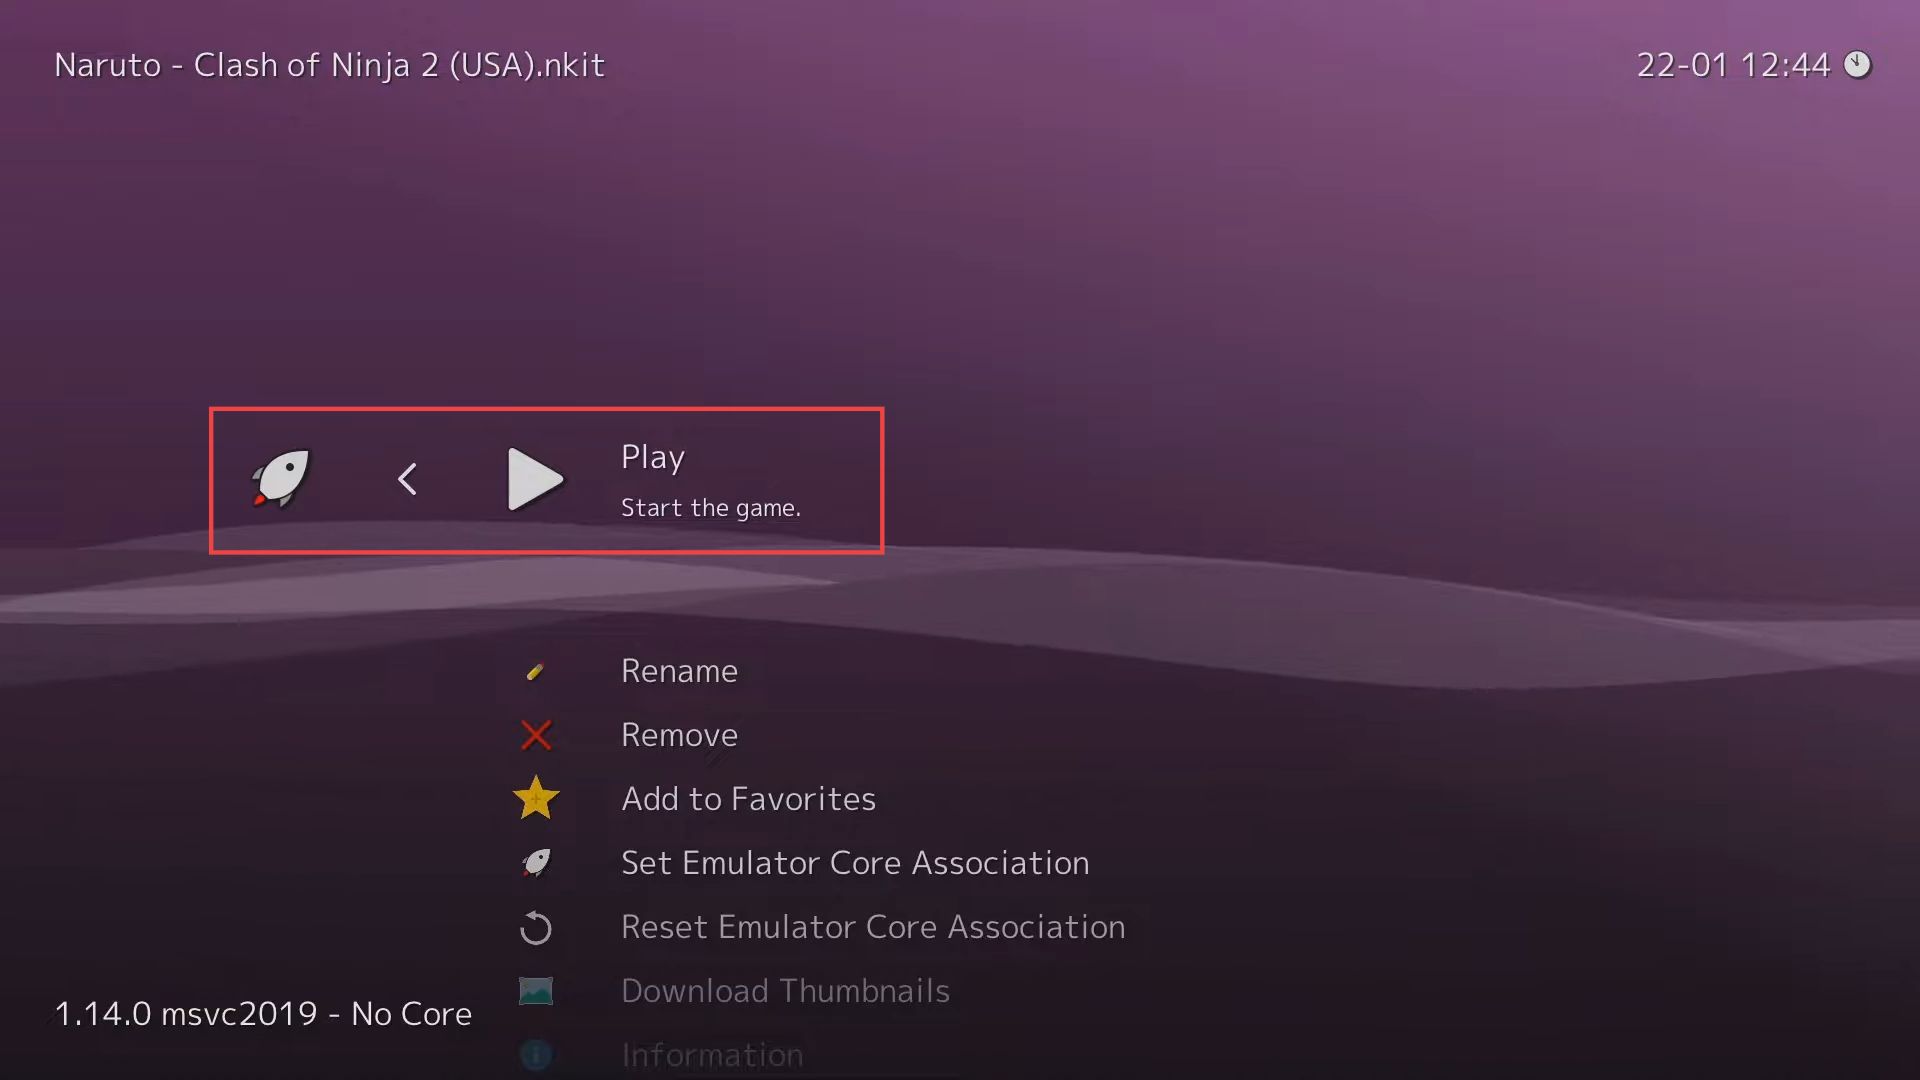
- You need to click it to get the list of Scanned Nintendo Gamecube games and then tap on the Naruto – Clash of Ninja 2 game.
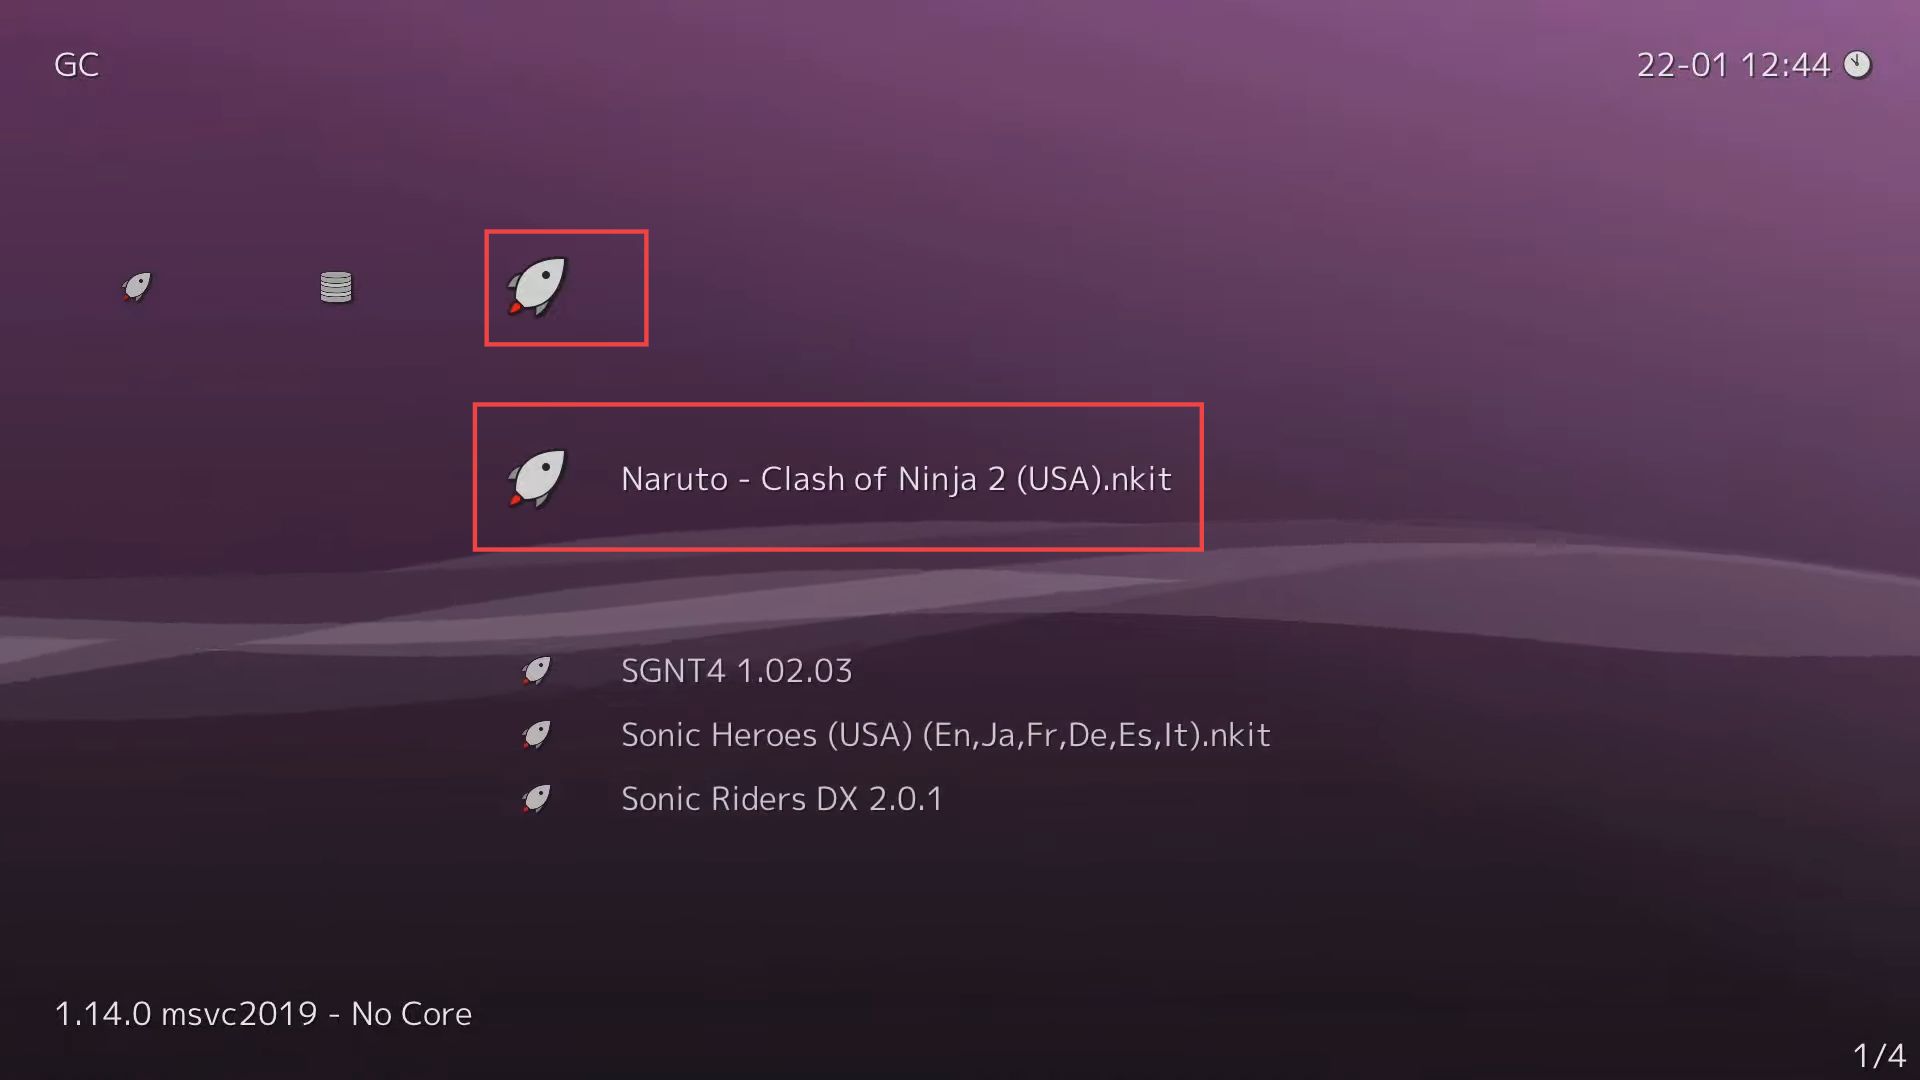
- Now click the Play button from the menu to start the game.