This guide will let you know how to install shaders in Minecraft 1.17 on Mac.
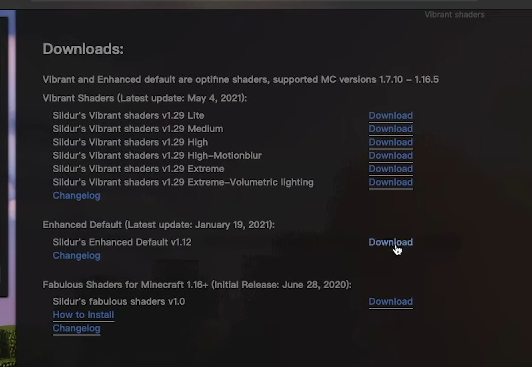
1. First, you will need to open any browser of your choice and go to this link “ftp://[email protected]/modfiles/Sildur’s+Enhanced+Default+v1.141+Fast.zip” and download the required file.
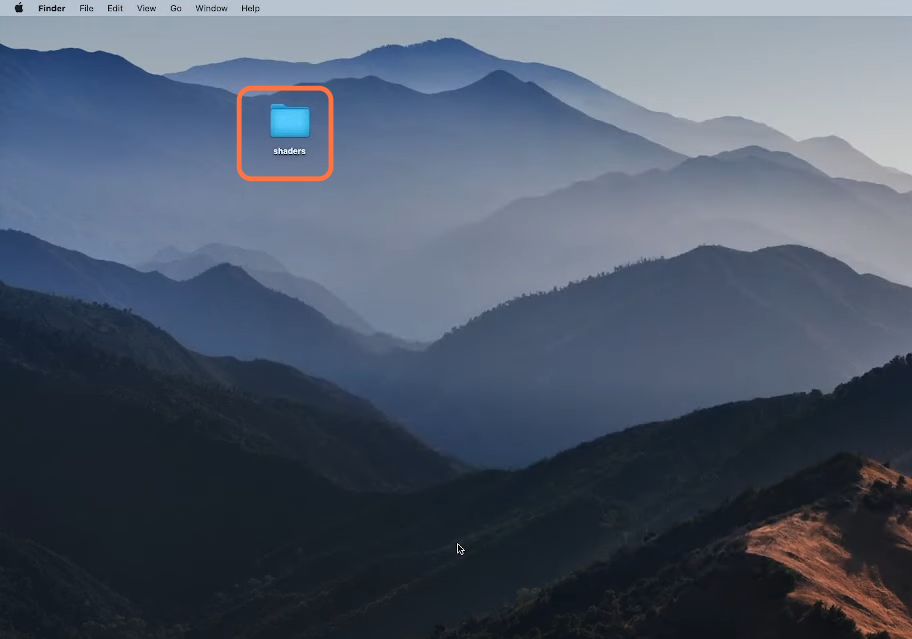
2. Go to your downloads folder and copy the downloaded file into the shaders folder on your desktop.
3. Now you need to open finder, click go and scroll down to select the library option.
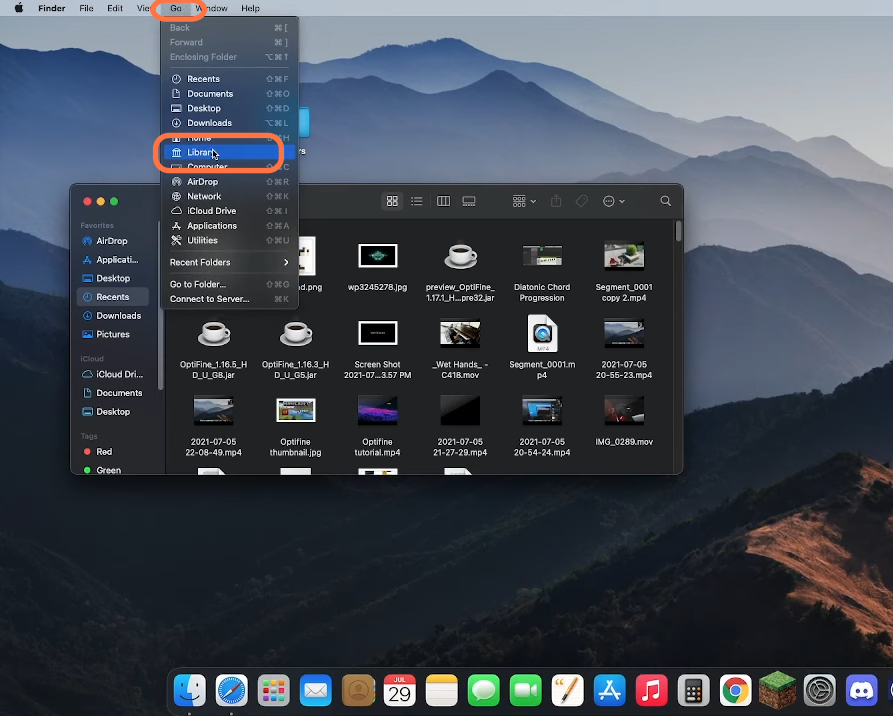
4. After that, open the application support folder and find the Minecraft folder from it.
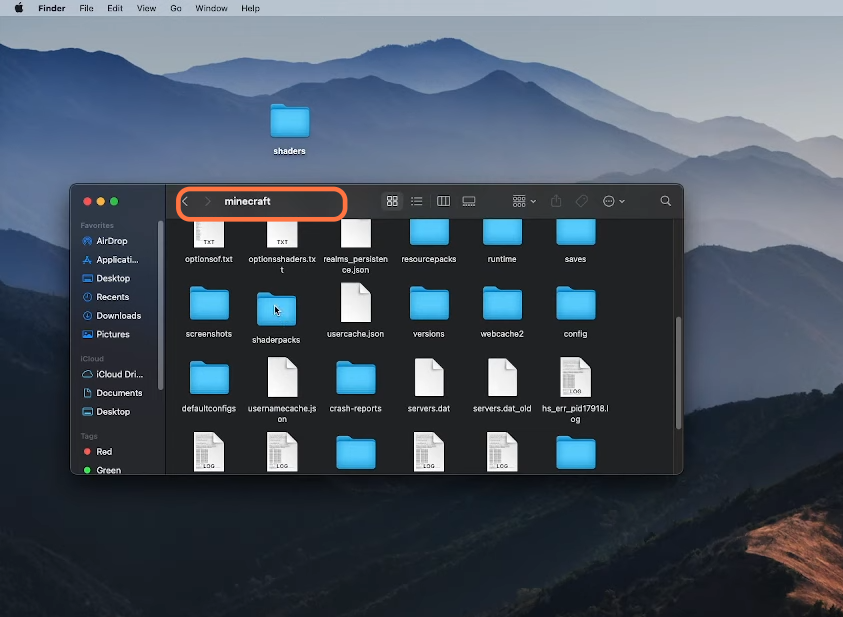
5. Then find and open the shaderpacks folder, and if you don’t see it, then you need to create a new folder and name it shaderpacks.
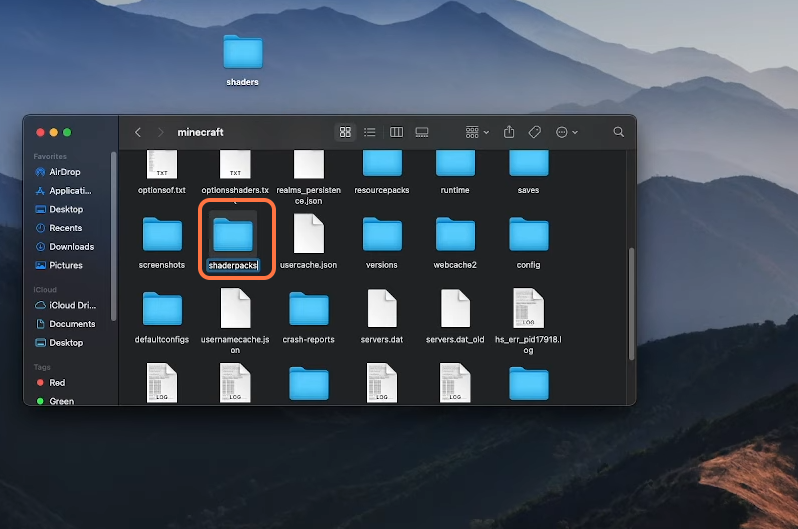
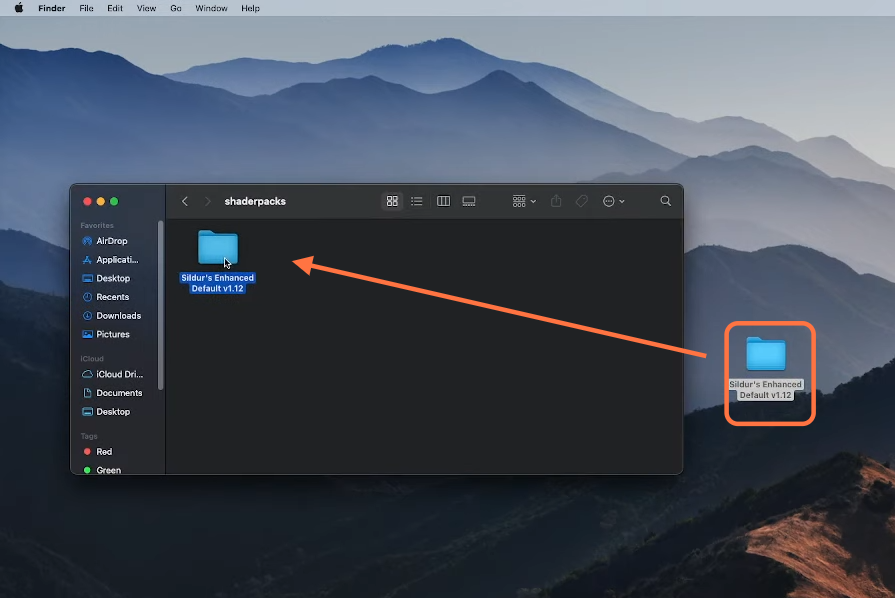
6. Now you can minimize this window and rename your downloaded shader folder to whatever shader you actually downloaded. Then open back your finder and go to your shaderpacks folder which you just created and drag the downloaded shader to the shaderpacks.
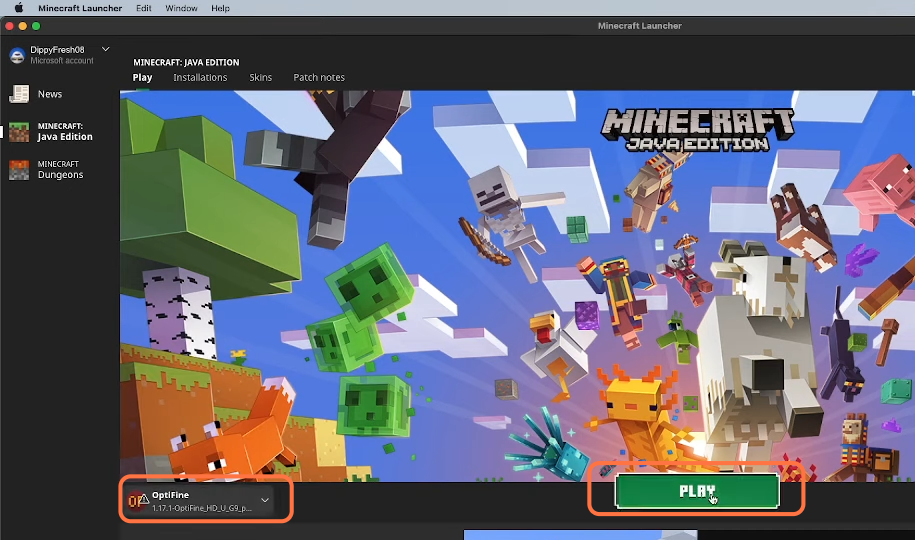
7. Now you have added the shader into your Minecraft so you can close out all the windows and open up our Minecraft Launcher. Make sure to choose optiFine installation and click on the Play button.
8. Once the game opens, click on the Options button and select video settings. Click on the shaders, then choose the shader you have downloaded and click Done.
