This guide will show you how to set up a dedicated server for 7 Days to Die. First, you will need to Download SteamCMD, set up the file and then install SteamCMD. After that, download 7DTD, set up config files, set up port forwarding and join the server after configuring backend settings
Download SteamCMD
In this section, we will take you through the steps to download SteamCMD on your PC. By following the steps below, you will be able to download the Windows version of SteamCMD.
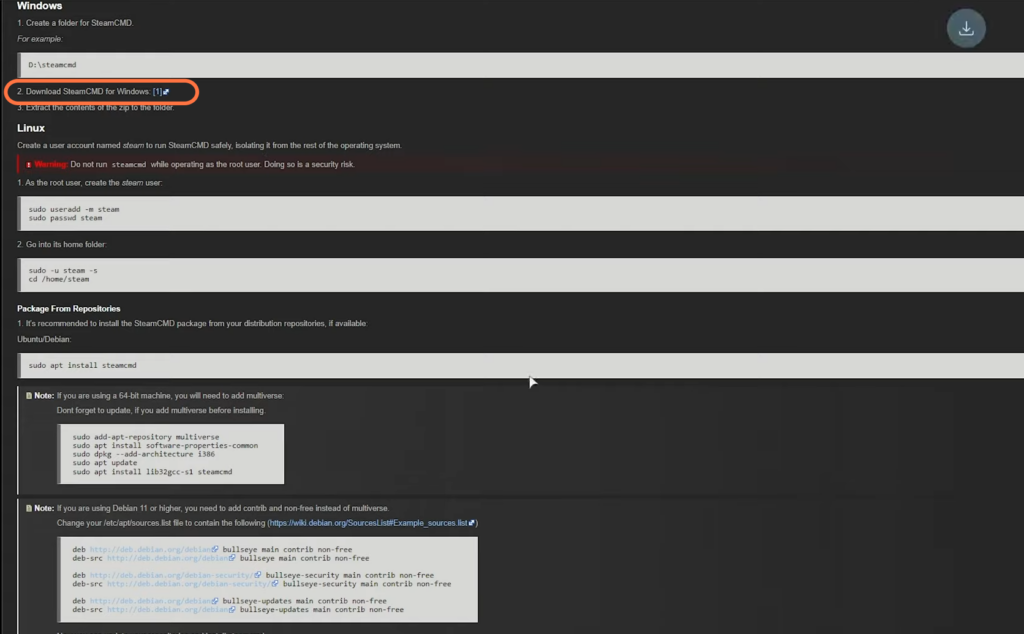
- The first thing you will need to do is open up the web browser on your PC and download SteamCMD. Once you reach the web page, click on Windows.
This will take you to a new page. - On the new page, look for the download button that corresponds to the “Download SteamCMD for Windows” option and press it.
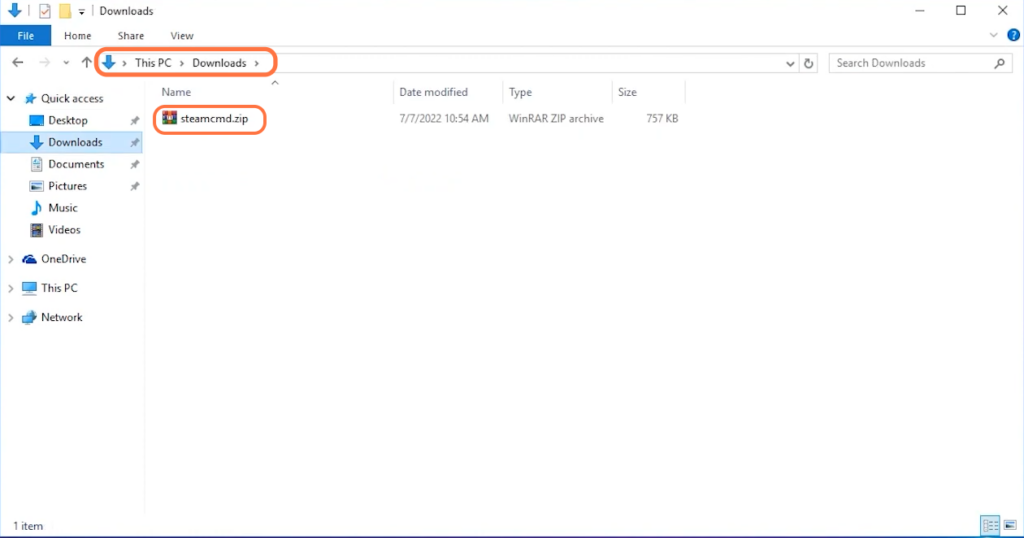
The browser will start downloading the SteamCMD file in a zip format.
- Locate the downloaded Zip file on your computer and right-click on it.
- From the context menu that appears, select the option to “Extract” option to extract the contents of the file. After that, copy the extracted folder.
Set up file
This section describes how to set up the file. By following the steps below, you will be able to create a new folder and paste the extracted folder inside it.
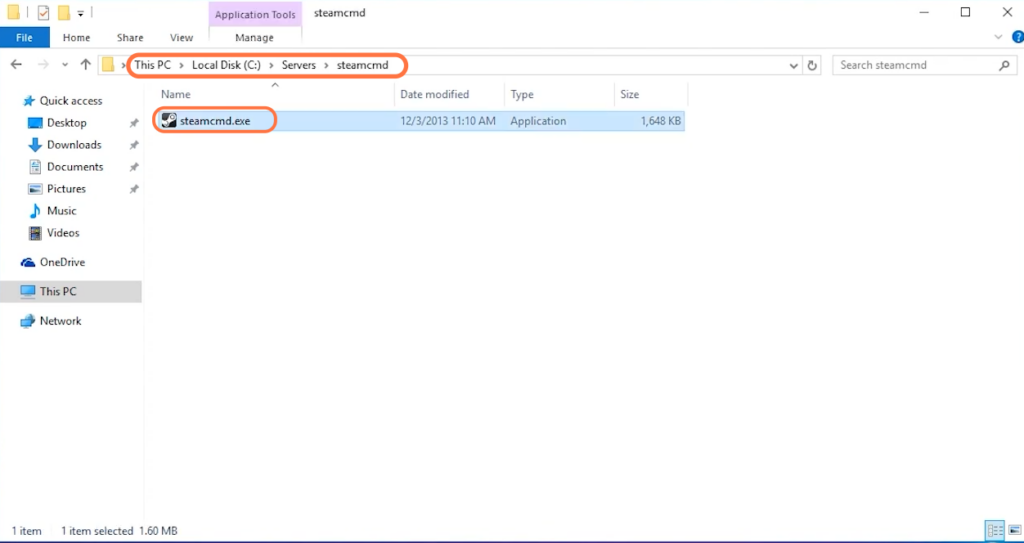
- Open the File Explorer on your computer and navigate to the C drive.
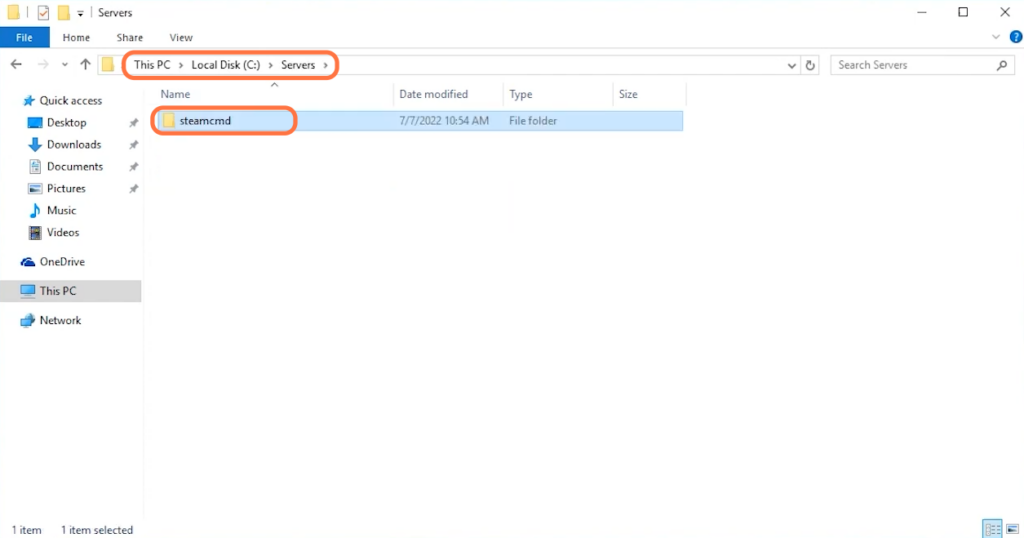
- Right-click inside the C drive and select “New” from the context menu. Create a new folder and name the folder “servers“.
- Double-click on the “servers” folder to open it and paste the extracted steamcmd folder inside it.
Install SteamCMD
This section will take you through the simple steps to install Steamcmd.
- You will need to create another new folder and name it “7DTD“.
- Double-click on the Steamcmd folder and open the Steamcmd application.
It will automatically install Steam cmd.
Download 7DTD
In this section, we will take you through the steps to download the 7DTD server. You have to use some commands to download it.
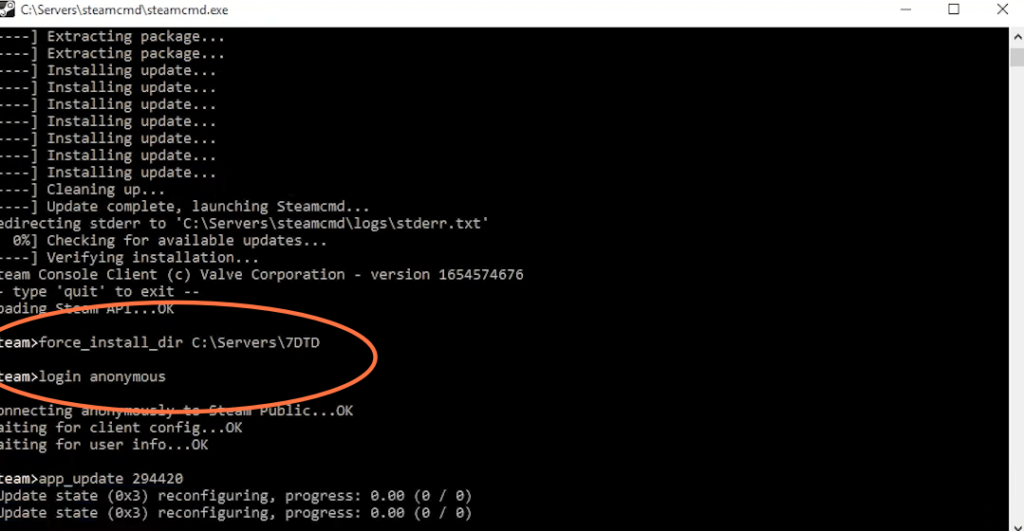
- Now go back to the server folder. At the top of the file management tool, click on the address bar to select the entire address and copy it.
- Launch the Steamcmd application, type “force_install_dir” and then paste the copied address. Type the login anonymous command and press enter. After that, input app_update (app id).
Now it will start downloading the 7DTD server.
Set up Config Files
This section describes how to set up config files. By following the steps below, you will be able to navigate to the “serverconfig.xml” file and change your server name.
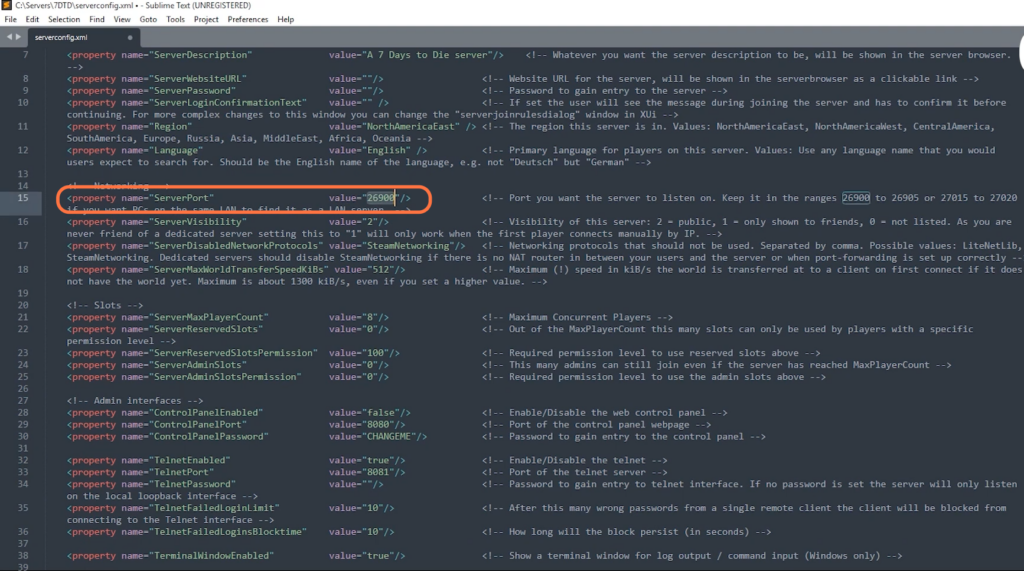
- You have to locate the “serverconfig.xml” file on your computer and right-click on it.
- Open the file with your preferred text editor. Once the file opens up, change your name, write your description and change other stuff as well if you want to.
You can also set a password. - After that, copy the port number as you will need it later.
Firewall Settings
This section will take you through the steps to set port forwarding and allow other players to join your server. By following the steps below, you will be able to set the ports manually.
- You will need to search Windows firewall in the search bar and navigate to Advanced security settings.
- Go to Inbound Rules and tap on New Rule on the right side of the window.
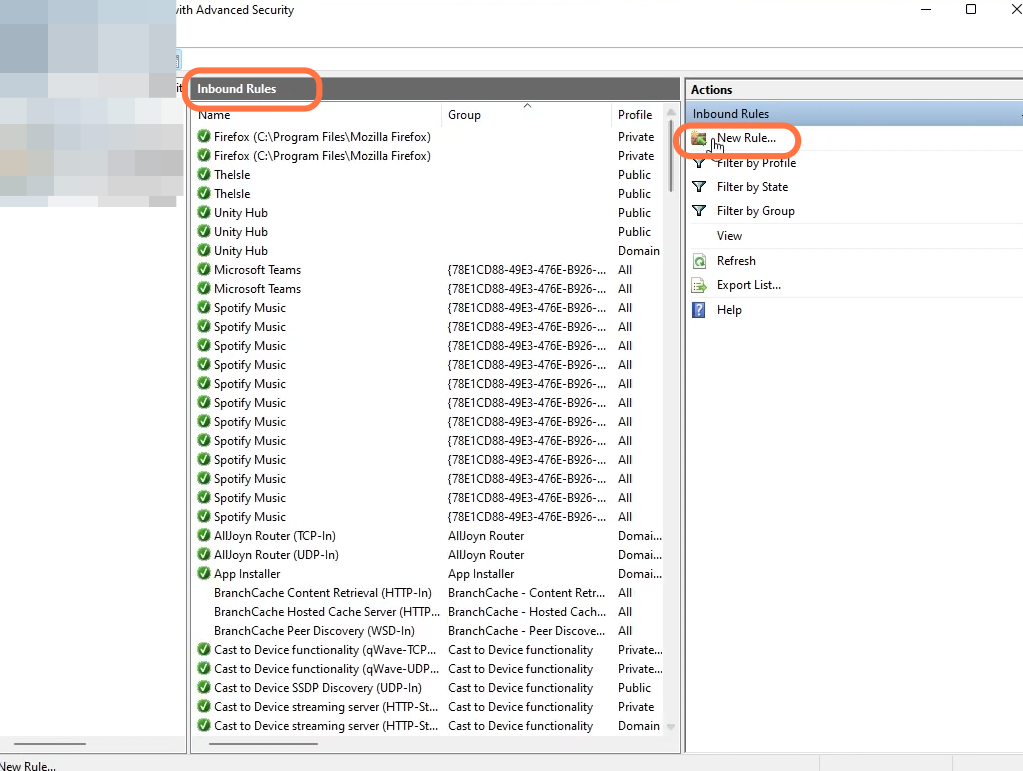
- Select the Port option, and then click on Next.
- On the next window, select TCP and input the 26900 port in the text box.
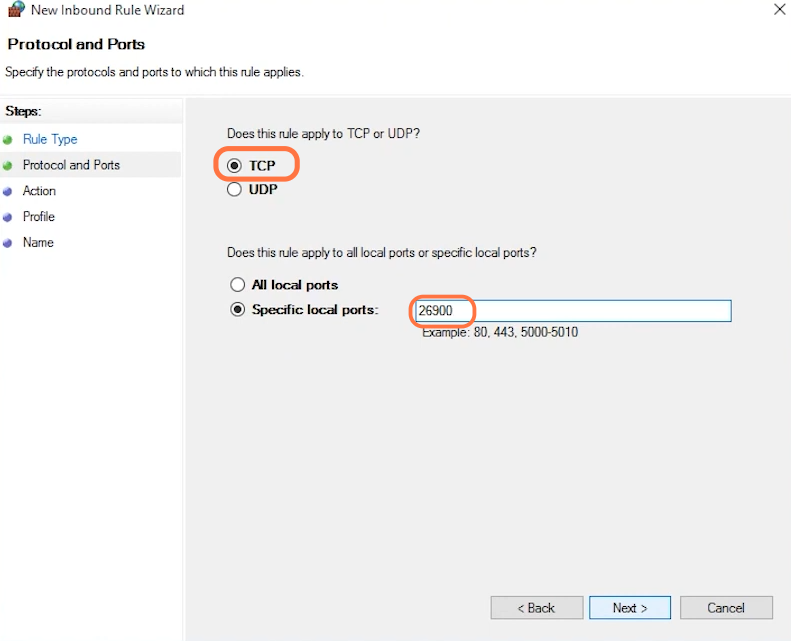
- Click on Next, then tap on Allow and input “7DTD TCP” as the name.
- After that, hit the Finish button.

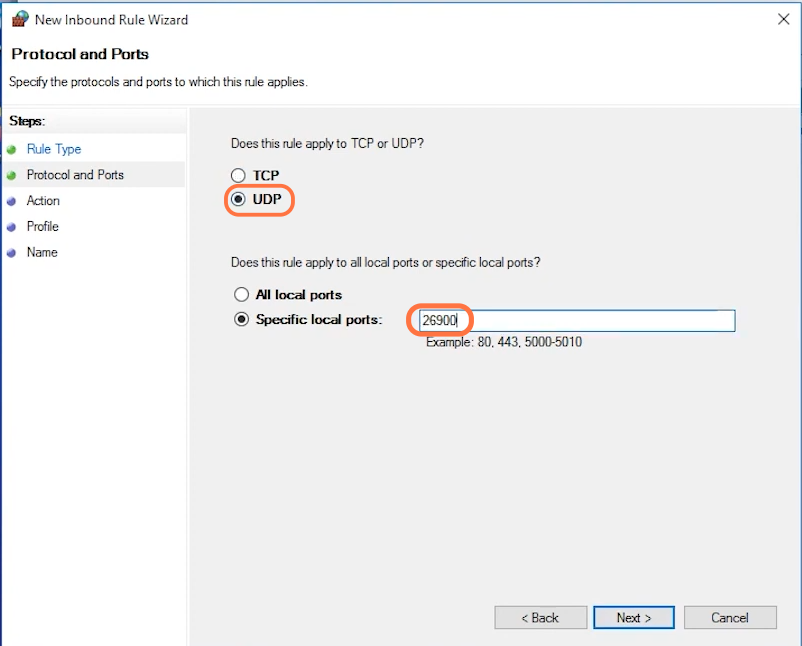
- You need to do the same thing again but select UDP instead of TCP this time.
- Input the 26900 port in the text box. Set the name as 7DTD UDP and press Finish.
Backend Settings
In this section, we will take you through the steps to configure backend settings.
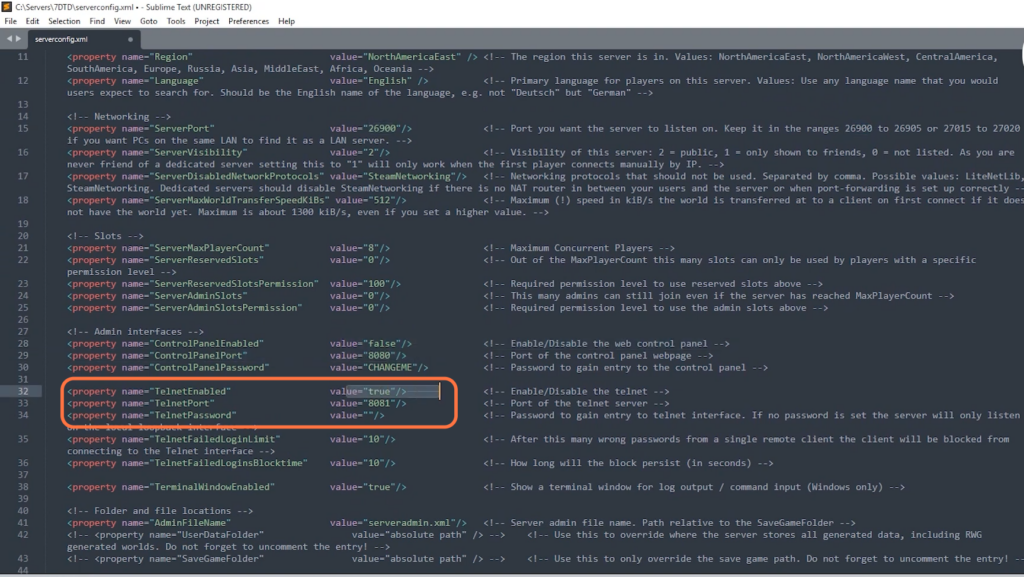
- If you want to manage the back end without logging into the back end itself, then you have to set the Default Telnet to True.
It will listen to the local port. - But if you want to access it outside of the local network, then you need to set up a password.
- After making the changes, press the Control and S keys on your keyboard to save the file.
Start the Server
This section describes how to start the server after setting everything. You have to allow access to the firewall before starting the server.
- Locate the server file on your computer and double-click on it to initiate the startup process.
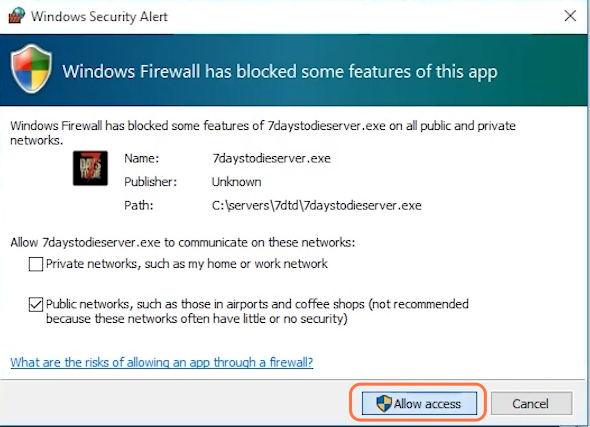
The server will begin booting up, and a window will appear on your screen. - When the window pops up, click on the “Allow Access” button to grant access to the firewall for the server.
- Once you have allowed access, wait for the server to finish booting up and then log in.
Create Update Script
This section describes how to create a Startup Script.
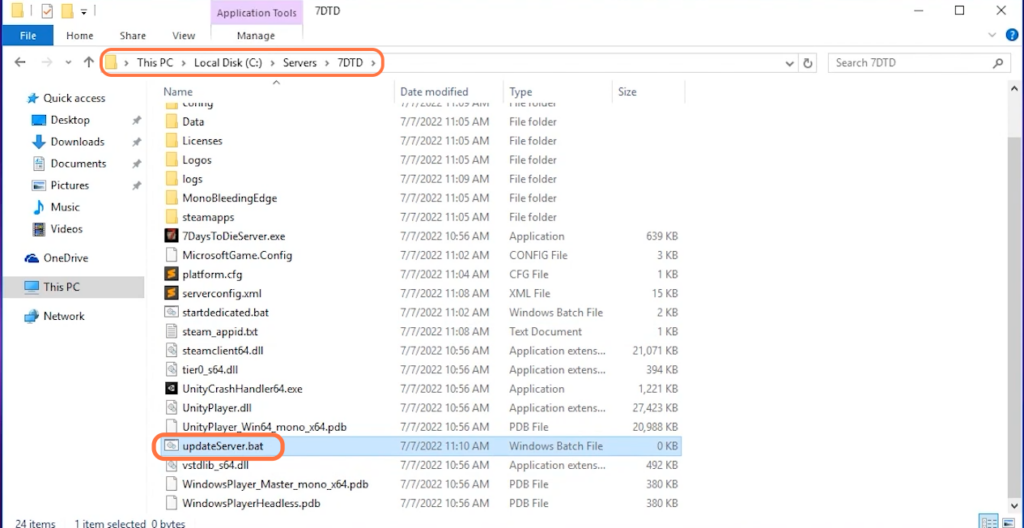
- Head to the 7DTD folder inside the servers folder and right-click anywhere in the folder.
- Create a new text document and name it “update server“. Change the extension from txt to “bat“.
- After that, right-click on that file, and select the Edit option from the drop-down menu.
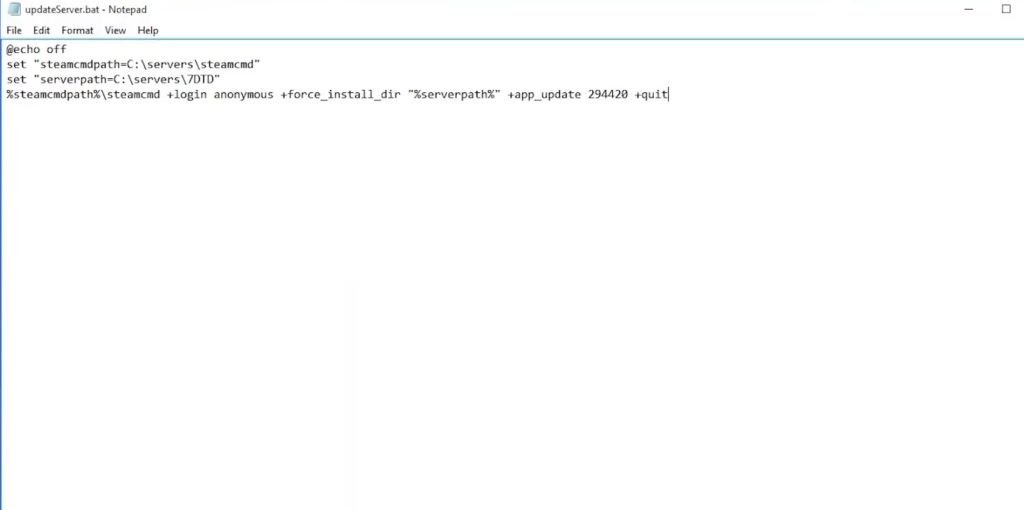
- Once the file opens up, type the following commands inside it and press the enter button.
- Press the Control and S keys on your keyboard to save it. After that, close the file.
Now it will make it a little easier to run the update process.
| @echo off |
| set steamcmdPath=”C:\servers\steamcmd” |
| set serverPath=”C:\servers\7DTD” |
| %steamcmdPath% \ steamcmd +login anonymous +force_install_dir “%serverPath%” +app_update 294420+quit |