It is crucial to keep your Sims 4 application and mods up to date for an enjoyable gameplay experience. This guide will walk you through the process of updating the EA app or Sims 4 game for mods, ensuring compatibility and smooth functioning. Typically, Sims 4 updates are released once or twice a month, so it’s important to stay active to update your game.
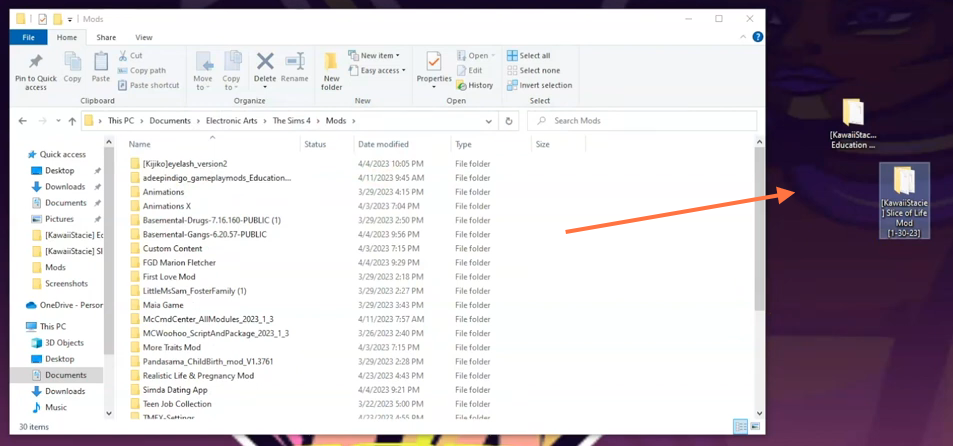
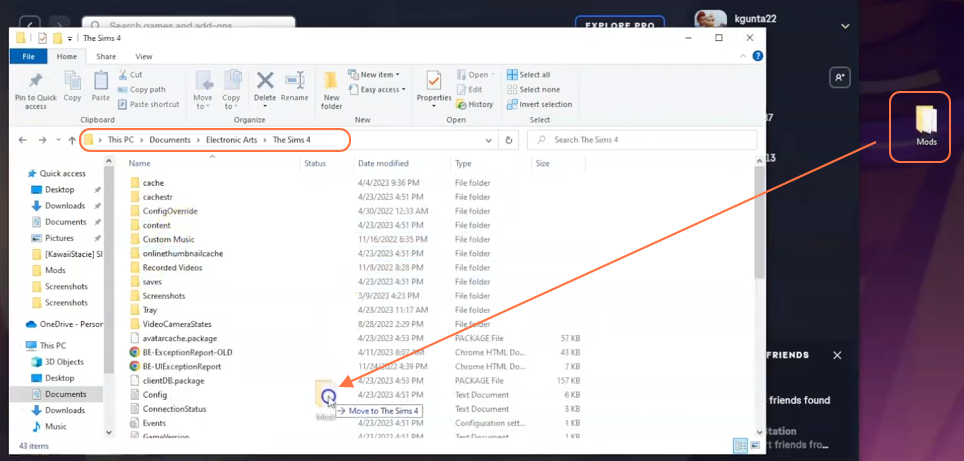
Step 1: First, find the Mods folder in your Sims 4 directory. By default, the game directory can be found at Documents > Electronic Arts > The Sims 4 > Mods. If you haven’t installed any mods before, you need to load up the game at least once and then exit to generate the necessary folders, such as Documents and Electronic Arts. As a precautionary measure, it’s recommended to drag the Mods folder from your Sims 4 directory to a safe location, such as your desktop. This ensures that your mod’s data remains intact during the update process.
Step 2: Update the Game Using the EA App on Windows
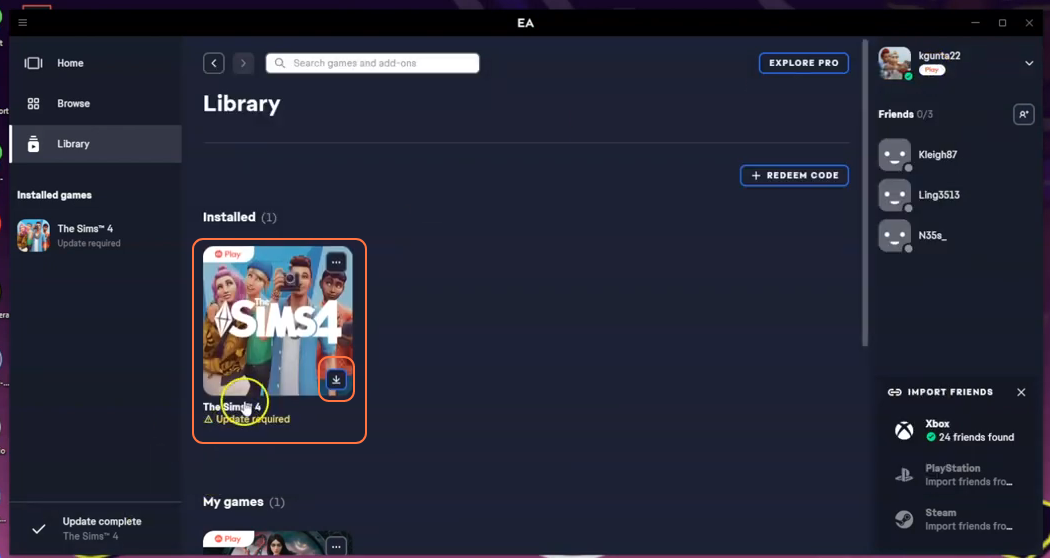
Now, exit the Sims 4 directory window and open the EA app to update the game. Click on the downward arrow icon to download the latest Sims 4 game update. The bottom left corner of the app will display the estimated time required for the update. Similarly, if the EA app itself requires an update, follow the same process.
Step 3: Disable Auto Updates for Games
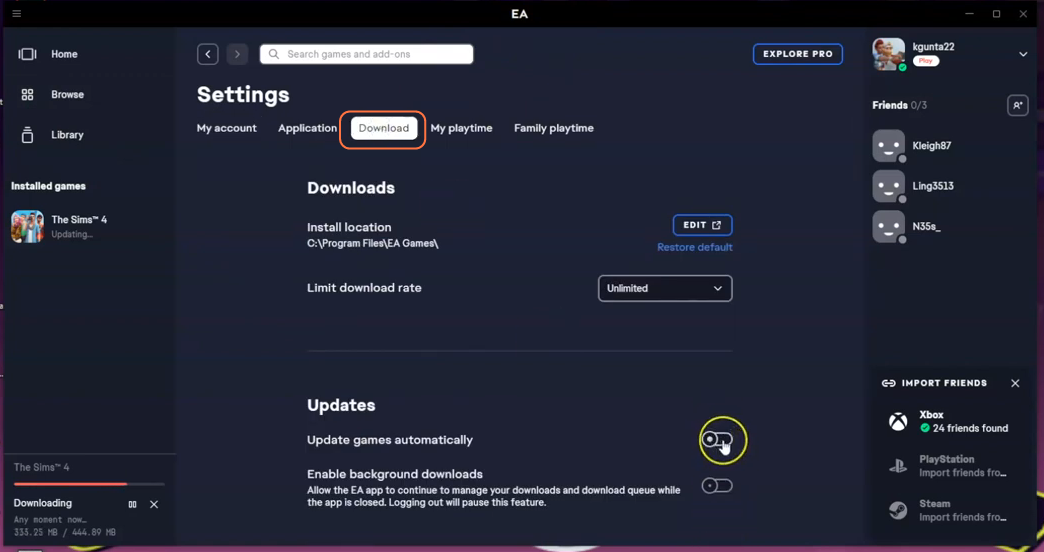
To prevent any potential issues with your mods, it’s important to turn off the Auto Update toggle button. Click the three lines icon at the top left corner of the screen, select “Settings,” then go to the “Download” tab. Locate the “Update games automatically” toggle button and disable it. Enabling this option would automatically update the game, which could conflict with certain custom content and mods when loading into the game.
Step 4: Launch the Game
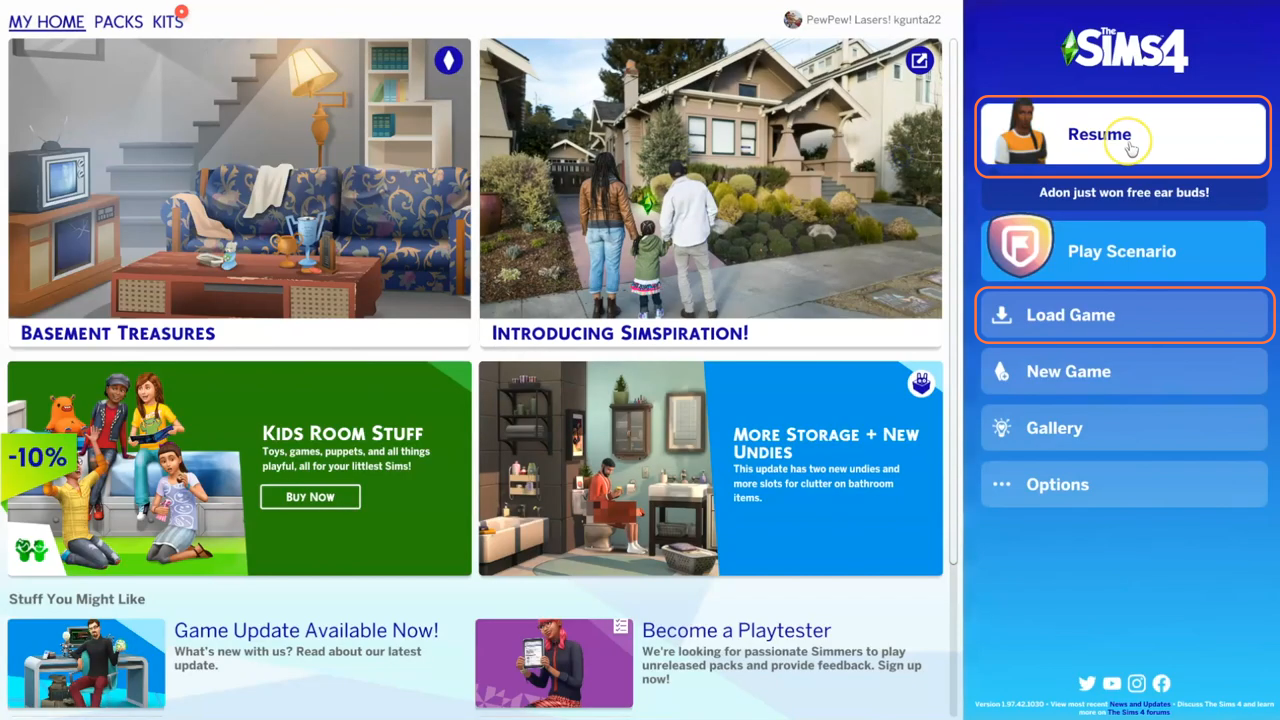
Once the game update is complete, launch your game without any mods installed. Don’t worry; your tray files will retain your saved content, including houses and other items. The Saves folder itself keeps track of the mods you had previously installed. In the game menu, click the resume button or go to the Load Game menu to continue your progress. Before doing so, navigate to the options menu and select “Game Options.” Under the “Other” tab, enable both the “Enable Custom Content and Mods” and “Script Mods Allowed” options. This ensures that your mods and custom content will be recognized and accessible in the game.
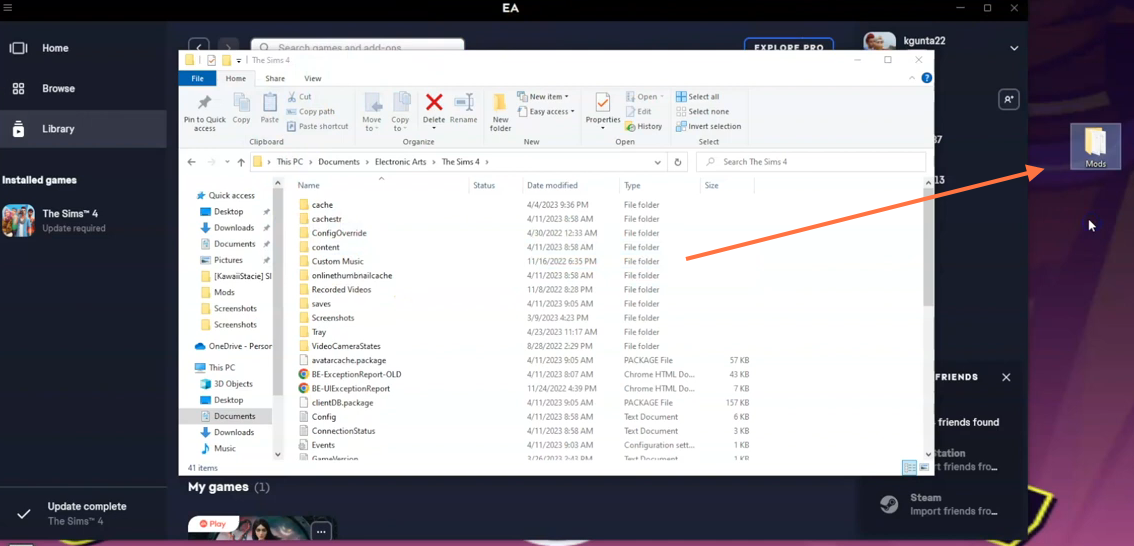
Step 5: Once the game loads, you can exit it without saving anything. Go back to the Sims 4 directory; Documents > Electronic Arts > The Sims 4. Open the Mods folder and you will see a “Resource.cfg” file in it. This Mods folder is auto-generated by the game. You can delete this Mods folder and bring in your old Mods folder which you have saved in a separate directory before updating the app.
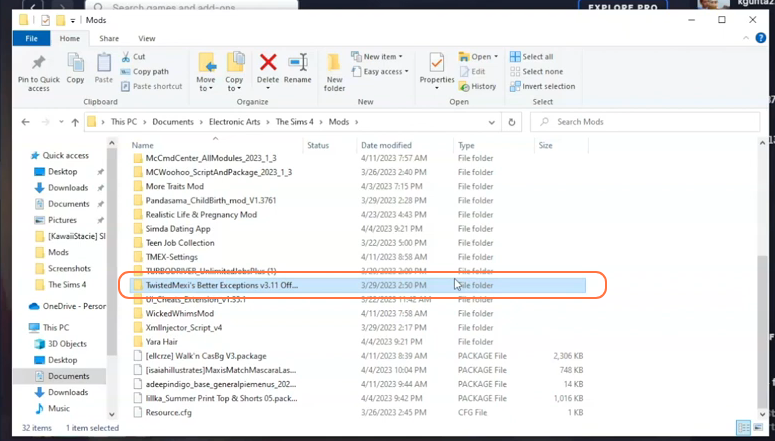
Step 6: You must have already installed the Better Exception mod in your Mods folder of Sims 4 directory. If not, It is highly recommended to install the Better Exceptions mod in your Old Mods folder. This mod provides valuable information about broken mods or indicates that which specific mods needs to be updated, once you load up the updated game. You can then remove incompatible custom content, and wait for the mod creators to update their work then reinstall those mods.
Step 7: Launch the Game and Check for Issues
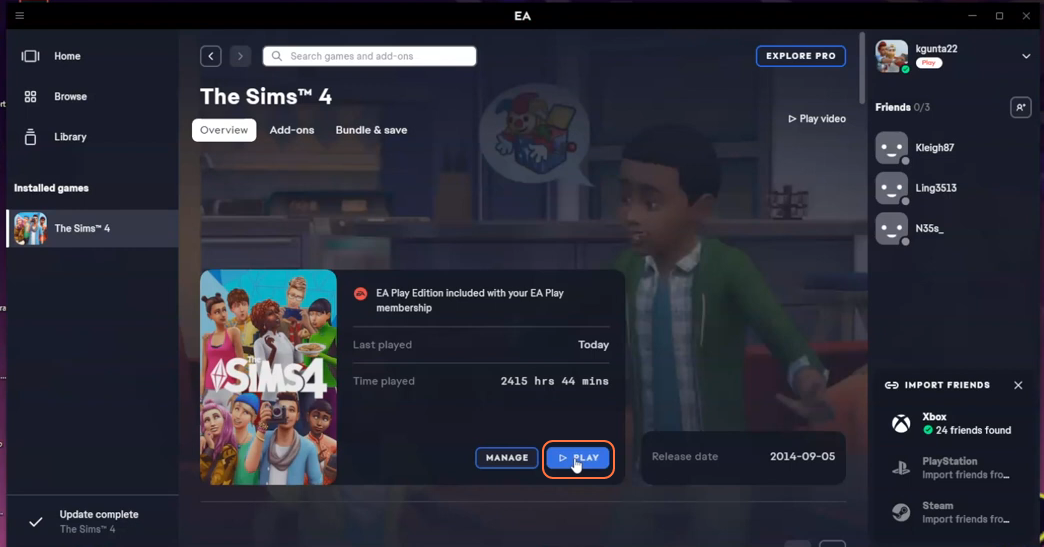
Exit the Mods folder and return to the EA app. Click the Play button to launch the game and check for any potential issues that may have occurred due to broken mods. Keep in mind that the game might take longer to load if there are broken mods in your setup.
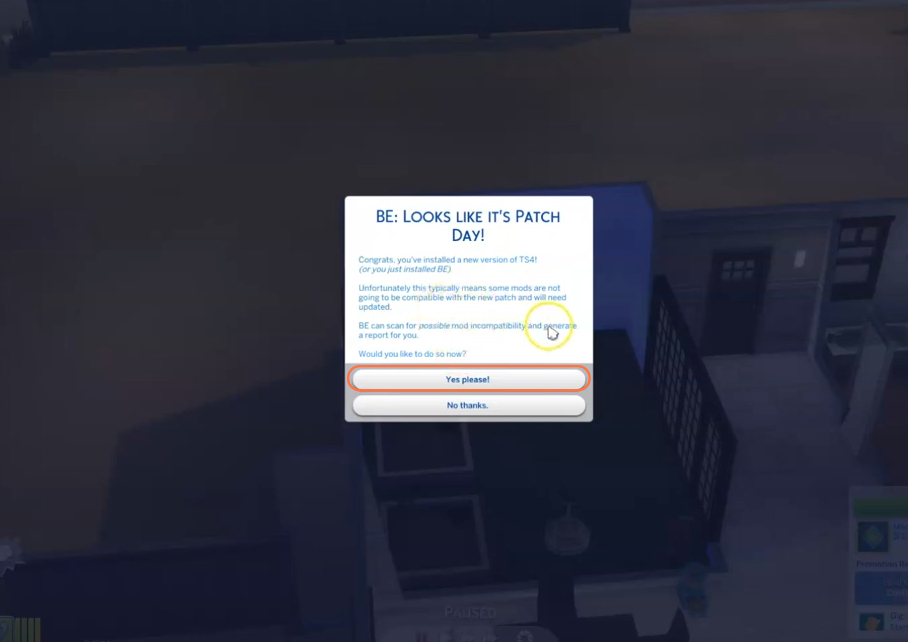
Step 8: Address Incompatibilities with Better Exceptions
If you see a message from Better Exceptions congratulating you on installing the new version of TS4, it indicates that some mods may not be compatible. Better Exceptions can generate a report by scanning. Choose the “Yes, please!” option to scan for broken mods. This process will identify outdated mods that need to be removed.
Step 9: Resolve Compatibility Issues
To resolve compatibility issues, navigate to the Mods folder in your Sims 4 directory. Identify the mod causing problems and either take it out or delete it. Then, visit the mod creator’s website to download and install a newer version of the mod. It’s advisable to move all defective mods to your desktop temporarily, making it easier to keep track of the ones that require updates. After updating, you can permanently delete the outdated mod files.