This guide helps to fix the Rpcs3 access violation reading location 0x0 error. Restoring your RPcs3 files, deleting the files from the temp folder, and creating custom configuration settings are a few methods, you can try either of the methods to resolve the issue.
Restore your RPcs3 files
In this section, we will take you through the steps to restore your RPcs3 files to resolve the issue. You have to open virus and threat protection from the settings, then click the quarantine items from the filter and restore your RPcs3 files.
- First, click the Windows button from the taskbar and input settings in the search bar.
- Now select the settings application from the listings to open it.
- Upon reaching the settings window, click on the Update & Security tab.
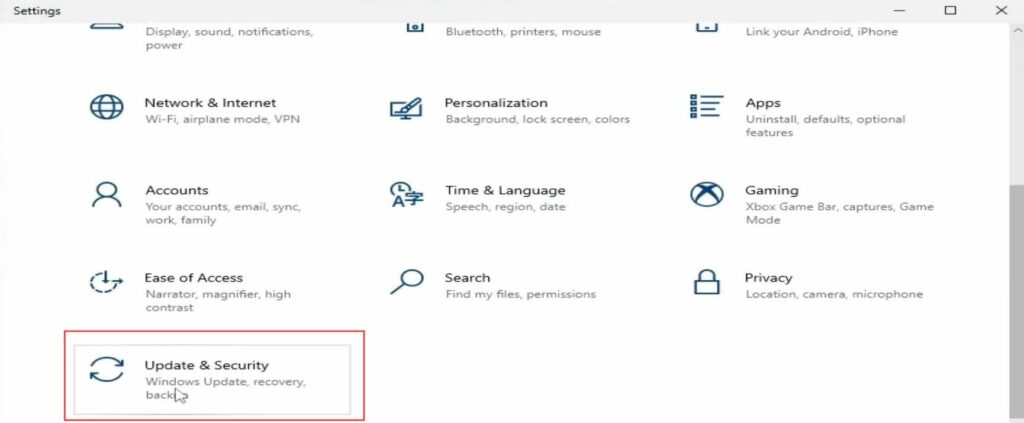
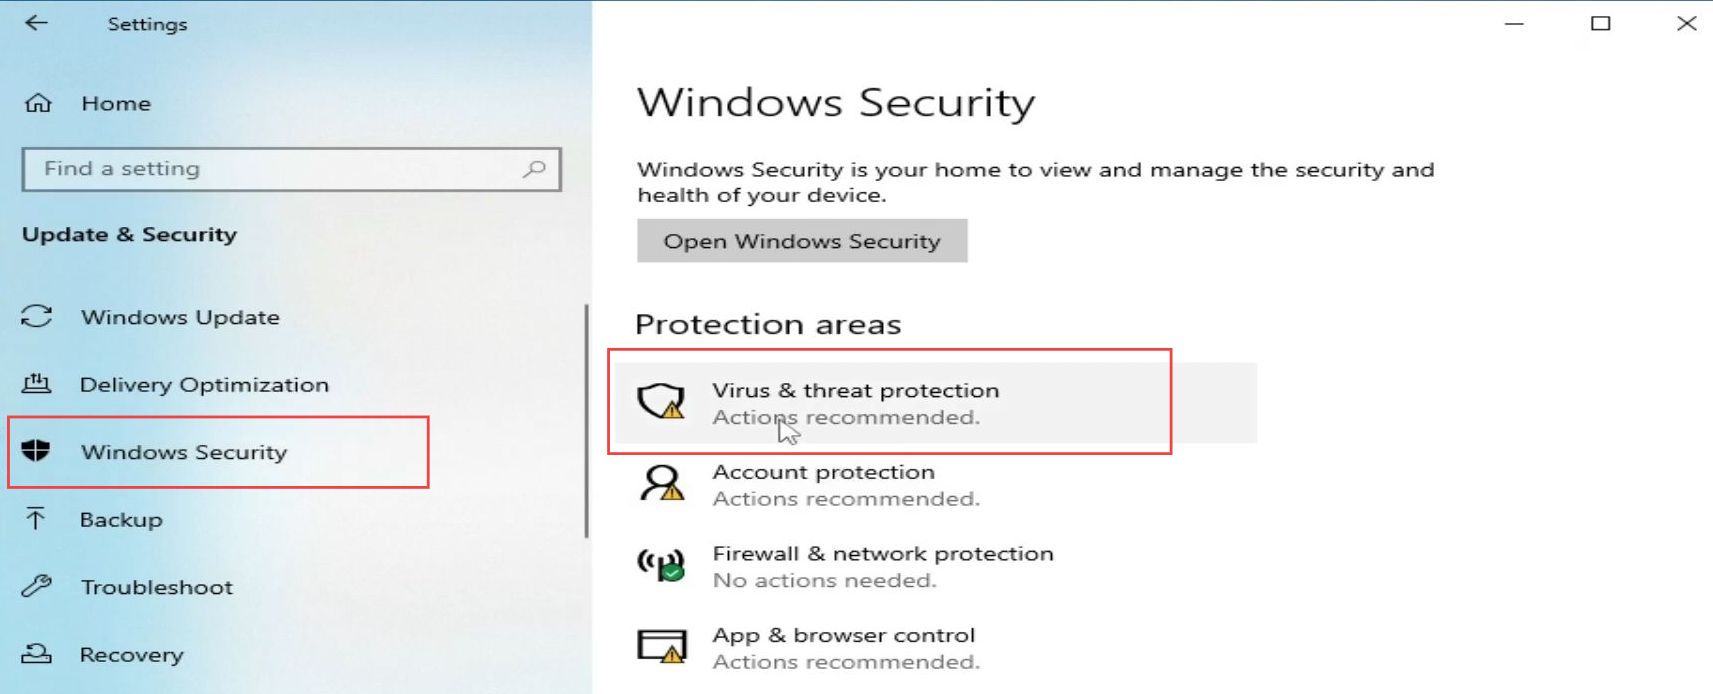
- Once this menu is opened, click the Windows Security tab from the left side panel.
- After that, click the Virus & Threat Protection option from the listings.
It will take you to a new window.
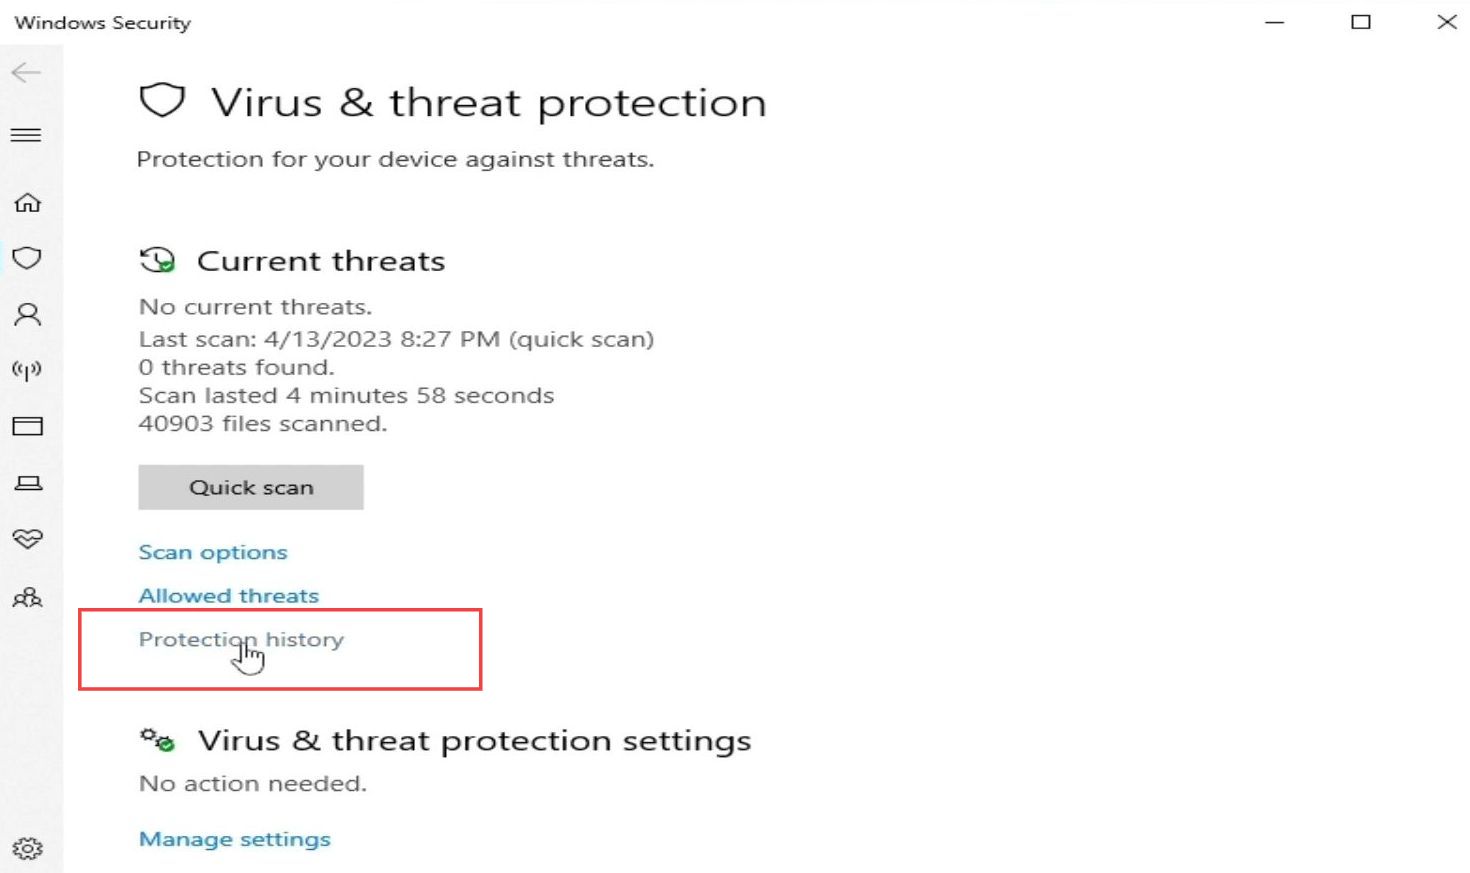
- Upon reaching the new window, click the Protection History option from the menu.
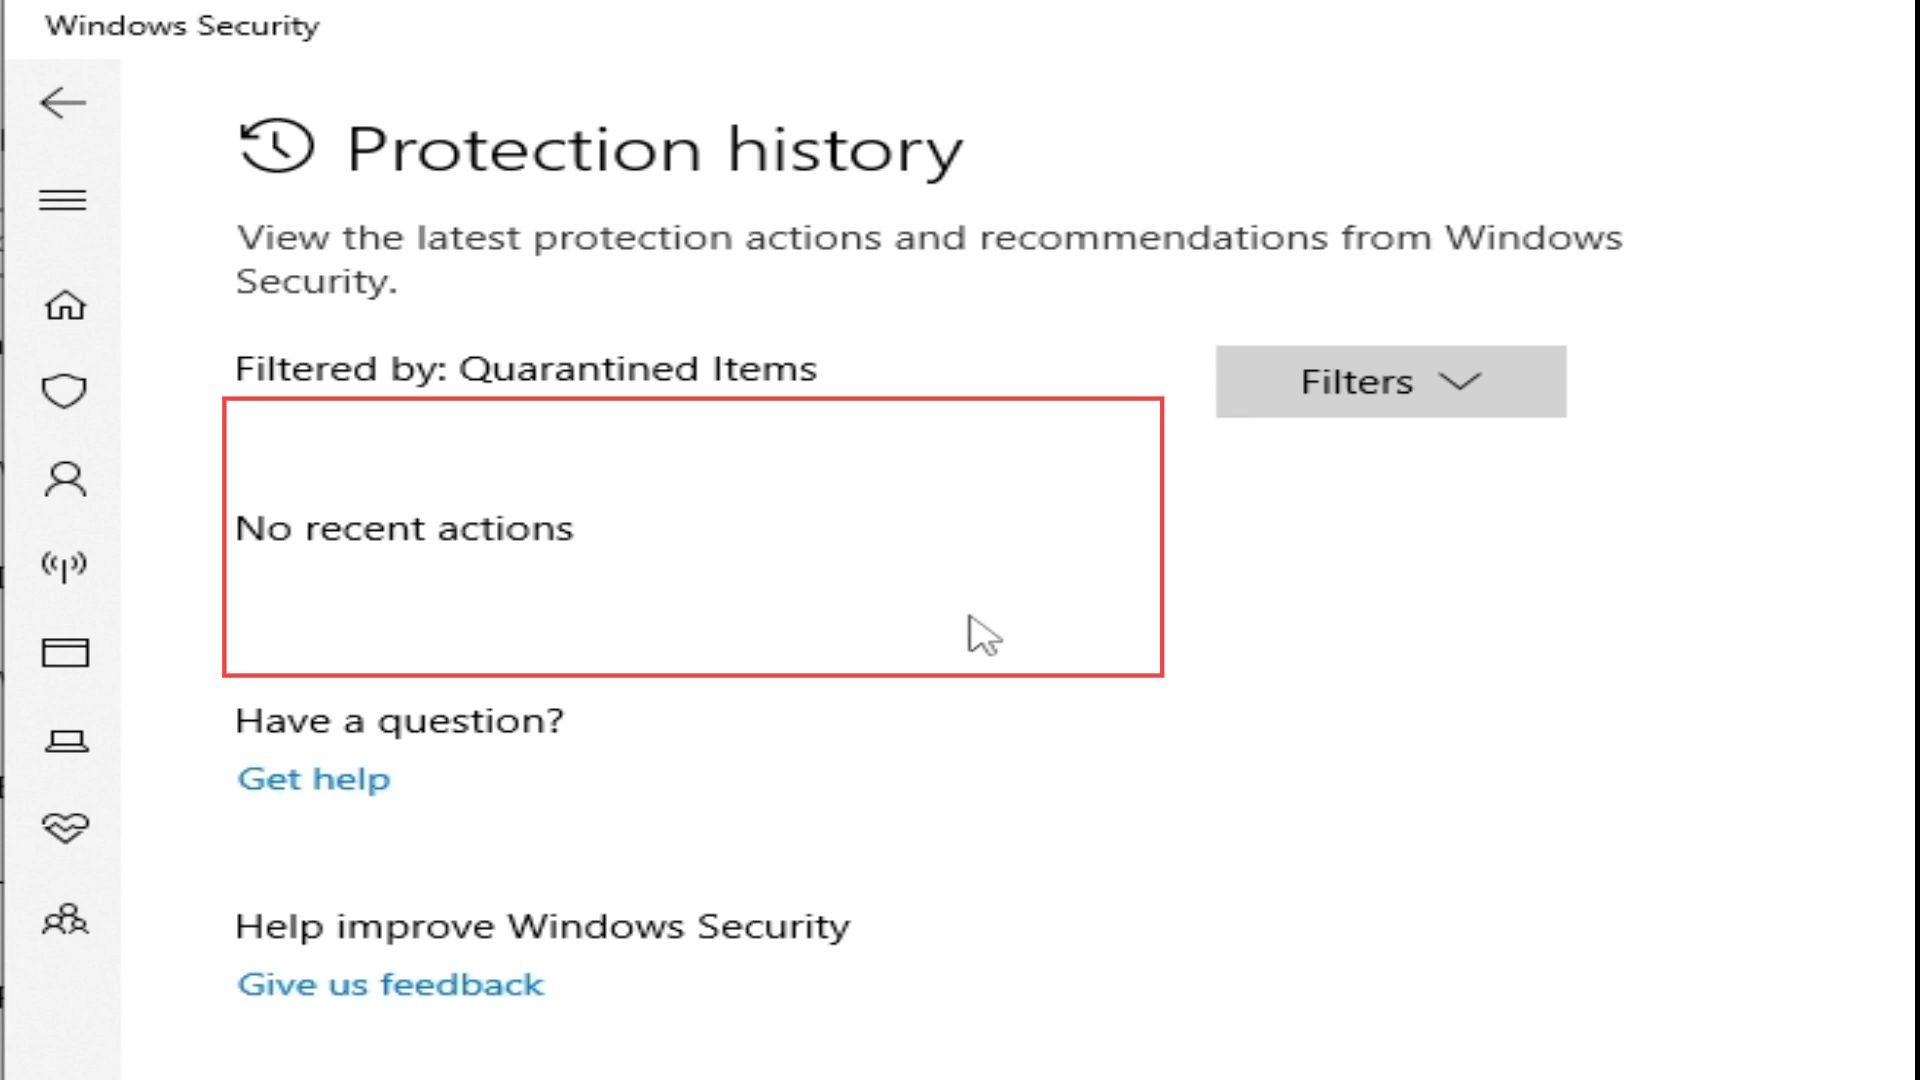
- Click on the filter drop-down button and select the Quarantined items option from the dropdown menu.

- Now you need to restore your RPCScs3 files from this menu.
It will fix the issue automatically.
Deleting the files from the Temp folder
This section describes how to delete the files from the Temp folder to resolve the issue.
- First, you need to close all the Rpcs3 windows and then click the file explorer from the desktop.
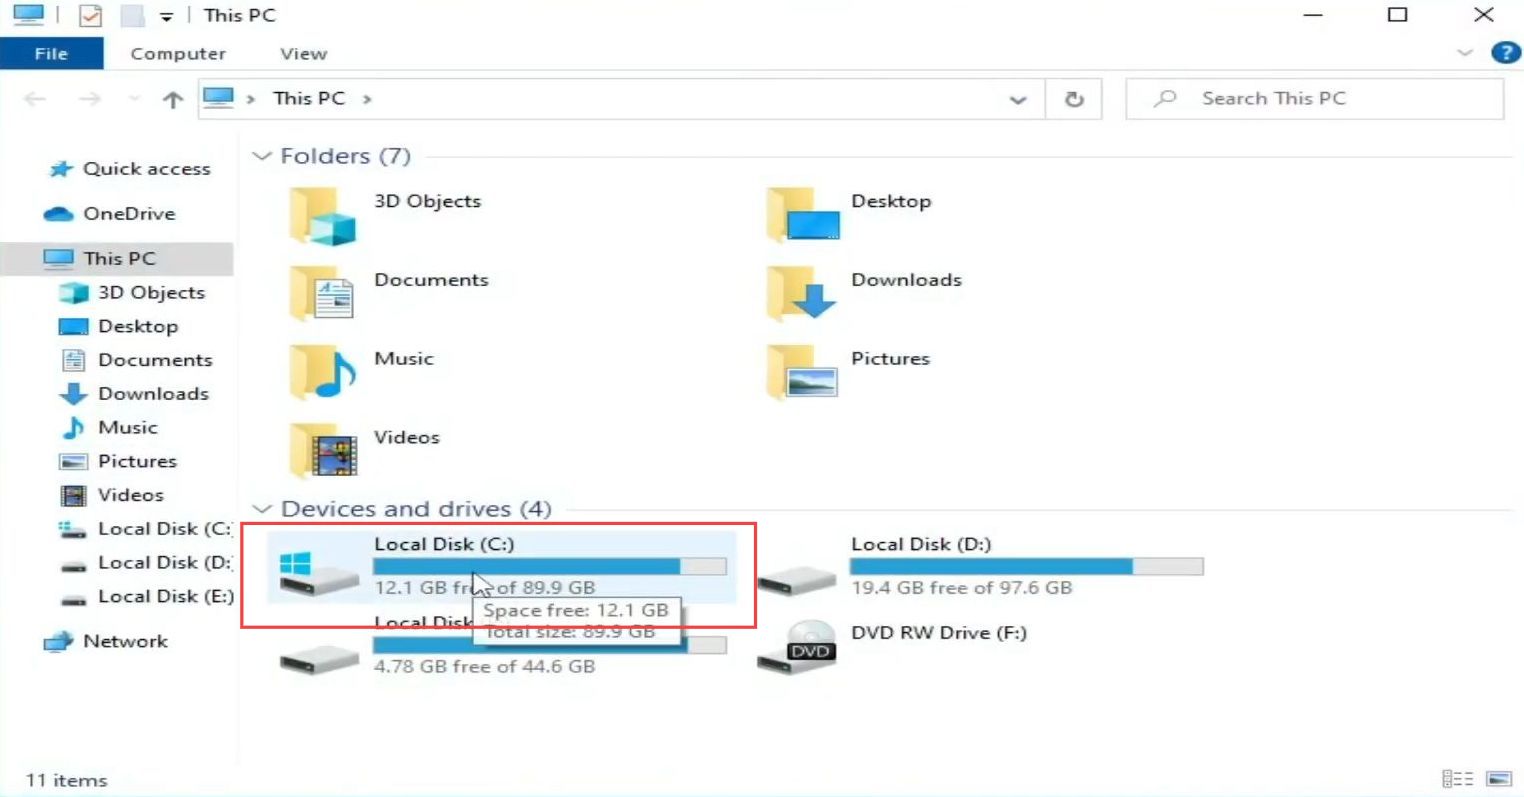
- Double-click on the local disk (C) to open it up.
- After that, you need to open the Users folder and go to the local user folder from the menu.
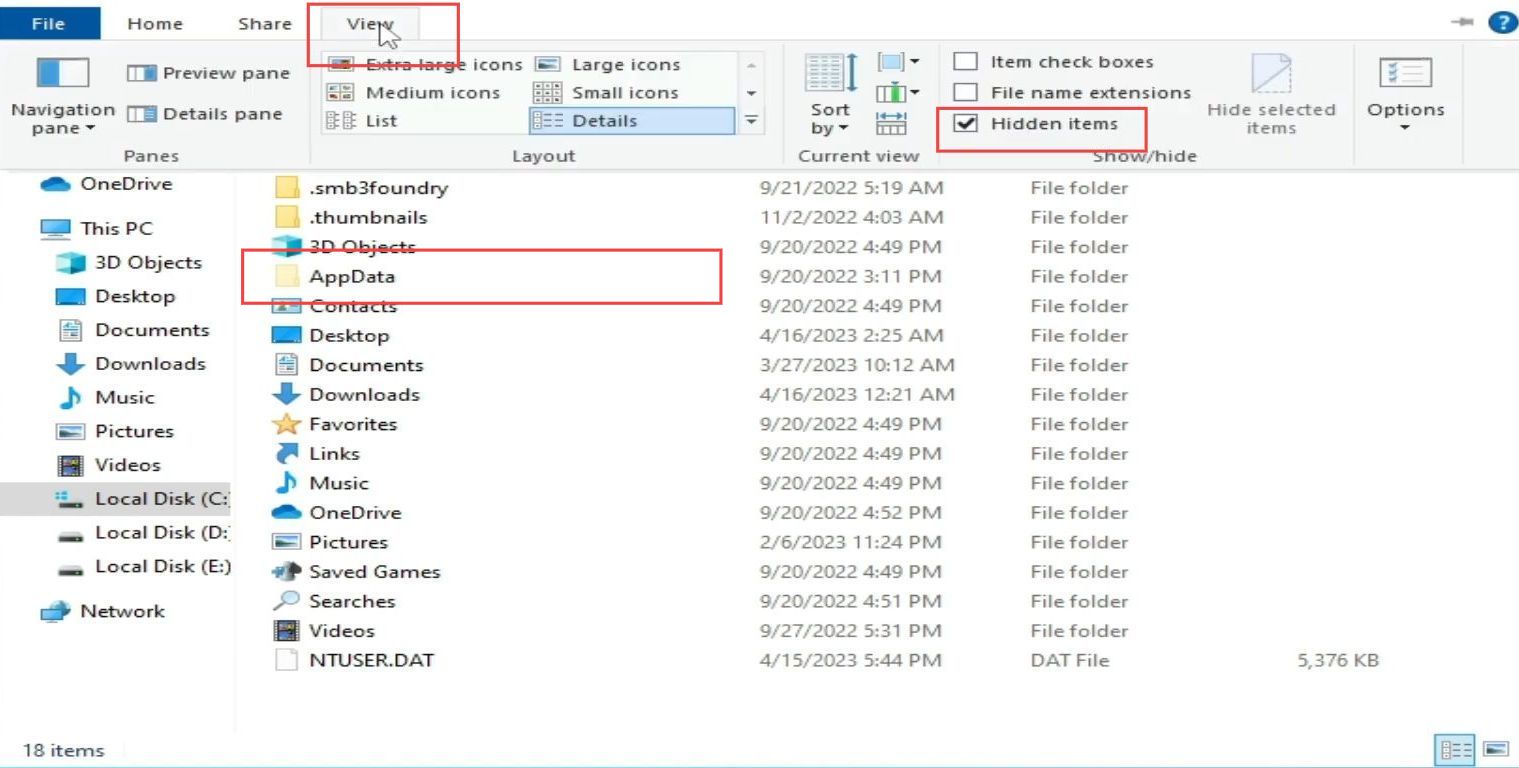
- Upon reaching this window, click the View tab from the quick access toolbar and ensure that you have checked mark the Hidden items box from the menu.
- Double-click on the AppData folder to open it.
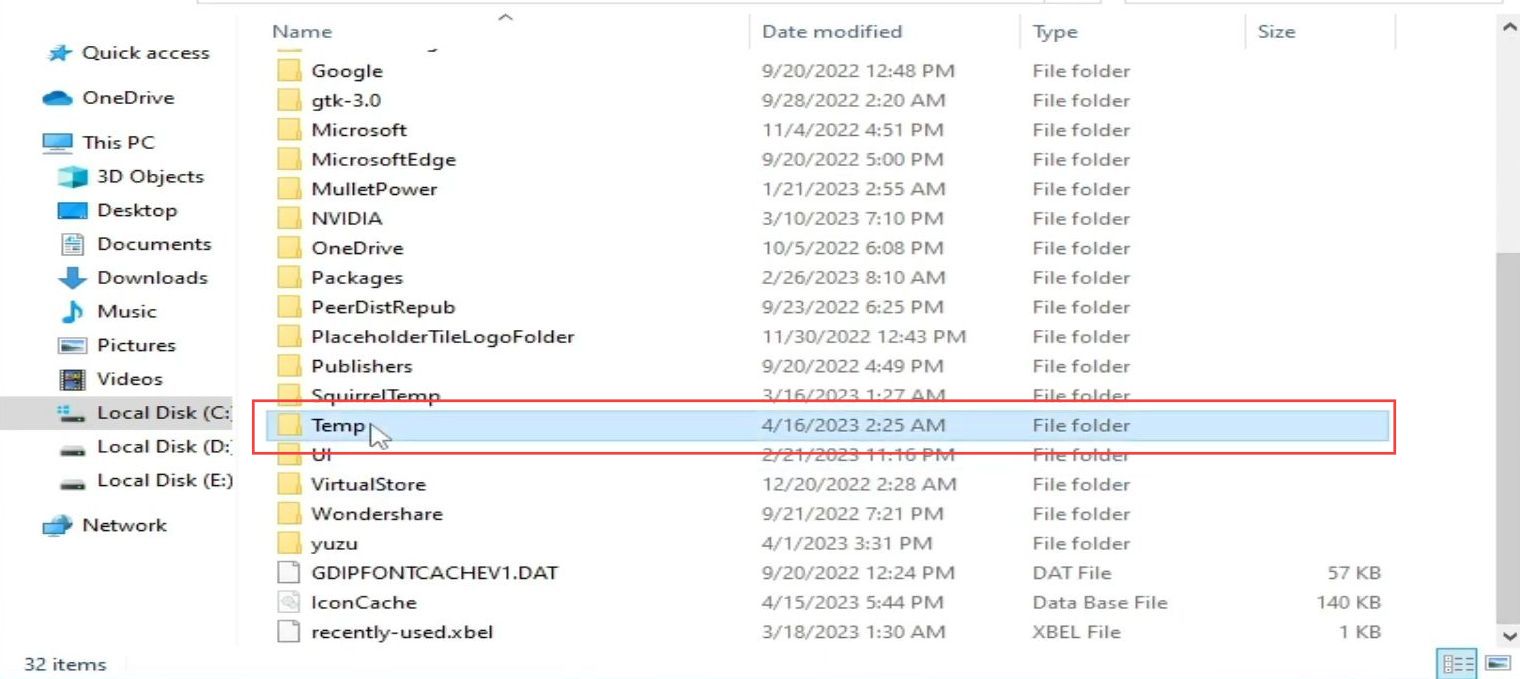
- Navigate to the Local folder and then click the Temp folder from the listings to open it.
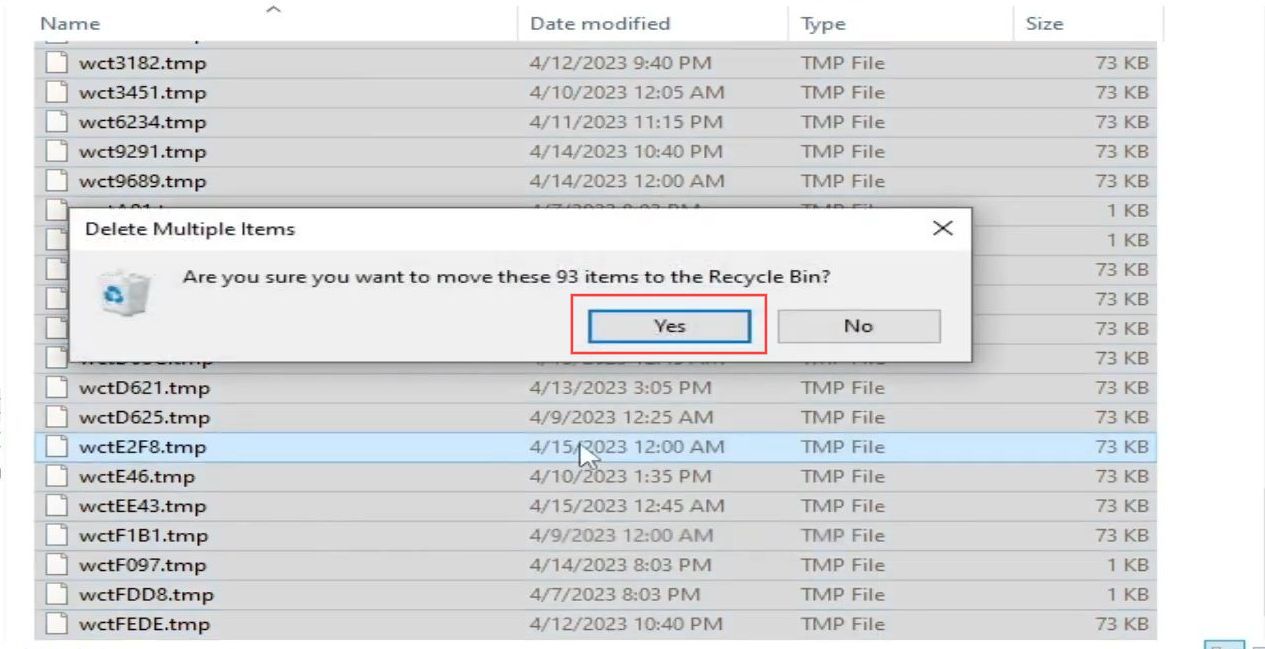
- Once the Temp folder is opened, select all the files and delete them.
- You have to click the Yes button to confirm the deleting process. After that, check whether the issue is resolved.
Creating Custom Configuration Settings
This section explains how to create Custom Configuration Settings to resolve the issue. You have to open the file location of Rpcs 3 and select the custom configuration folder from the menu. After that, uncheck the accurate DFMA option and change Custom Configuration Settings.
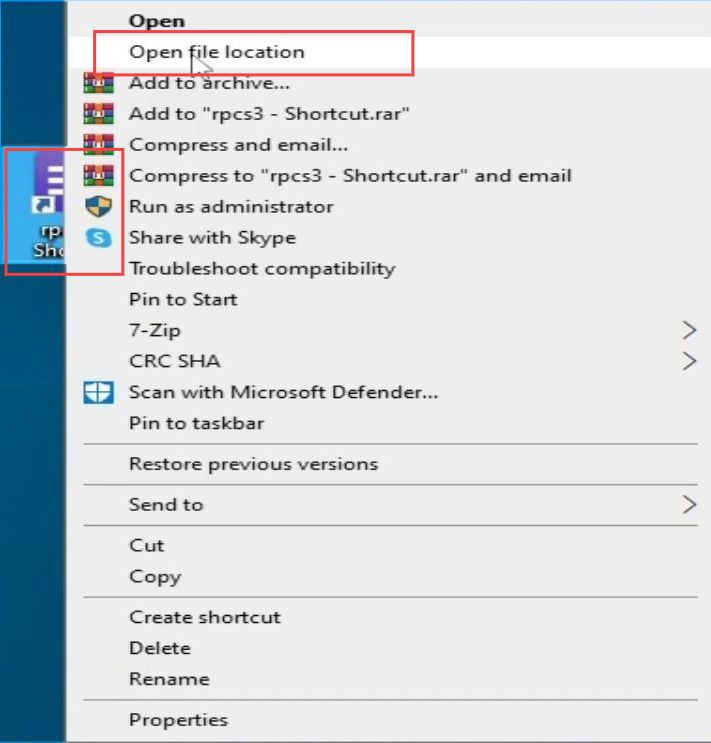
- First, you need to right-click the Rpcs3 file from the desktop.
It will open up a drop-down menu. - Select the open file location option from the menu.
- Upon reaching the file location, you have to double-click on the config folder to open it up.
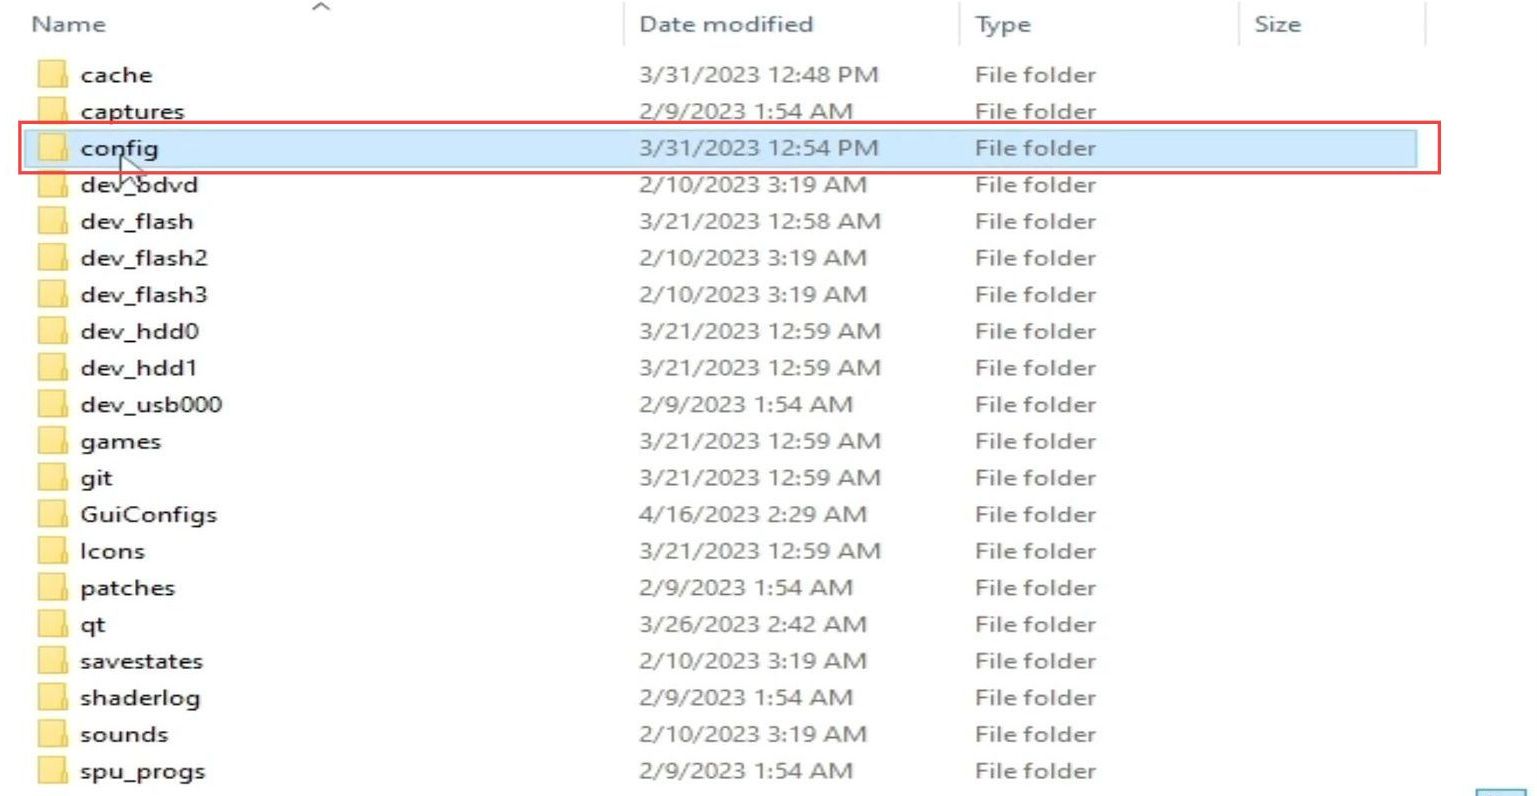
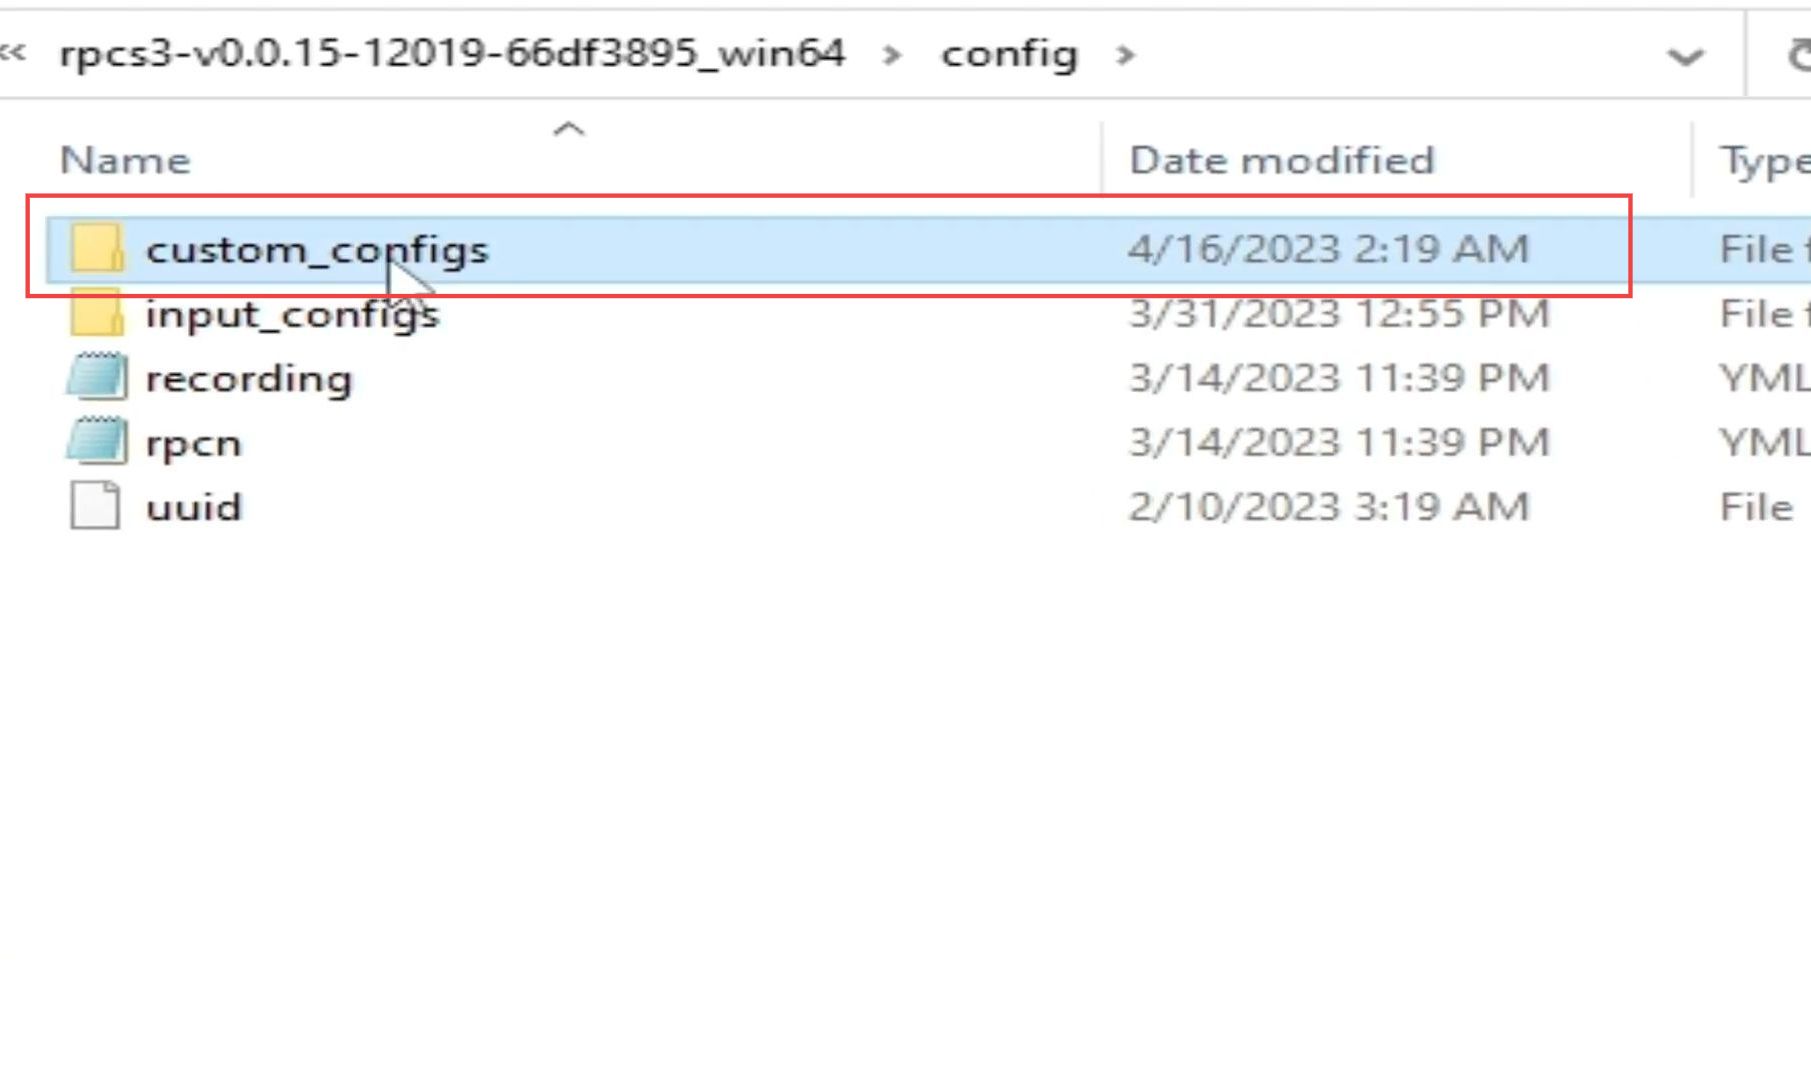
- Once the config folder is opened, go to the custom_config folder.
It is an empty folder.
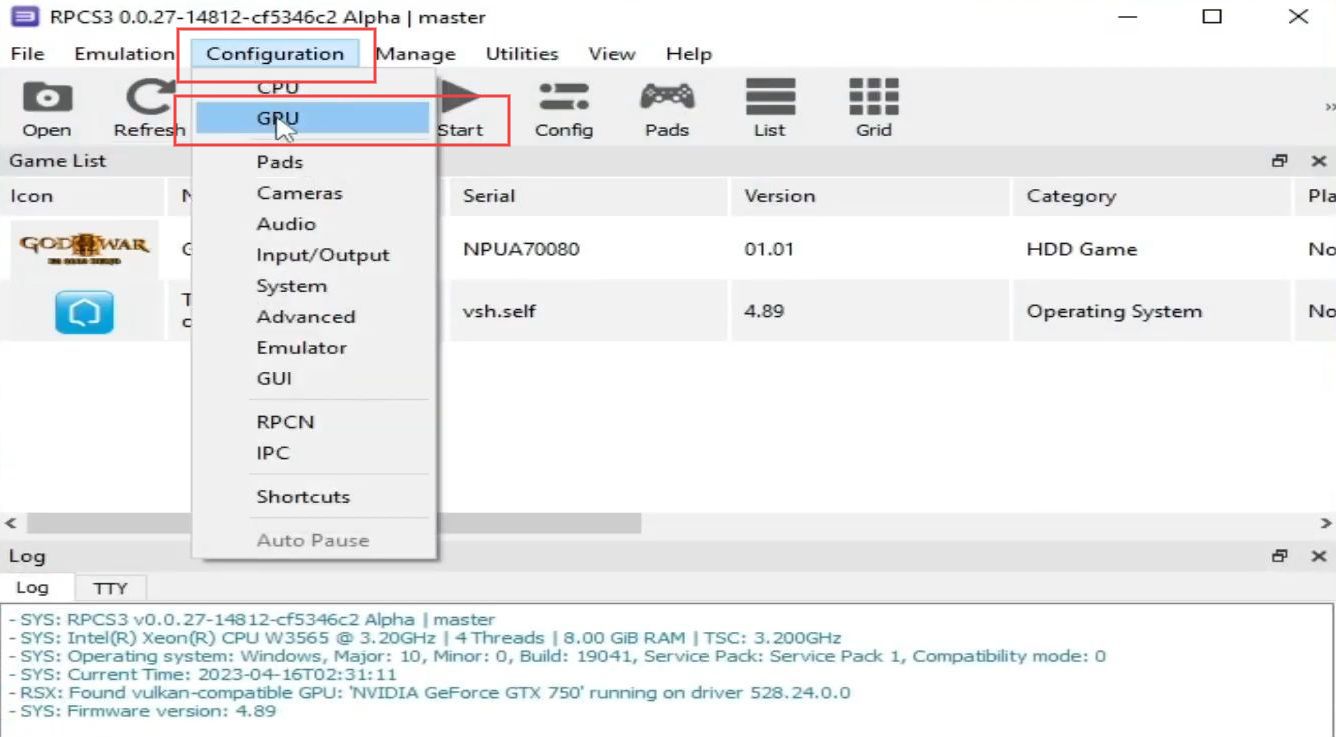
- Now you have to open Rpcs3 from your desktop.
- Once it is opened, click the configuration tab from the quick access toolbar and select the GPU option from the drop-down menu.
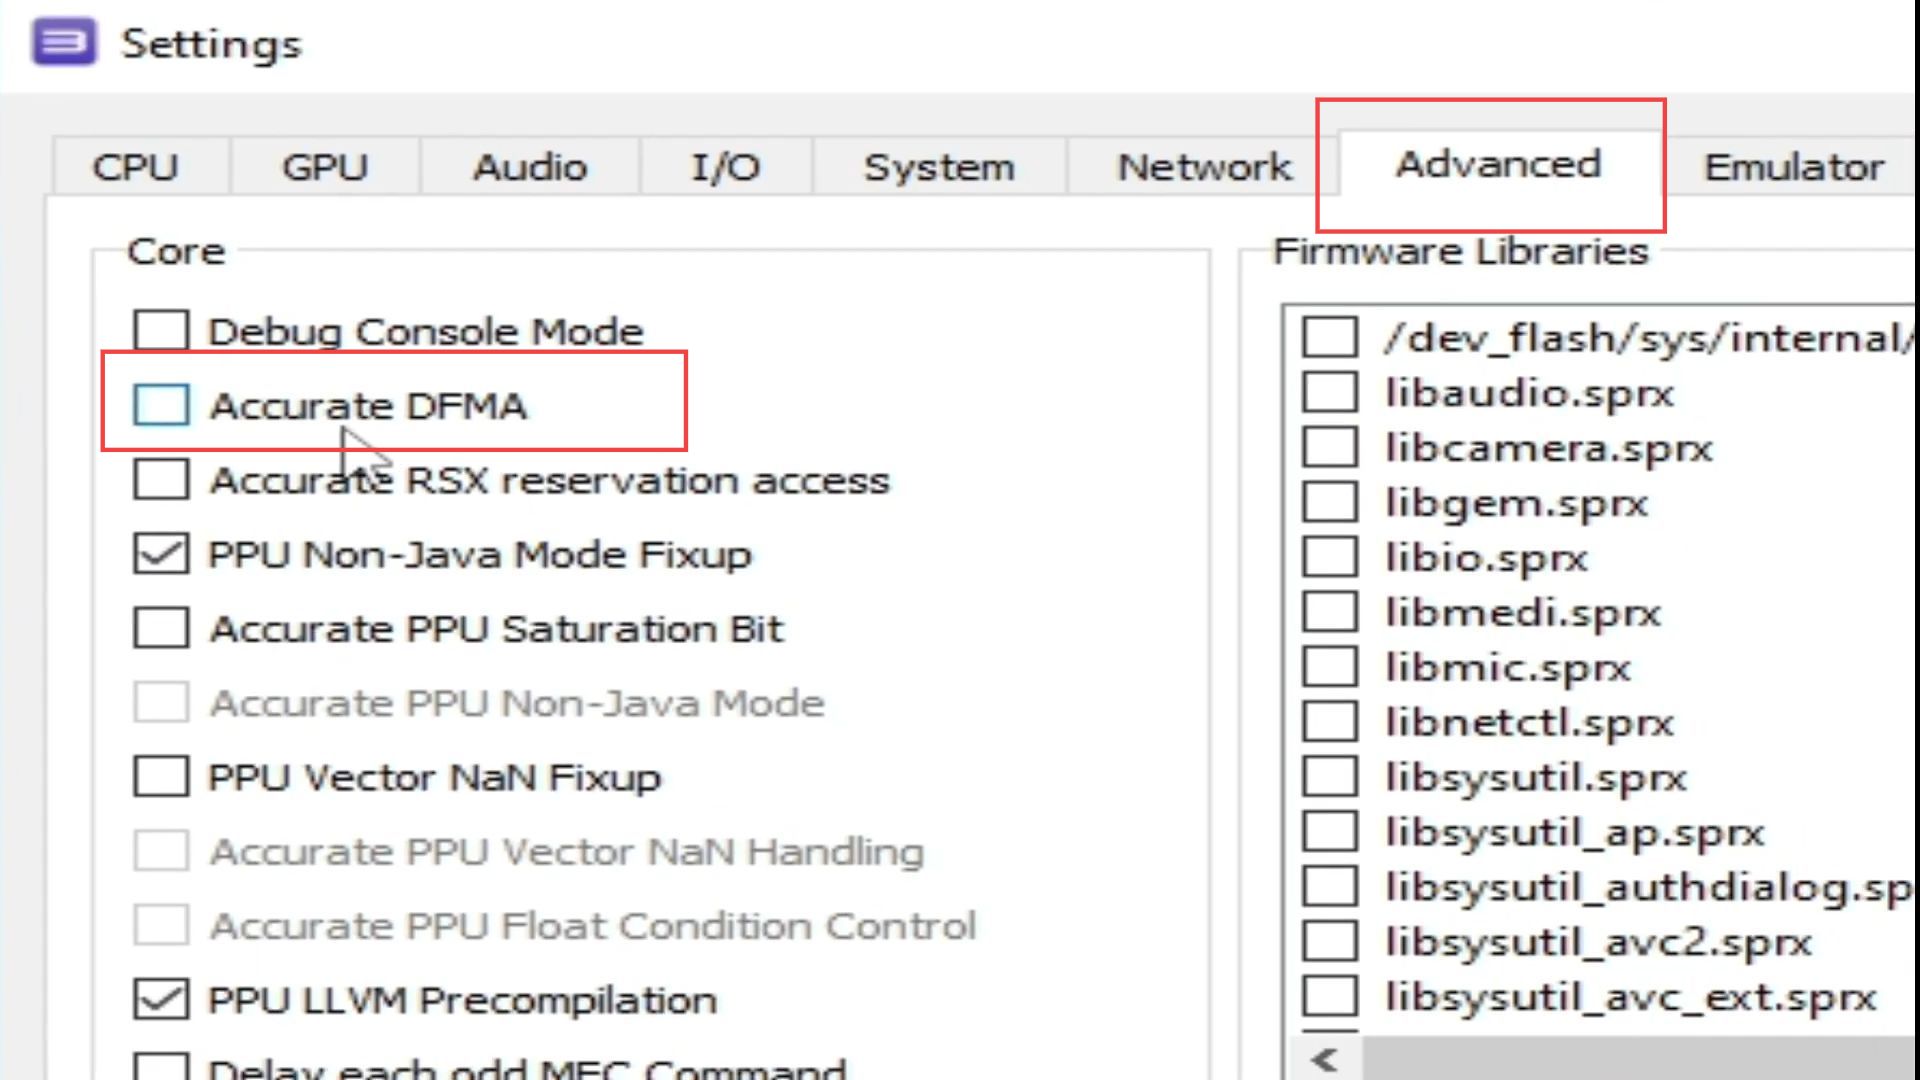
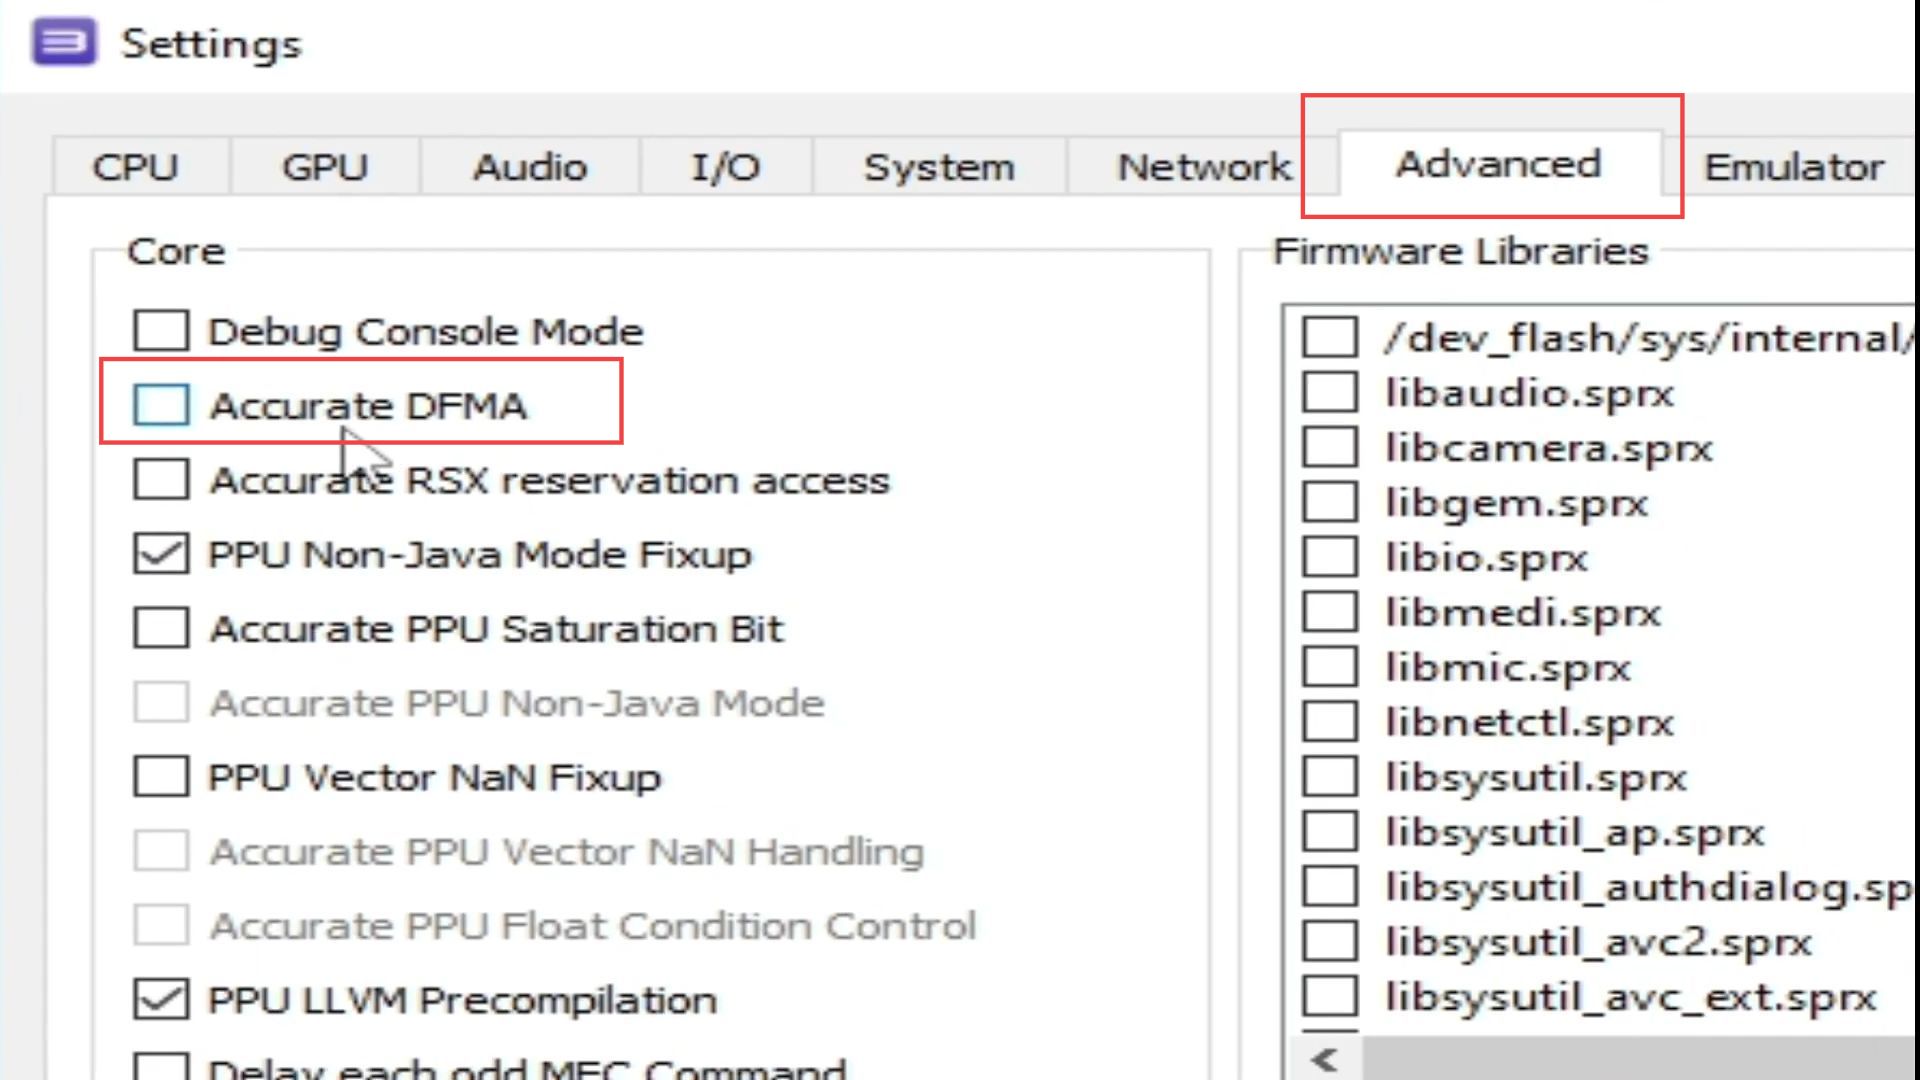
- Click the Advanced tab from the quick access toolbar.
- You need to uncheck the accurate DFMA option from the section of the core.
- After that, click the Apply and save custom configuration buttons from the menu.
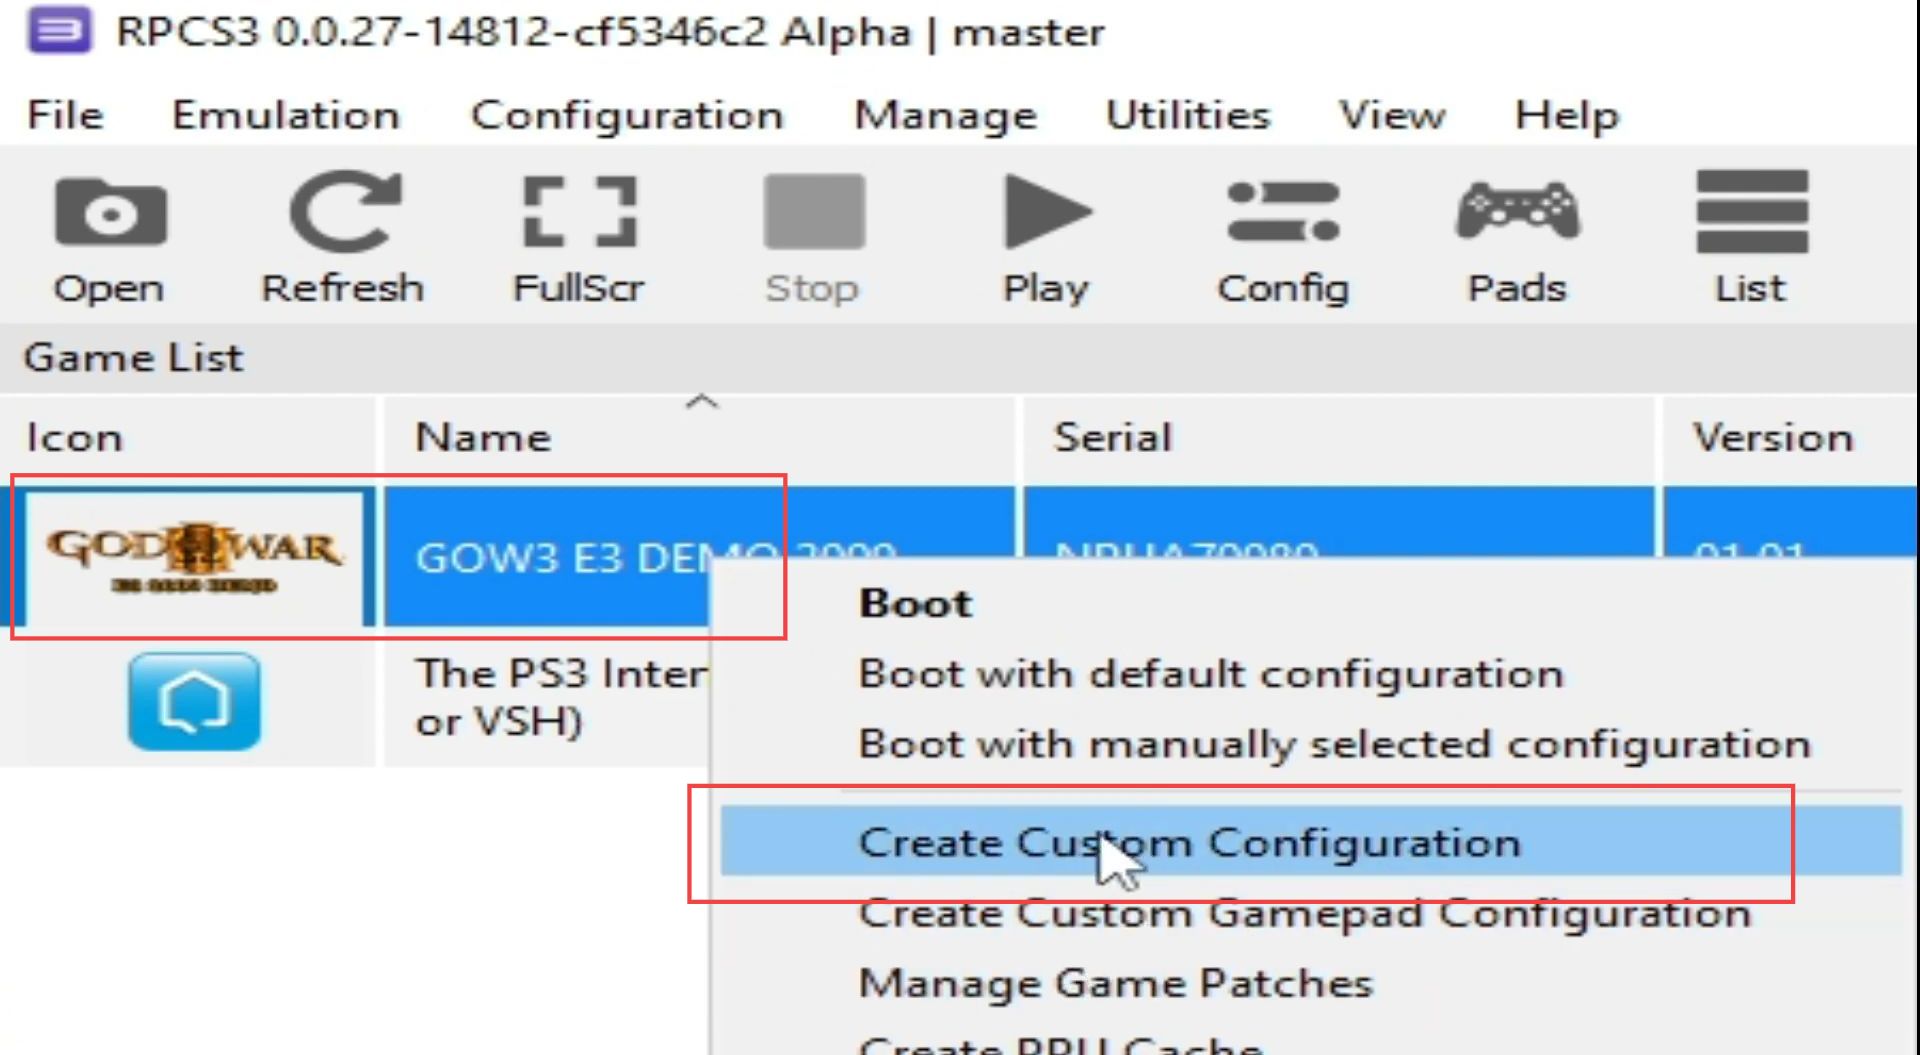
- However, to create a custom configuration file, you need to right-click the file from the menu.
It will - Tap on the create custom configuration option from the drop-down menu.
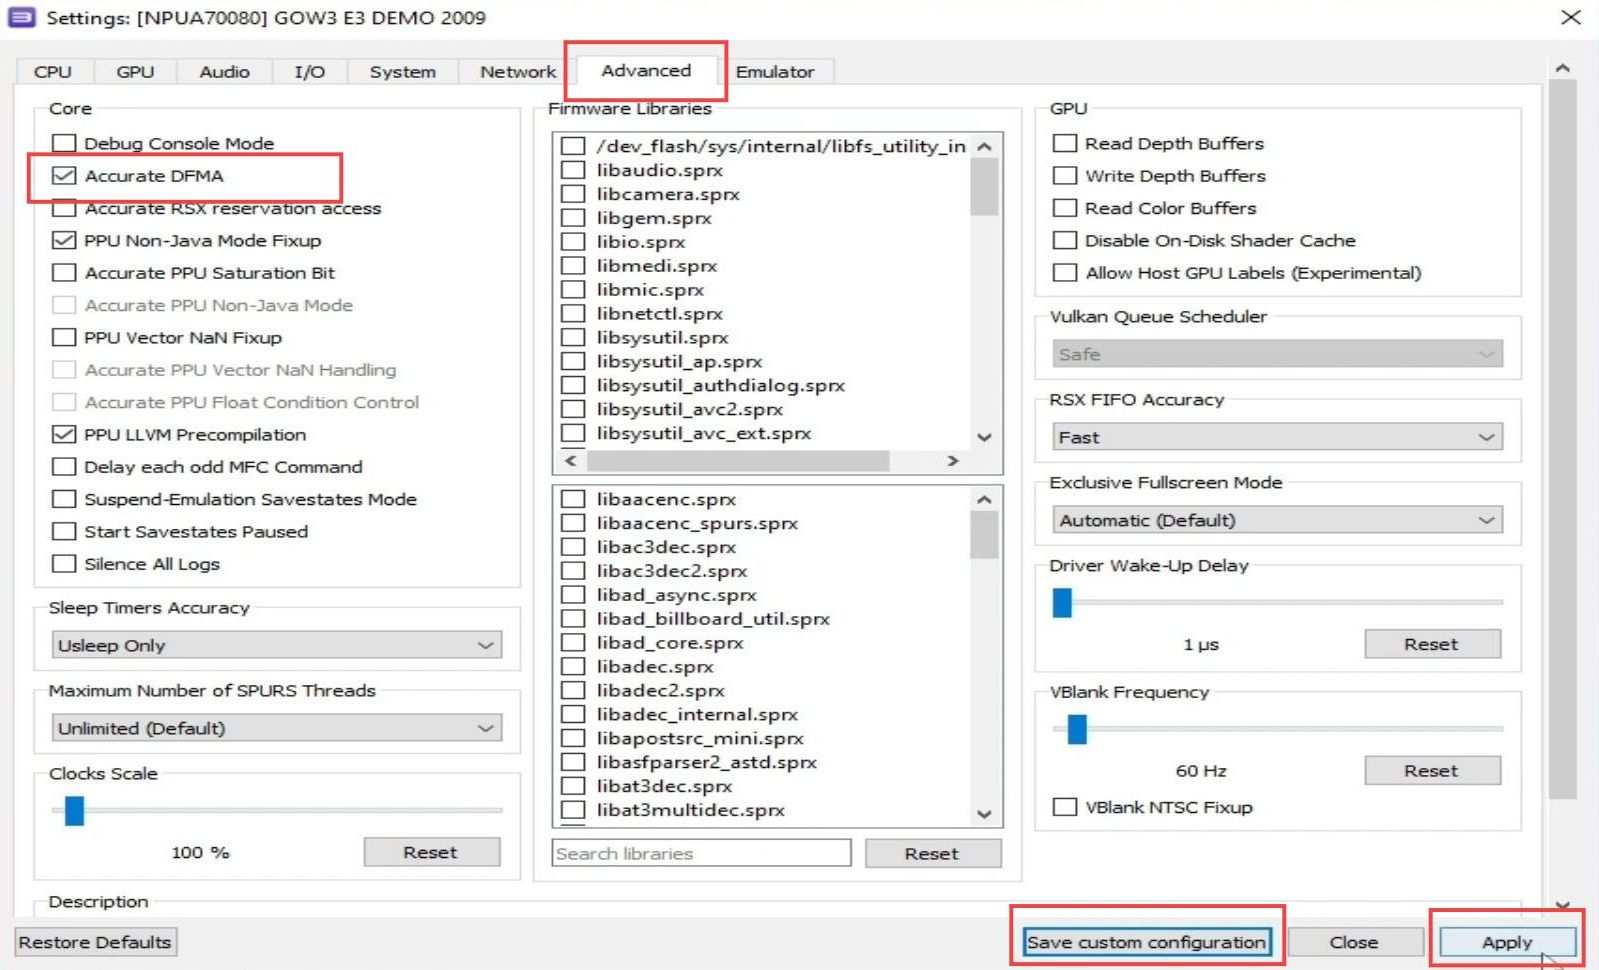
- Upon reaching this window, click the advanced tab from the quick access toolbar.
- You have to check the accurate DFMA option from the section of the core.
- After that, click the Apply and save custom configuration buttons from the menu.
Now you will get a new configuration file in the custom_configs folder from the local disk (C).
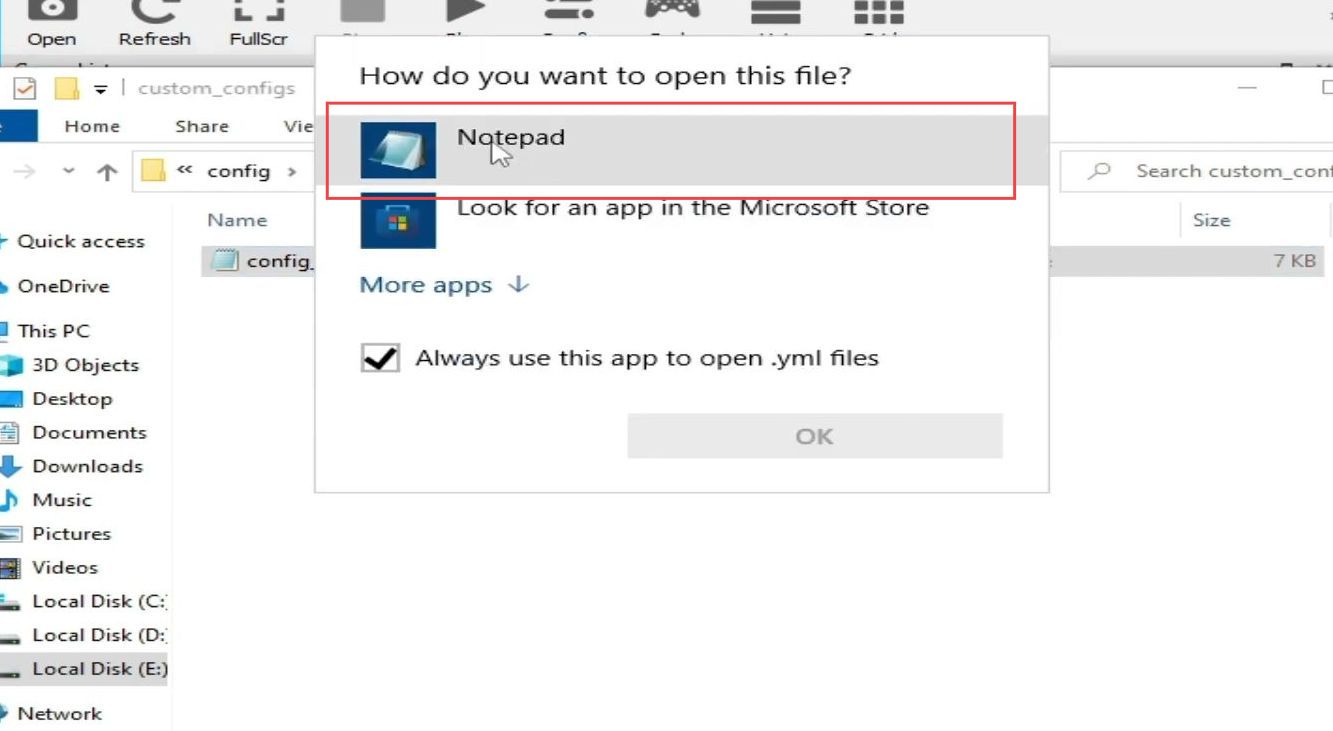
- You have to right-click the file and select open with option from the listings.
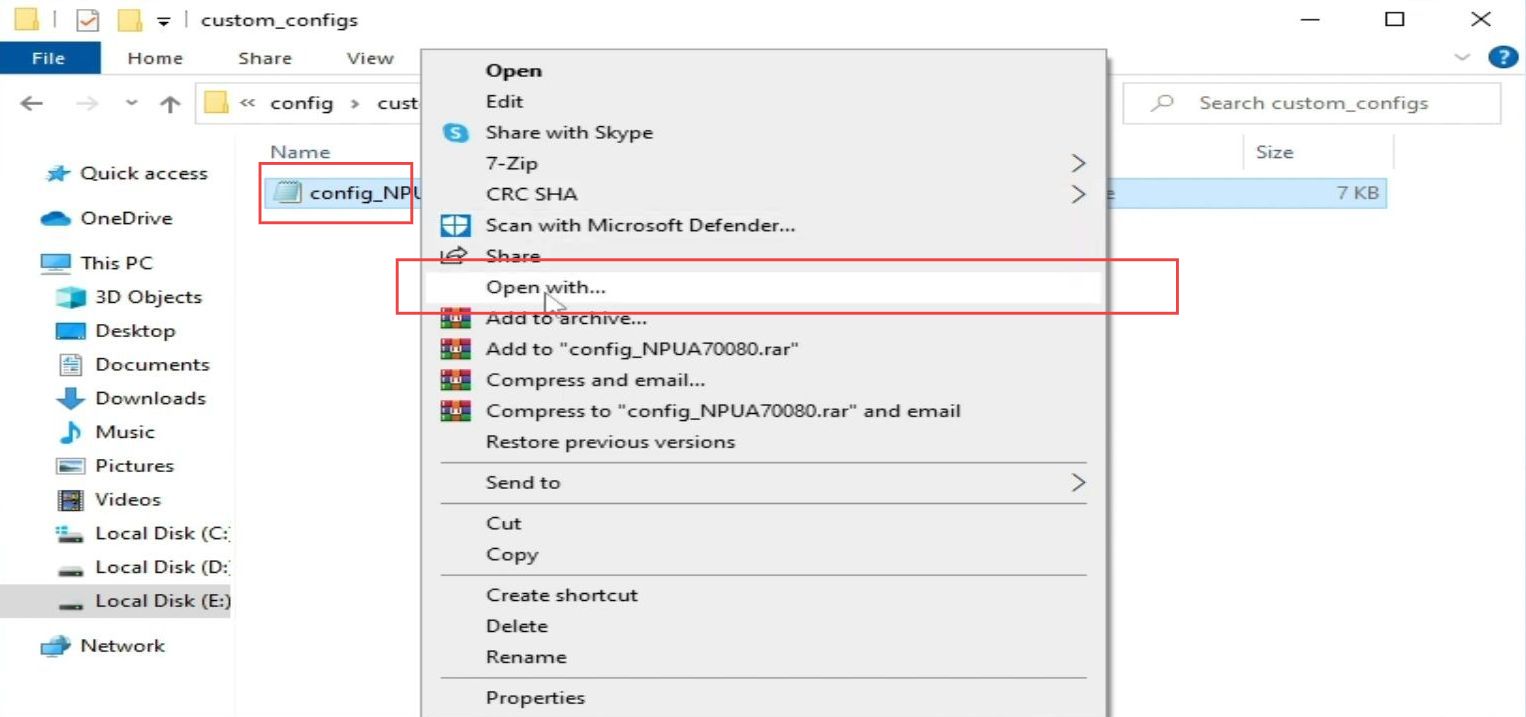
- Once this window appears, click the Notepad option from the listings.
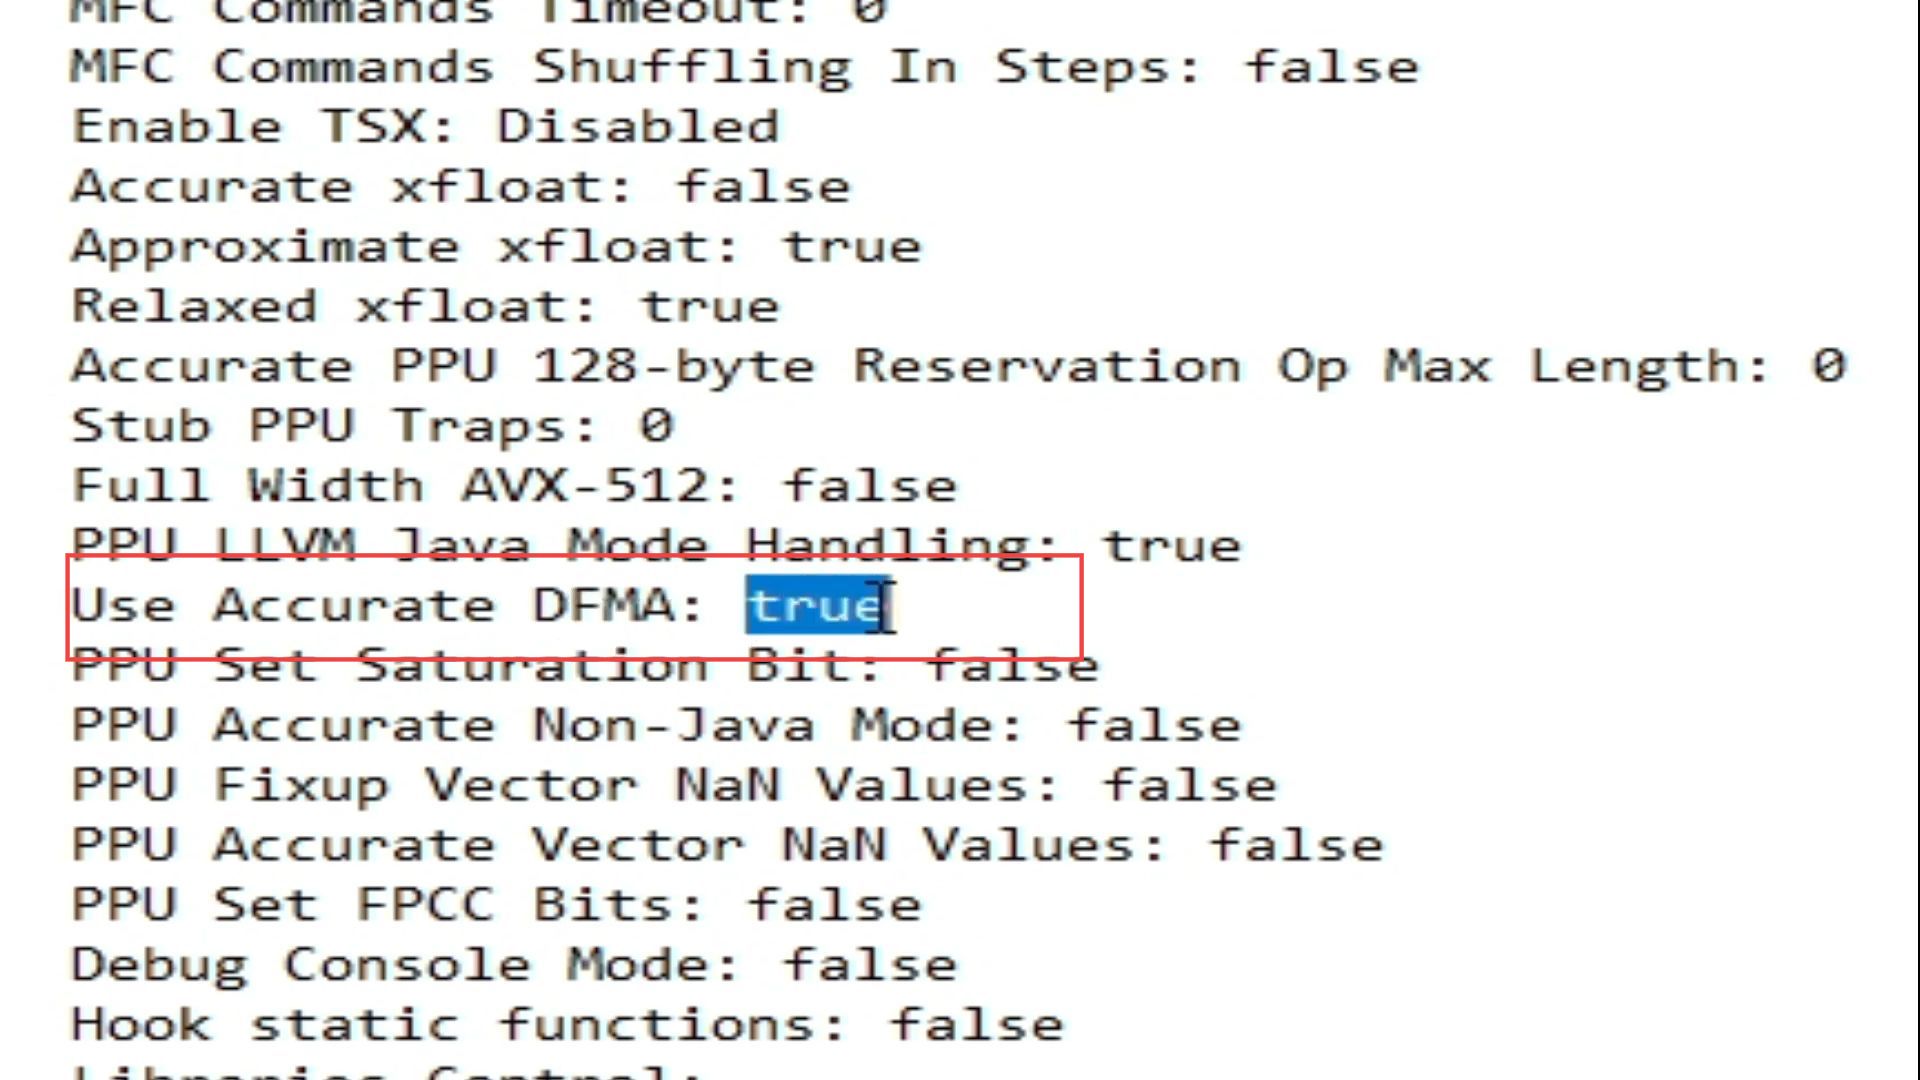
- Upon reaching this menu, scroll down until you find the Use Accurate DFMA option which is true.
- You have to select it and write false at this place.
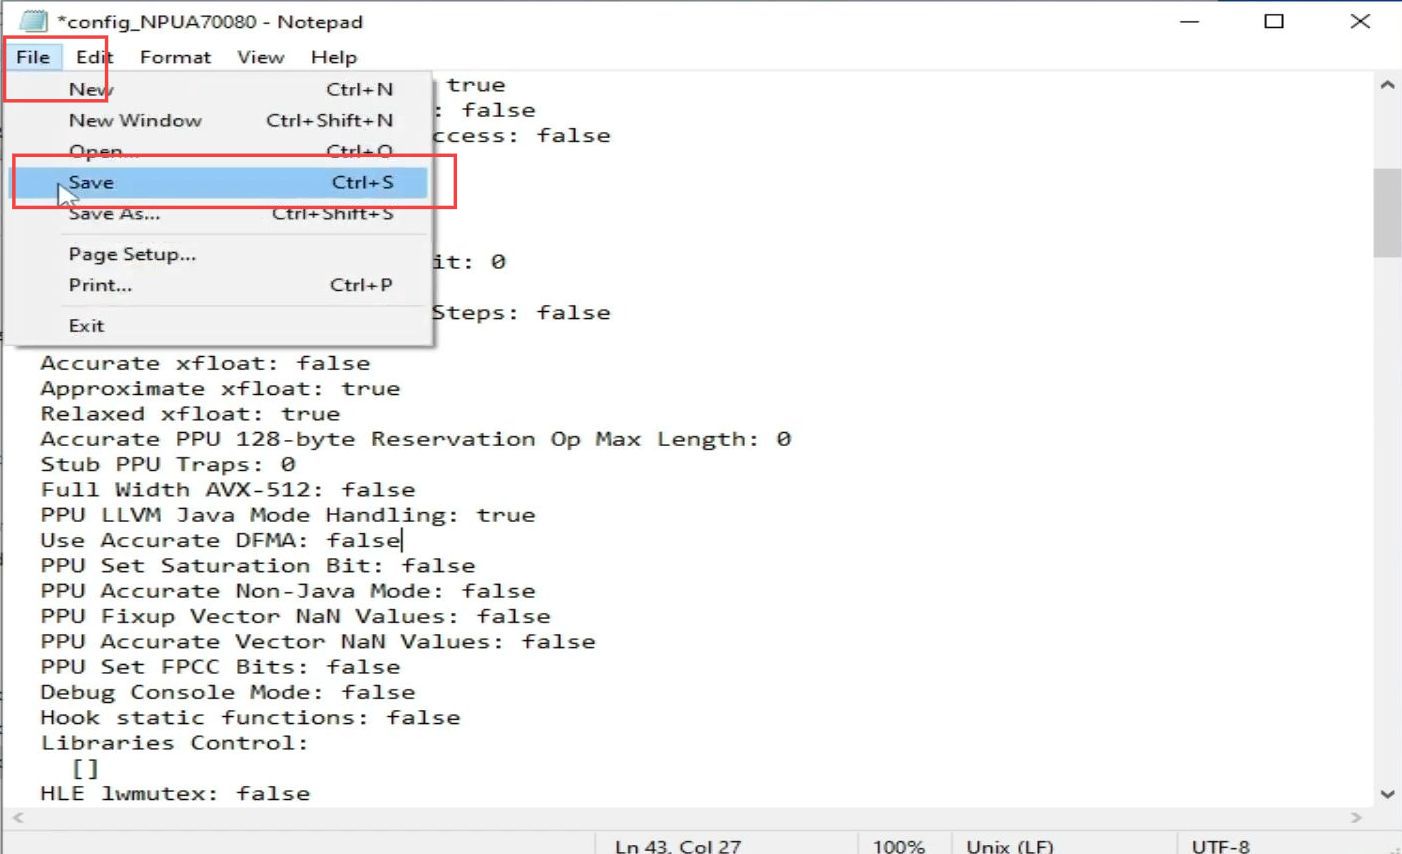
- Next, click the file tab from the quick access toolbar and click the save option from the menu.
It will save the file. - Now you need to close all the windows.
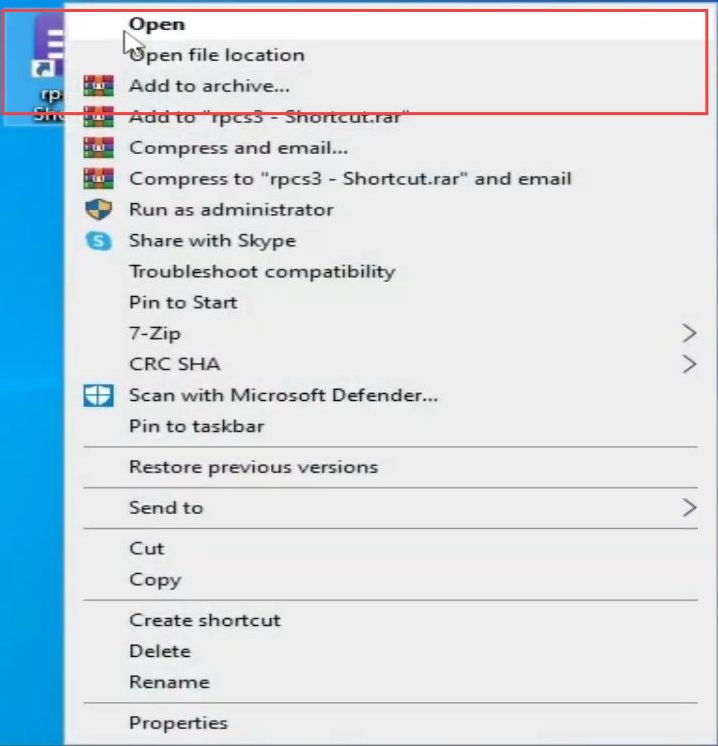
- After that, right-click the Rpcs3 shortcut from the desktop and click the Open option to restart Rpcs3.
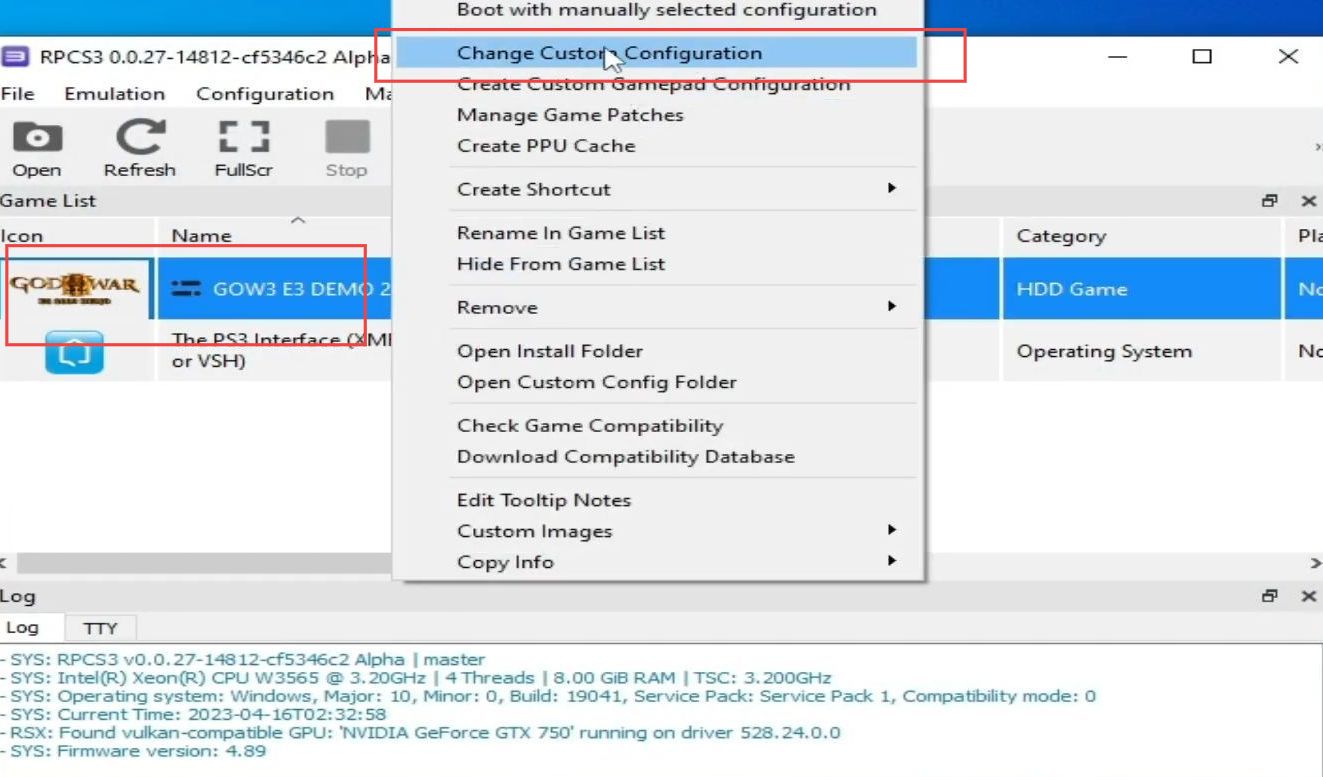
- Once the window is opened, right-click the first option.
- From the drop-down menu, select the Change Custom Configuration option.
- Uncheck the accurate DFMA option from the section of the core.
- After that, click the Apply and save custom configuration buttons from the menu.
- Now check whether the issue is resolved
Update your Rpcs3 version
This section describes how to update your Rpcs3 version to resolve the issue. You have to ensure your version type and try to update or restore it. After that, check whether the error is fixed.
- If you are using an updated version of Rpcs3 for your games, then you need to restore to the older version and check whether the issue is resolved.
- However, if you are using the older version, update the latest version to fix the error.