This guide will let you know how to adjust the best in-game controller settings in Cold War. You have to adjust these settings as mentioned in the guide to get the best performance and optimum in-game playing experience.
- Start by launching the Cold War game on your console and navigate to the settings menu. Click on the Controller tab from the quick access toolbar.
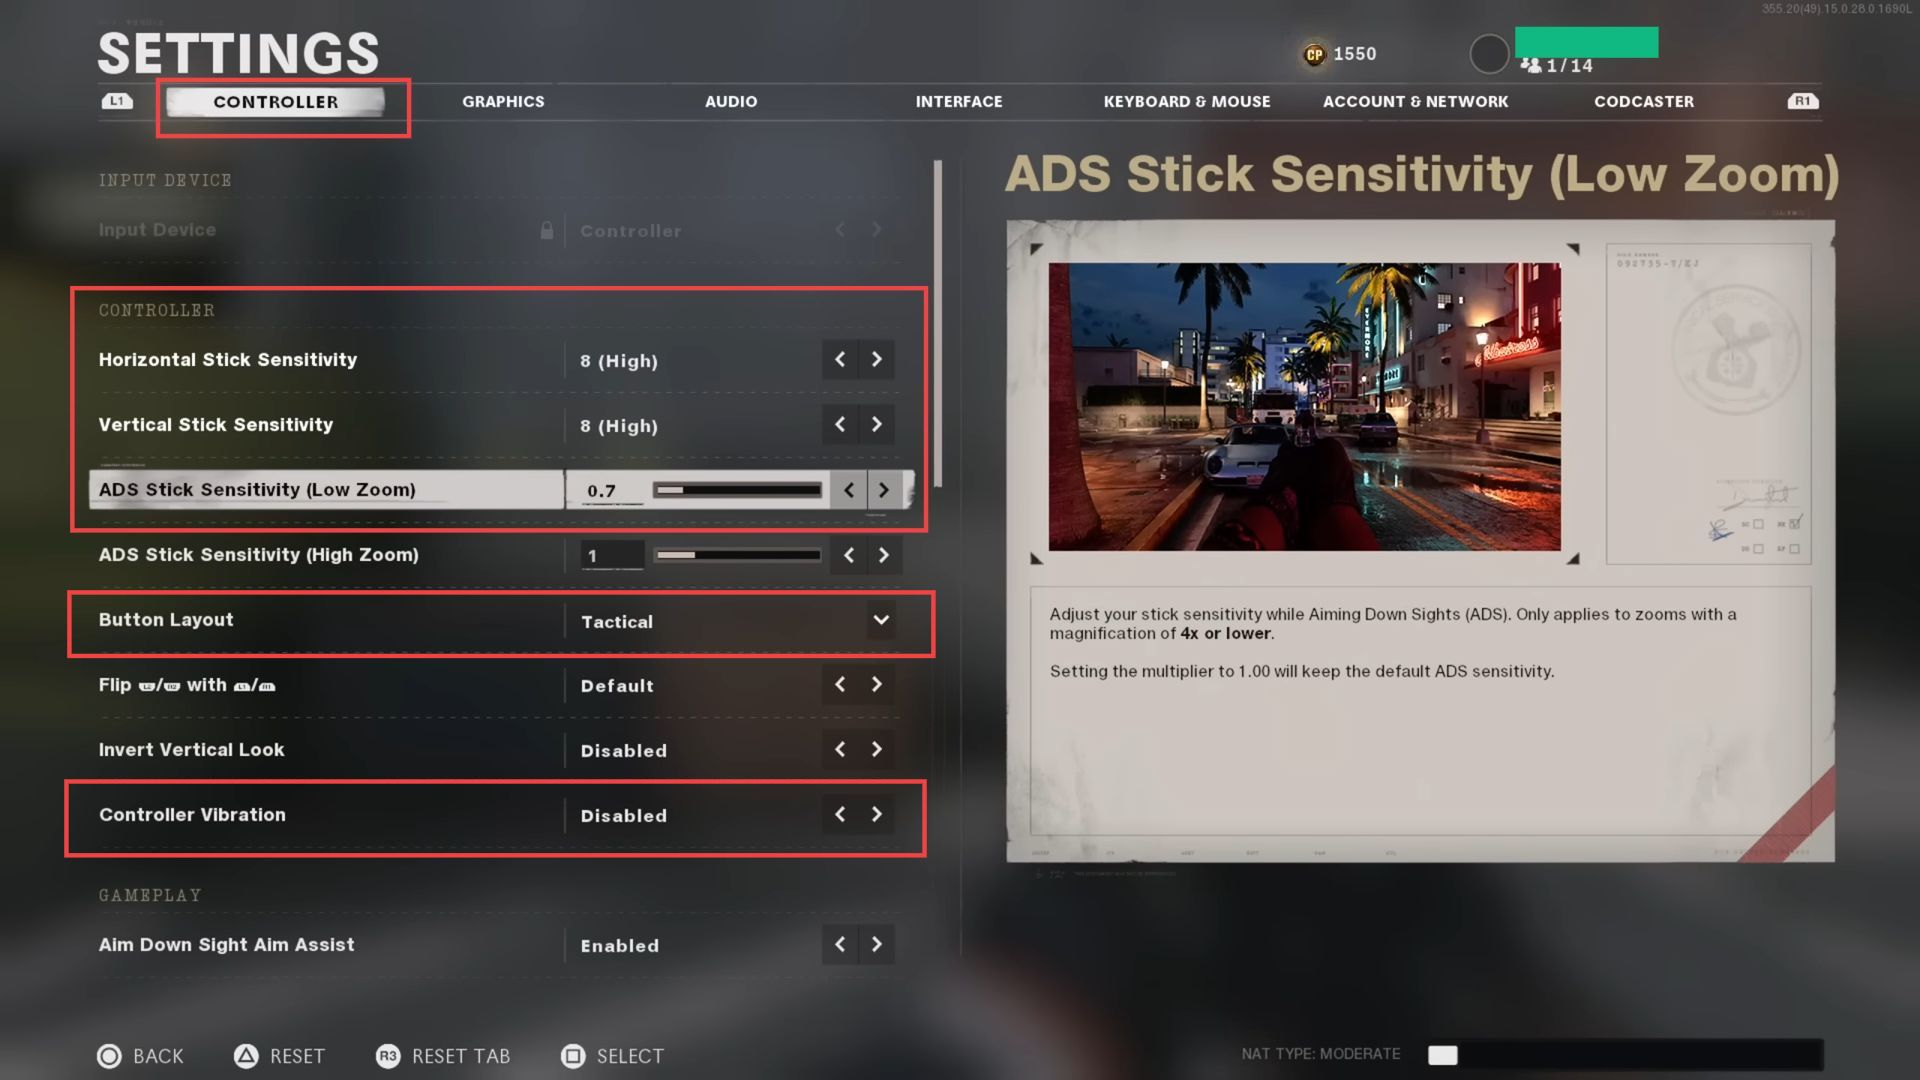
In the Controller settings, you’ll find options to adjust stick sensitivities. - You need to set both horizontal and vertical stick sensitivities based on your preference.
However, setting them to 8 points, which is relatively high for quicker movements. - Locate the option for ADS stick sensitivity (Low Zoom) and set this sensitivity to 0.7 for a better experience while playing the game.
This setting allows you to spin quickly when not aiming down sight, making it easier to respond to enemies quickly. - However, having both sensitivities too high, especially while aiming down sight, can lead to a lack of precision and control.
- To maintain precision while aiming down sight, it’s suggested to use an aim down sight sensitivity multiplier.
This slows down your sensitivity only when you’re aiming, giving you better precision in critical moments. - Scroll down in the Controller settings, find the Button Layout option and set it to Tactical mode or you can adjust it based on your preference.
- Continue scrolling down and locate the Controller Vibration option and you can turn it off if it distracts you during gameplay or if you prefer a vibration-free experience.
- As you scroll, you’ll come across various other controller-related settings. You have to set these settings to their default values.
By keeping them at default, the settings will be adjusted to the standard mode, which is generally preferred. You can personalize them according to your preferences and playstyle.
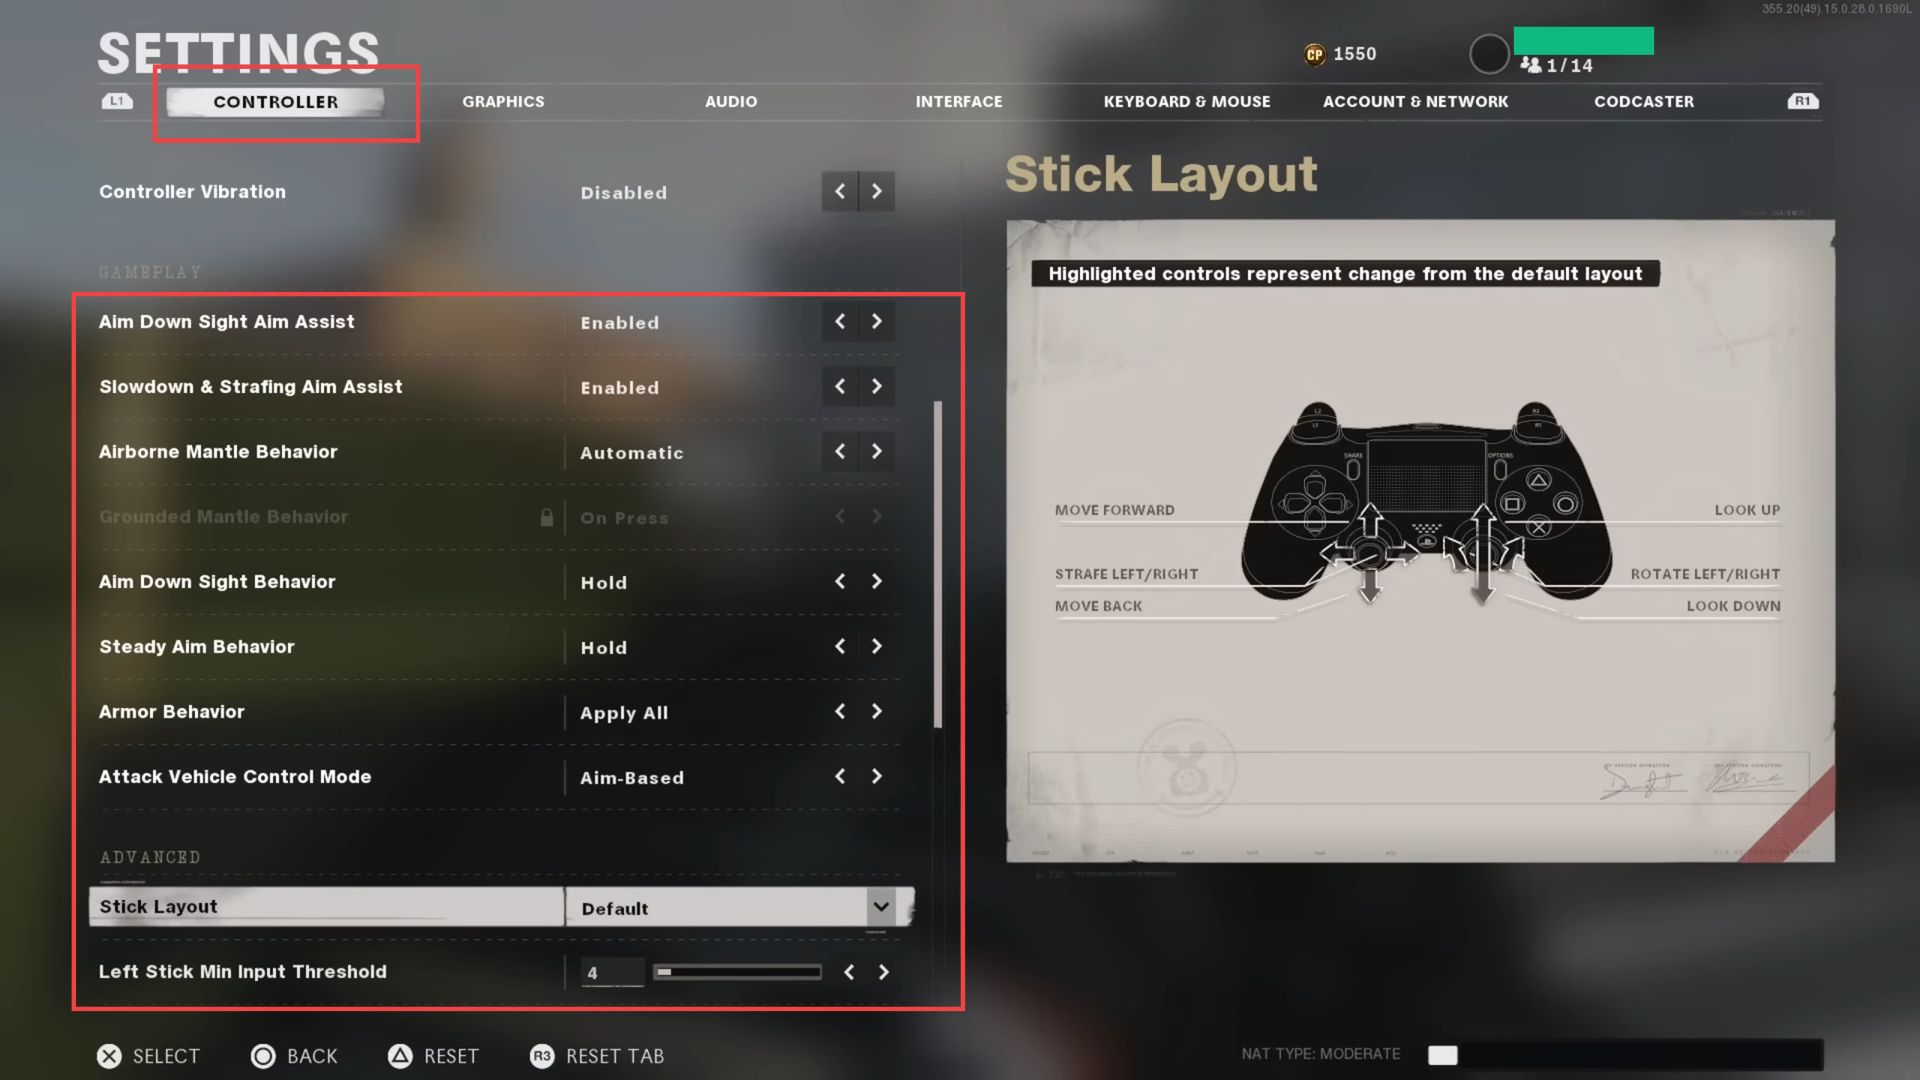
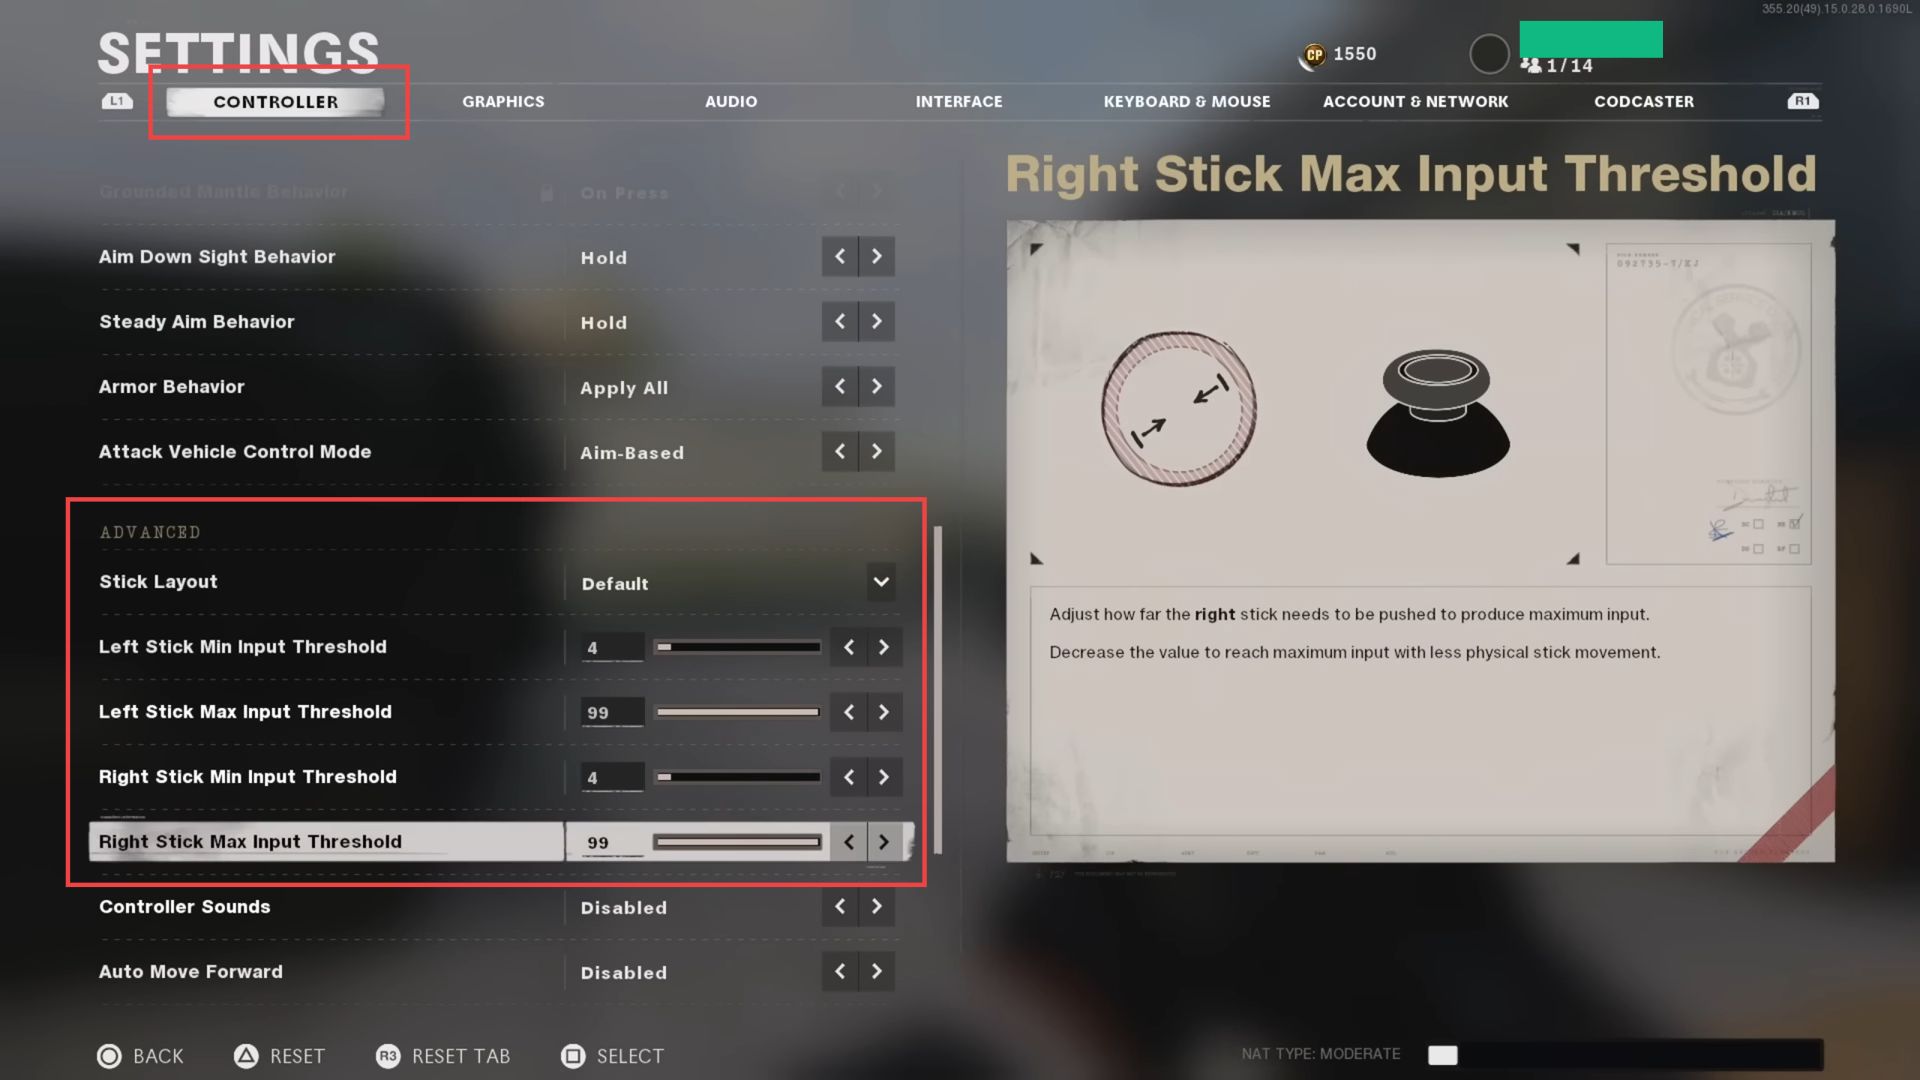
- After going through the controller-related settings, continue scrolling down until you reach the Advanced section. Within this section, locate the dead zone settings.
- Set the Left stick Min input threshold to 20 and the Right stick Min input threshold to 99.
These values are recommended as they provide the best performance. - Dead zone settings determine the sensitivity of your analog sticks.
- If the values are too high, your movements won’t be registered accurately, sacrificing precision and responsiveness.
By adjusting the values, you can make your character and aim feel more responsive and accurate.
The recommended values (20 for the left stick and 99 for the right stick) may work well for the specific controller in the example. - However, every controller may have slightly different optimal dead zone settings and you need to experiment with these values to find the perfect dead zone setting for your specific controller.
- Drop the right stick Min input threshold value as low as possible while still maintaining responsive and accurate control.
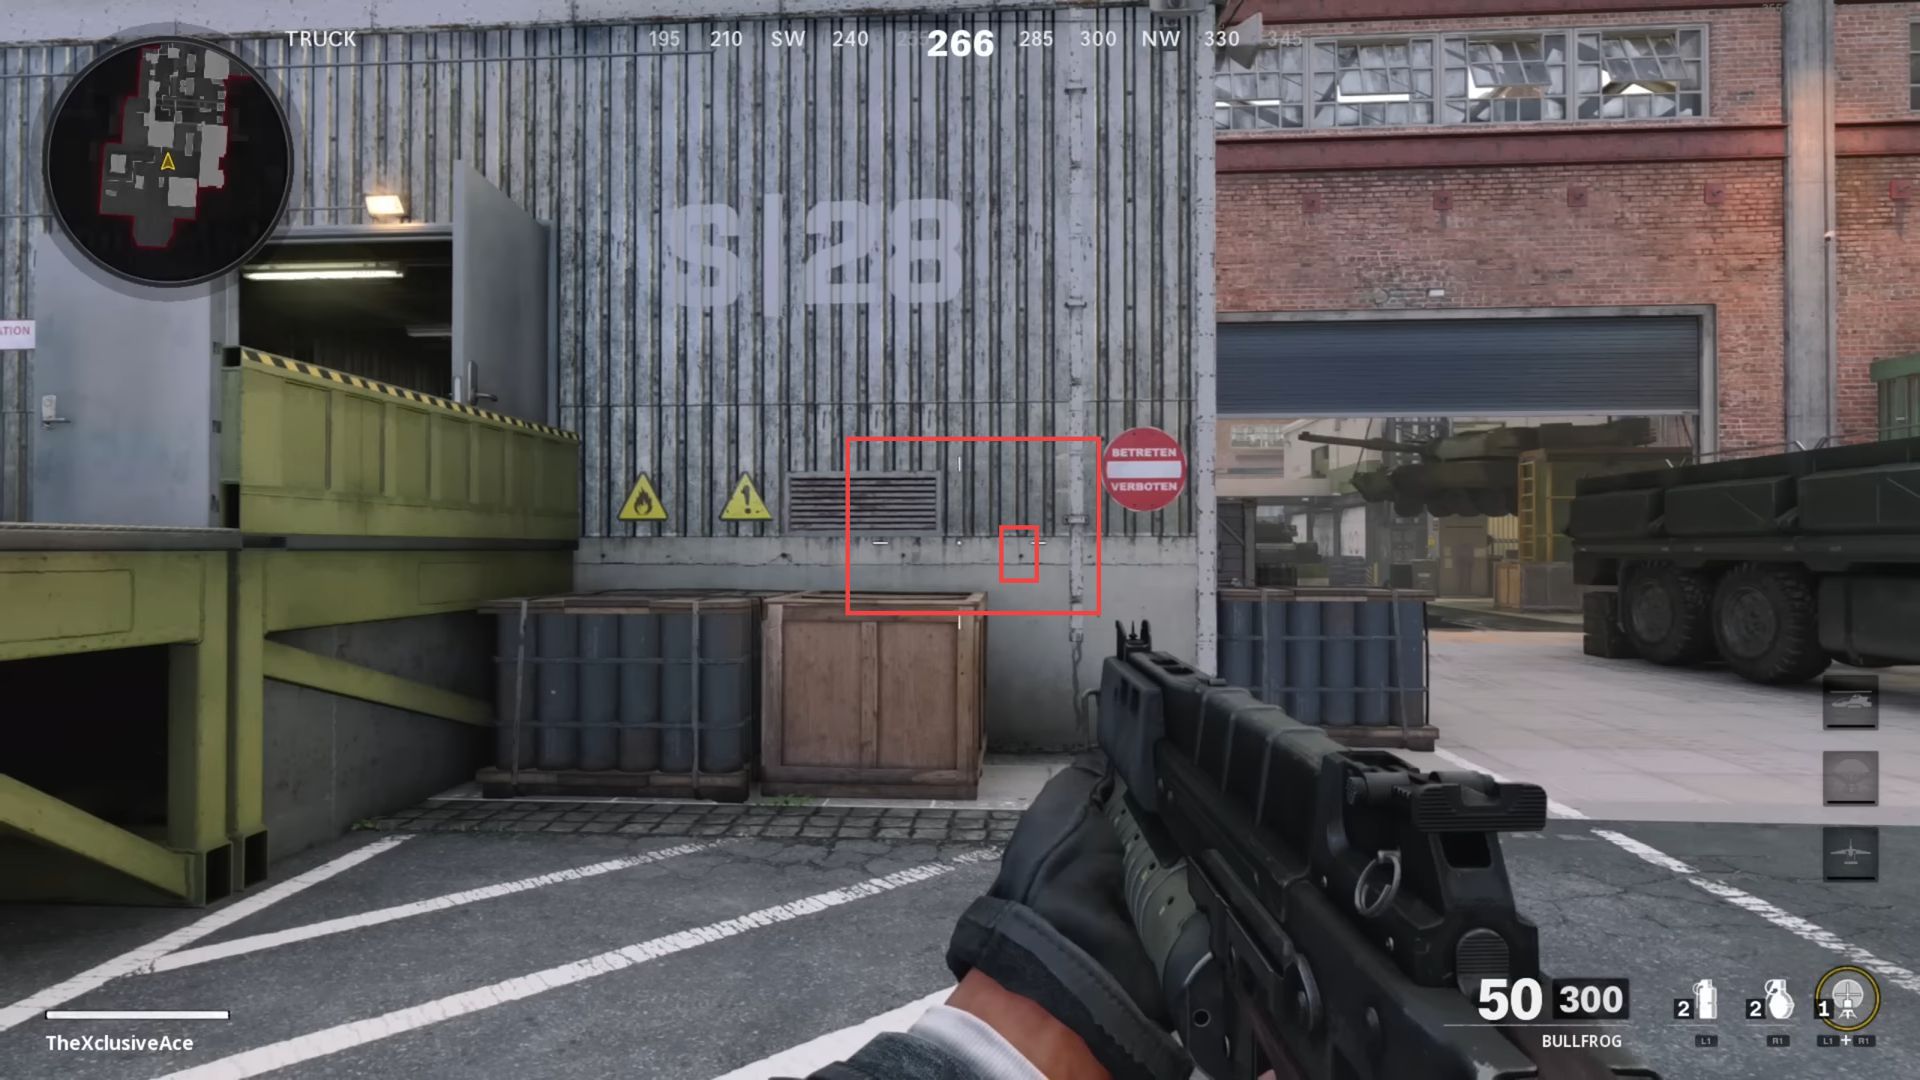
- While playing the game and aiming at a fixed spot on a wall, notice if the point of aim starts to slowly move away from the centre dot without any input from you.
This movement is known as stick drift and occurs when the dead zone setting is adjusted too low. - To begin addressing the stick drift issue, start by setting the dead zone value to 0.
At this point, the dead zone is minimal, and stick drift is likely to be more noticeable. - Gradually increase the dead zone value by 2 or 4 points at a time.
For example, set the dead zone to 2 or 4 and observe if the stick drift diminishes or persists. - Continue adjusting the dead zone setting and test its impact on stick drift.
- The goal is to find the lowest possible value that eliminates the stick drift completely.
- Adjusting the dead zone setting to a lower value helps to eliminate stick drift and ensures that even the smallest movements of your analogue stick are registered by the game.
With a lower dead zone setting, you can have better control over recoil during gameplay. - When shooting, your aim might slightly shift due to weapon recoil.
The lower dead zone allows you to counteract this by making immediate and precise adjustments with your analog stick to keep your aim on the target. - With a lower dead zone setting, you can easily and quickly make those super fine adjustments to your aim, improving your chances of hitting your target, especially at longer distances.
By reducing the dead zone, you increase the sensitivity of your analogue stick, providing more responsiveness to your inputs.
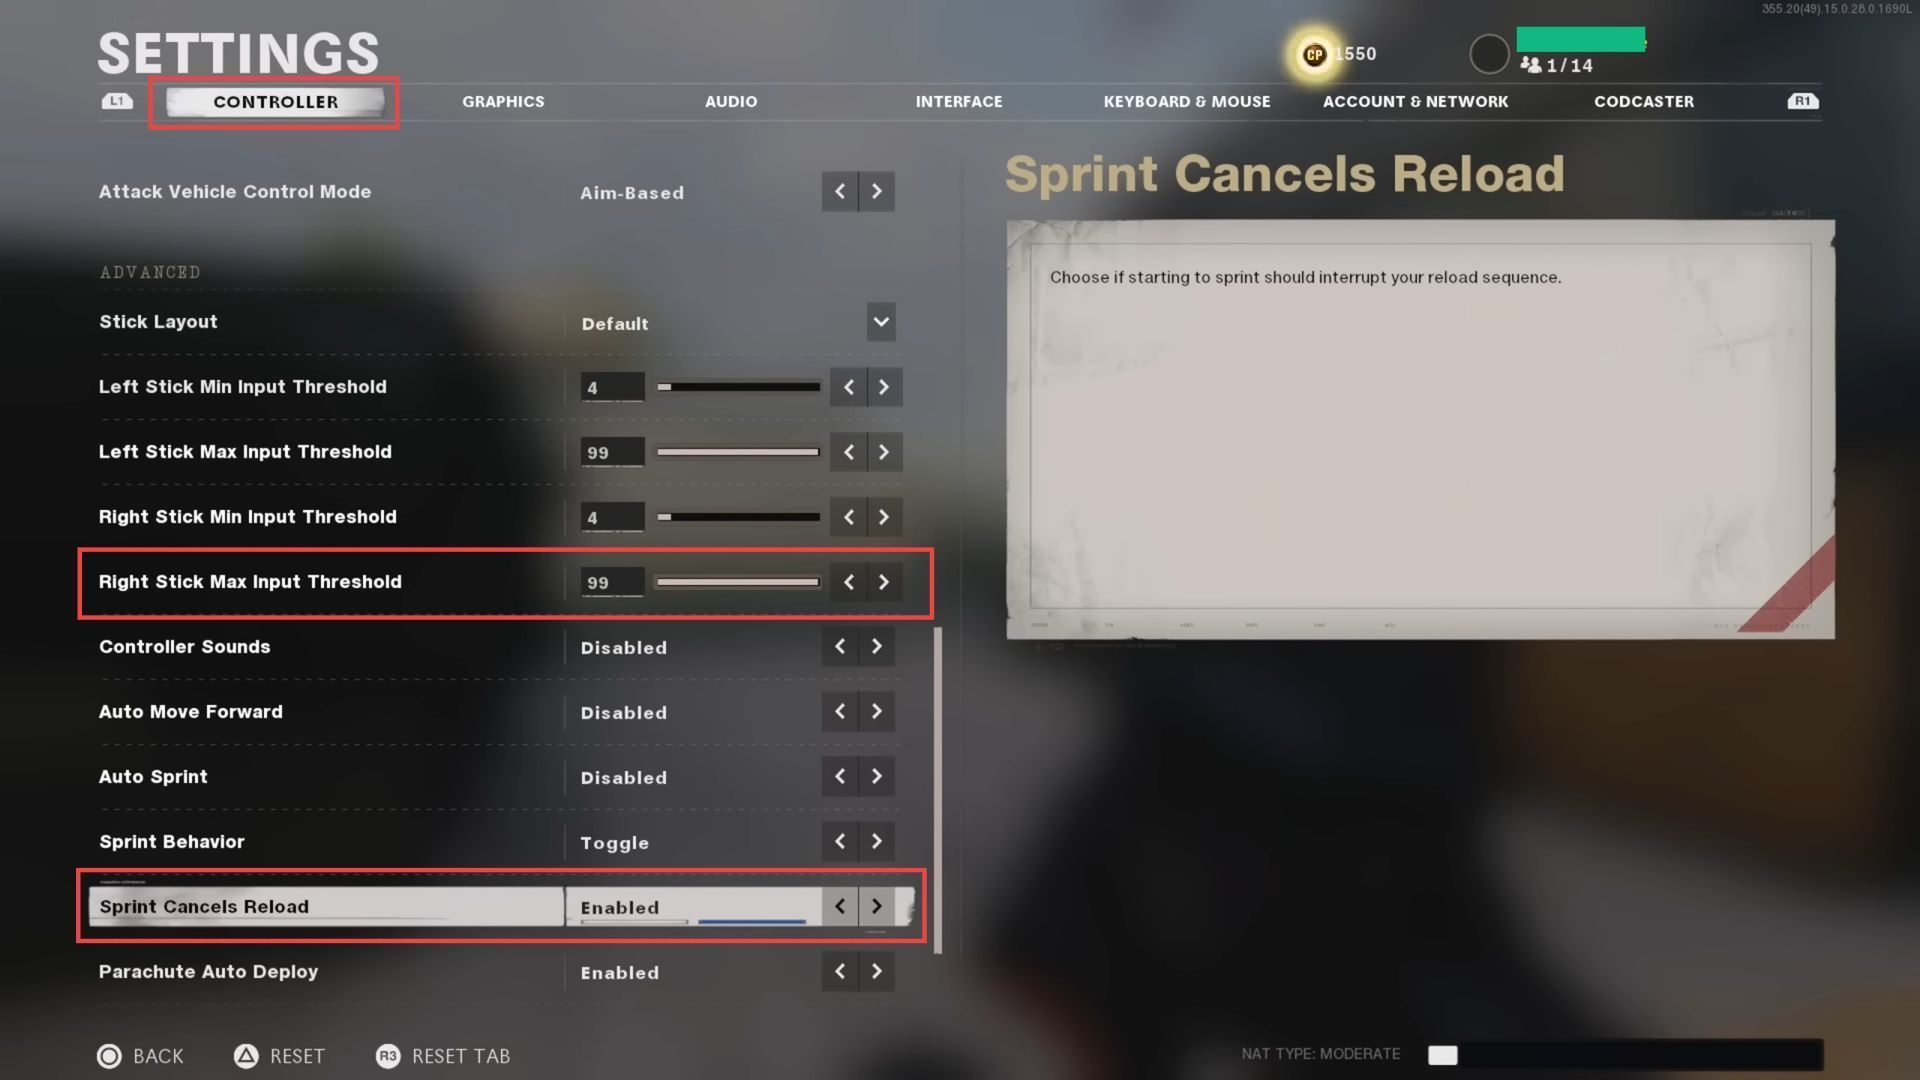
- Set the Max Input Threshold to 99 or 100 points, which provides the maximum range of motion for your thumbstick.
This high value allows for better control over your aim, giving you a wider range of motion to make precise adjustments. - Turn on the Sprint Cancels Reload setting, which allows you to cancel the unnecessary reload animation once your gun is considered reloaded by the game.
- When you see a full magazine count in the bottom right, you can instantly sprint to skip the remaining reload animation and get back into the action faster.
Enabling this setting saves precious time during reloads, improving your combat efficiency. - By cancelling the reload animation, you can quickly re-engage enemies without waiting for the full animation to finish.
- You can also enable Swap Cancel to Reload by either weapon swapping or sprint cancelling.
This additional setting allows you to reload even faster by performing a weapon swap or sprinting. - After making these changes, test them in the game to see if they suit your playstyle and if needed, fine-tune the settings based on your preferences and gameplay experience.