This guide helps to get a donation button for free Pls donate using the easiest and quick method. You must follow all the steps mentioned in the guide to accomplish the task.
Create a pass
In this section, we will take you through the steps to create a pass on the Roblox platform. Users need to log in to their account on the Roblox website, switch to the desktop version, and access the Pass Creation Menu. They can name their pass, add a description and image, and then create the pass by clicking on the “Create Pass” button.
- Open your preferred web browser and go to the Roblox homepage.
- Look for the “Continue to Browser” option and select it. Sign in to your Roblox account using your username and password.
- Once you have signed in, you need to switch to the desktop version of the website.
The process for doing this varies depending on whether you’re using an iPhone or an Android device. - If you’re using an iPhone, look for the “two A’s” button at the bottom of the screen and tap it. Then, select “Request Desktop Site” from the menu that appears.
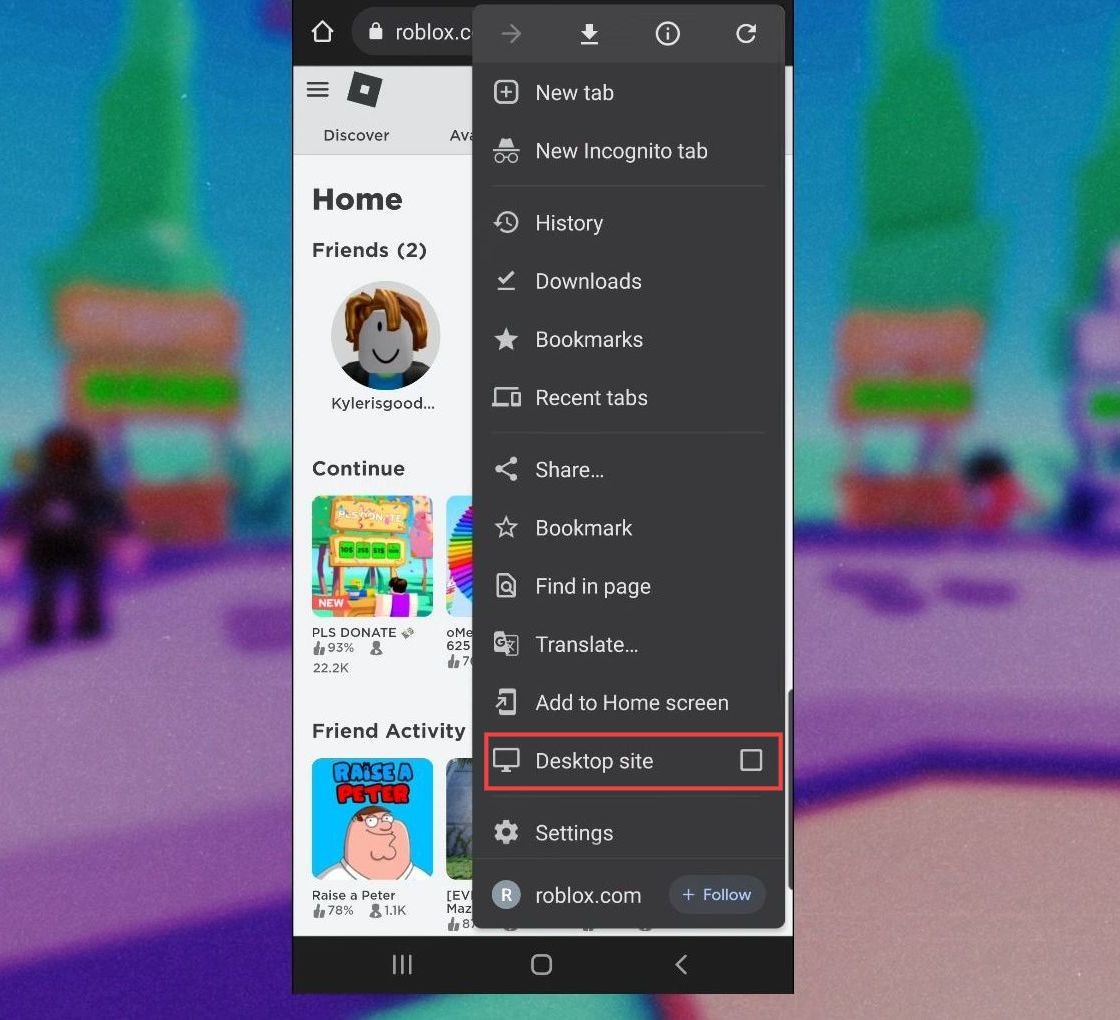
- If you’re using an Android device, look for the three dots in the top right corner of the screen and tap them. Then, select “Desktop site” from the menu that appears.
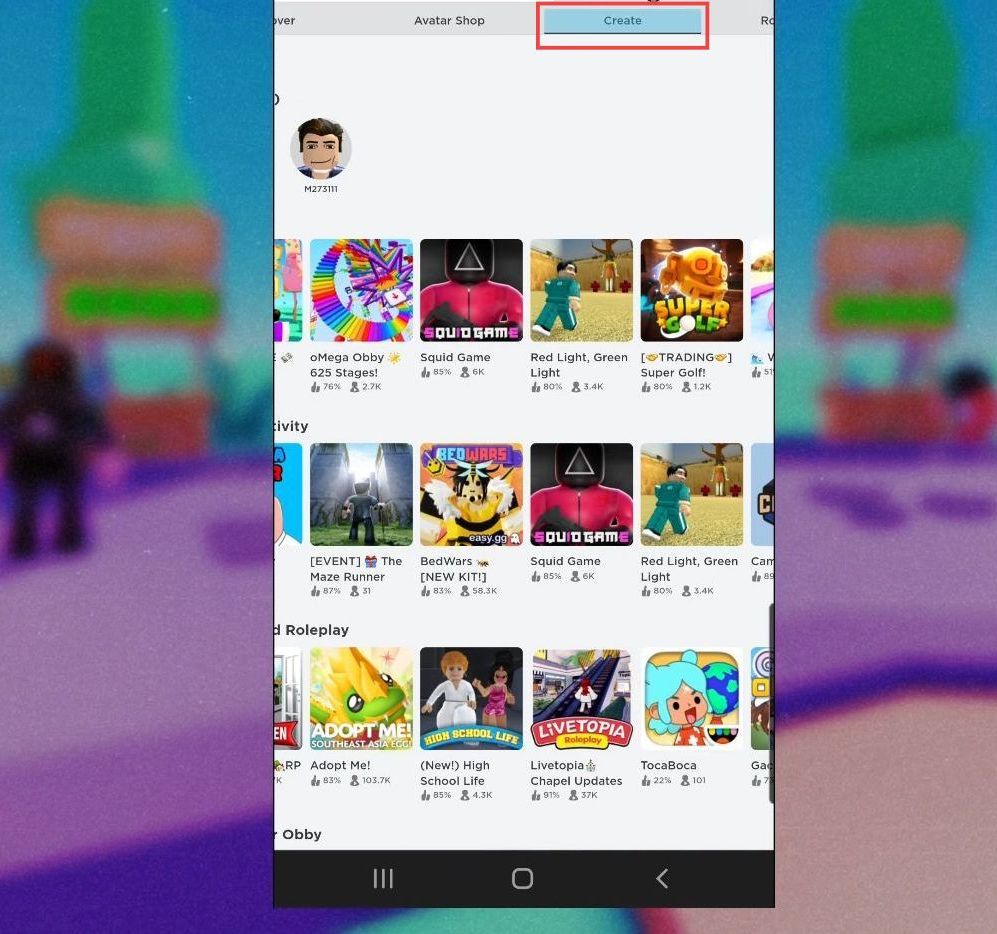
- After that, click the Create option next to the Avatar Shop.
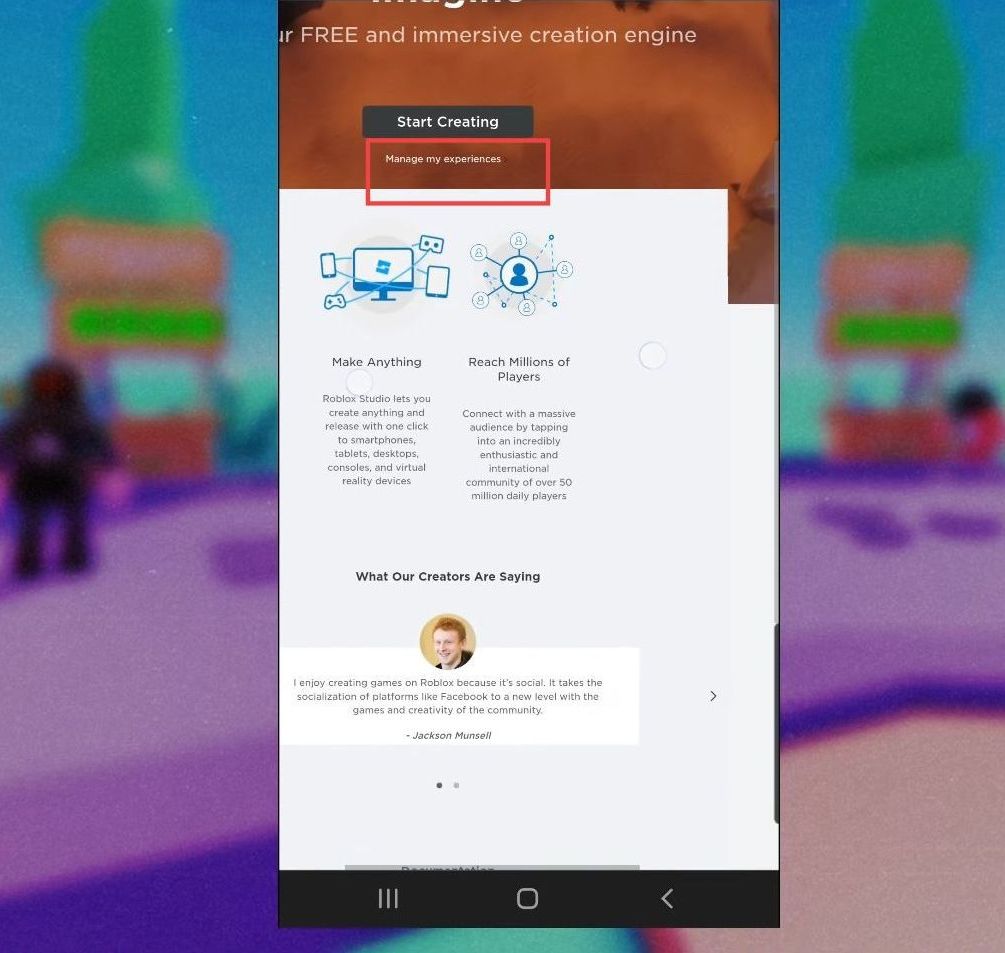
- Afterwards, click Manage my experiences on the next page.
It will take you to the creations page.
- Now you need to select your place on the creations page.

- The next thing you need to do is tap on Associated items from the dashboard.
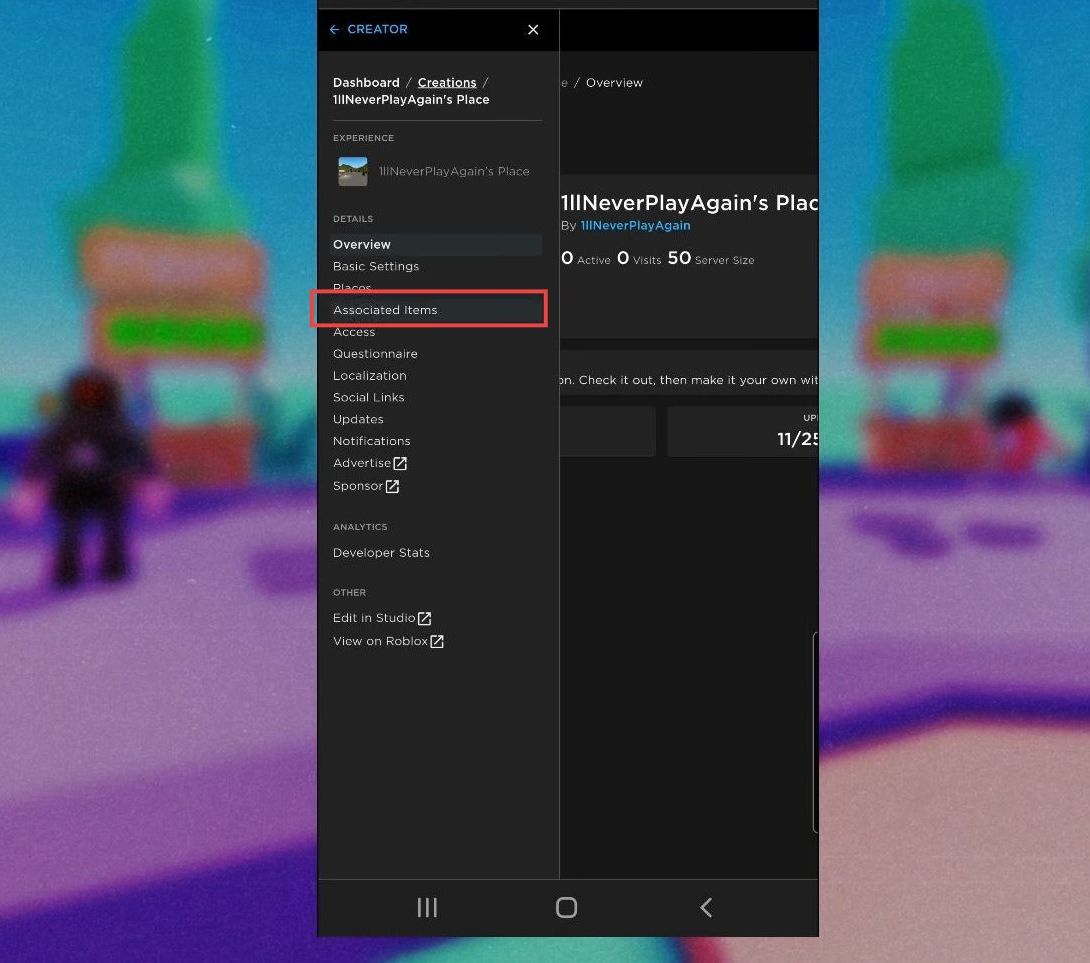
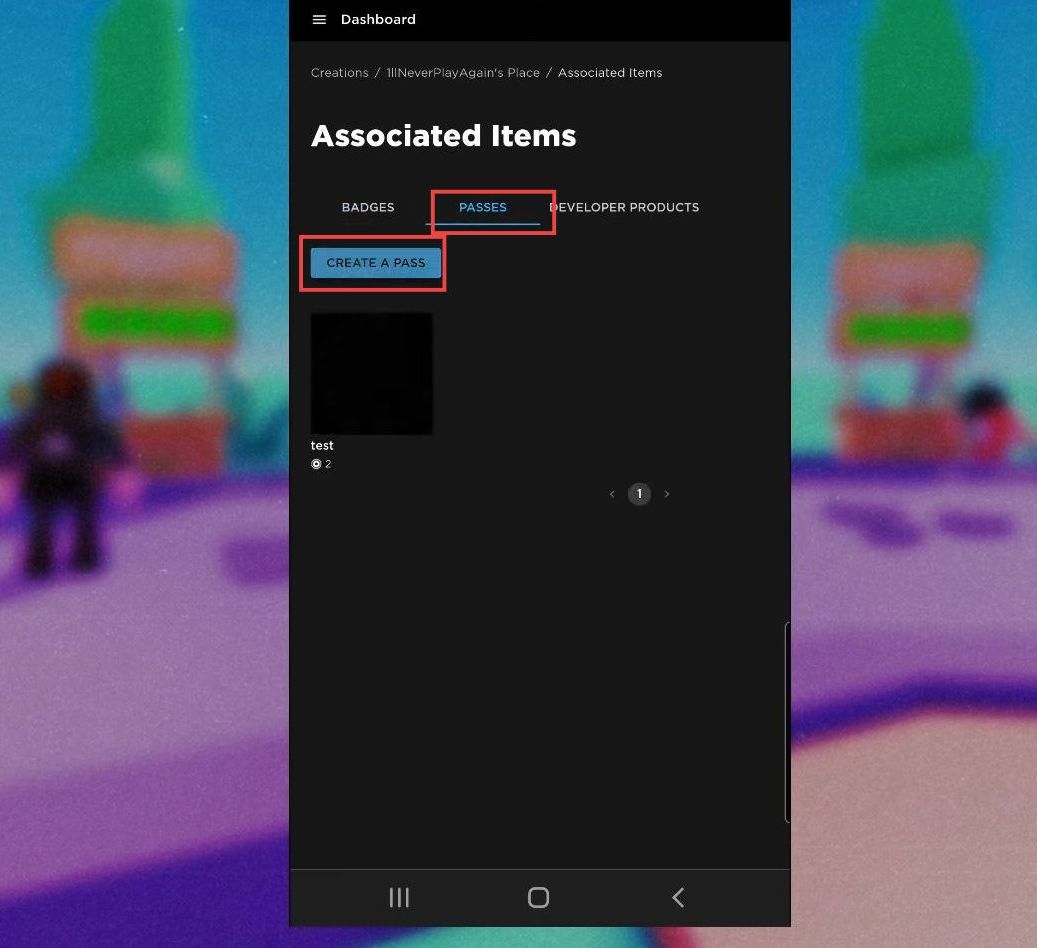
- Click the Passes option next to the badges and then tap on Create A Pass.
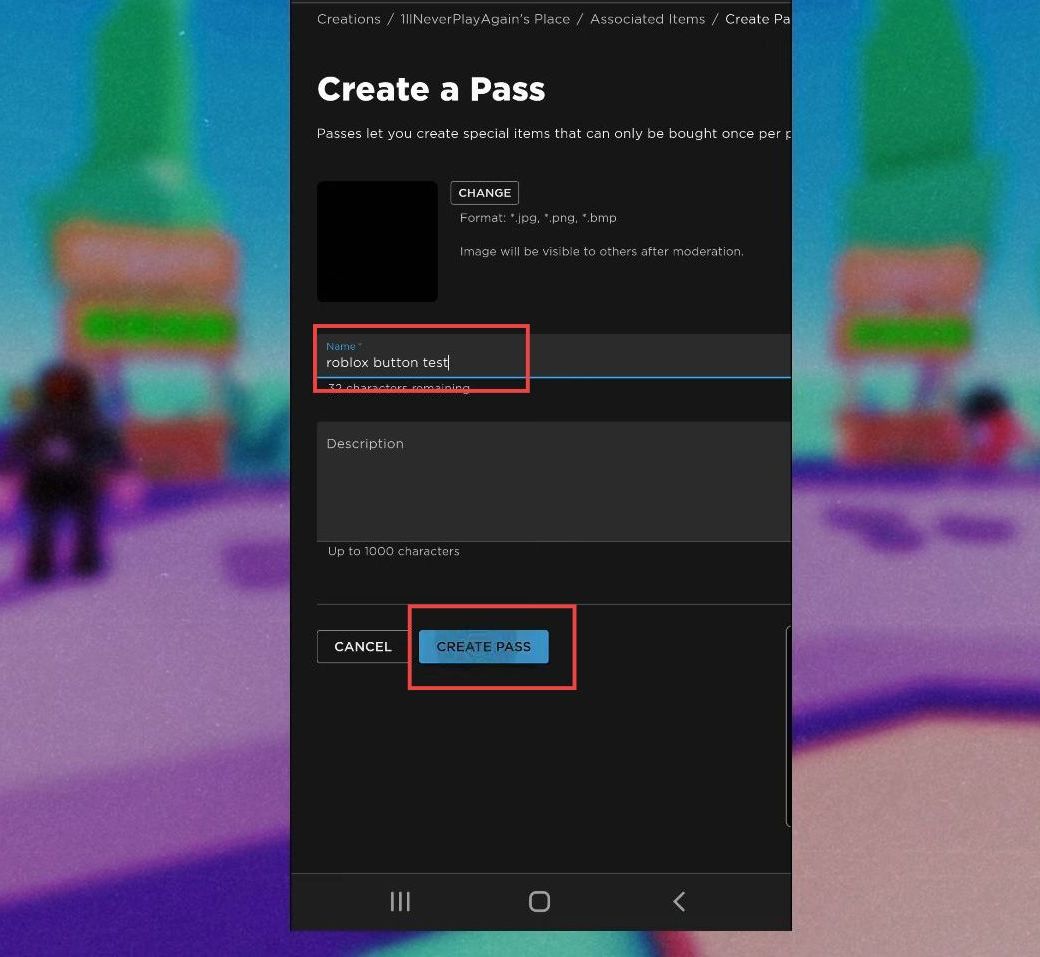
- Navigate to the Pass Creation Menu and locate the field where you can name your pass. You need to name your pass.
Your pass name will be visible to other players. - Use the description box to write a brief description of your pass and add an image that represents your pass.
- Give your image a descriptive name so that other players can easily identify it.
- Once you have completed all the necessary fields, click the “Create Pass” button to create your pass.
Turn on “Item For Sale”
This section describes how to turn on the “Item for Sale” option for a newly created pass on Roblox. Users need to find the pass on the “Passes” tab, click on it, and access the Sales option from the Dashboard menu. They can turn on the “Item for Sale” option and set a price.
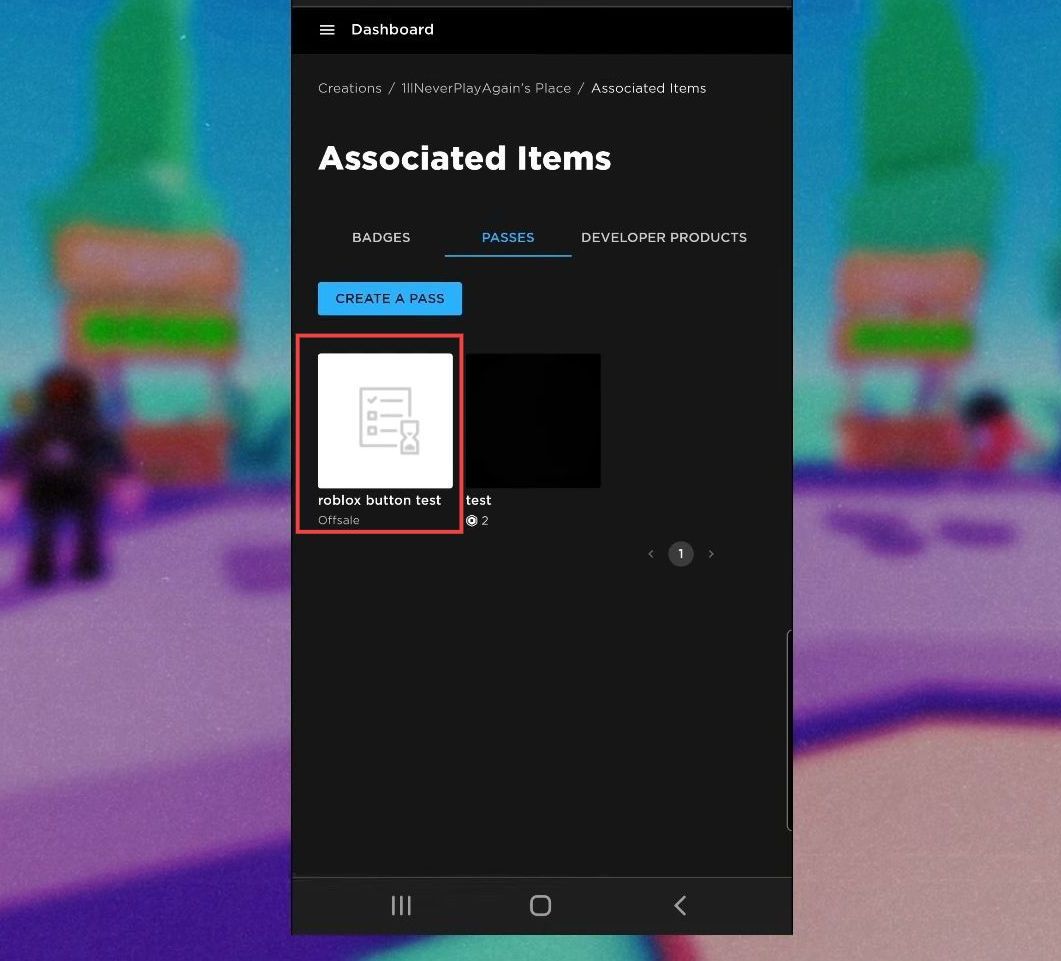
- After creating the pass, go to the “Passes” tab and look for the newly created pass.
- Once you have found the new pass, you need to click on it from the associated items page.
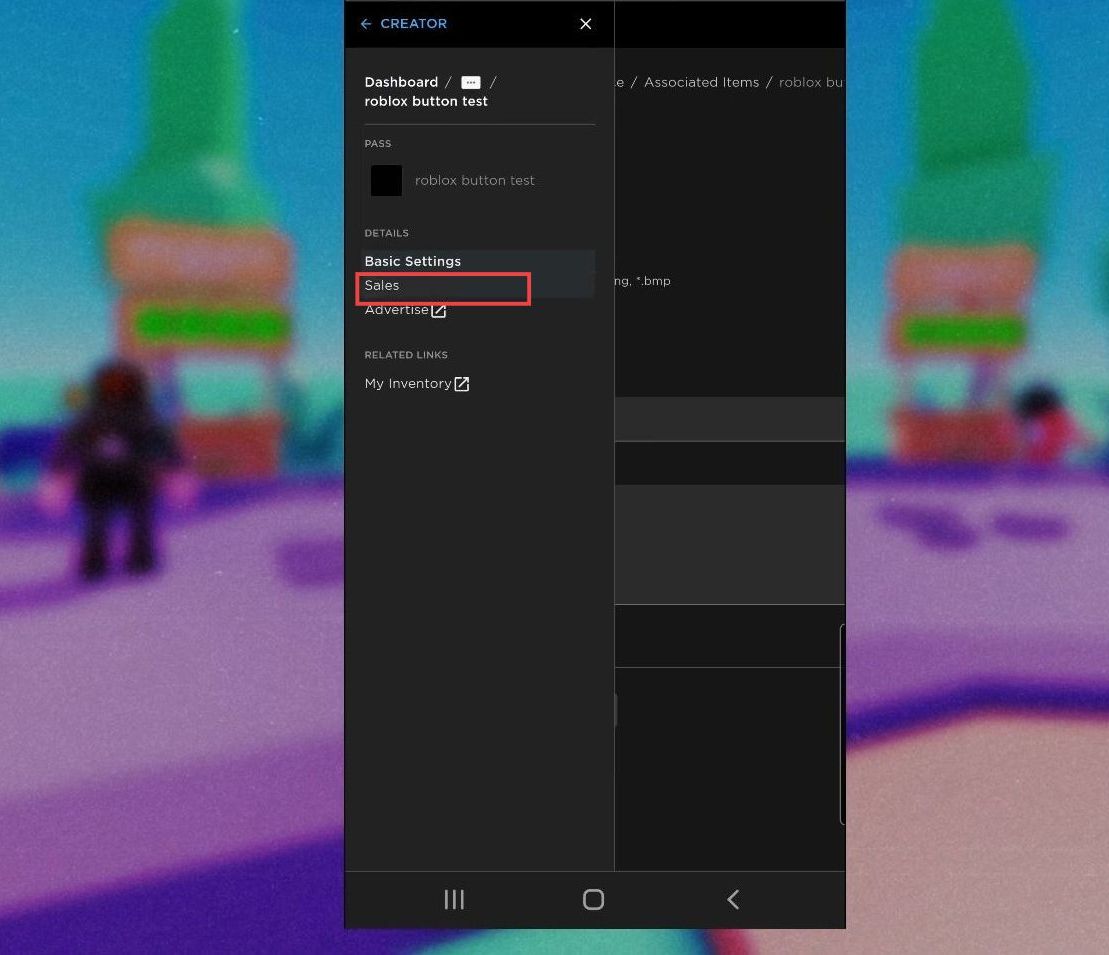
- Look for the main Dashboard and click on the three lines.
- Click on the icon with the three lines to open the menu and then select the Sales option.
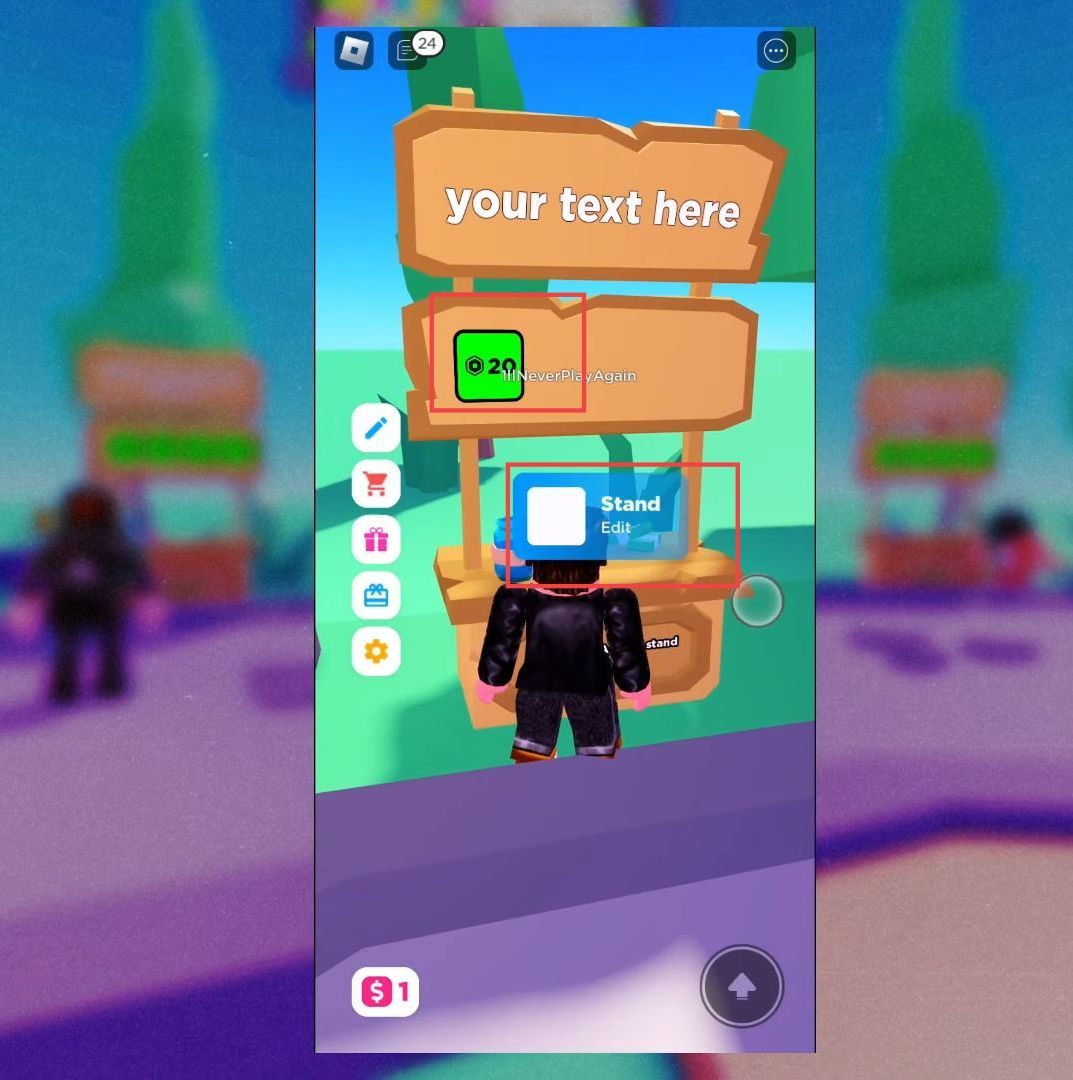
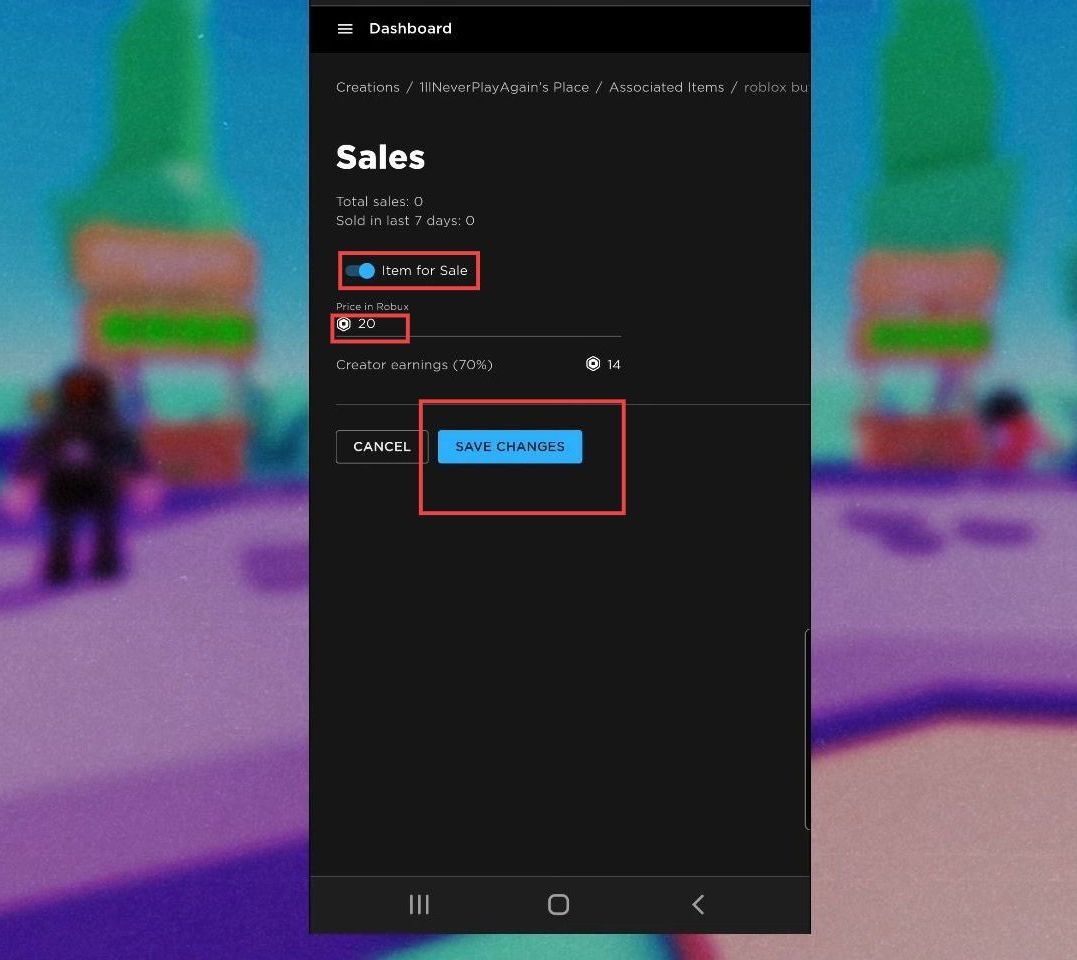
- Turn on the item for sale option, and set some prices such as 20 coins.
It will show 14 coins on the creator’s earnings which are 70% of the total donation. - After that, click the Save Changes button.
Adding a donation button to stand
The section explains the process of adding a donation button to a stand on Roblox.
- You need to locate an unclaimed stand. Once you have identified an unclaimed stand that you are interested in, click on the “Claim” button.
- After clicking the claim button, you will need to physically hold the stand and then a donation button pop-up.