In this guide, you will learn how to install the Better Visuals Light Pack into FiveM and fix it if it isn’t working. You have to follow all the steps carefully to do so.
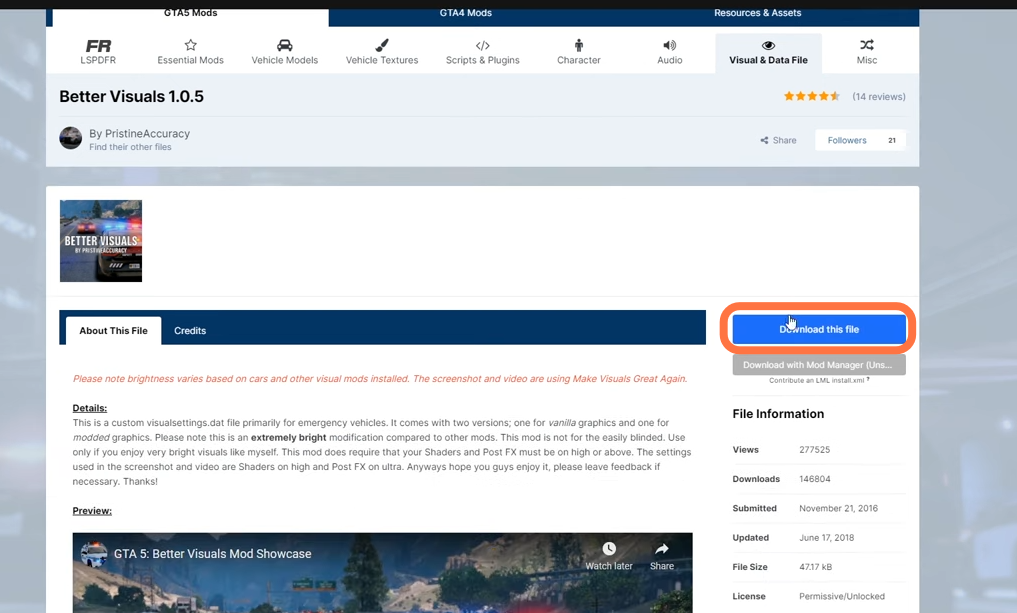
1. First, you will need to download the Better Visuals Light Pack from “https://www.lcpdfr.com/downloads/gta5mods/datafile/13614-better-visuals/“.
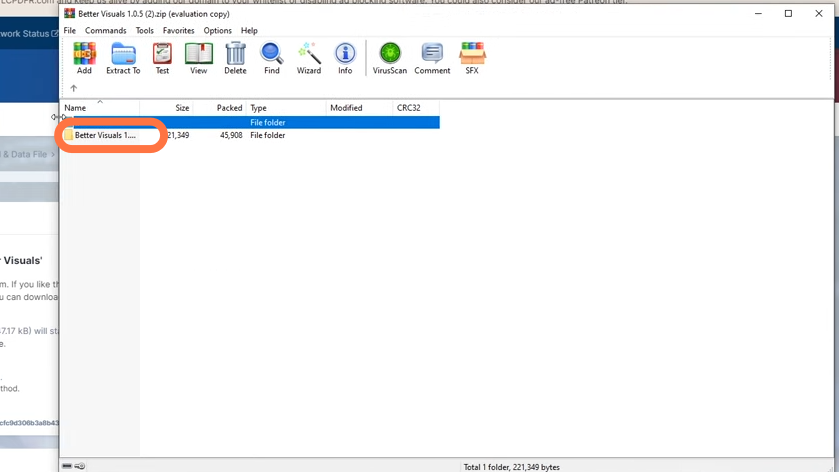
2. Then extract the downloaded zip file or just open it with WinRAR to find the files & folders inside it. There will be a “Better Visuals 1.0.5” named folder.
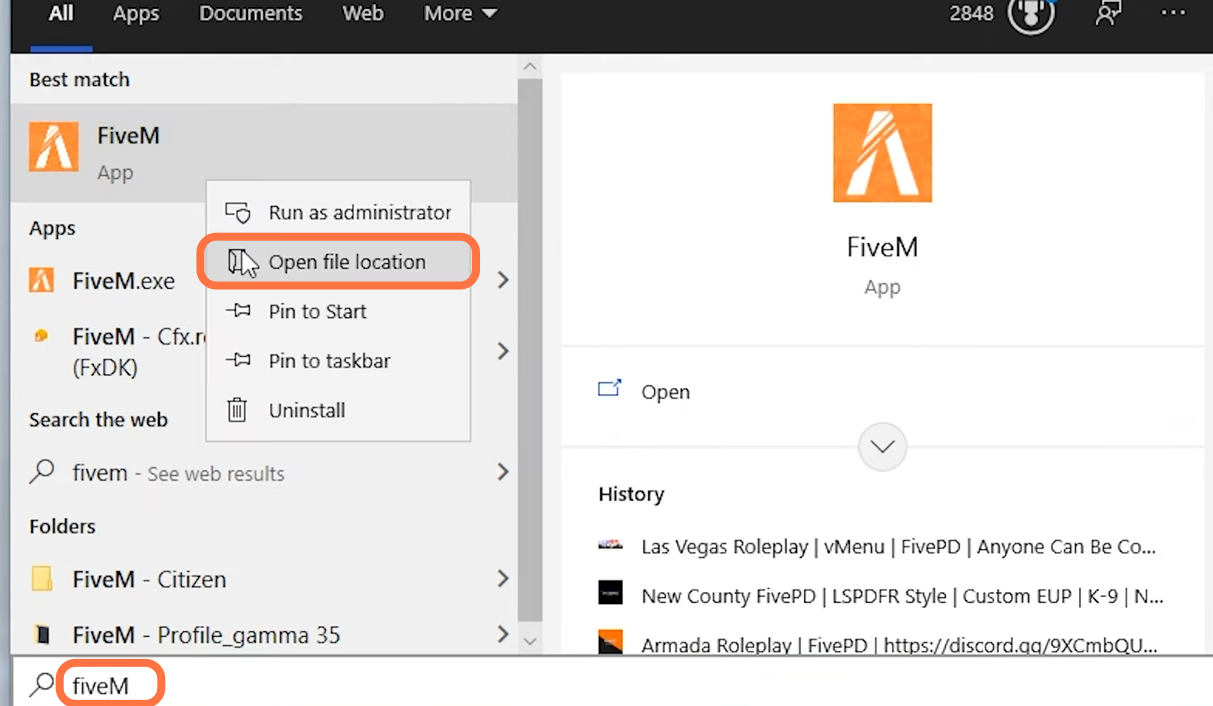
3. Now you need to open the FiveM application location. Go to the start button, type in FiveM, and right-click on it to open the file location.
4. Once you get to the file location, you have to left-click on the “FiveM Application Data” folder twice.
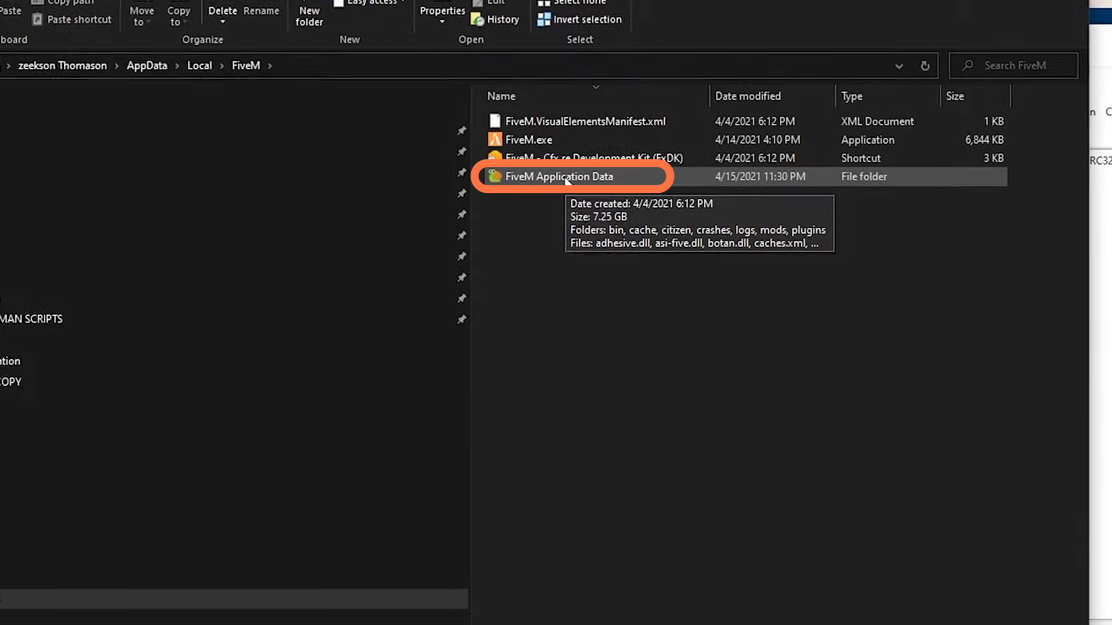
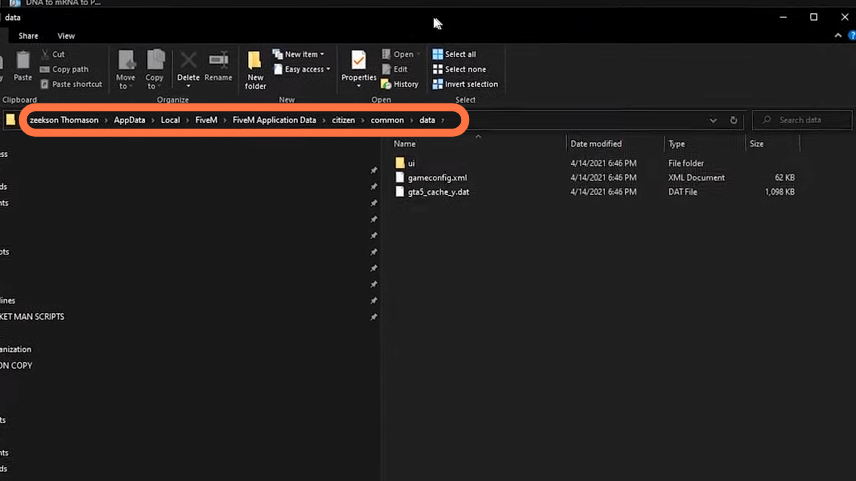
5. Now within “FiveM Application data”, go into citizen> common > data folders.
6. Then go back to the WinRAR side and open up the “Better Visuals 1.0.5” folder. There are two folders “Mod settings”, “Vanilla settings” and a “README.txt” file in it.

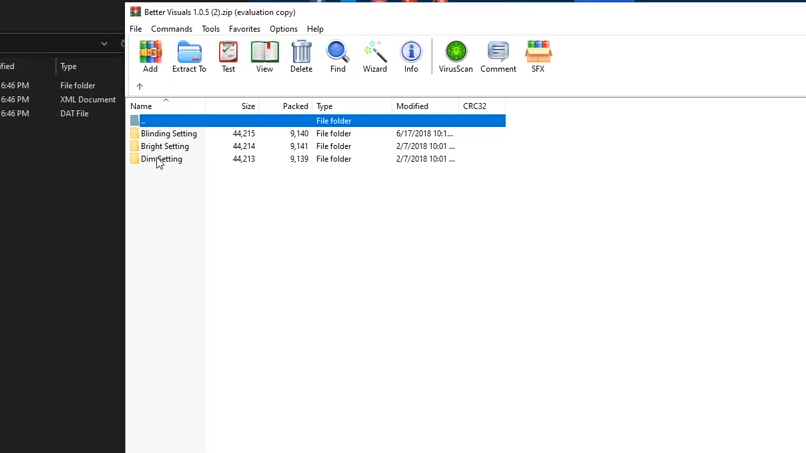
7. Now click on the Mod Settings folder and you will get to see the Binding, Bright, and Dim settings folders.
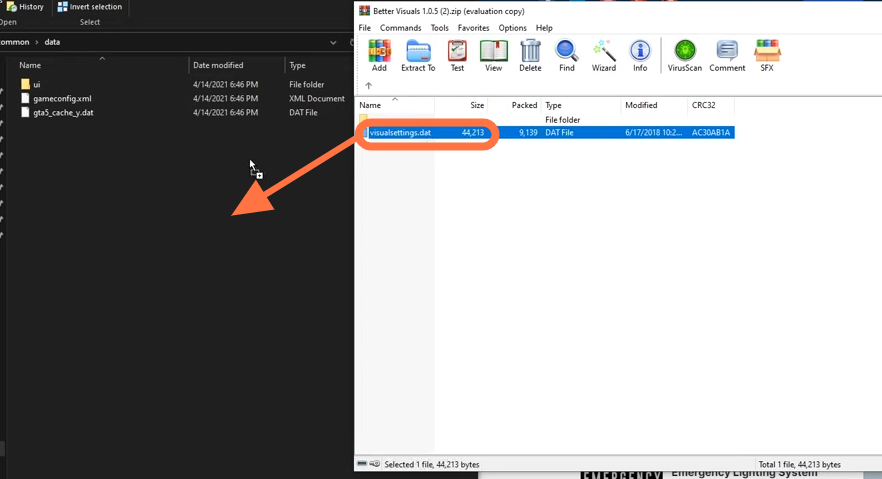
8. You can go to any of these settings folders. In this case, it is the “Dim setting” folder. There will be a “Visualsettings.dat” file in it which is basically available in all three folders. So drag this file into the opened directory of the FiveM.
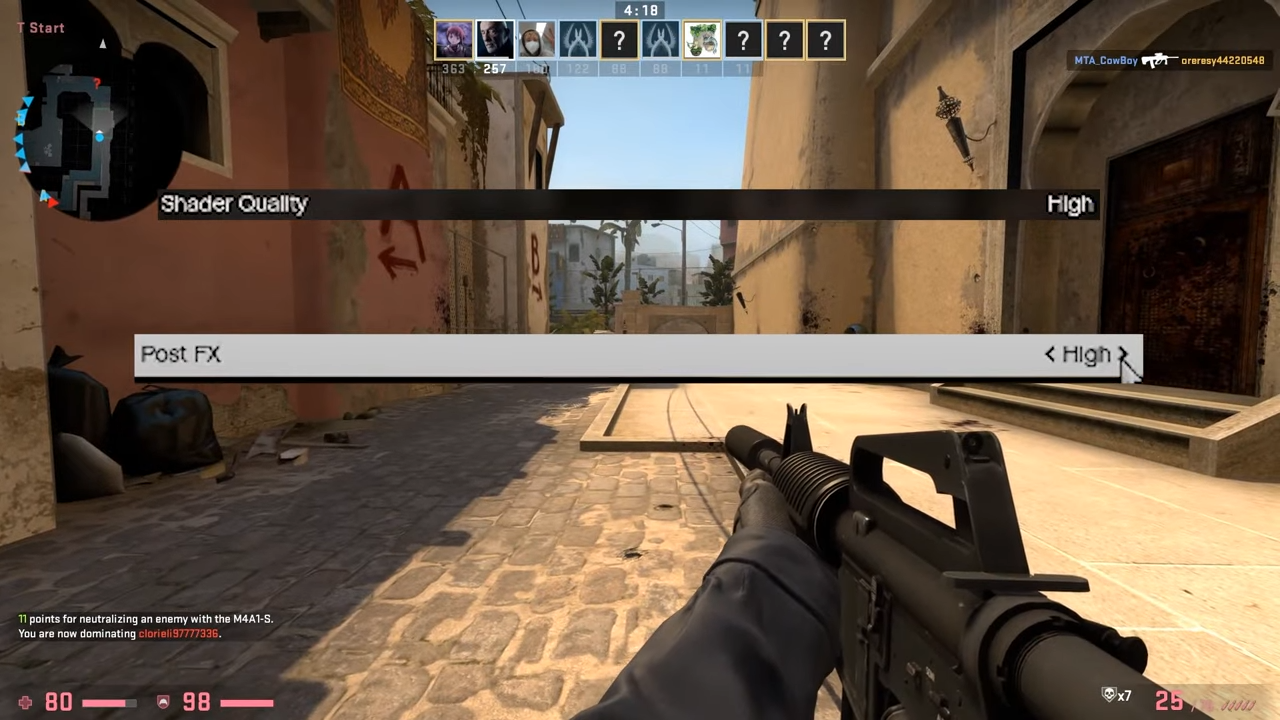
9. Your Light pack has been installed. Now a few things which may make this pack might not work are graphics settings (where your shader quality and & your PostFx both need to be on high for this pack to work).
10. If it still not working, then you can always uninstall and reinstall the FiveM.