In this guide, you will find out how to install the Fuel Mod in your Grand Theft Auto 5 game.
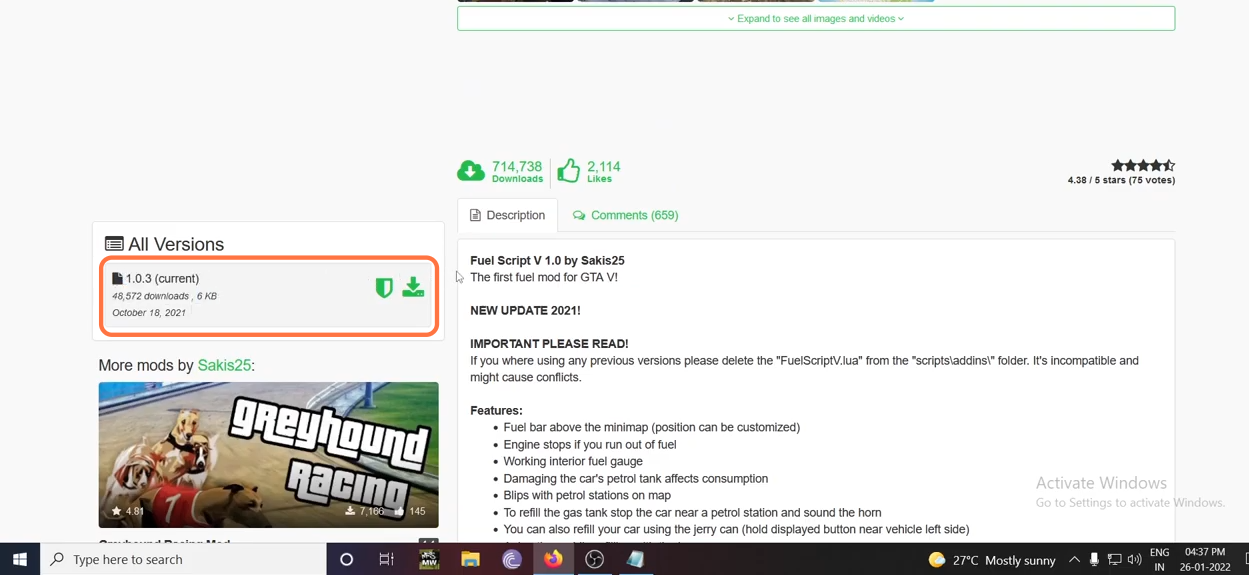
1. The first thing you will need to do is download the Fuel Mod from “https://www.gta5-mods.com/scripts/fuel-script-v-sakis25“. Open the link and click on the green download arrow icon for the current version under the ‘All Versions’ section to download the mod.
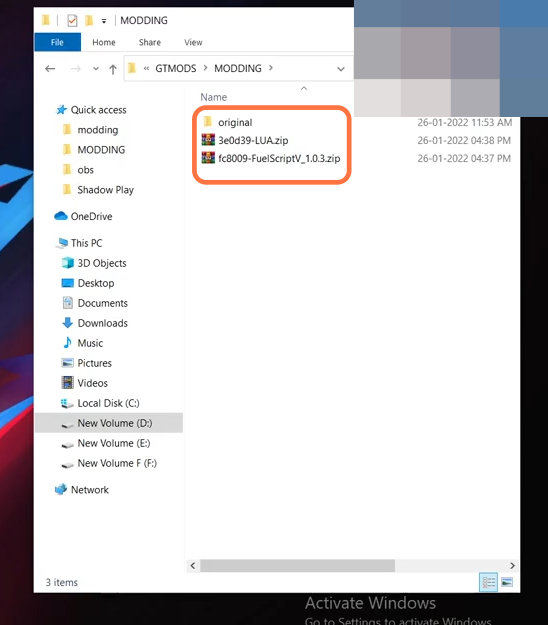
2. You will require the latest versions of ScripthookV Library, Community ScripthookVDotNet ASI plugin, NativeUI, and LUA Plugin for this mod to work. You can download these files from the following links “https://www.gta5-mods.com/tools/script-hook-v“, “https://github.com/crosire/scripthookvdotnet/releases/tag/v3.5.1“, “https://gtaforums.com/topic/809284-net-nativeui/” and “https://www.gta5-mods.com/tools/lua-plugin-for-script-hook-v” respectively. Once you have downloaded the required files and the Fuel Mod, you have to go to the downloads folder to open the files.
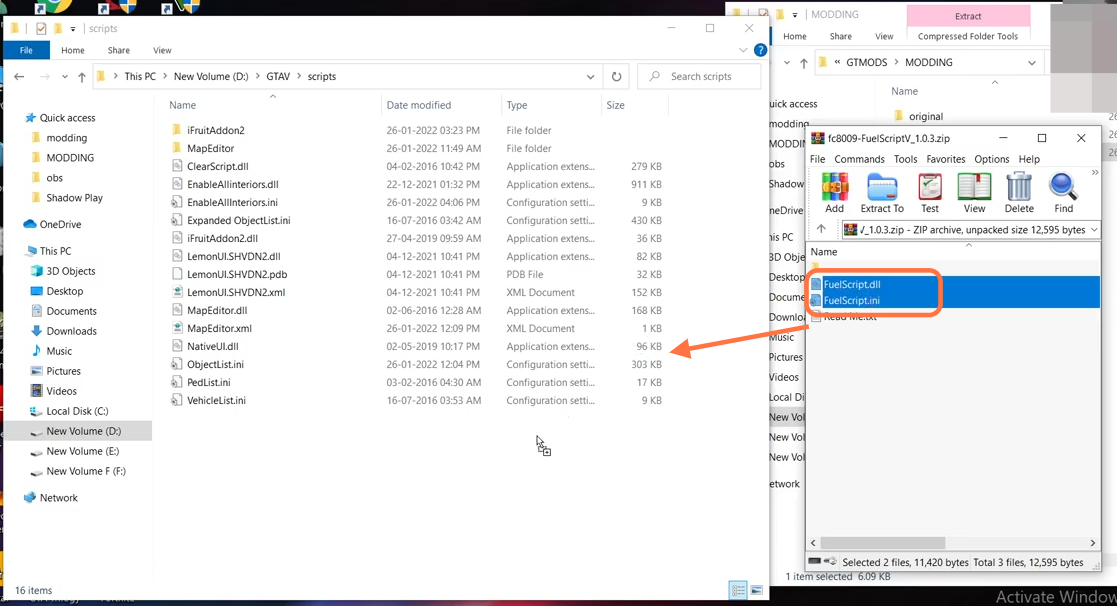
3. On the other hand, open the “GTA V” directory side by side with the downloads folder. Now find the scripts folder inside the “GTAV” directory and if you don’t see this folder here, then you need to create an empty folder and name it scripts.

4. First, open the Fuel Script downloaded file using WinRar and drag the FuelScript.dll and FuelScript.ini files from it and drop them into the scripts folder of the GTAV directory.
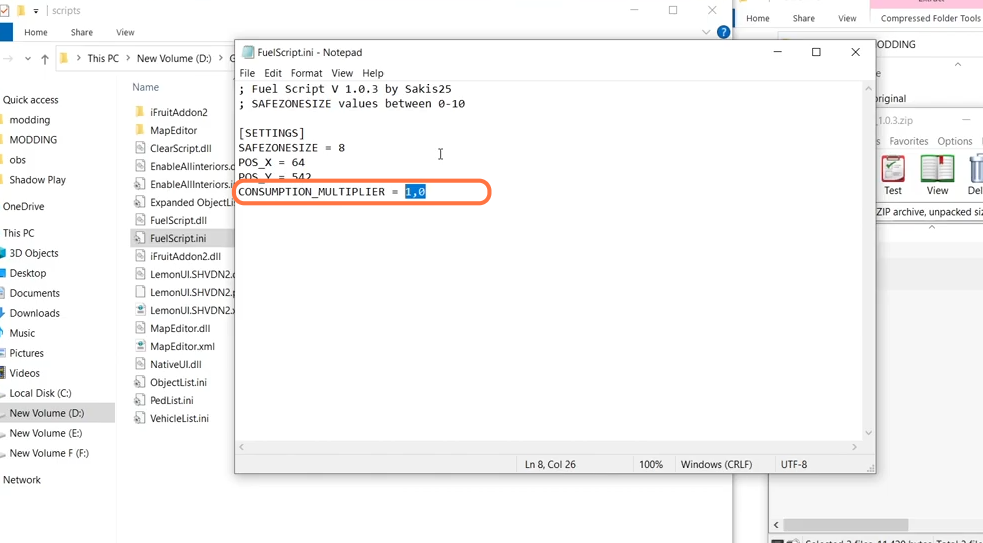
5. Now you can open the FuelScript.ini file to modify changes you want like changing Fuel consumption etc.
6. After that, open the LUA plugin downloaded file using the WinRar or 7zip archiver and drag the LUA.asi file from it into the main directory of the GTAV.
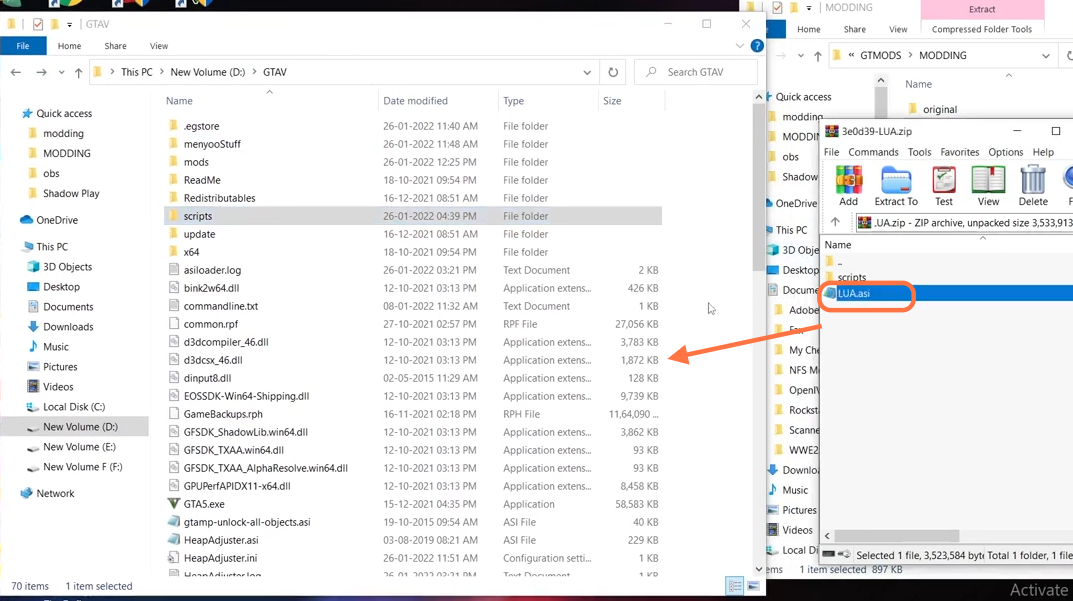
7. You will also get to see the scripts folder in the LUA plugin downloaded file drag all the files from it and drop them into the scripts folder of the GTA V directory. Now we have installed the plugin completely.
