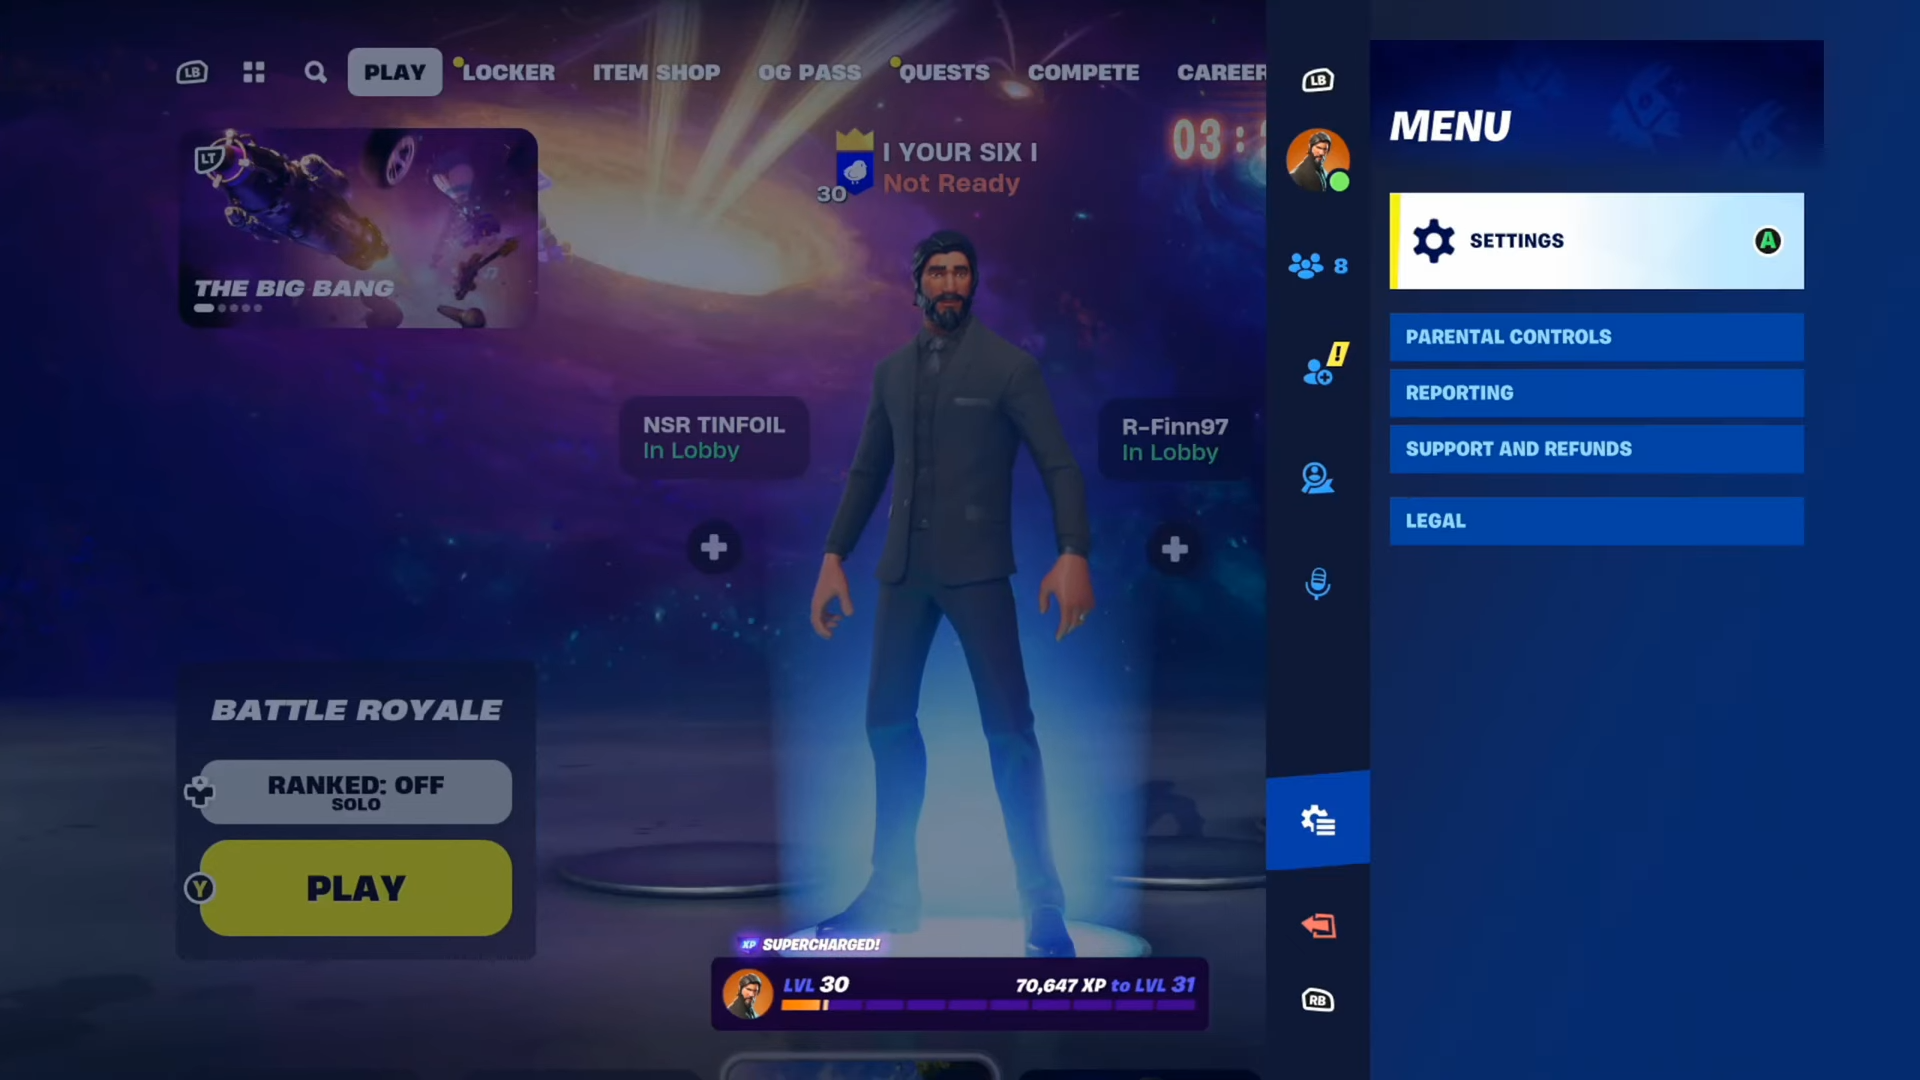
Communication is key in Fortnite, especially when playing in a team. One effective way to ensure clear and timely communication is by using the ‘Push to Talk’ function on your controller. This guide simplifies the process, allowing you to assign this function to a button of your choice for effortless team communication.
Step 1: Accessing Settings
- Press the “Options” button on your controller to open the menu.
- Navigate down to “Settings” and select the “Controller” option using R1.

Step 2: Audio Settings
- Tab over to the “Audio Settings” section.
- Navigate to find the “Voice Chat Method”.

Step 3: Enabling Push to Talk
- Select the “Push to Talk” option then press the designated key (usually “Y”) to apply the setting.

Step 4: Assigning Push to Talk to a Button
- Tab over using the R1 key on the controller and move to “Wireless Controller”.
- Scroll down and select “Custom”.

- Assign the Push to Talk function to a specific button.
- Example: Assign it to the right d-pad by selecting “Squad Request” and pressing “A”.
- Apply this assignment to Push to Talk by selecting it for the chosen button.
- Now, holding down the assigned button (e.g., right d-pad) will activate Push to Talk.

Step 5: Assigning Across Modes
- Use the “RT” button to navigate through various settings (building, editing(Edit controls), and ability controls).
- Ensure Push to Talk is assigned for each mode to enable communication universally.

By following these steps, you’ll be able to communicate seamlessly with your team using the Important Push to Talk option.