This is the guide for gamers who are not satisfied with their basic performance in Grand Theft Auto V. First, make sure your computer is up to date with Windows updates. Next, install any application fixes you have on hand so those perform better and optimize certain files, so the game won’t crash. Finally, be sure to upgrade your card’s drivers for optimal performance. Follow the following steps to Improve the FPS.
Check Windows Version
You have to make sure that you are running the latest version of Windows 10, which is completely free.
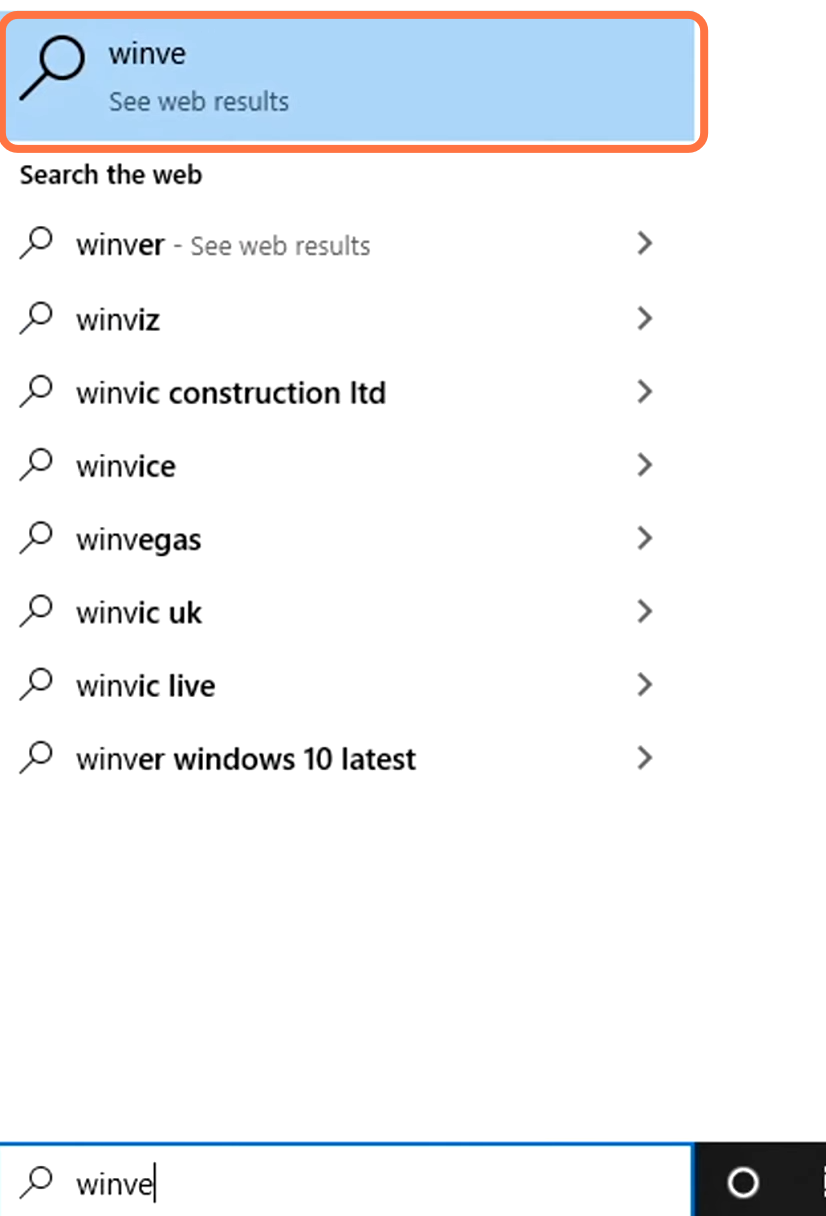
1.1) First, go to the navigation bar and click on Search.
1.2) Then you need to type “Winver” and press enter.
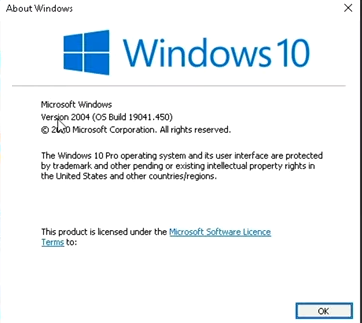
1.3) A new screen will pop up which will show you the version of your windows. You must have Windows version 2004 or upper. If your Windows version is older than 2004, then you need to update it.
Check Windows update
You have to check the Windows update and update it if available.
2.1) You have to go to the search option in the navigation bar.
2.2) Search “Check for updates” and press enter.
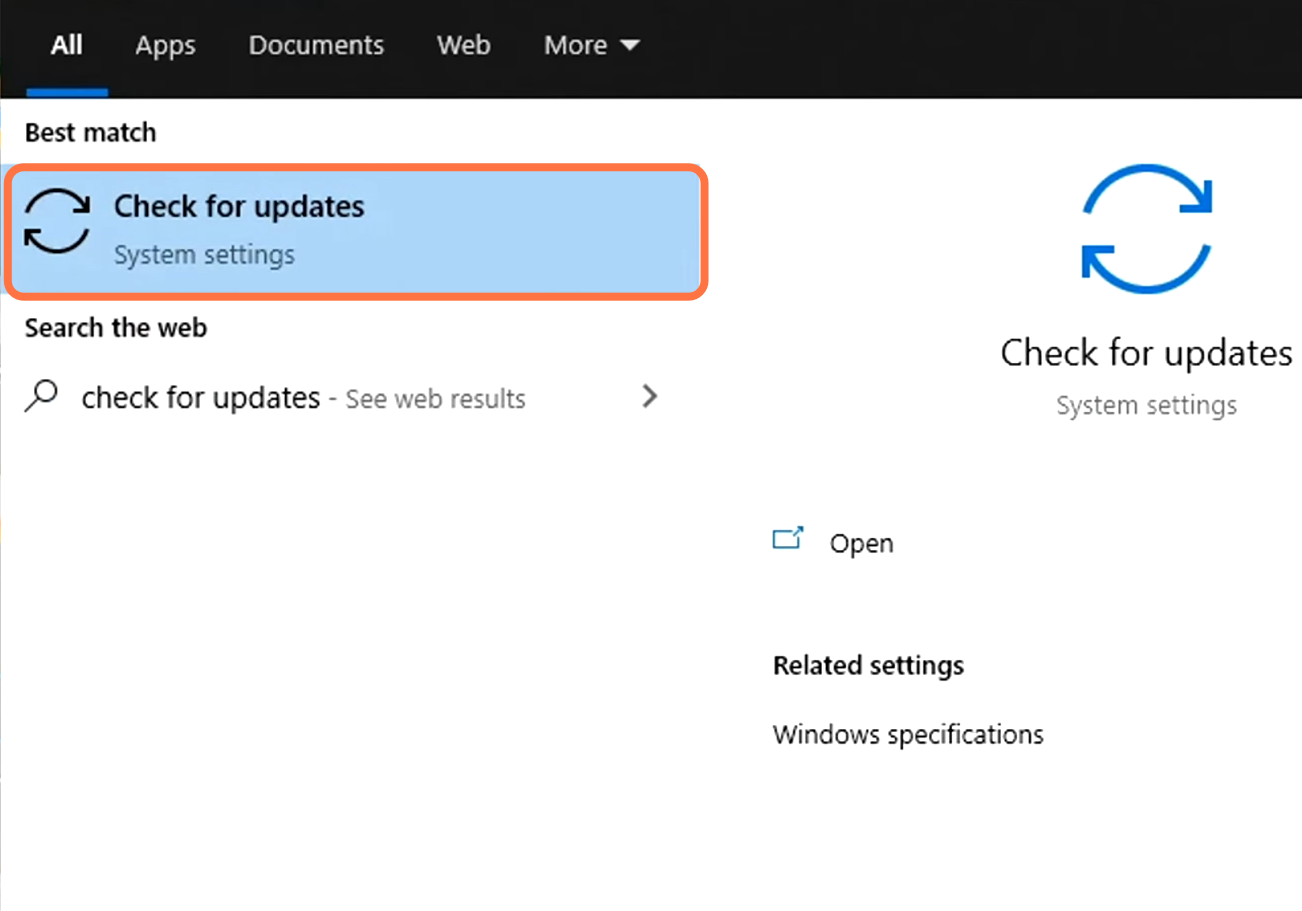
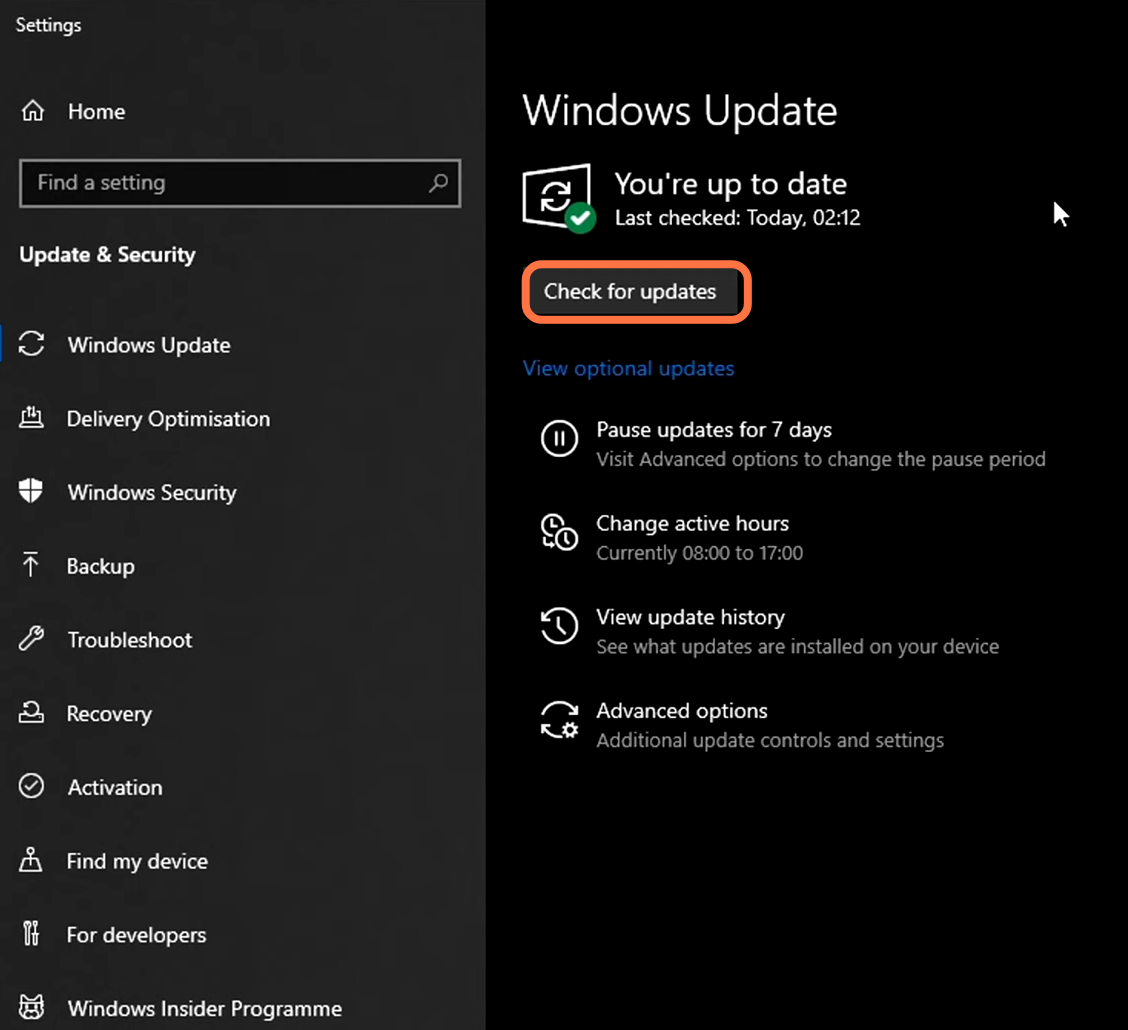
2.3) A new screen will appear and you need to click on “Check for updates”.
2.4) if it says your Windows is up to date, then you are ready to go.
Apply application fixes to the game
You will also need to apply some changes to the game settings. You have to disable full-screen optimization and change dpi to high dpi scaling.
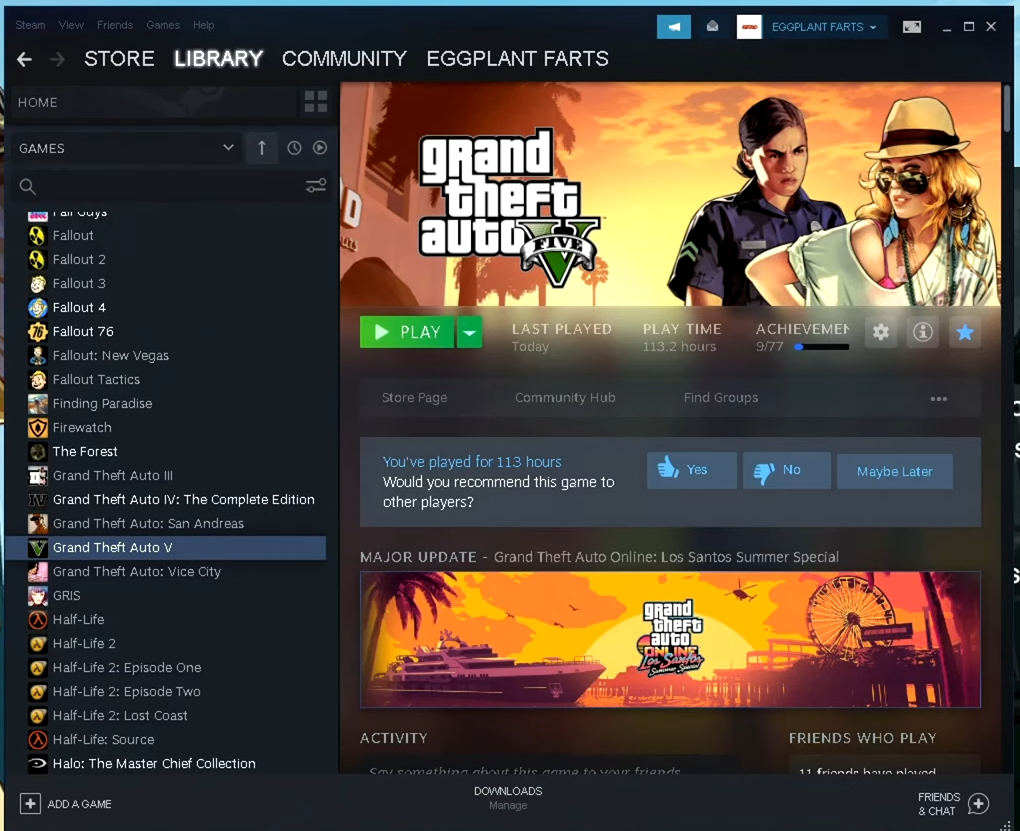
3.1) First, you need to launch the GTA 5 and press alt+tab on your keyboard to go back inside the Windows menu.
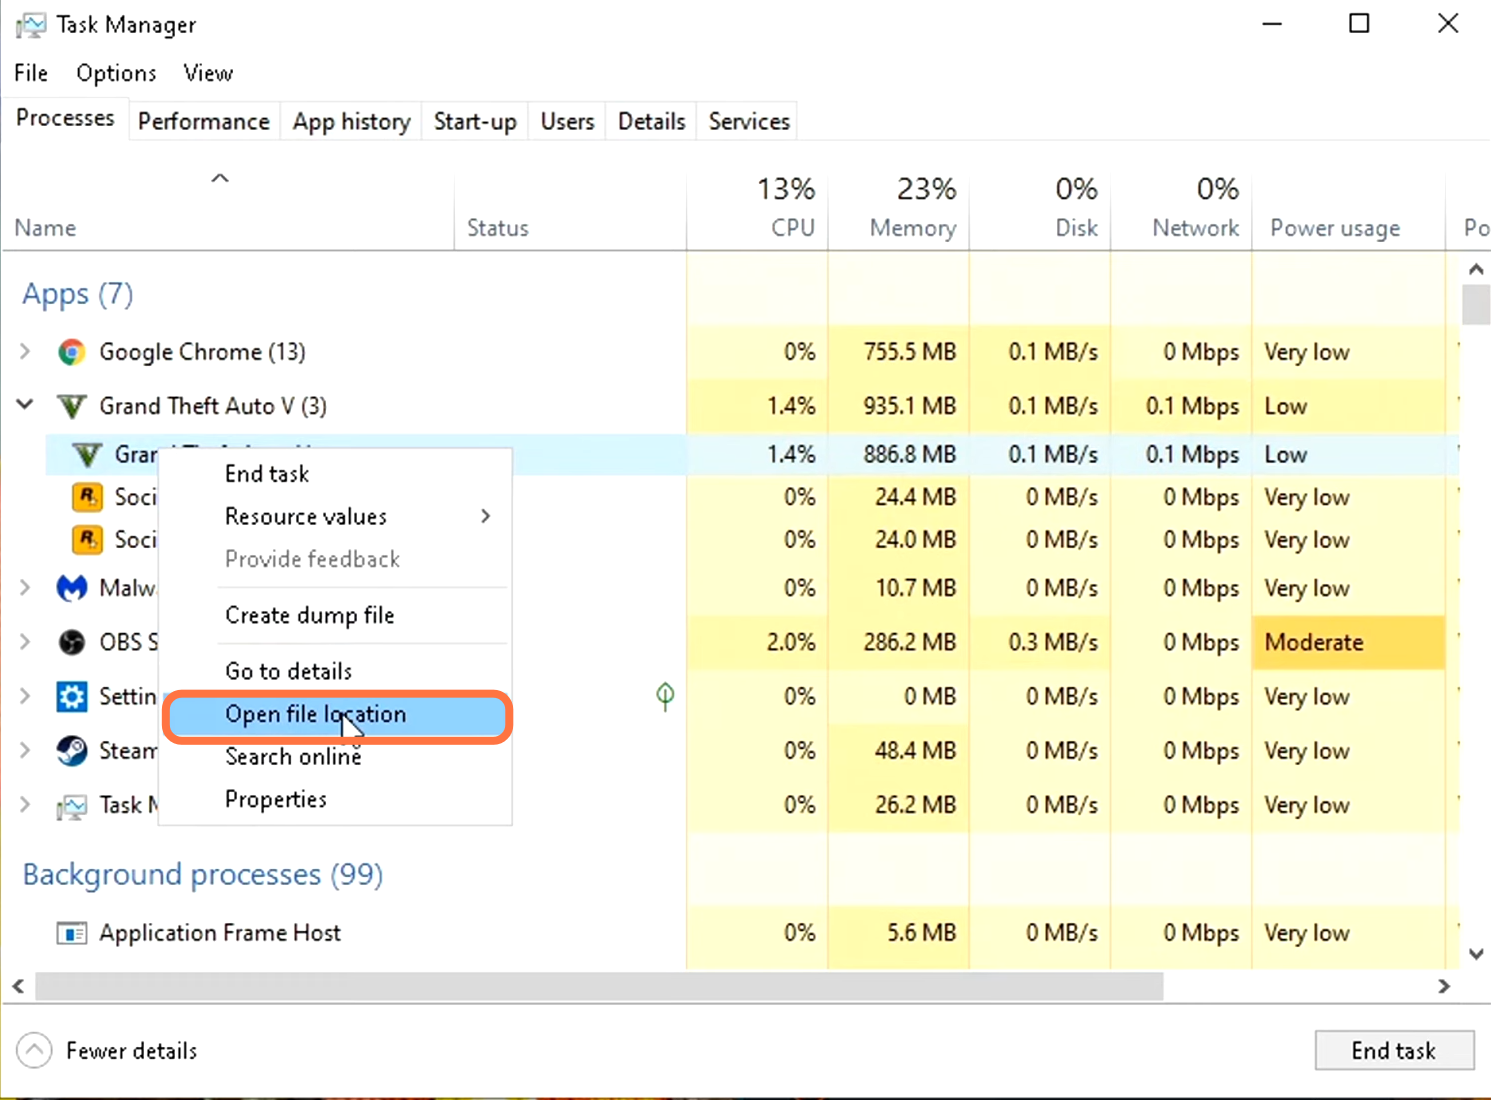
3.2) Now right-click on the taskbar and open the Task Manager.
3.3) After that, navigate to the Processes tab and you will see a drop-down menu. There, you need to find Grand Theft Auto 5.
3.4) After that, click on the arrow and find Grand Theft Auto again.
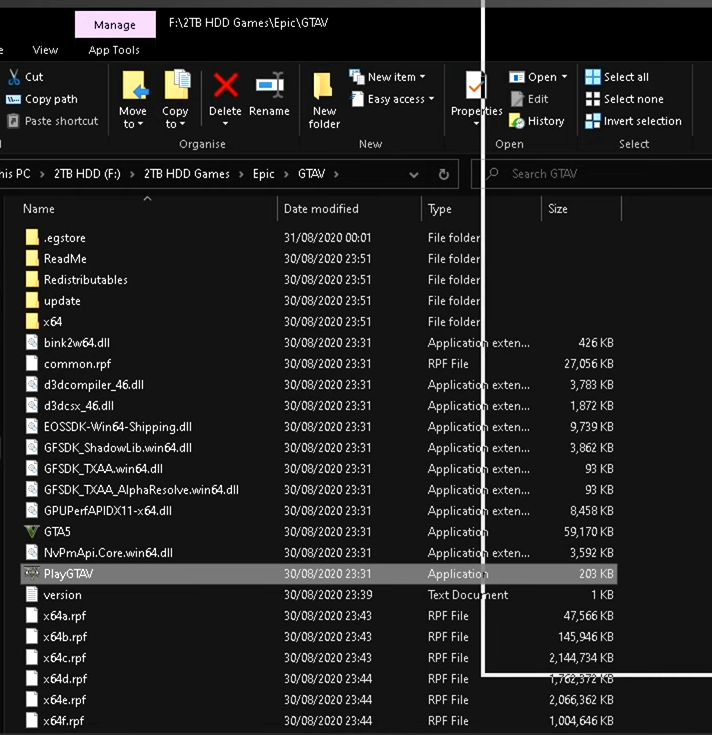
3.5) Now right-click on Grand Theft Auto and tap on “Open file location”.
3.6) Then exit the game and go to the GTA 5 application inside this folder.
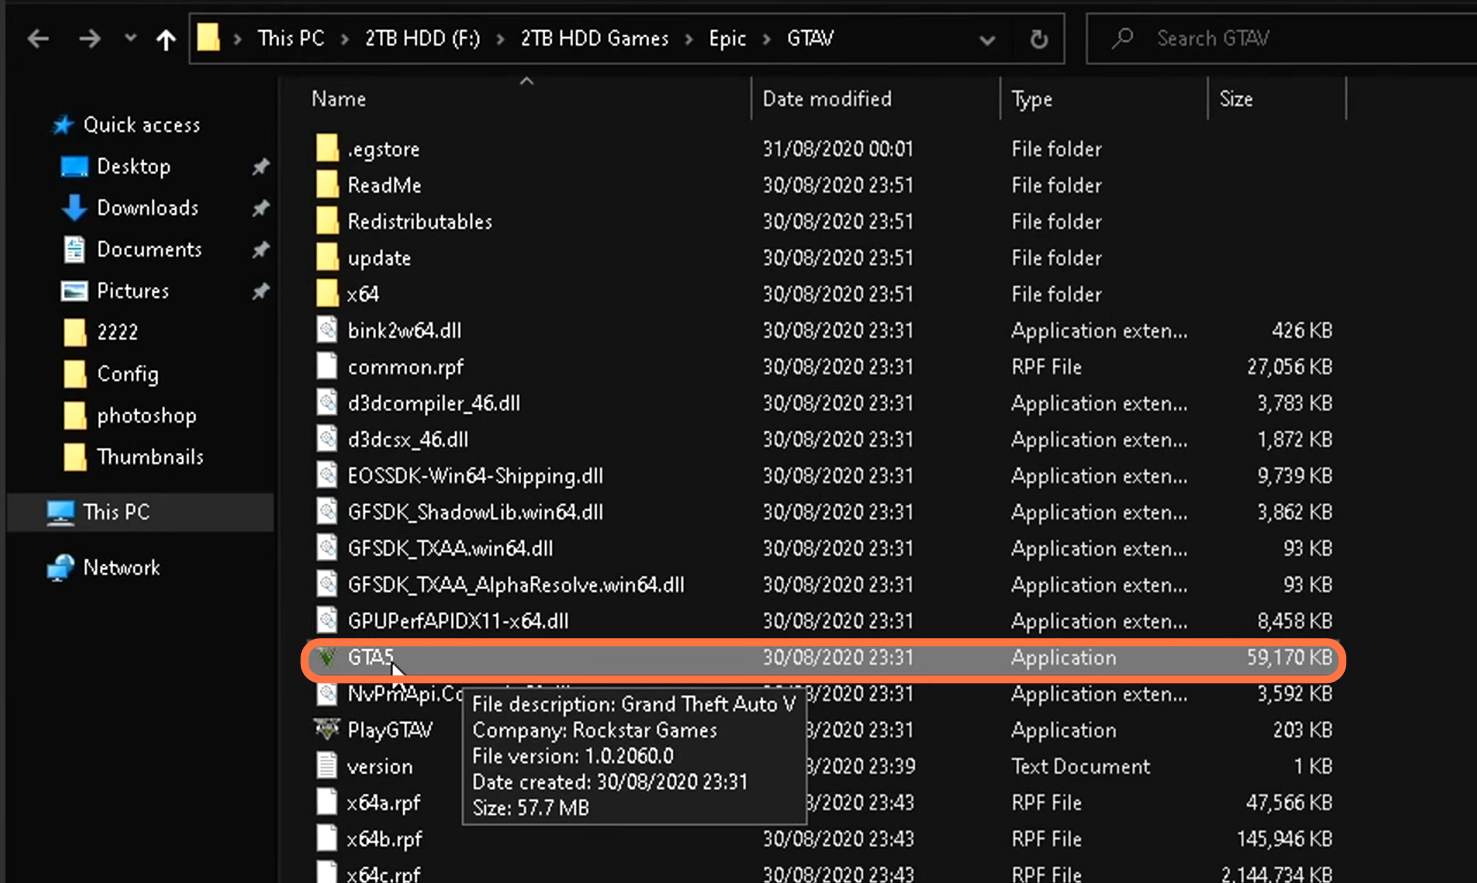
3.7) Right-click on the application icon and go to properties.
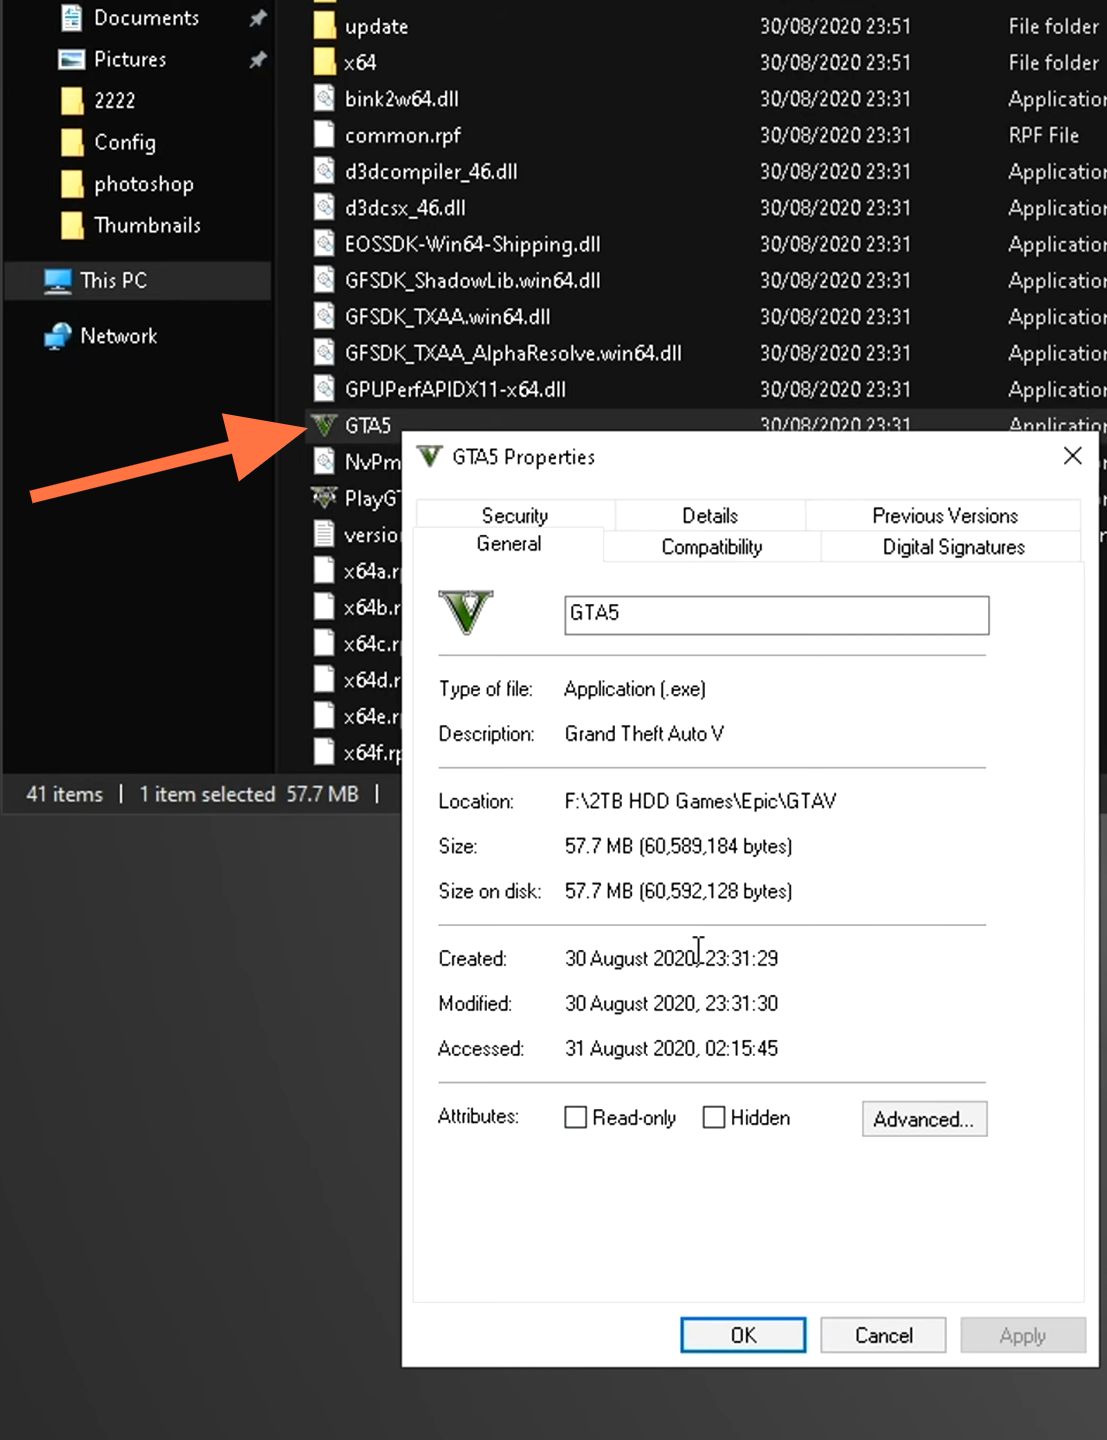
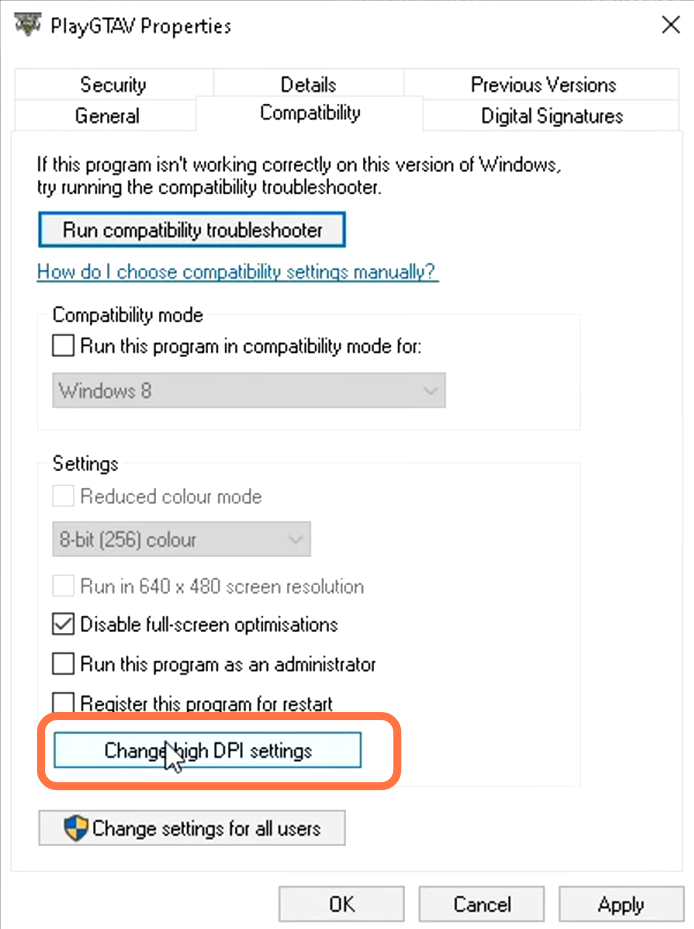
3.8) After that, go to Compatibility and disable full-screen optimization.
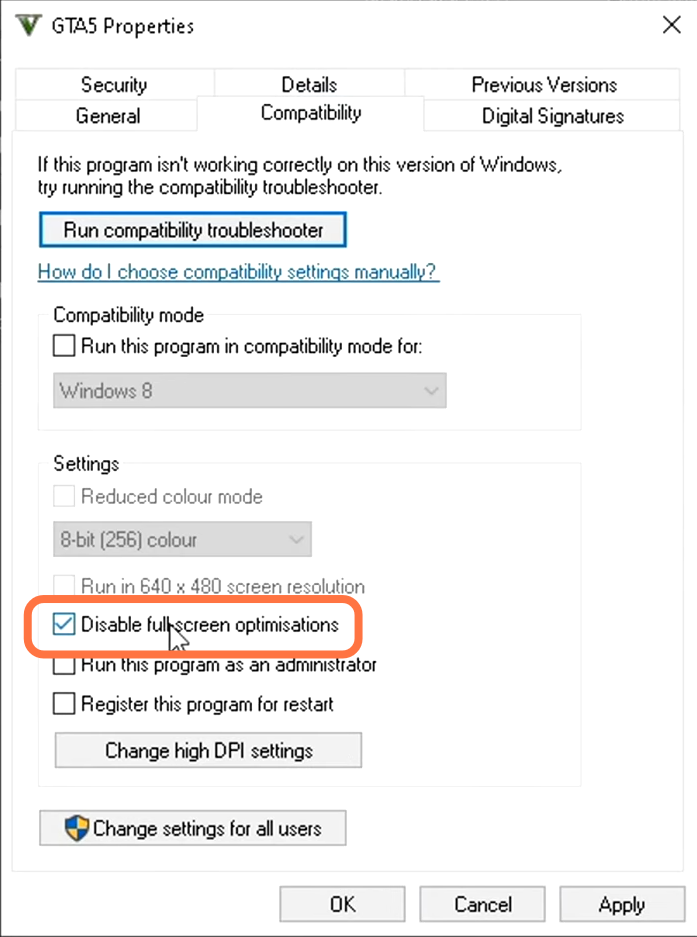
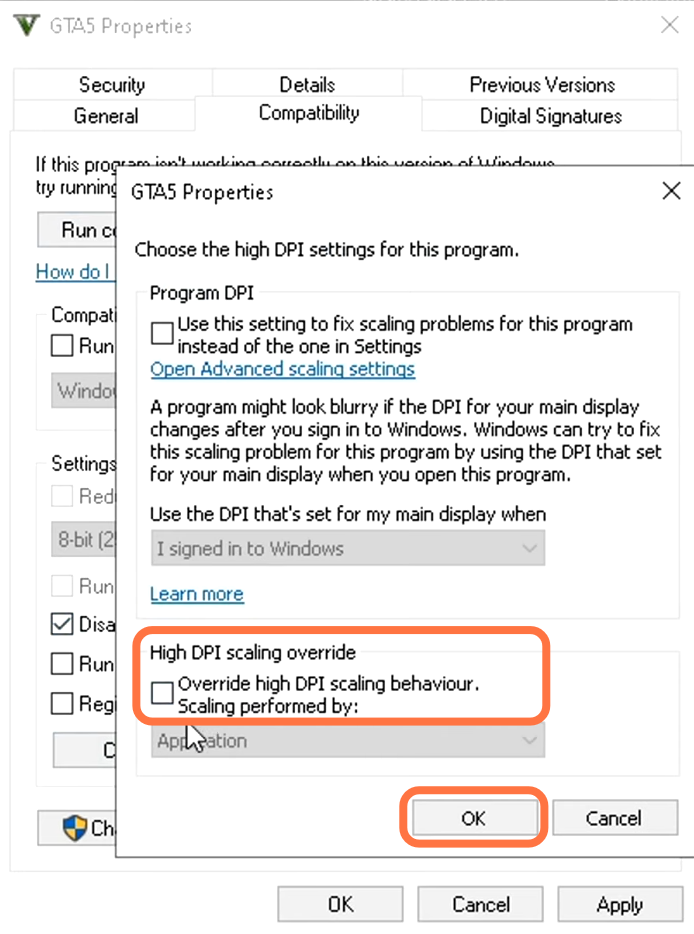
3.9) Now click on change dpi and then tap on “high dpi scaling” and press OK to apply.
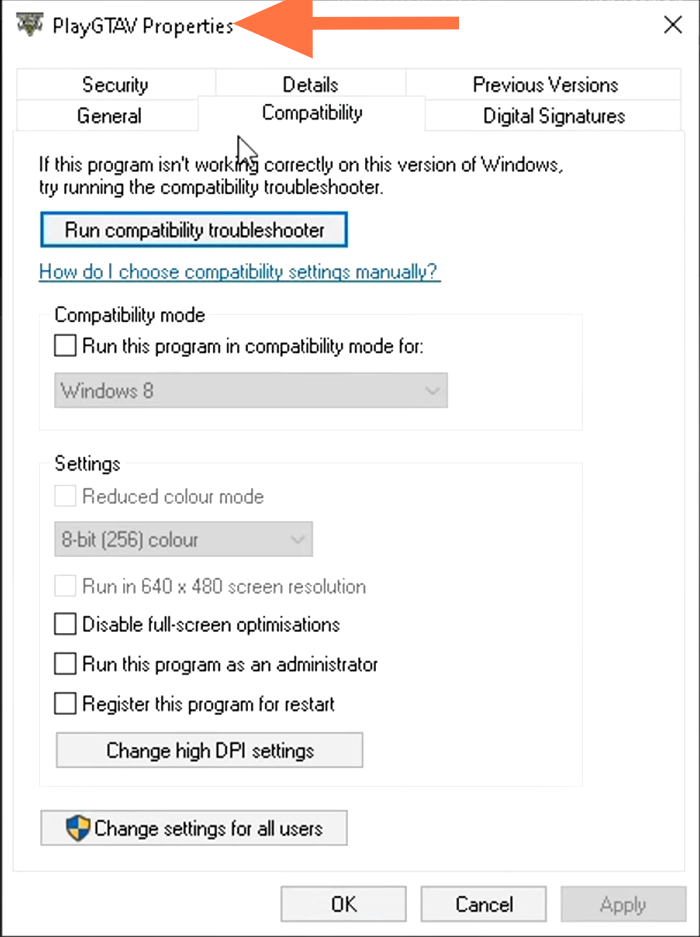
3.10) You will need to repeat that optimization for Play GTA 5, right-click on it, and then click on properties.
3.11) Go to the Compatibility tab and disable the full-screen optimization.
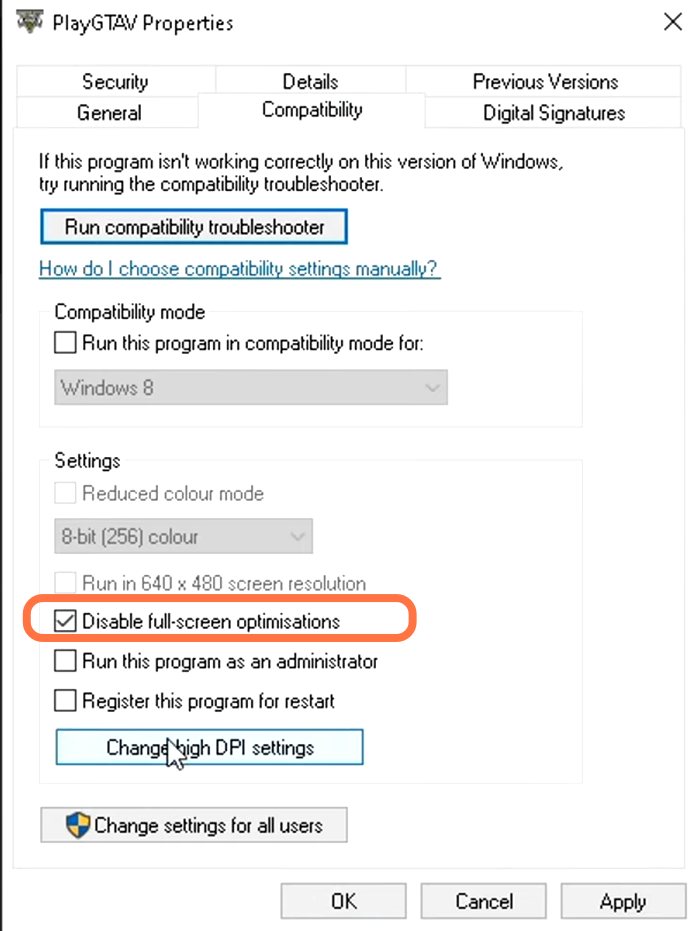
3.12) Click on change dpi, tap on dpi scaling, and then press OK to apply.
3.13) You have to keep this folder open because you need to apply some changes later on.
Install configs files
You need to install the config files and extract them for optimization.
4.1) You have to click on the following link to download a full pack of FPS.
http://www.mediafire.com/file/vp6lxqifj17zlyw/GTA+V+2020+FPS+By+Panj.zip/file
4.2) After downloading the file, you need to place it on your desktop.
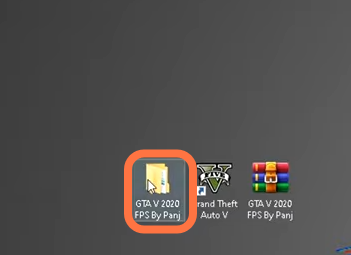
4.3) Right-click on the pack and click on “Extract Here”.
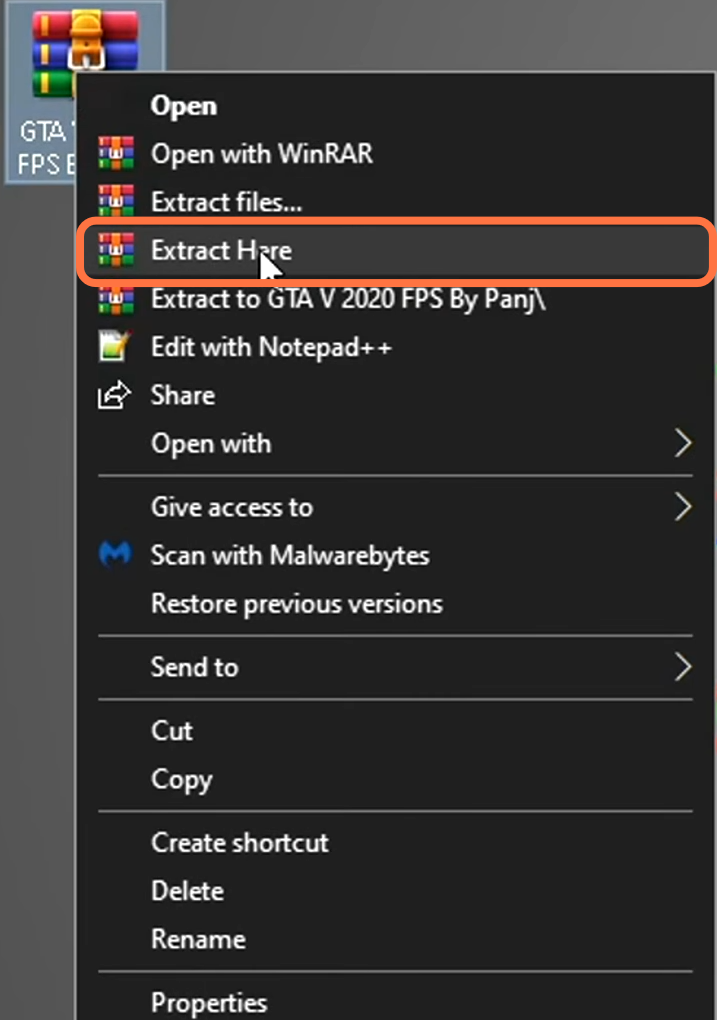
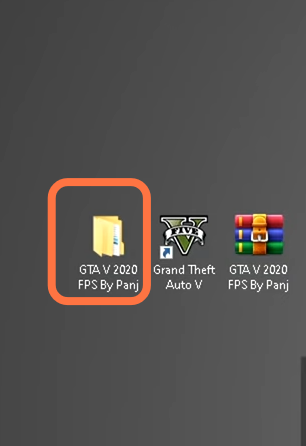
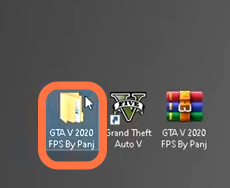
4.4) After extracting the folder, you will find another folder on your desktop with the same name.
4.5) Get into the game-specific optimization and navigate inside of the FPS increased back provided.
4.6) And then go inside the commands line folder.
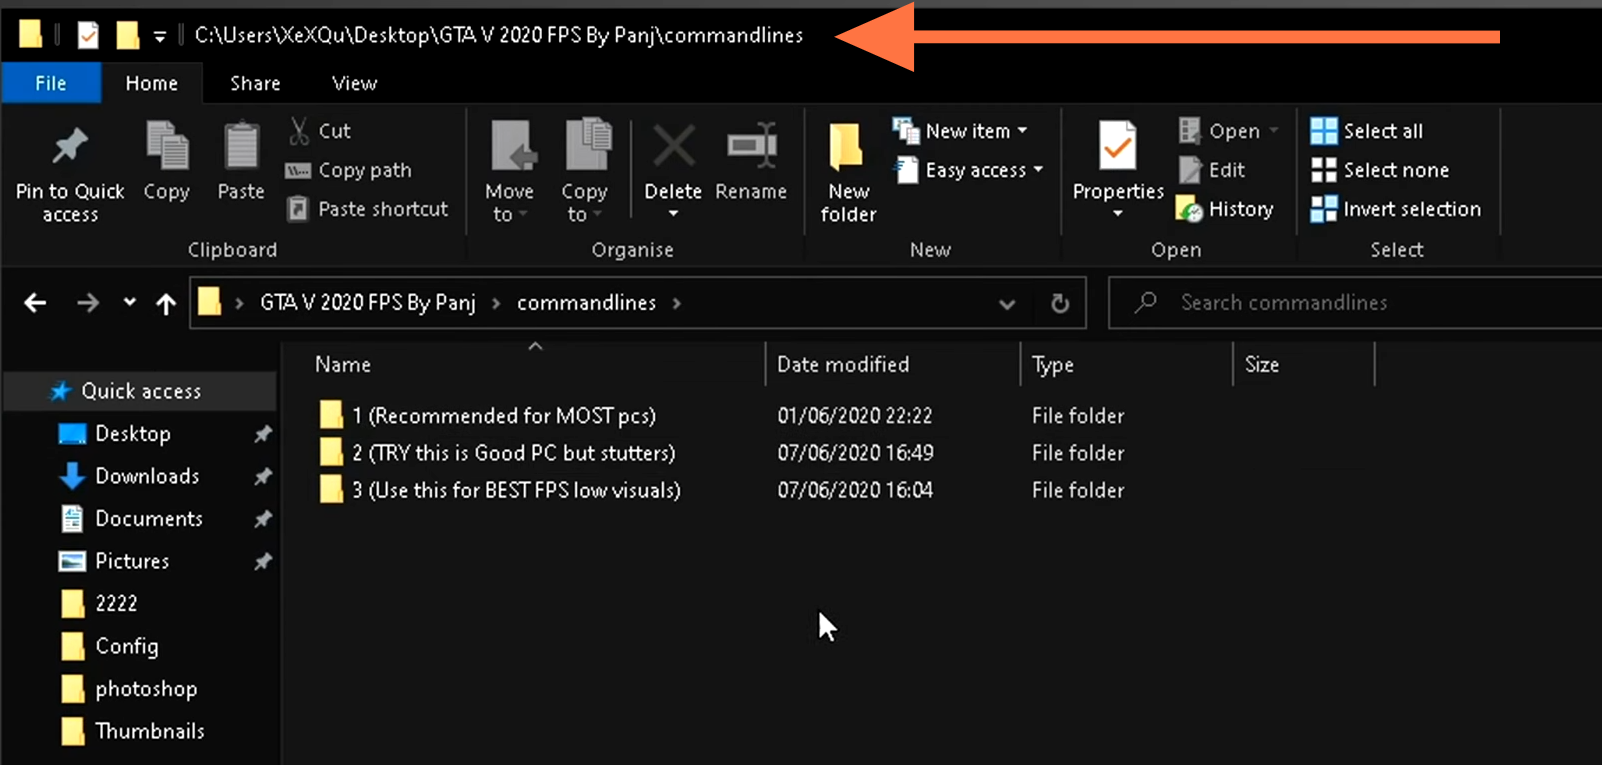
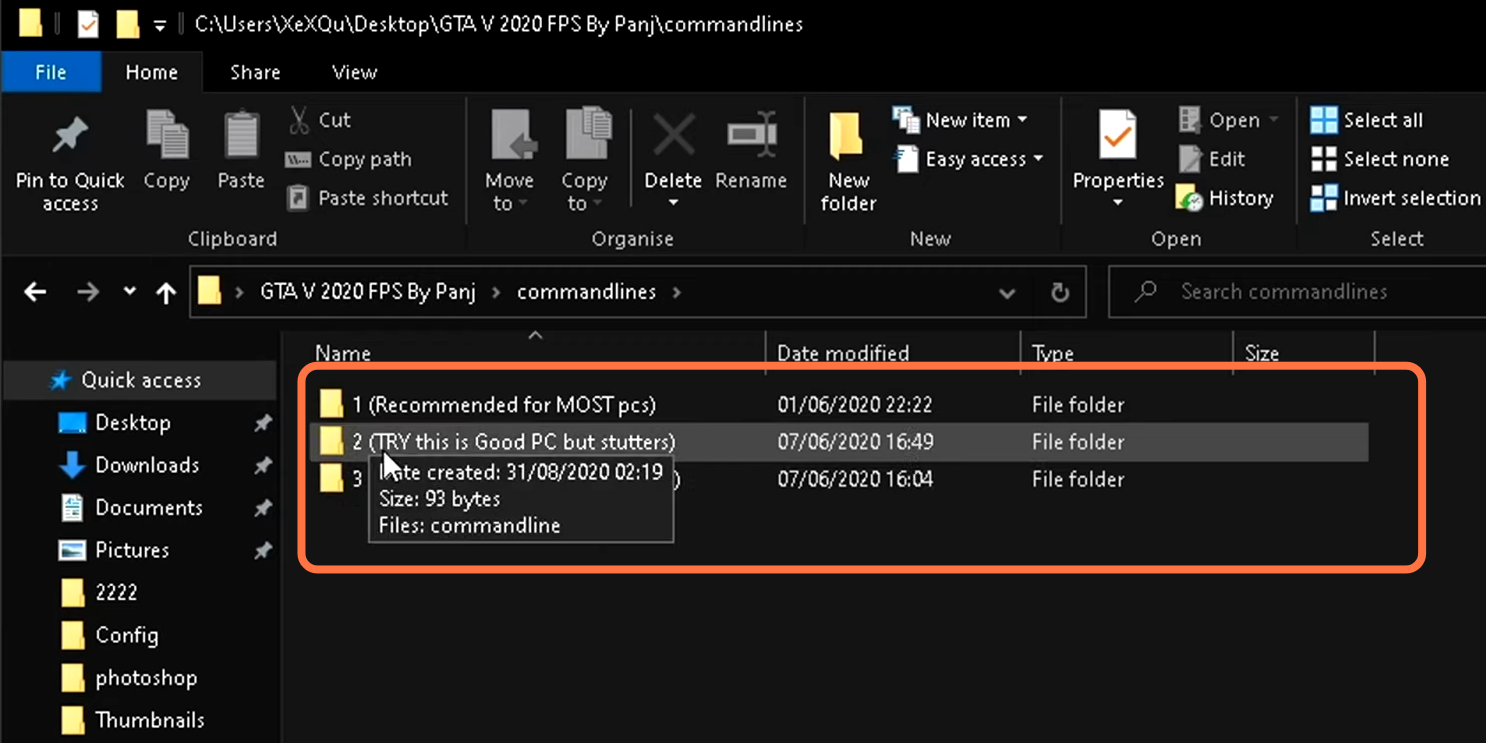
4.7) Inside this folder, you will find three other folders. Simply click on the corresponding folder which matches your desired FPS and outcome of the overall game or the experience you are already having.
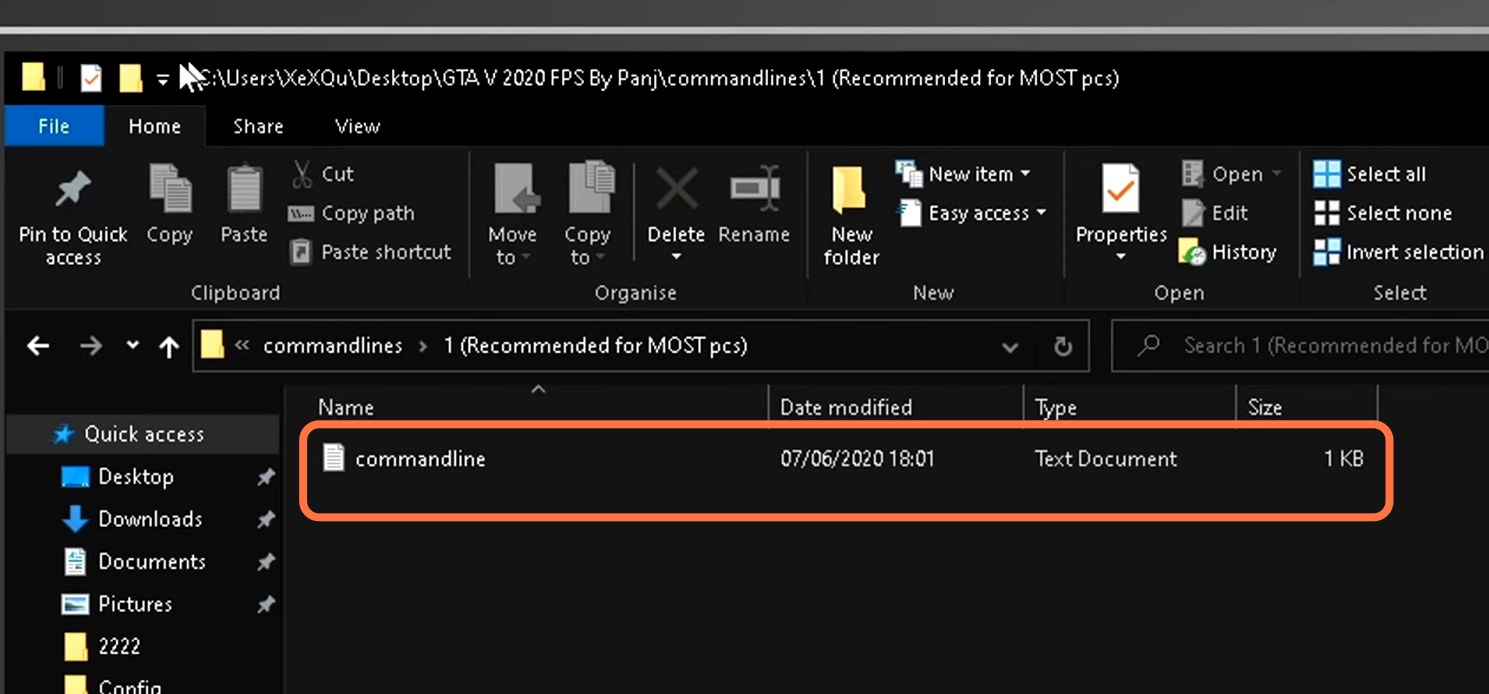
4.8) After that, click on the first folder, and you will find a command line text folder.
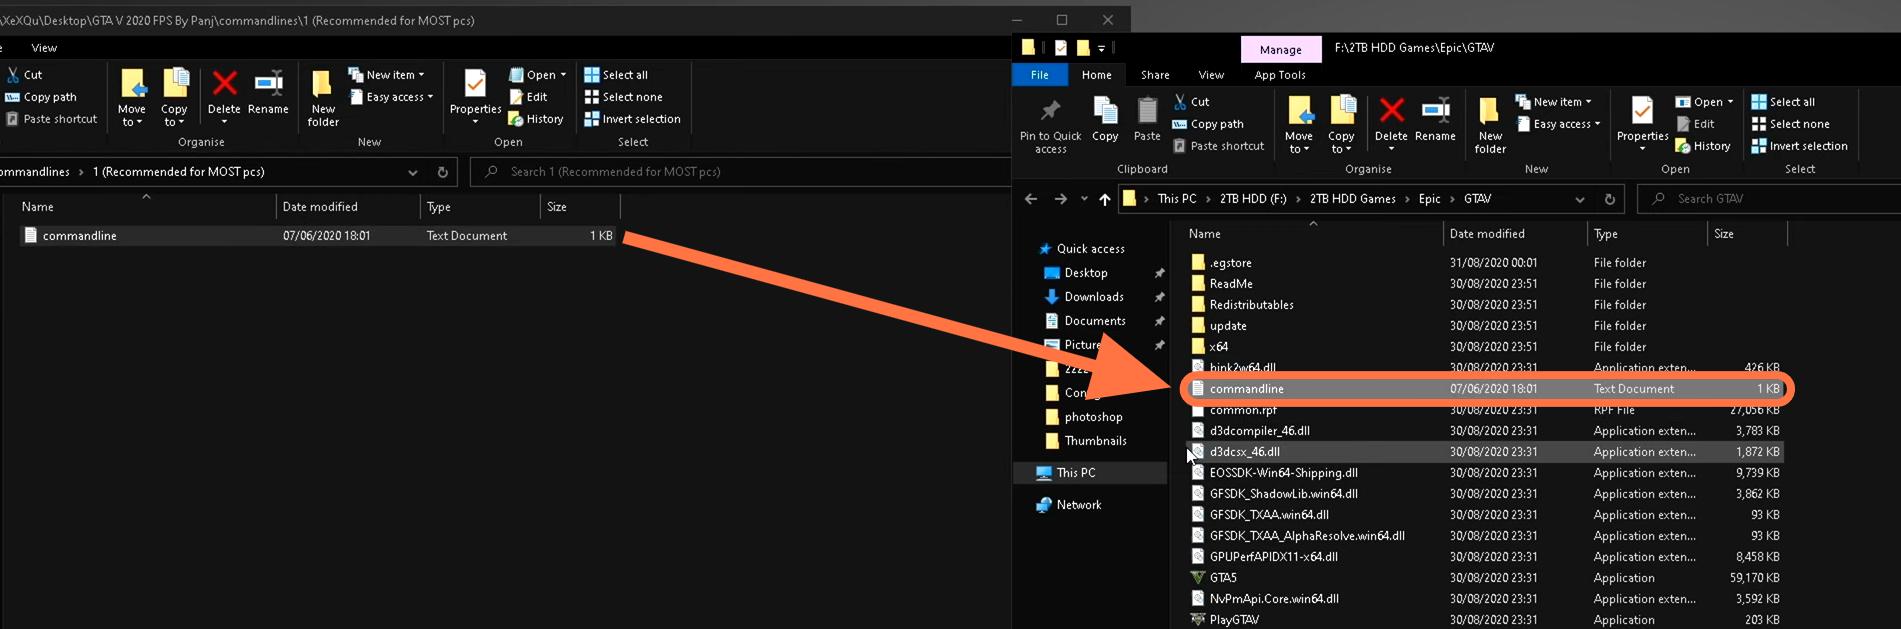
4.9) After that, get back to the GTA 5 game folder, and simply drag the command line folder to the GTA 5 directory. Then you need to exit from both of the folders as the optimization is installed.
Install Optimized Config file
The next step is to install the optimized config file.
5.1) For this, you will need to go back to the fps folder which you have downloaded.

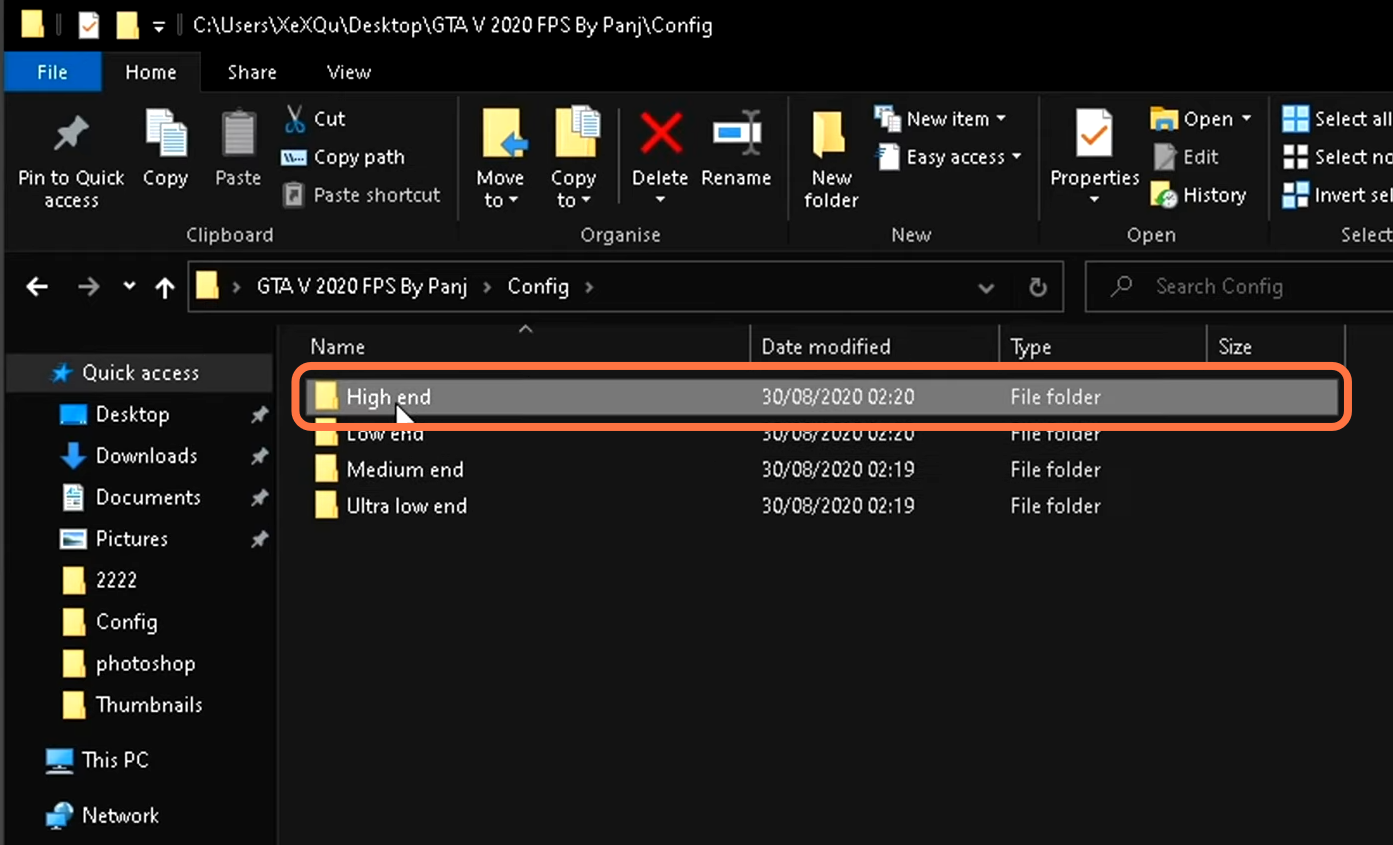
5.2) Go inside the configs folder and then click on the Config file which matches your experience. If you have a high-end PC, then you need to go with a high-end and if you have a mid-end PC, then go for the mid-end.
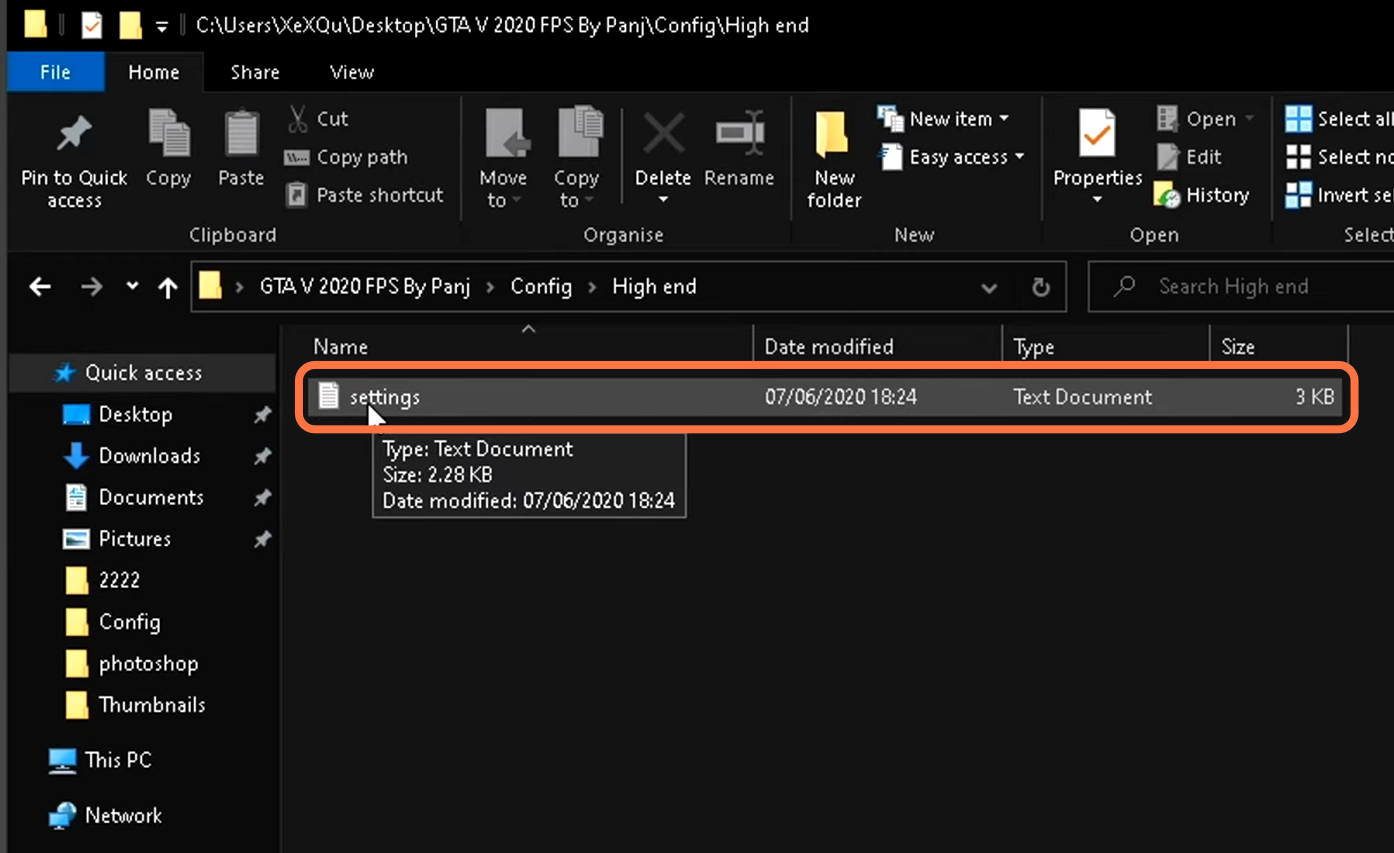
5.3) After going inside the Config file, you will find a “settings” text file.
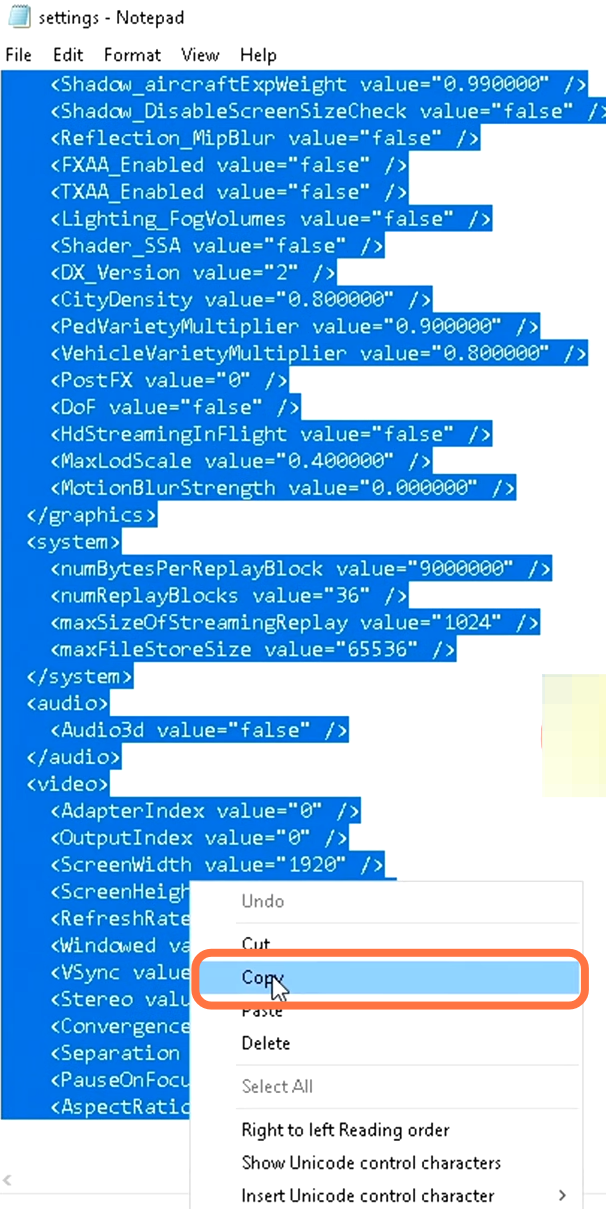
5.4) You have to double-click on this document and select all. Then right-click on it and select copy.
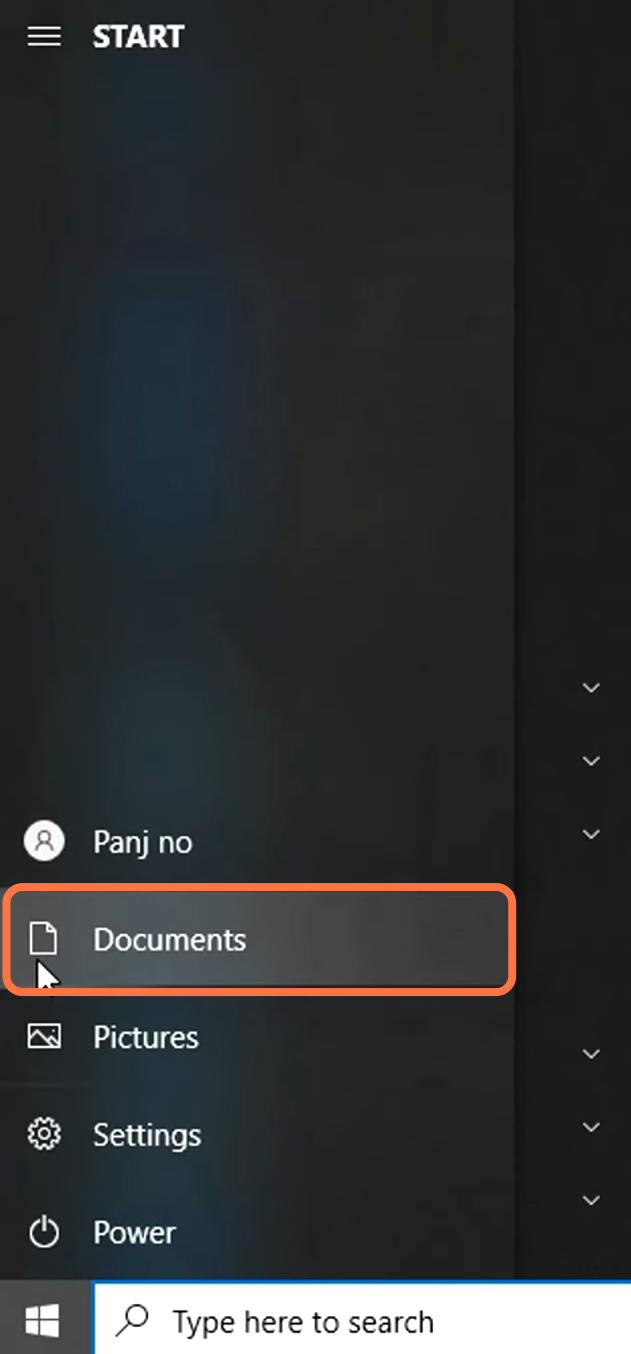
5.4) Now you need to navigate into Config which is currently installed in the game. Go to the Start menu and click on Documents.
5.5) Inside the documents folder, you need to scroll down to find the Rockstar games folder.

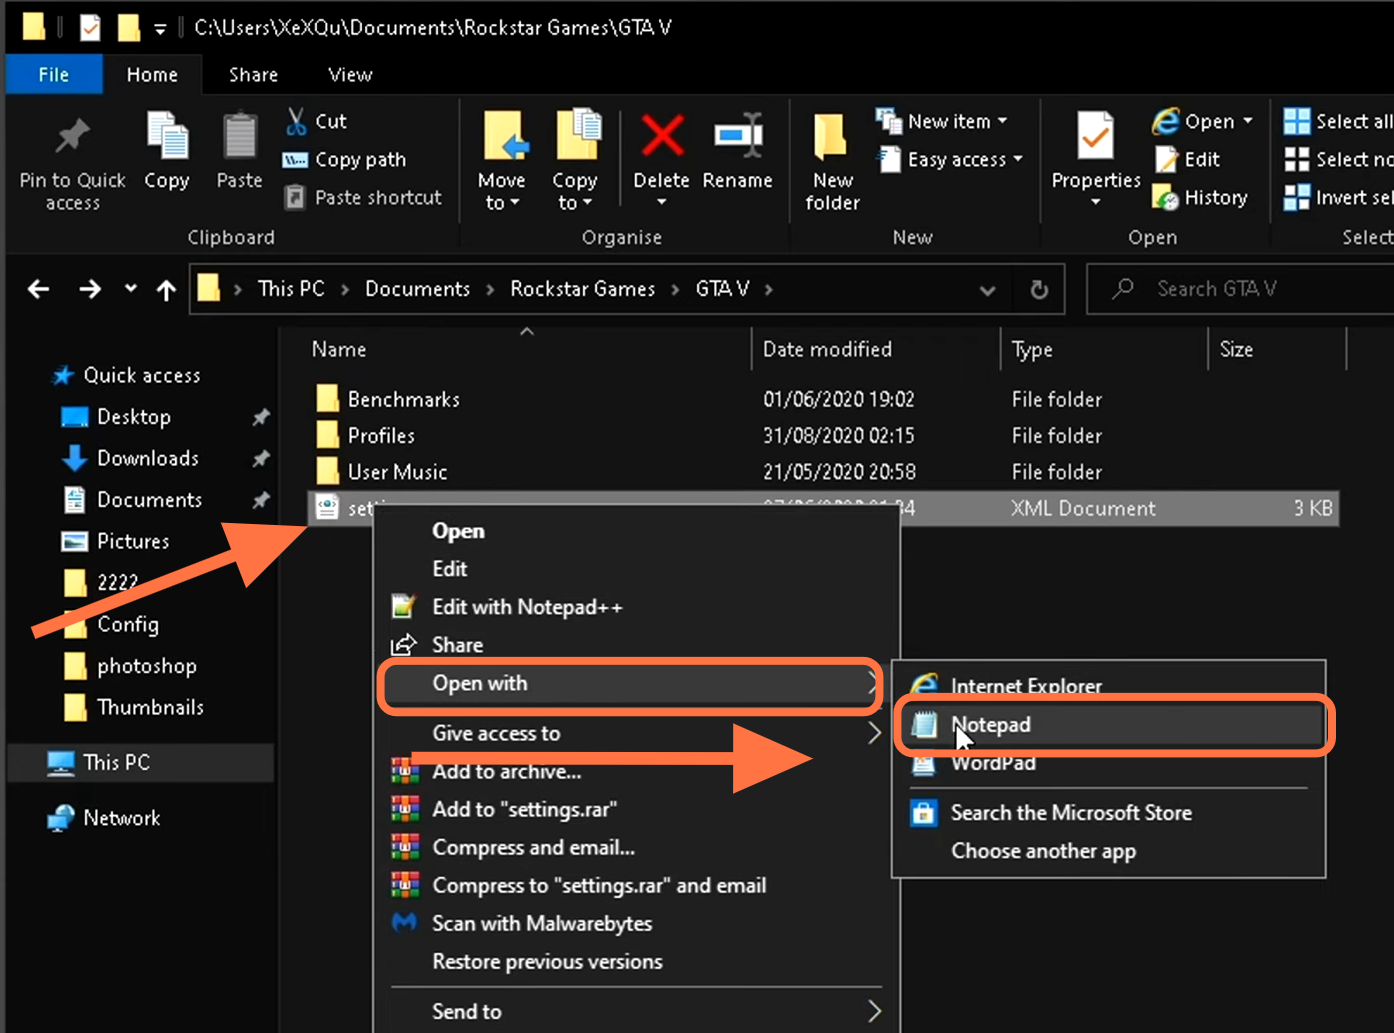
5.6) Go inside the GTA5 folder, and you will find the settings XML document. Simply right-click on it and then click on “open with notepad”.
5.7) After opening it in the notepad, select all until you see “aspect ratio”.
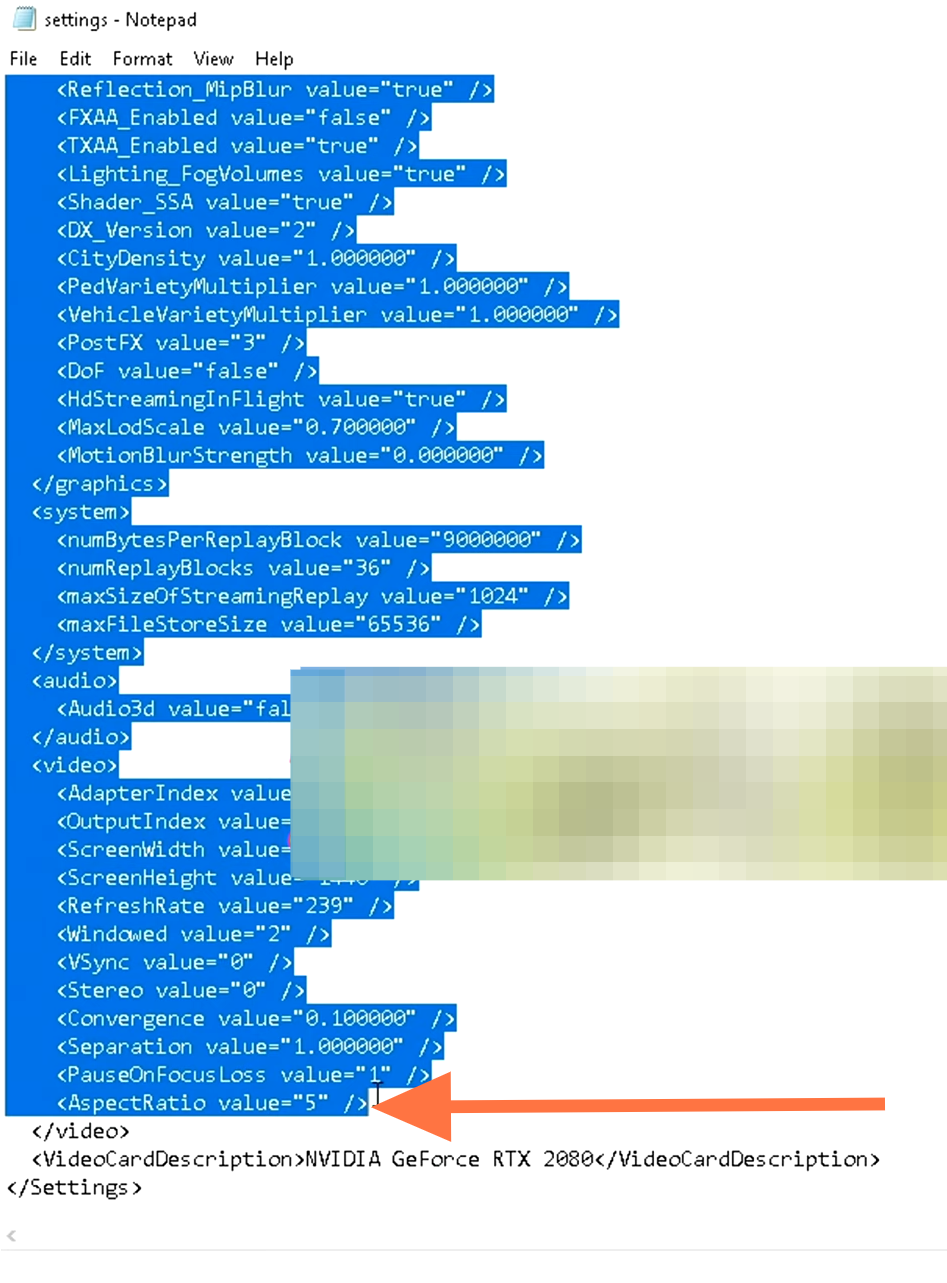
5.8) Delete all the highlighted data by simply pressing the backspace button and you have to keep the remaining ones because it is the information on your graphics card.
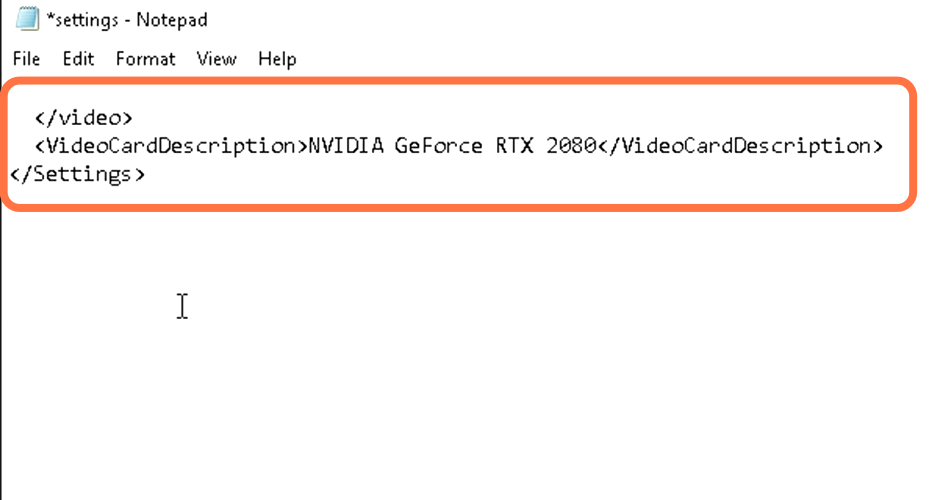
5.9) After that, paste all the files that you have copied from the Config file in this file
Update Graphic card Drivers
6.1 You have to update your graphics card to the latest version to improve the overall graphics of the game.
Optimize Control Panel Settings for Graphics Card
You have to optimize Control Panel Settings for Graphics Card for further Fps Boost.
7.1) You will need to open the folder that you have unzipped.
7.2) Go to the optimizations folder and then navigate inside the GPU settings.
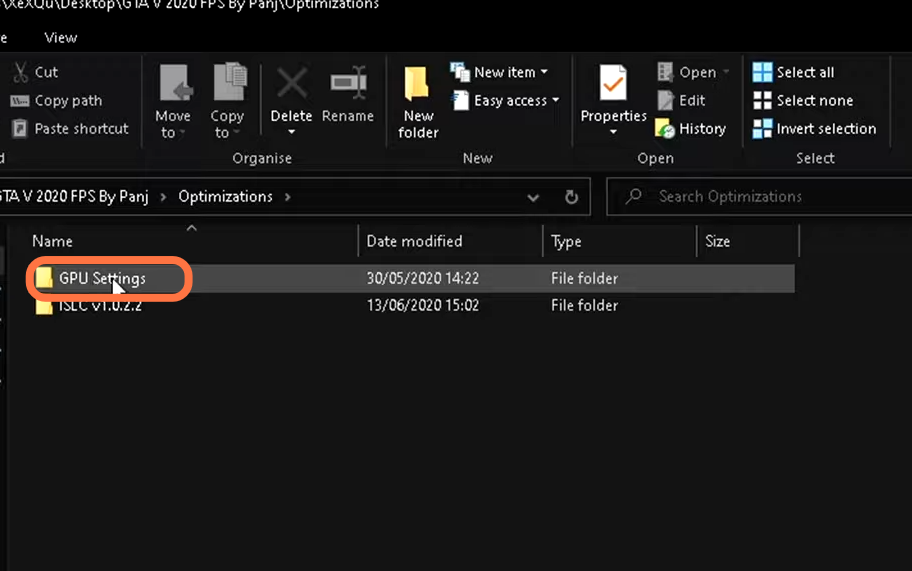
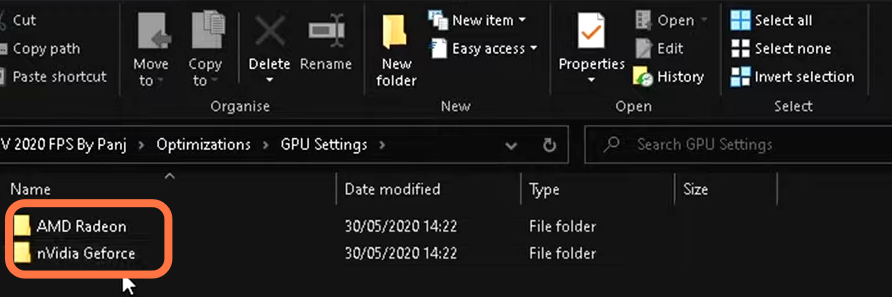
7.3) Now you have to click on that folder whose graphics card are you using.
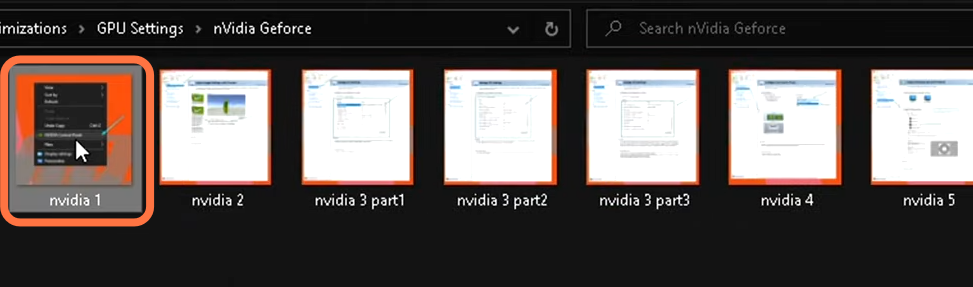
7.4) Inside this folder, you will find some screenshots, and you have to click on the first screenshot. It will tell you how to set up all the settings inside of these and you need to follow all the setups, as shown in the pictures.
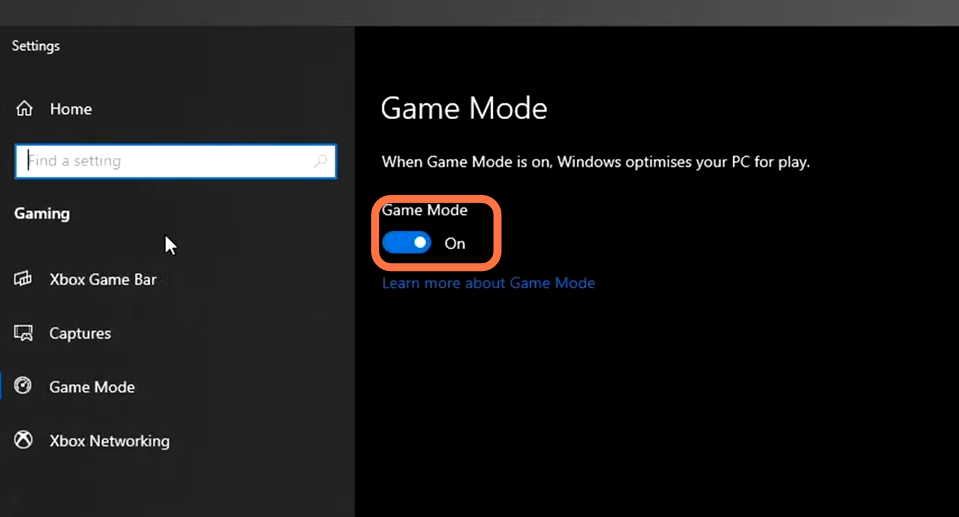
7.5) After that, go to the Search button, type “game mode settings” and open that folder.
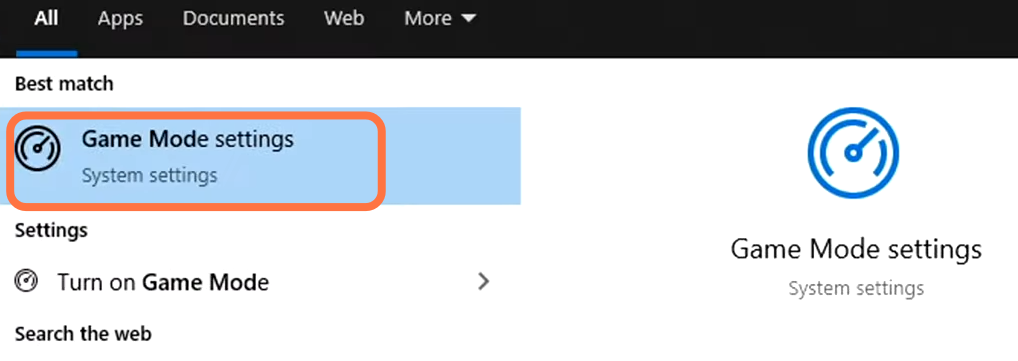
7.6) You have to make sure that your Windows game mod is enabled.
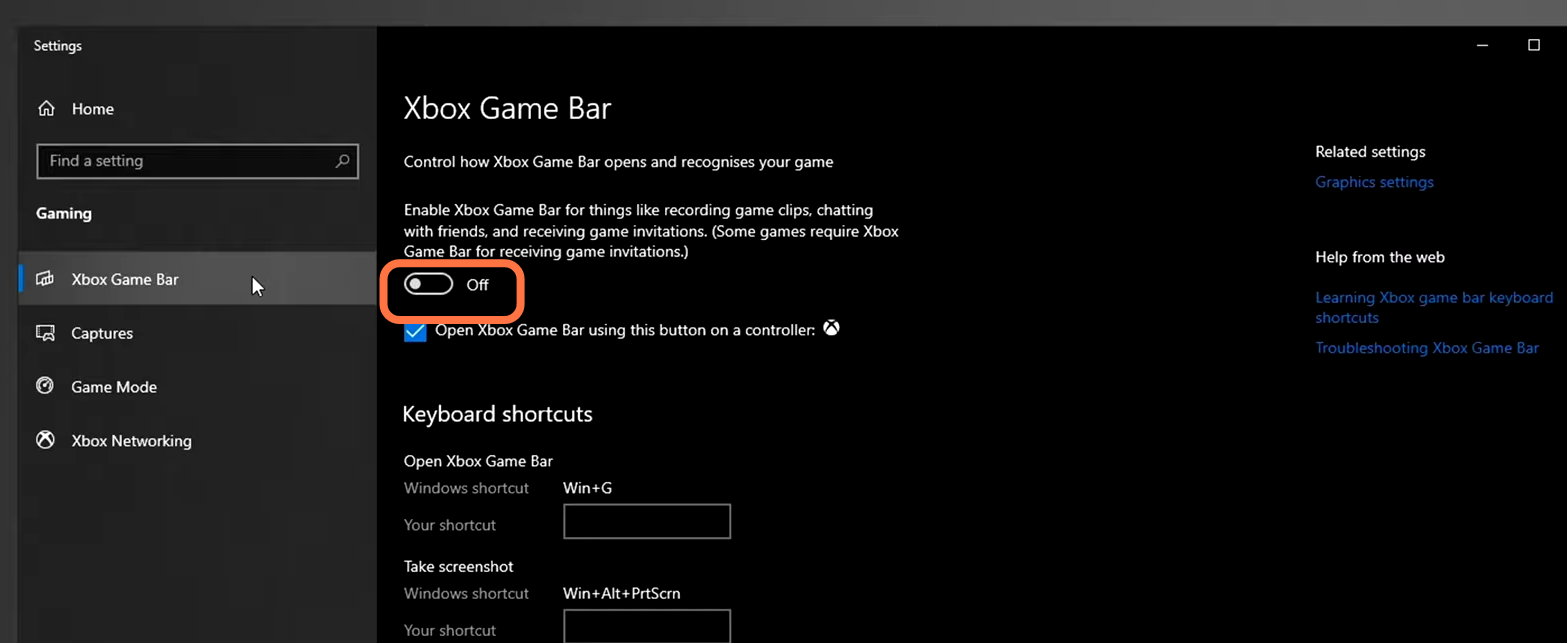
7.7) Go to the Xbox game bar and switch the following setting off.
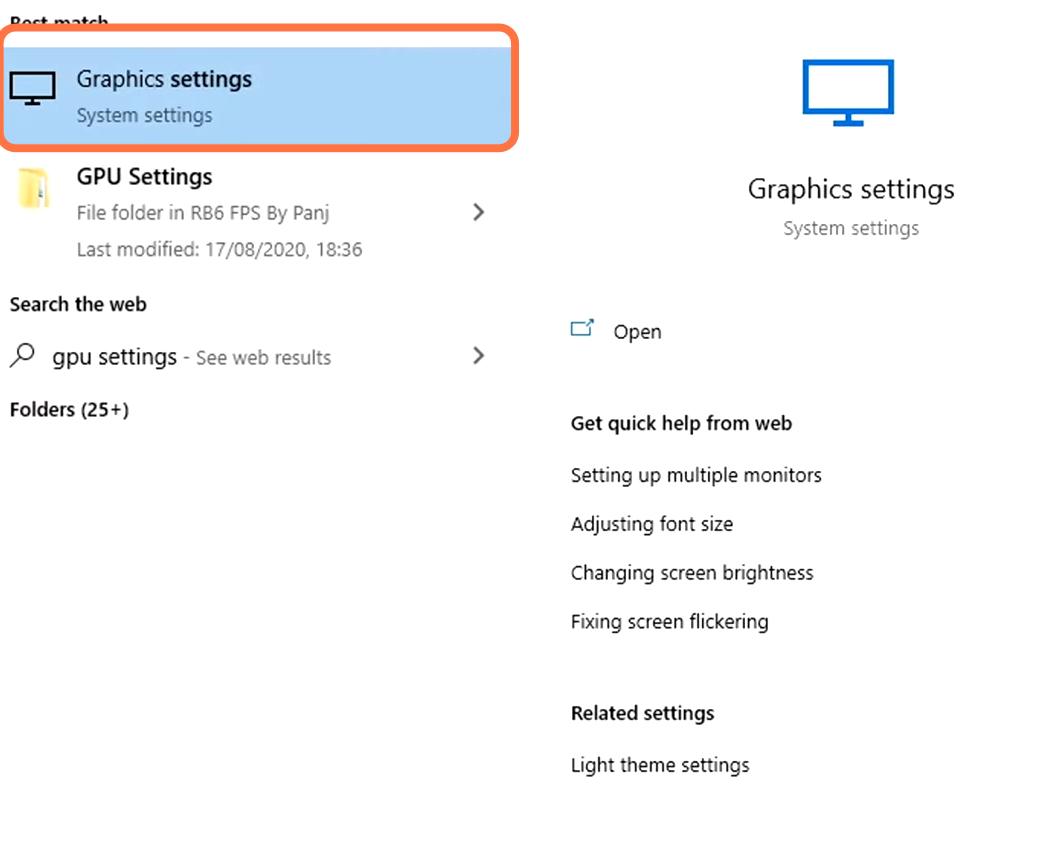
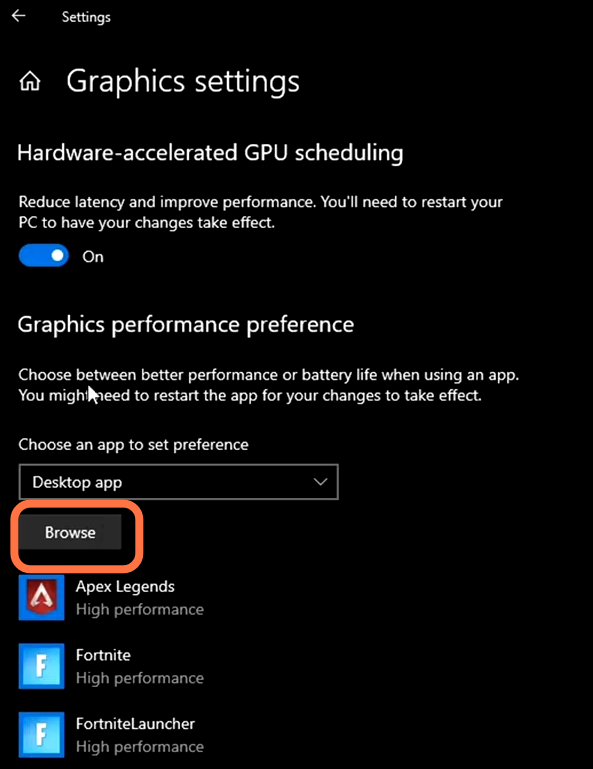
7.8) After that, head back to the search bar, search “graphic settings” and open that folder.
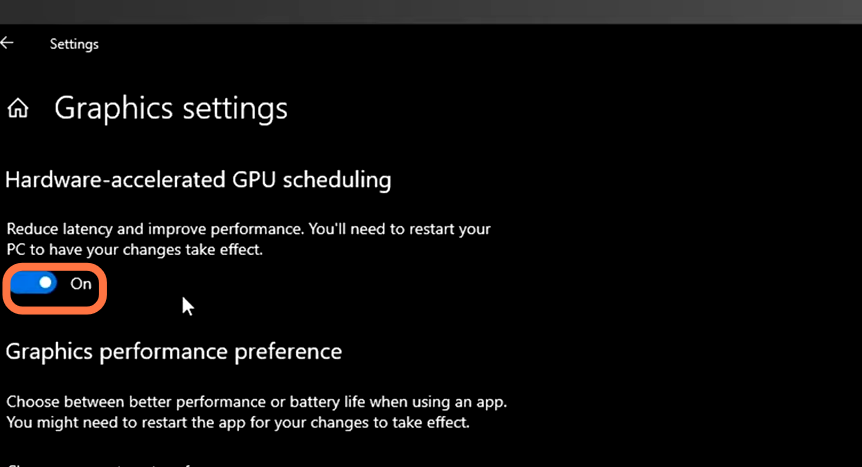
7.9) If your Windows and all of your graphic card drivers are fully updated and you are using the compatible hardware, then you will have the option of Hardware- Accelerated GPU scheduling. Make sure it is turned on.
7.10) After that, click on the Browse button under Graphic settings.
7.10) And then tap on “This PC”.
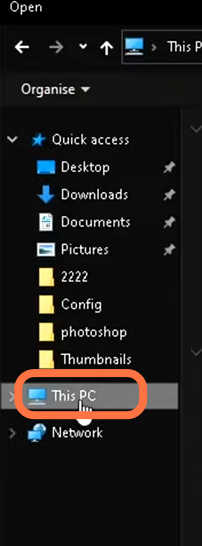
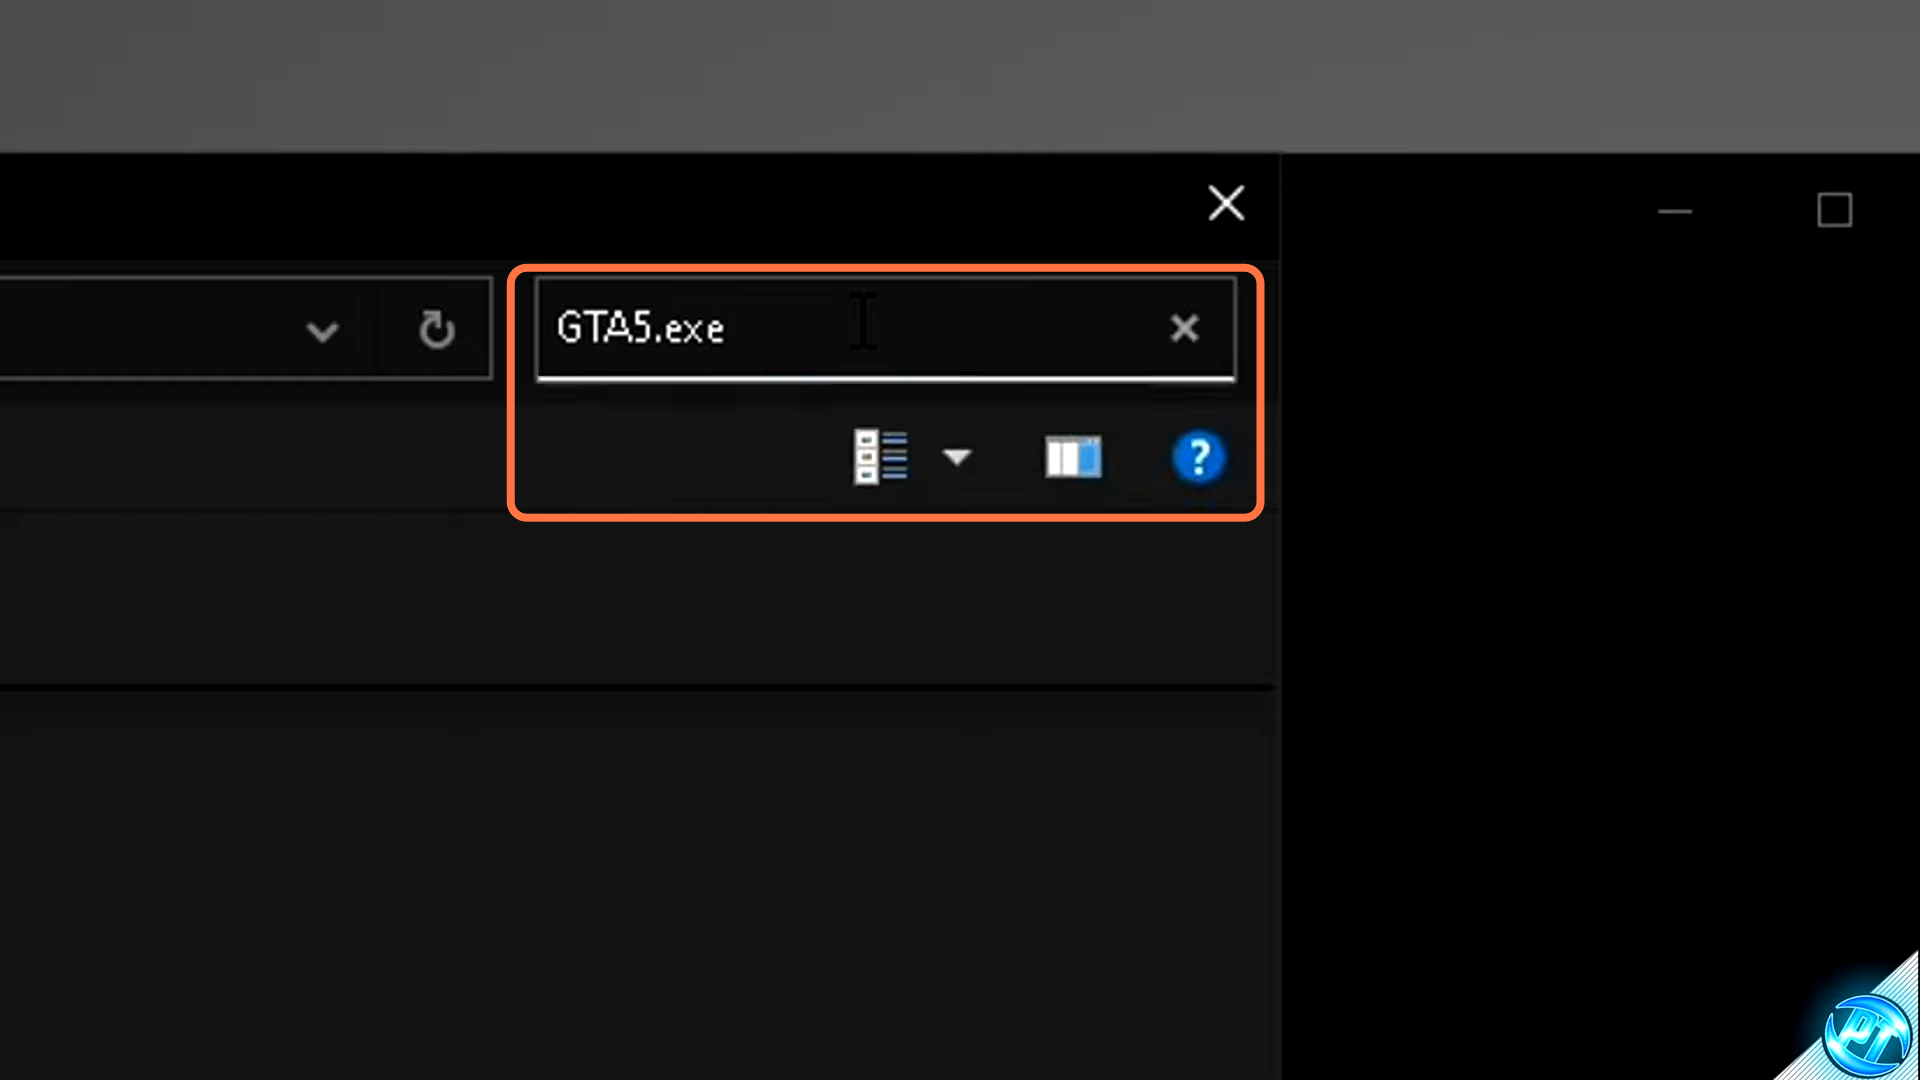
7.11) Go to the right top corner of the screen and you will see a search bar. Type GTA5.exe in it and press enter.
7.12) Now you may have to wait for a few minutes. When GTA 5 appears on the screen, click on it and then press Add.
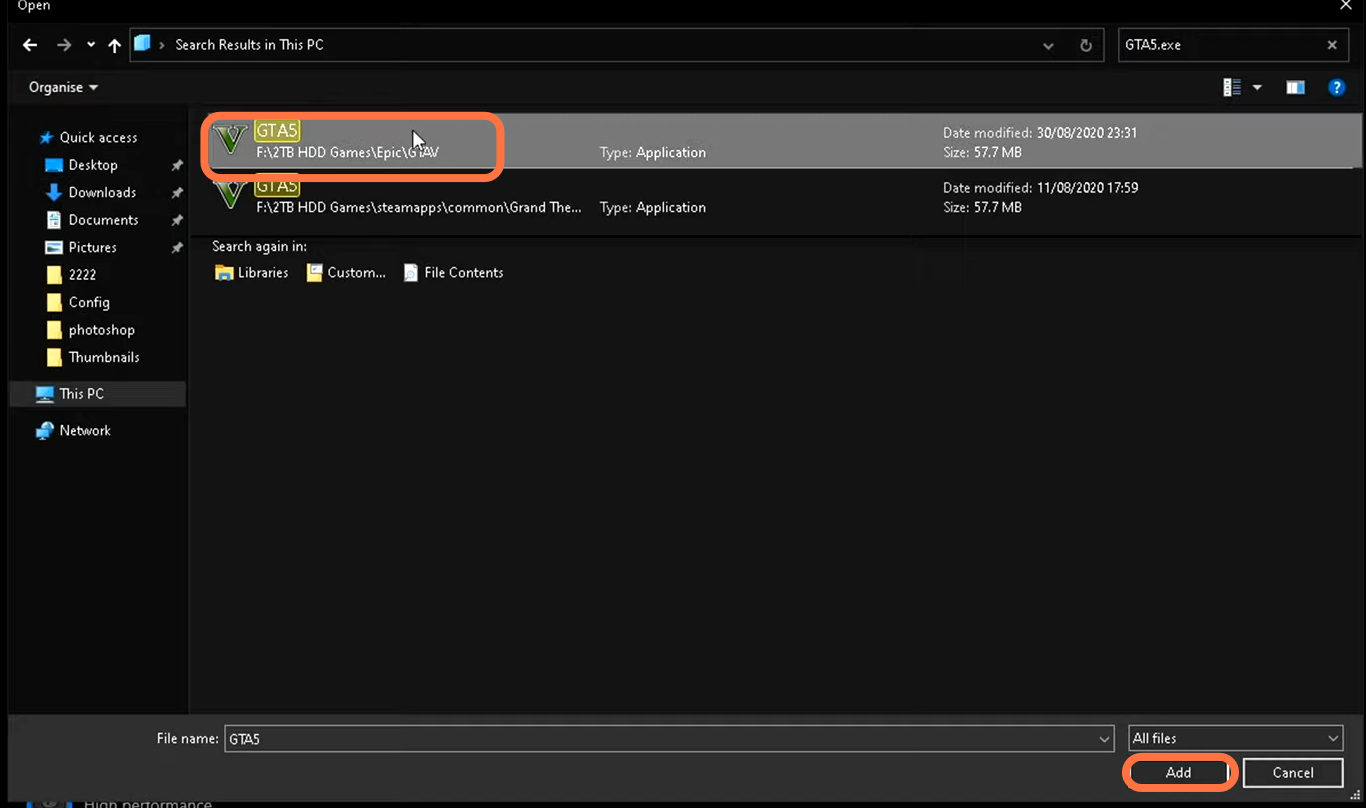
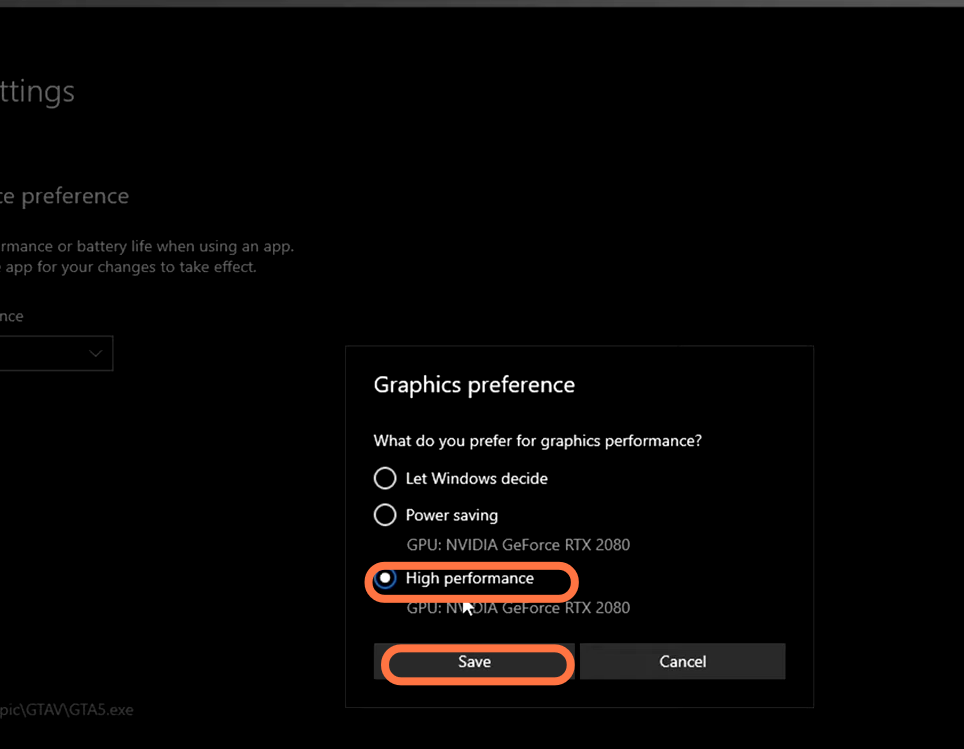
7.13) After that, navigate down to the options menu and make sure that high performance is selected. Then click on Save and close that window.
Optimize Windows Power Plan
You have to your graphics high-performance power plan to optimize it.
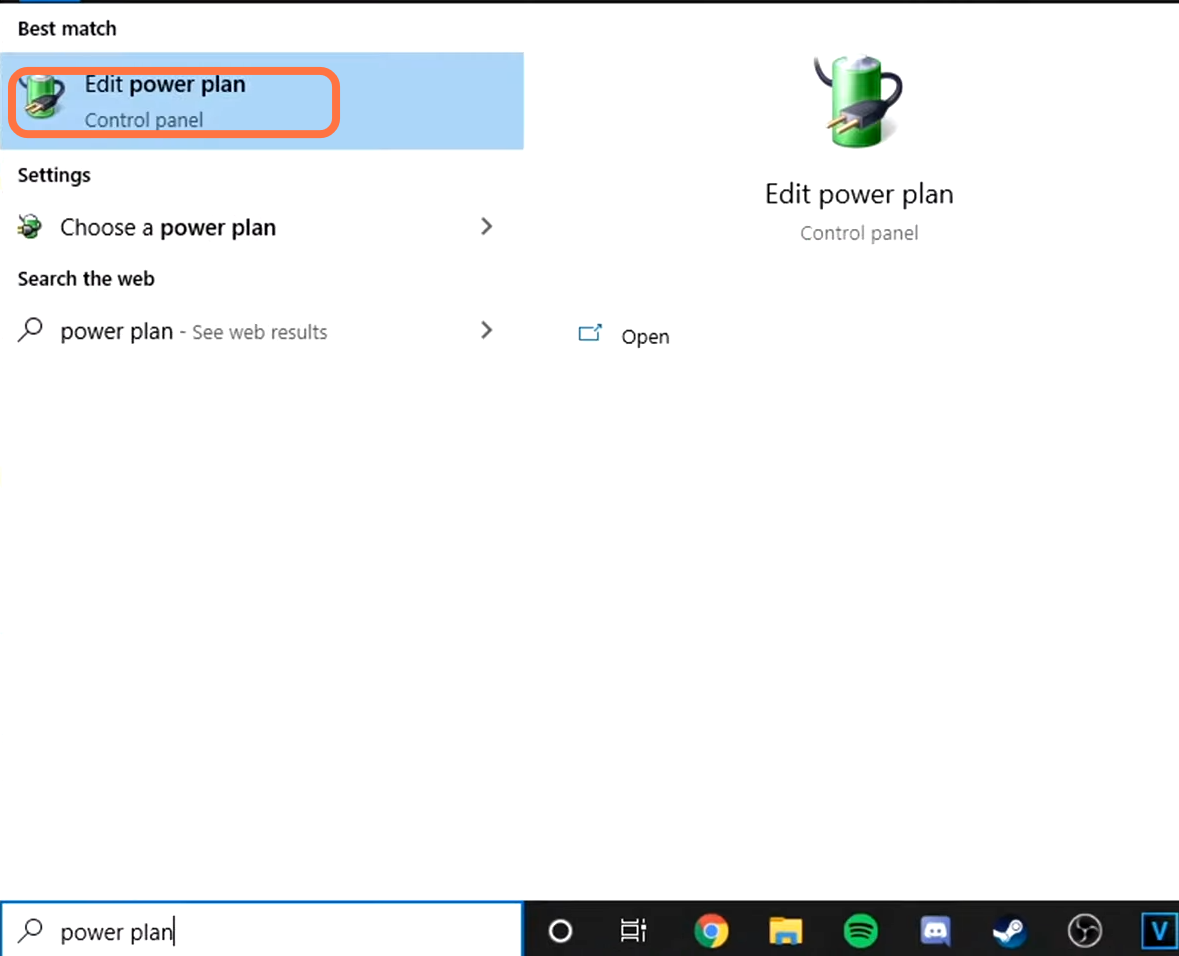
8.1) For this, you will need to go to the search, type “edit power plan” and open it.
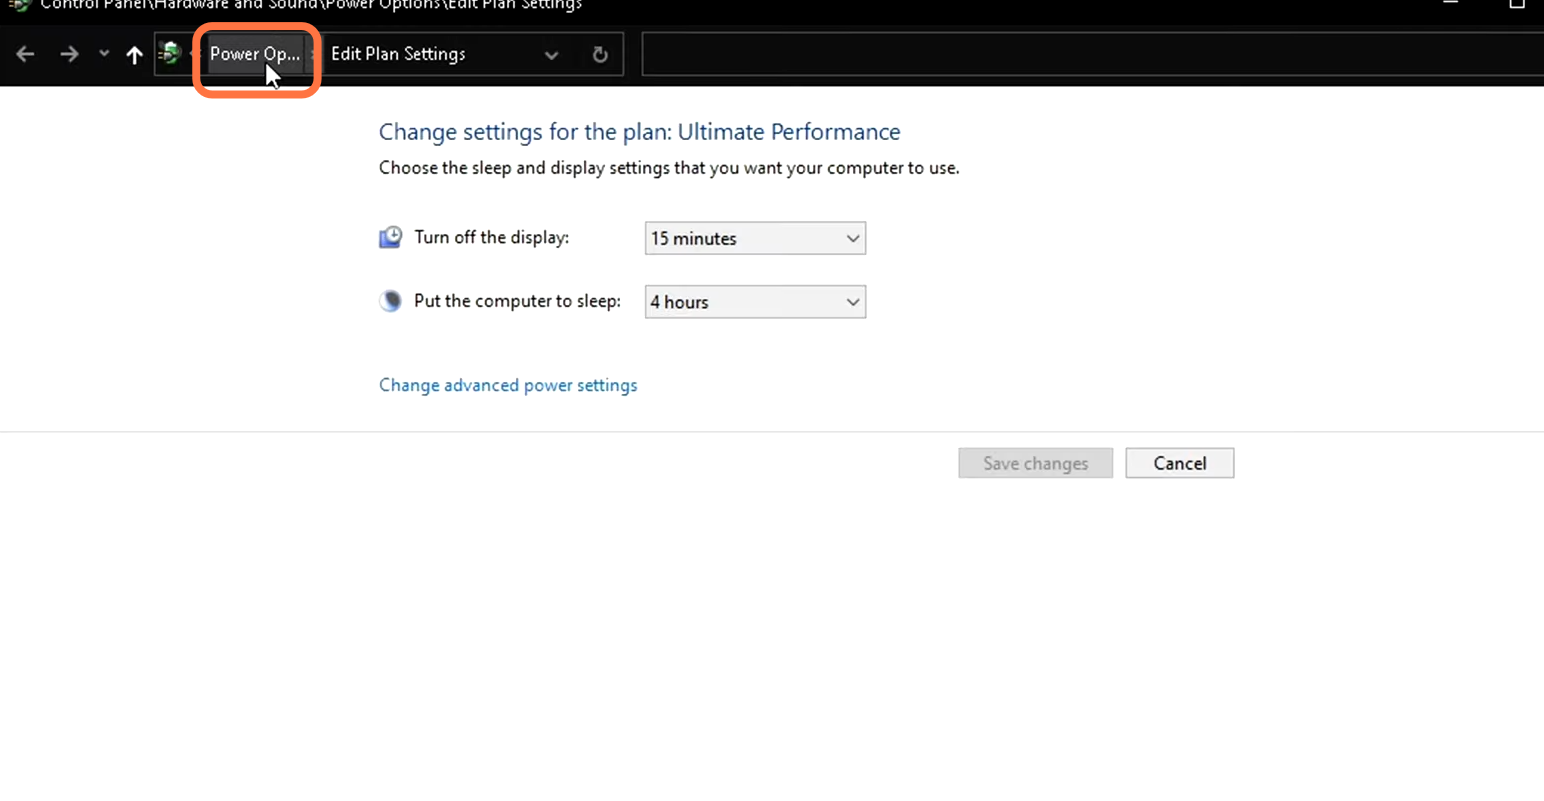
8.2) After that, go to the navigation bar and click on power options.
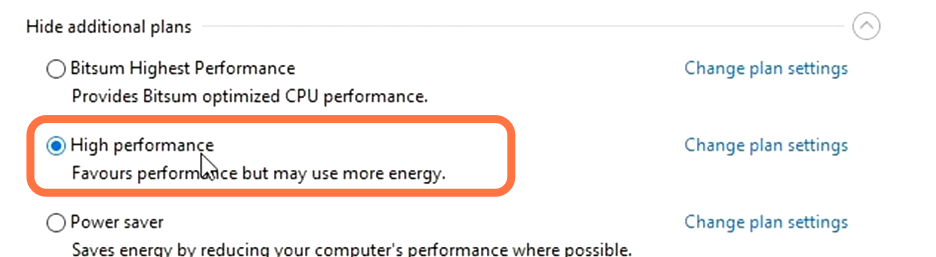
8.3) Go down to “Hide addition plans” and select High performance for Intel-based systems. In case you have an AMD rizon-based system, then you have to go to the AMD high-performance power plan.
8.4) Now you need to go to the folder that you unzipped in the beginning.
System changes
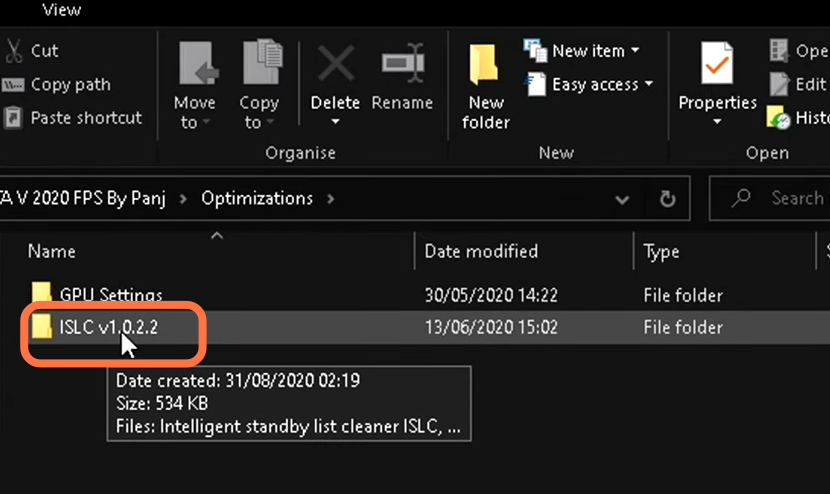
9.1) You will need to go inside the optimizations folder and drag the islc v1.0.2.2 on the desktop.
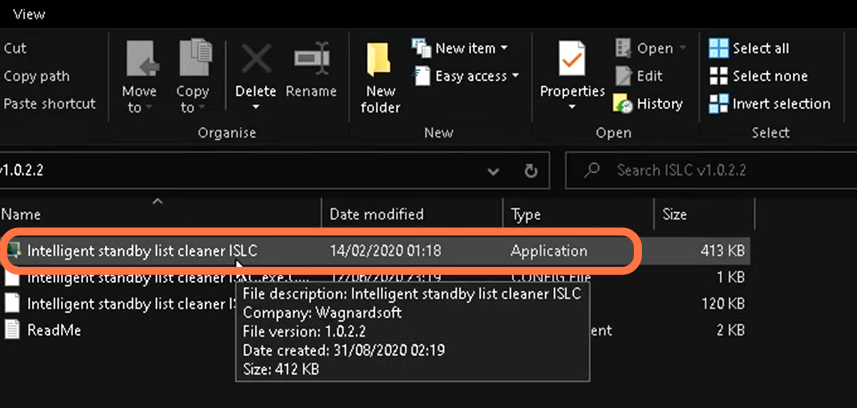
9.2) After that, double click on that folder and you will find the intelligent standby list or cleaner or islc.
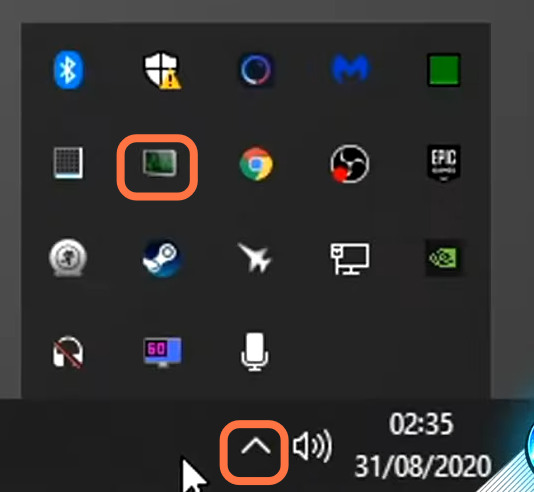
9.3) To open this program, you need to go to the bottom right-hand side of the taskbar, click on the small arrow and a new menu will appear. Then double click on the green monitor in that menu.
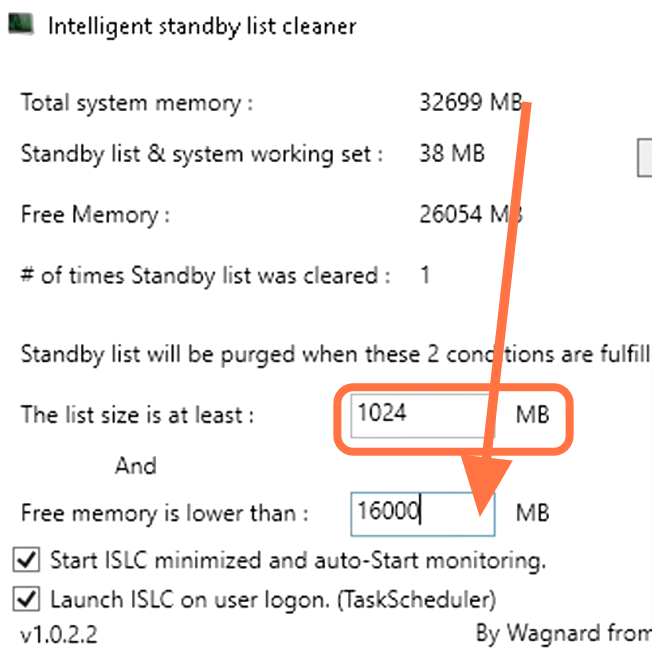
9.4) To set the program, you have to go to the first box on the left-hand side and set this to 1024. After that, go to the second box in which you have to enter a number half to the amount of the number written in the Total system memory.
9.5) Then go to the right side of the same page and check the “enable custom timer resolution” check box and set the wanted timer resolution option to 0.
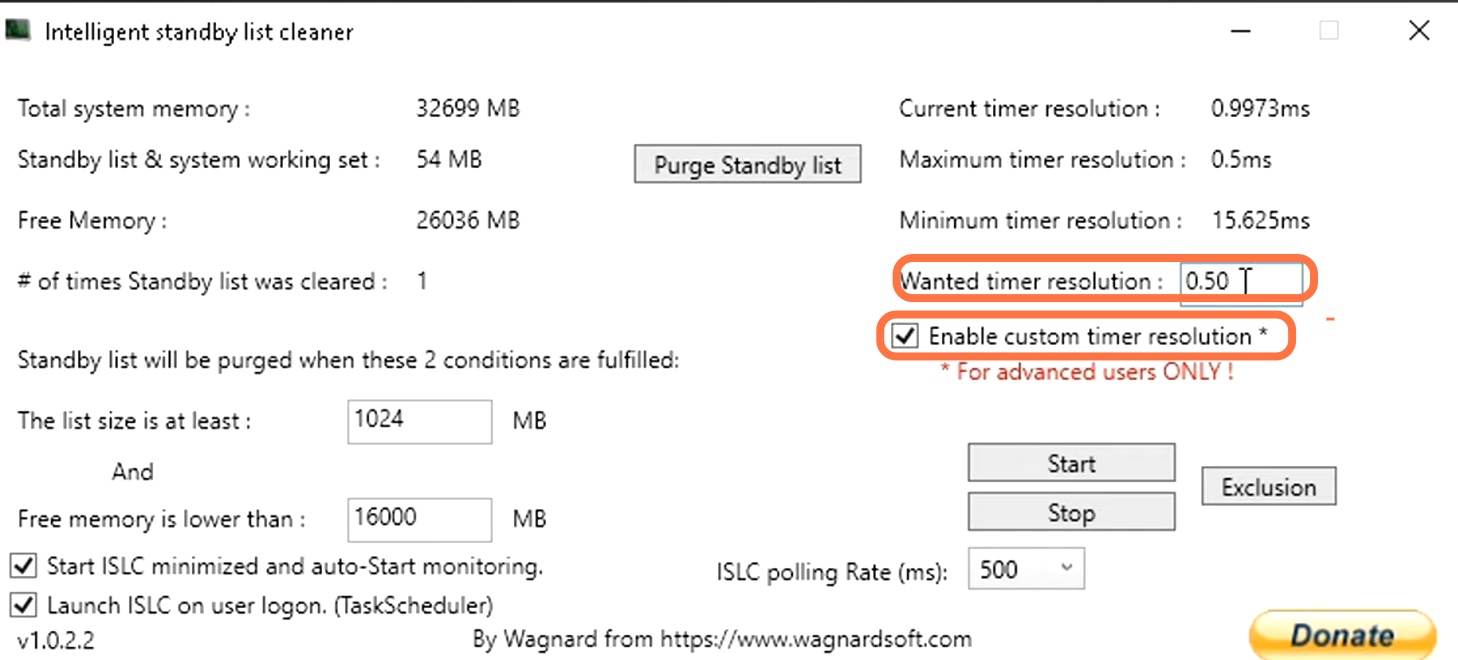
9.6) After that, go to the ISLC polling rate option on the same page, go to the drop down menu and set this to 500. After that, click on the Start button and then tap on the “Purge standby list”. Then you need to minimize it.

Game settings
You have to head back into the game to finalize your game settings.
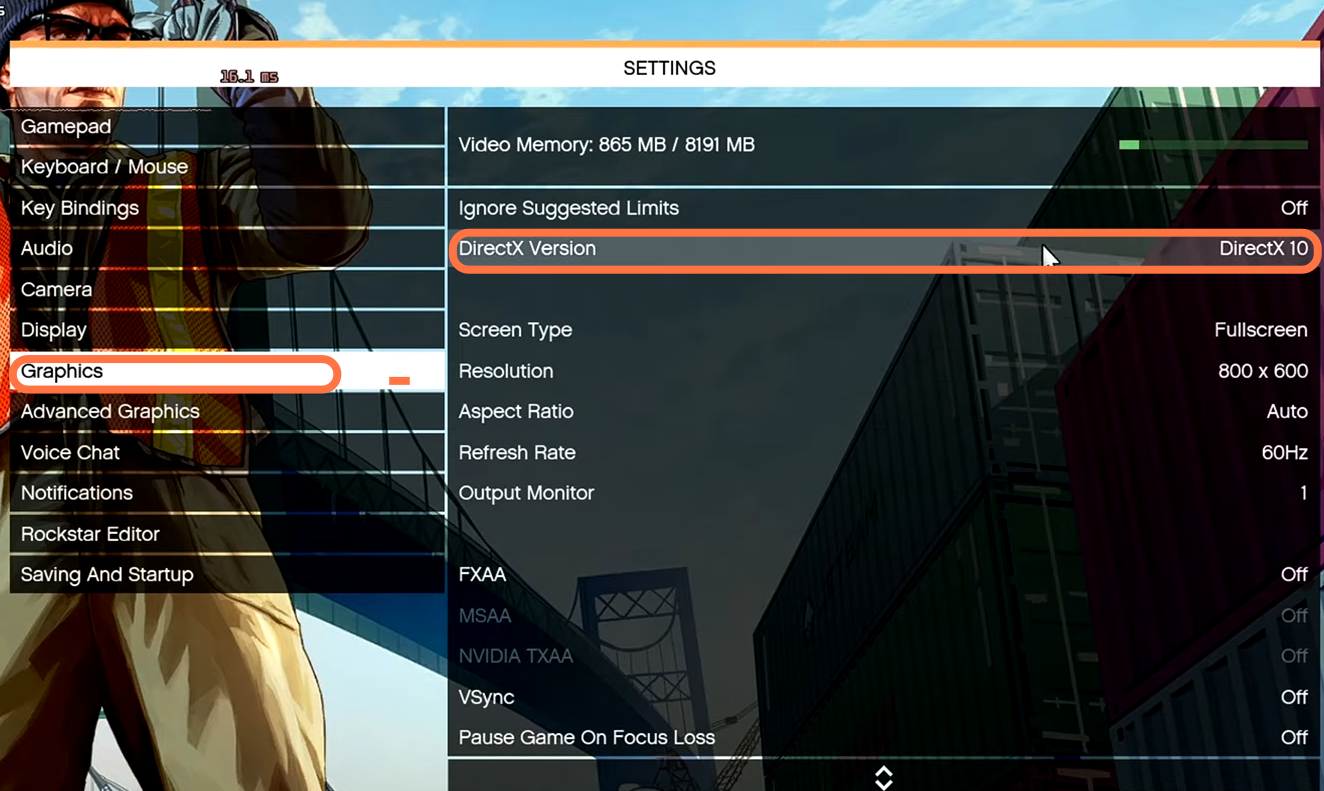
10.1) Navigate down to the setting tab on it, scroll down to the graphics tab and go to the direct x version. You need to set this to 10.1.
10.2) Go down to the screen type, set this to Windows borderless if your pc is on the high-end side.
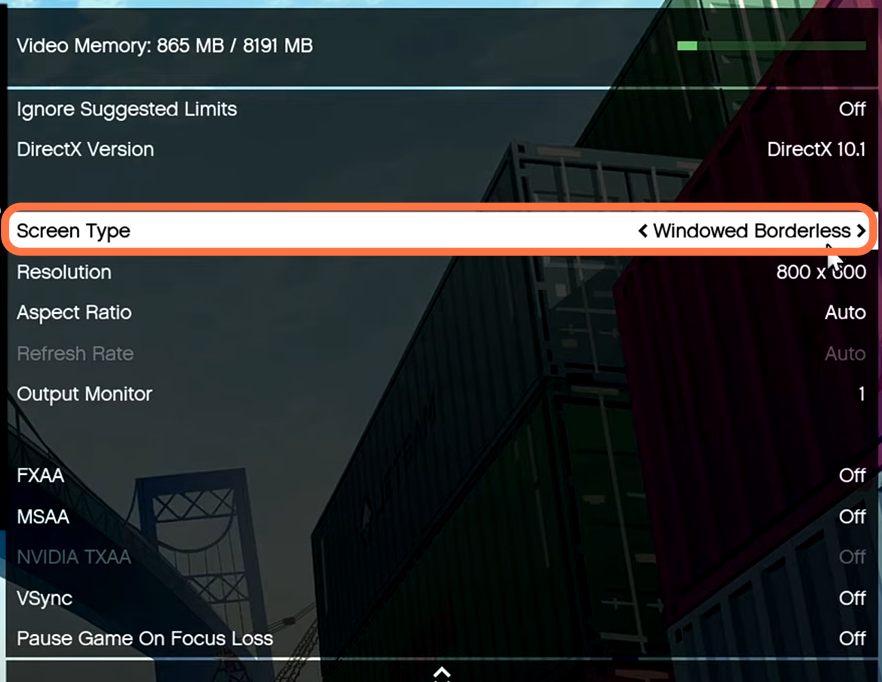
10.3) Then you have to go down to resolutions and set this as per your system’s specs and keep fxaa off.
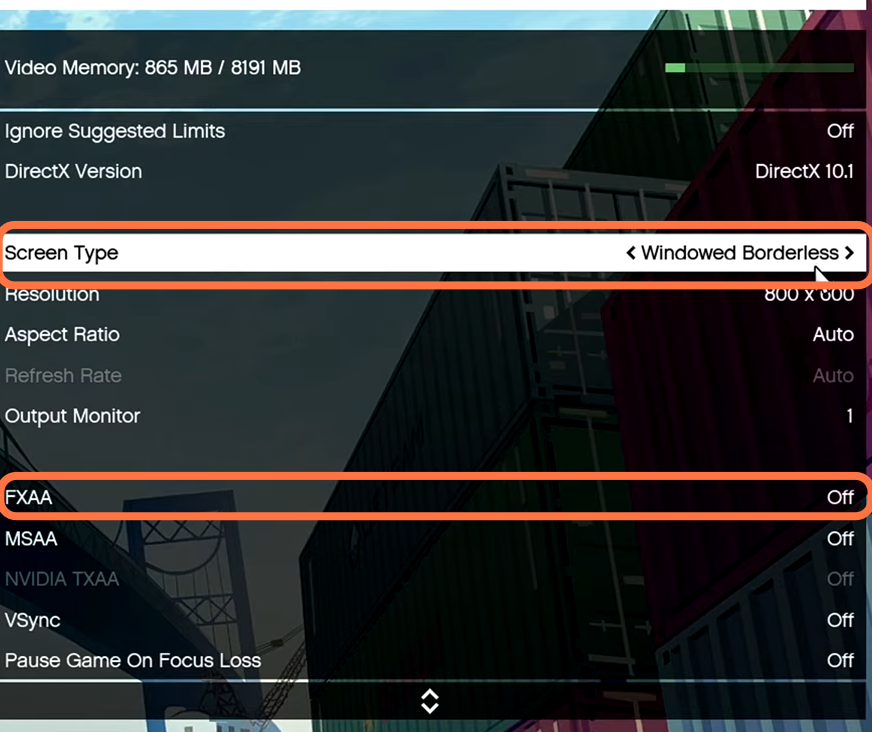
10.4) You have to keep vsync off as it causes heating issues.

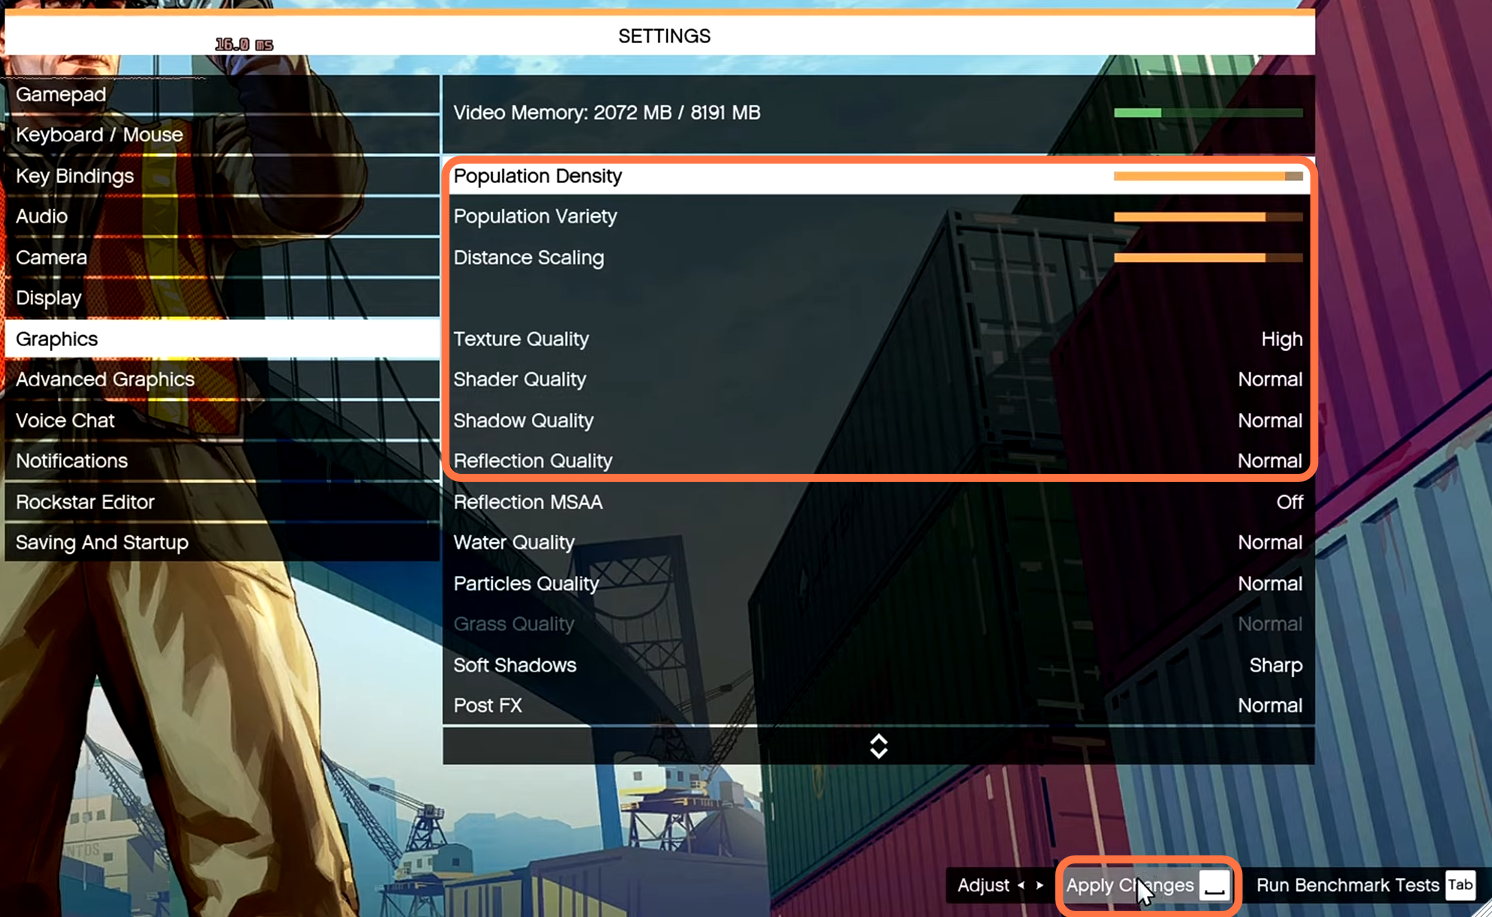
10.5) After that, go down to the population density settings and you have to keep all the settings the same, you can set them to normal. After that, click on Apply.
10.6) Go to the advance setting, and make sure that “long-range shadows”, “high-resolution shadows” and “high range streaming during playing” are turned off.
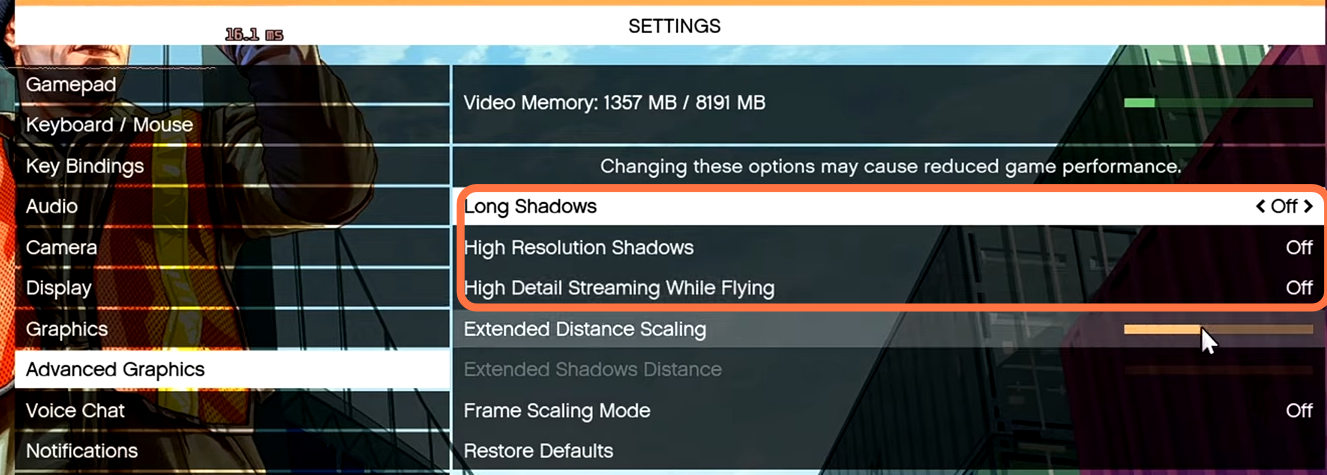
10.7) You can set the extended distance scaling to half and set the frame scaling mod according to your PC.