In this guide, you will find out how to install the Fuel Mod in GTA San Andreas. Go through the guide and follow the step-by-step instructions to install it.
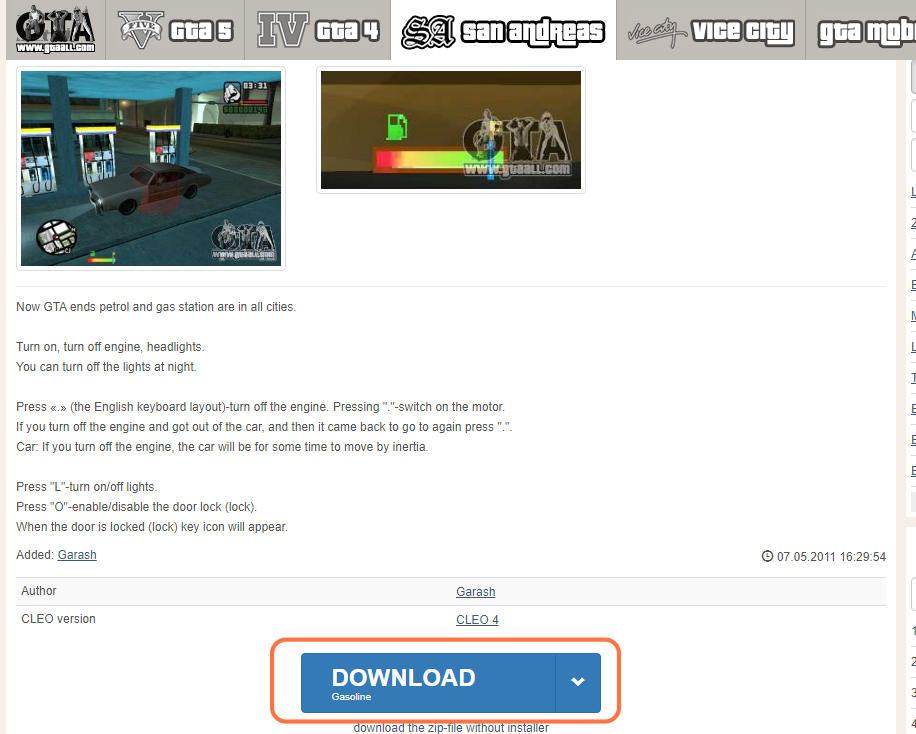
2. You will require a Library for this mod to work which is “CLEO 4”. You can download it from “https://www.gtaall.com/gta-san-andreas/cleo/1074-cleo-4-gta-san-andreas.html“. Once you have downloaded the required file and the Fuel Script Mod, you have to go to the downloads folder and paste them on your desktop. Extract all the files using WinRAR or 7zip archiver.

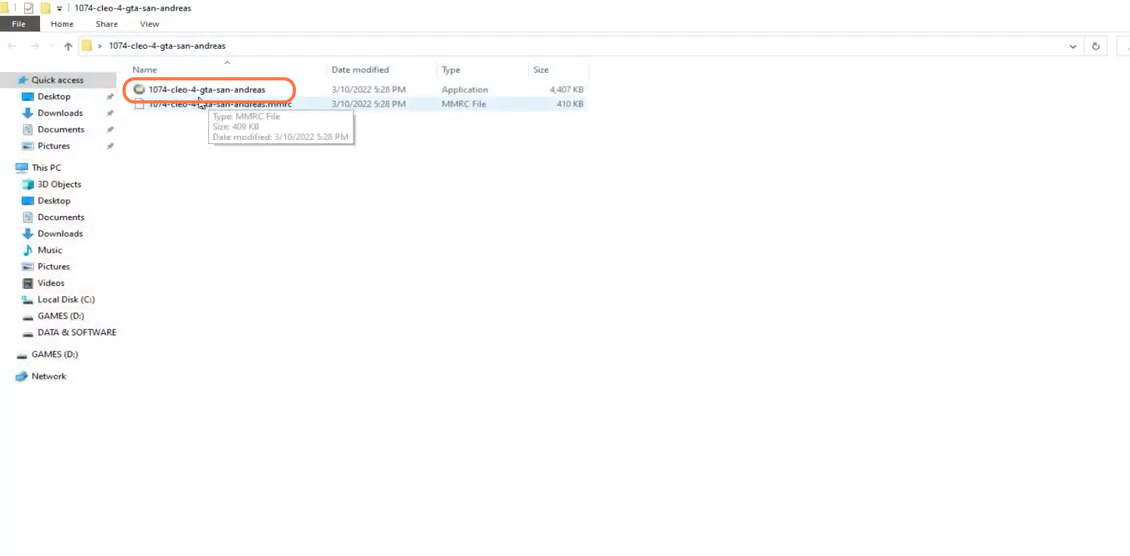
3. Now you need to open the “CLEO 4” folder and run the application file from it.
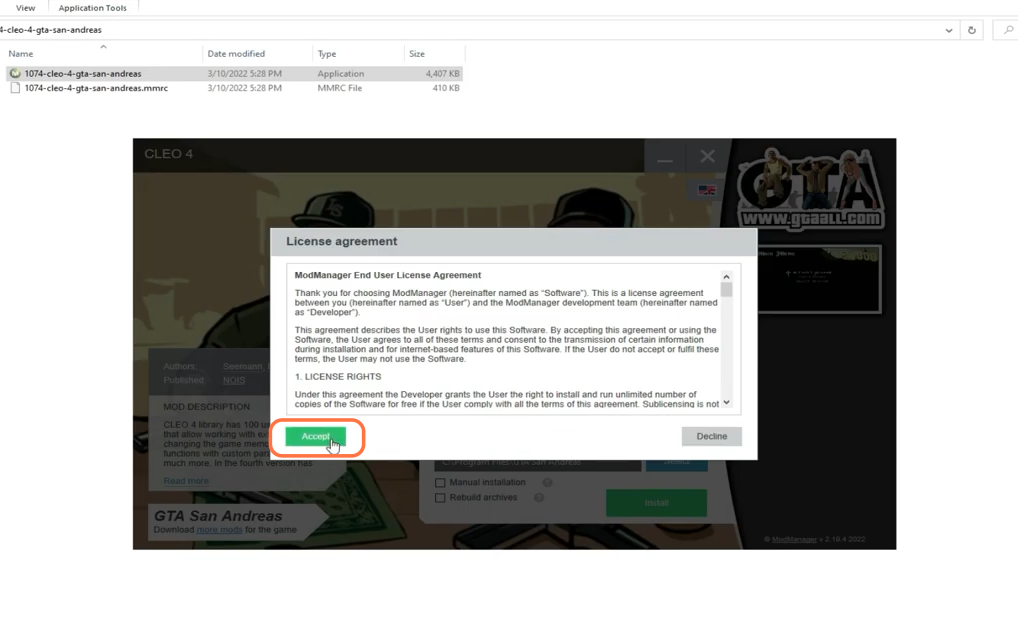
4. Click on the Yes button and then press the Accept button for the license agreement.
5. After that, click on the Select button, navigate to the GTA San Andreas game directory and click on the “Select Folder” button.
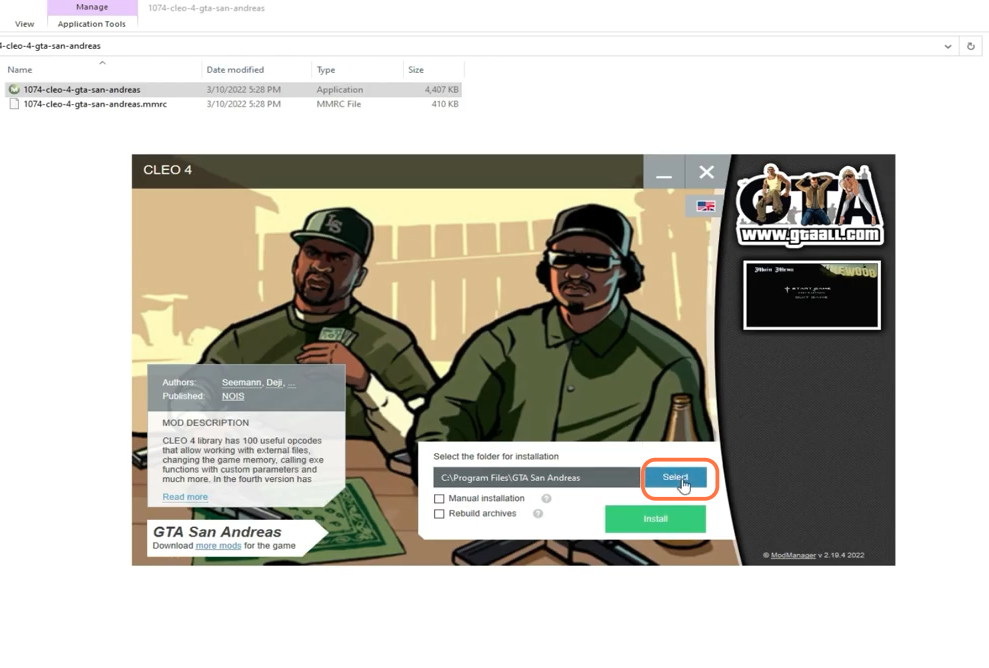
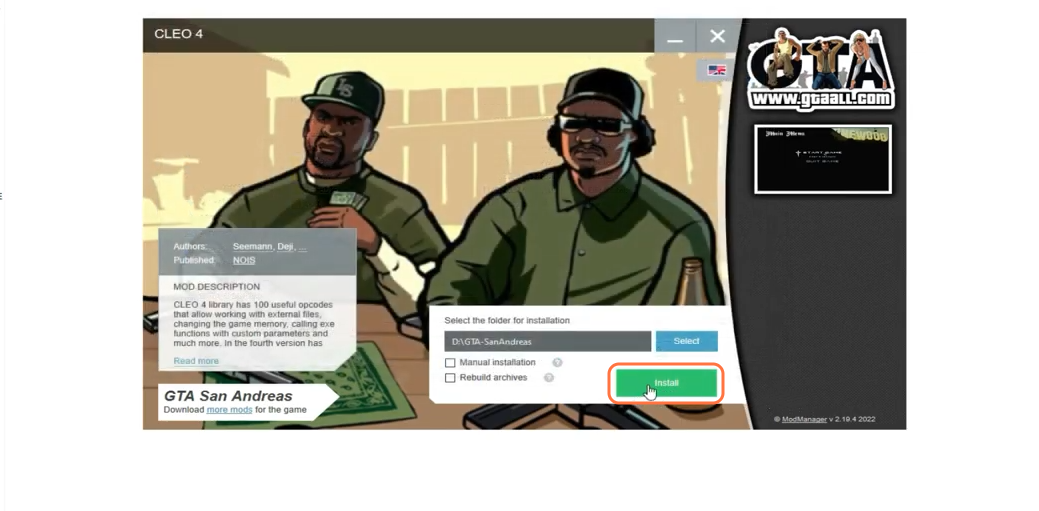
6. After selecting the folder, you need to click on the Install Button.
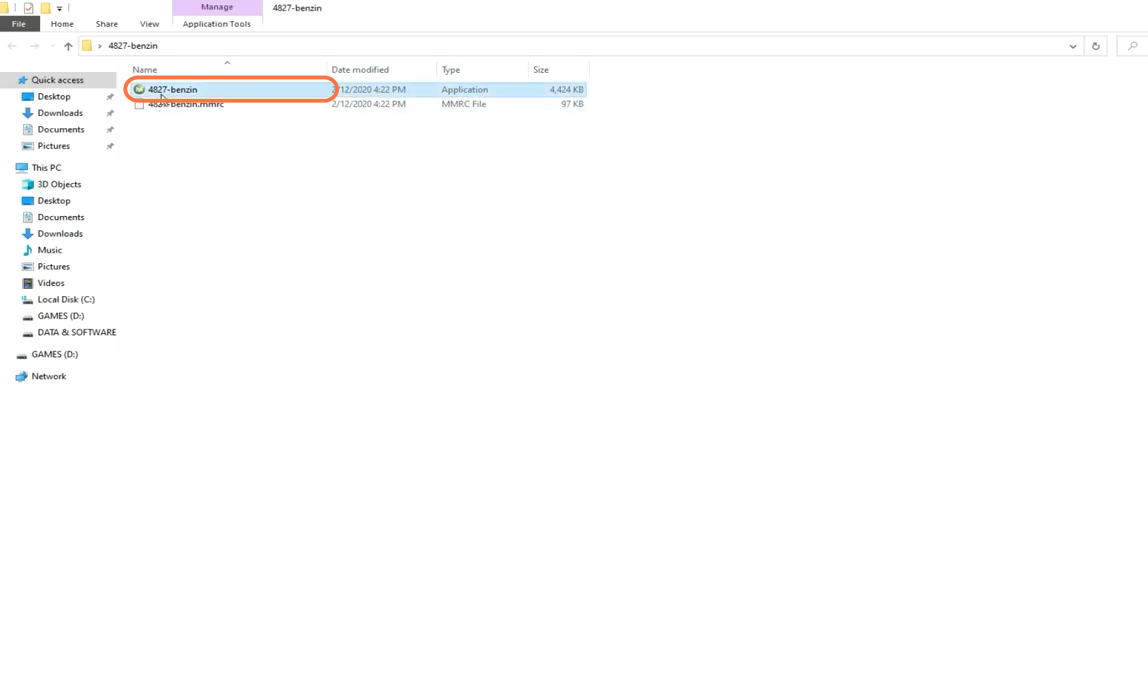
7. Now let’s install the fuel mod in the GTA San Andreas. Open the downloaded folder for fuel mod and run the application file from it.
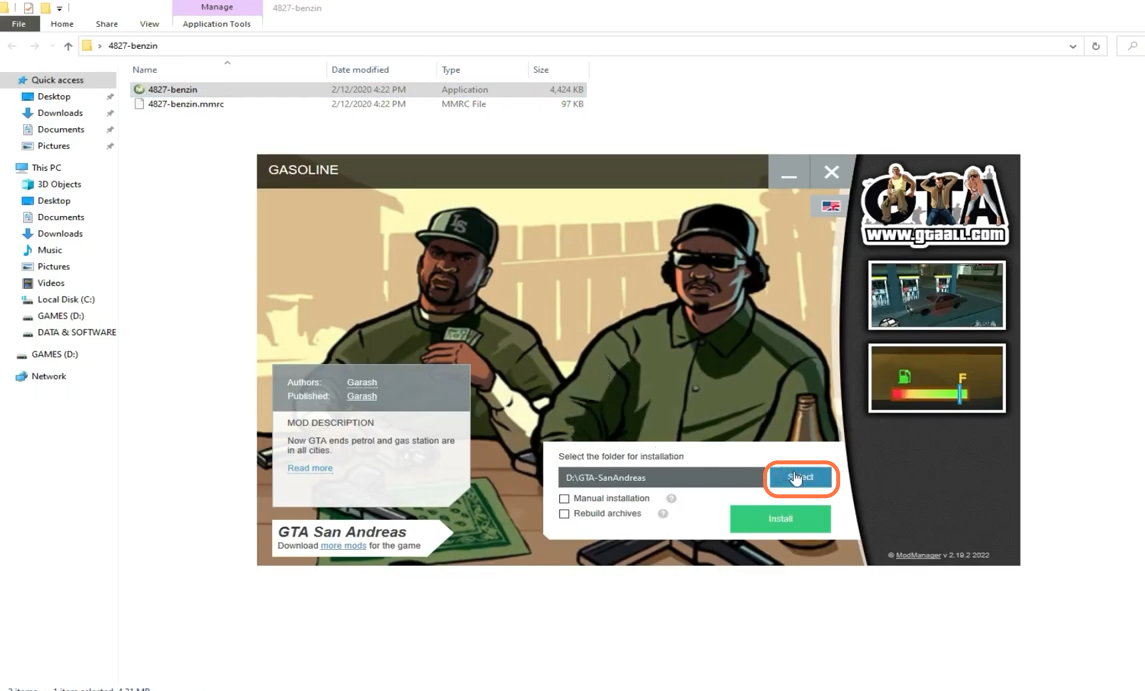
8. Then click on the Select button, navigate to the GTA San Andreas game directory and then click on the “Select Folder” button as you did earlier. Then after selecting the folder, click on the Install Button.
9. Now the mod has been installed successfully, so you can open your GTA San Andreas. Once you spawn in the game, take a car to drive and you can see the fuel bar near the minimap.