The Interiors V in GTA 5 brings unique spaces and areas within the game. This step-by-step guide will walk you through the process, ensuring you can seamlessly integrate this mod into your gameplay.
Step 1: Prerequisite
Ensure you have ScriptHook V and ScriptHookVDotNet installed. If you haven’t done this yet, visit the respective pages to get them first.
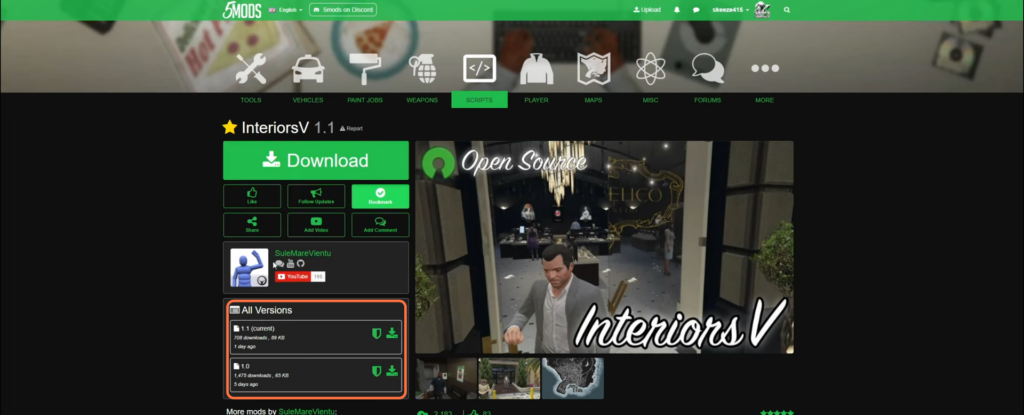
Step 2: Download Interiors V Mod
Visit the gta5 mods website and select the green arrow to start downloading Interiors V. Save the file to your preferred location.
Step 3: Set Up GTA 5 Directory
Open your Grand Theft Auto 5 directory. Ensure all the requirements are installed and ready within this directory.
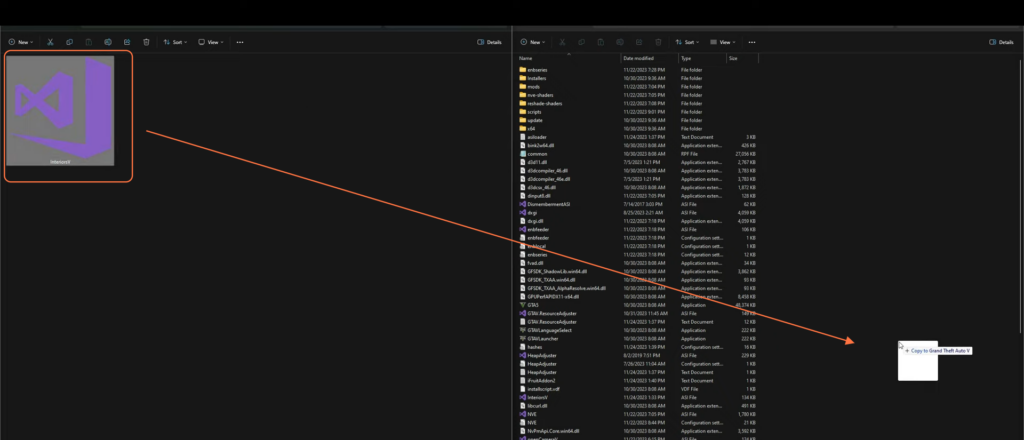
Step 4: Access Interiors V Folder
- Open the Interiors V folder that you’ve downloaded. Inside this folder, locate the main file (.asi file) associated with Interiors V.
- Copy this specific file from the Interiors V folder and paste it into your GTA 5 directory. Confirm the successful transfer of the file.
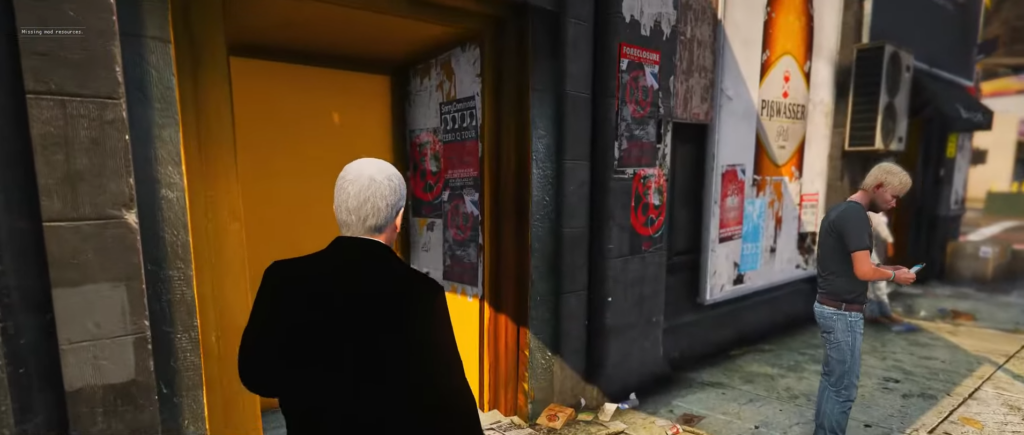
Step 5: Launch the Game
Minimize any open windows and launch the game. Upon spawning in the game world, begin exploring the locations listed on the Interiors V download page. The newly added locations within the game provided by the Interiors V mod are worth visiting.
By following the above steps you can easily download and install the latest version of the Interiors V mod in the GTA V.