This guide explains the method about how you can remove the lag spikes and increase FPS on Minecraft. Optifine and Java need to be downloaded in order to fix this issue. Afterwards, all the configurations are mentioned in detail in the guide below.
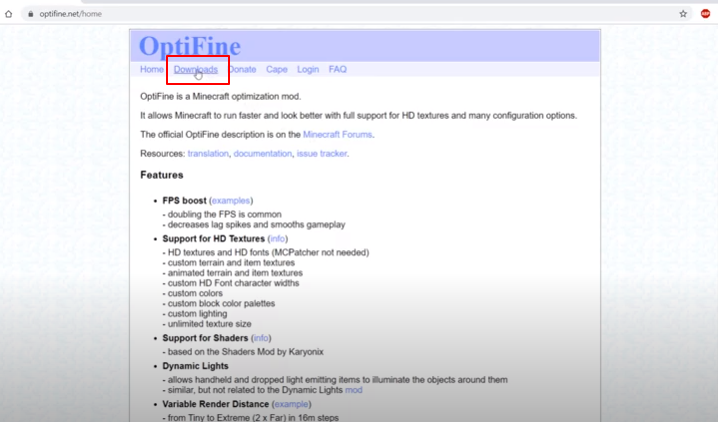
In this guide, you will get to know how you can remove the lag spikes and increase FPS on Minecraft. Firstly, you have to move to optifine.net and click on the Downloads tab.
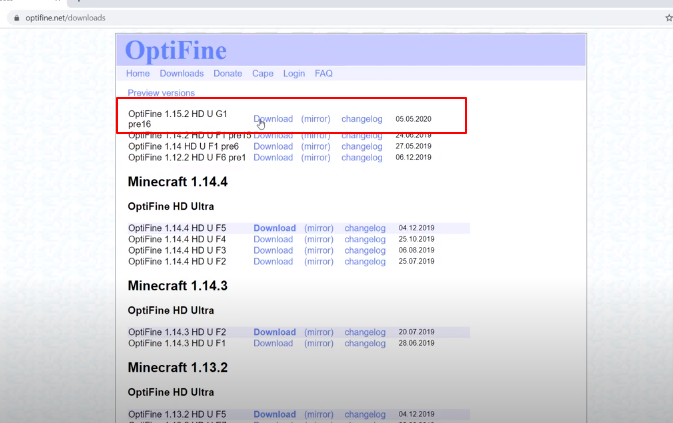
Now you have to download the latest optifine version. Click on the Download button next to release 1.15.2 HD which is the latest release.
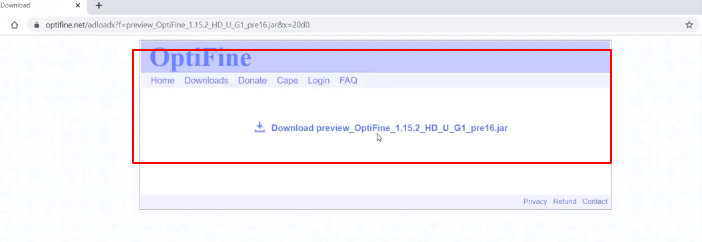
Within 5 seconds, you will be redirected to a page which will contain Ads. You are supposed to click the Skip button.
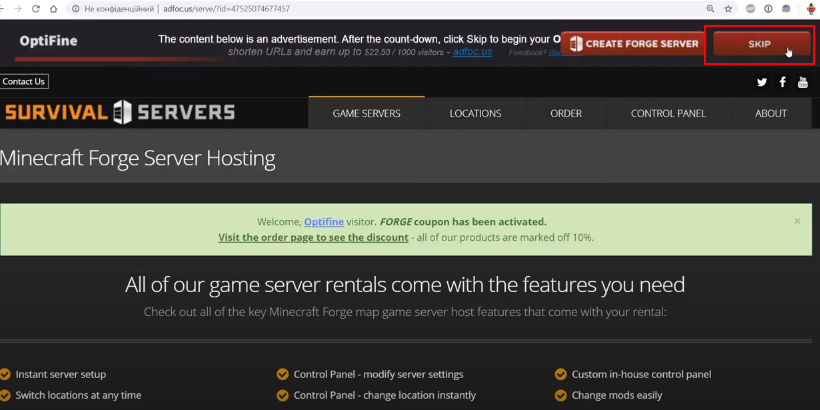
Once you have done it, then click the download option.
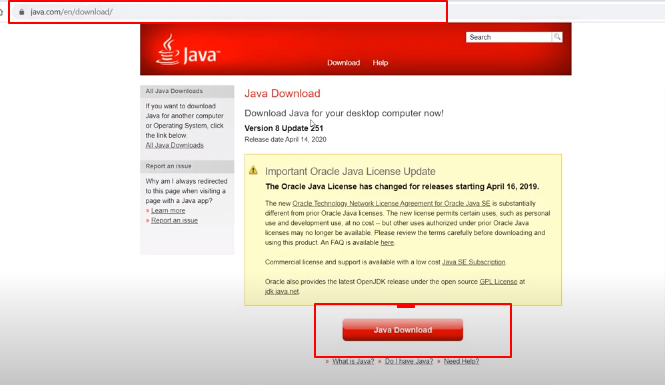
After you click on download, save and open the file. It is well and good if the file opens but if it doesn’t open, then you need to install Java. Let’s consider a situation in which you will have to download Java. In that case open java.com/download. A page open and you will need to click the Java Download option.
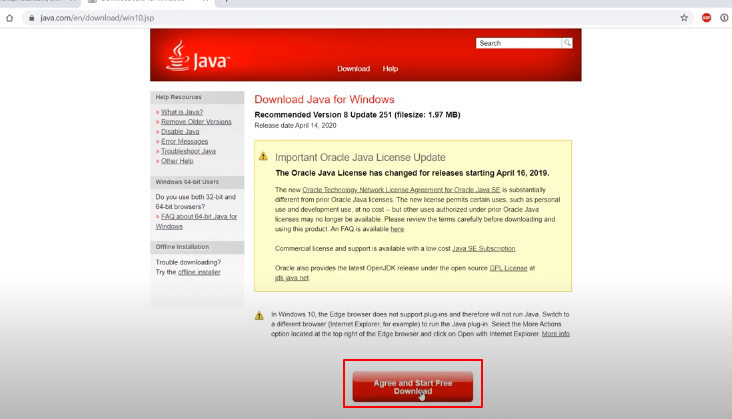
After that, click on Agree and Start Free Download.
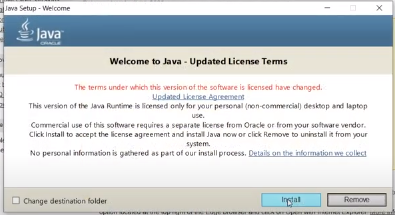
After downloading the Java file. Open it and click Yes. Then click the Install button.
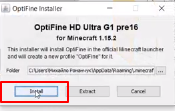
Once Java gets installed, now you have to open the optifine installer which you downloaded earlier and click on the Yes option.
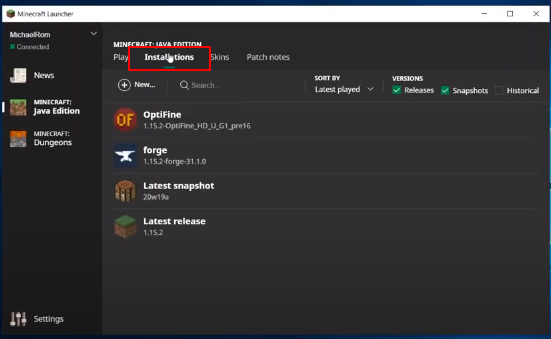
After installing Optifine, then you will have to open the Minecraft launcher and click on the Installations tab.
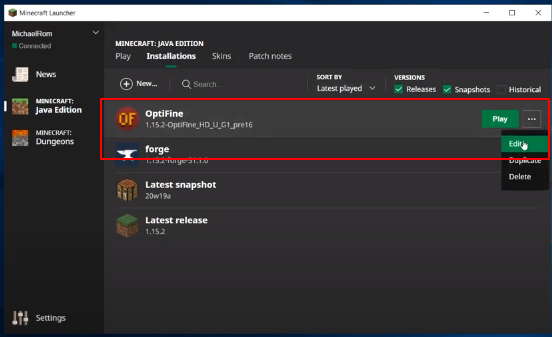
Then click on the three dots next to Optifine and click on the Edit option.
After that, you will need to click on More options and scroll down.
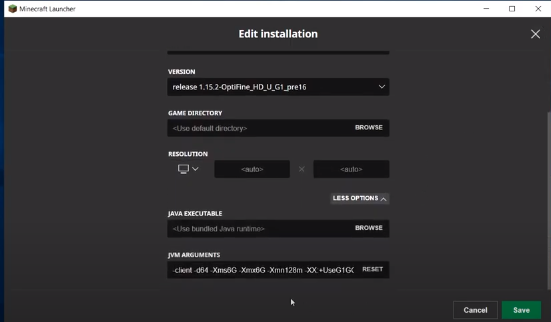
Right click on the current JVM arguments and click the Select All option.
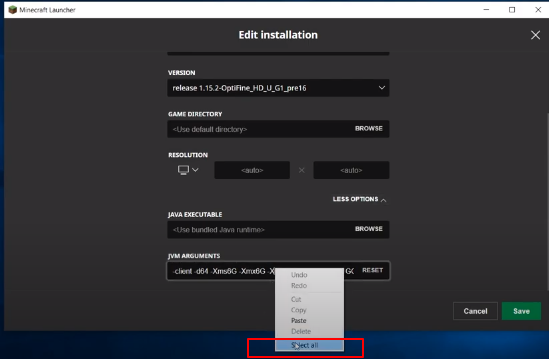
You need to copy these arguments and paste them on the JVC Argument section.
-Xms4G -Xmx4G -Xmn128m -XX:+UseG1GC -XX:+AlwaysPreTouch -XX:+UnlockExperimentalVMOptions -XX:MaxGCPauseMillis=100 -XX:+DisableExplicitGC -XX:TargetSurvivorRatio=90 -XX:G1NewSizePercent=50 -XX:G1MaxNewSizePercent=80 -XX:InitiatingHeapOccupancyPercent=10 -XX:G1MixedGCLiveThresholdPercent=50 -XX:+AggressiveOpts
Then edit the -Xms and-Xmx arguments depending on the amount of Ram you have. You can follow these configurations depending on your system.
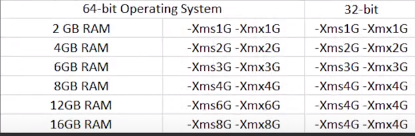
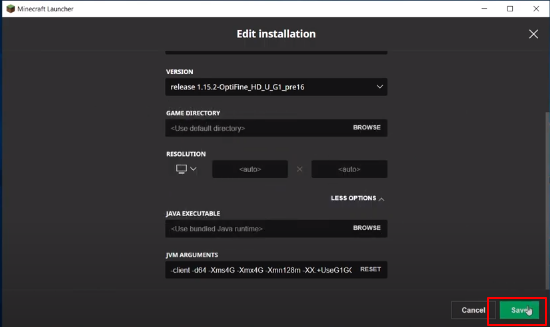
If you are running Minecraft on a 32 bit operating system then the maximum RAM you can allocate is 4 Gigs, then click on the Save button.
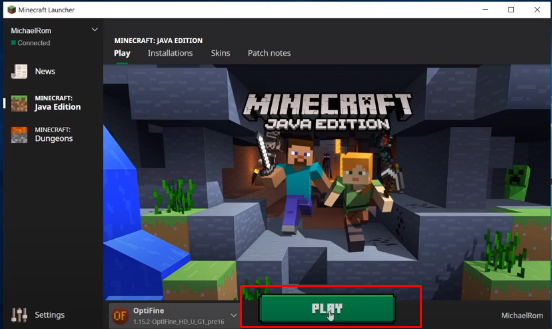
Now you will need to go to the Play tab, select the Optifine release and click on the Play button.
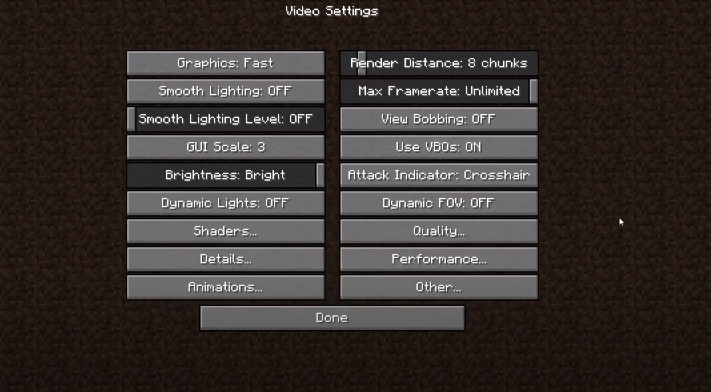
Once the game’s main menu appears, move to Options->Video Settings. Set the “Graphics” to Fast and set “Smooth Lighting” to Off and “Smooth Lighting Level” will be Off as well. “Brightness” should be set to Bright and you can change the “Dynamic Lights” to Fancy depending on your choice.
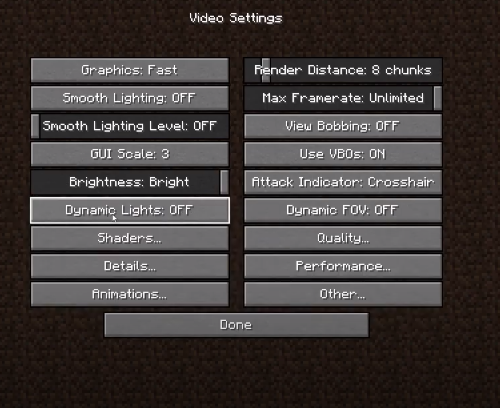
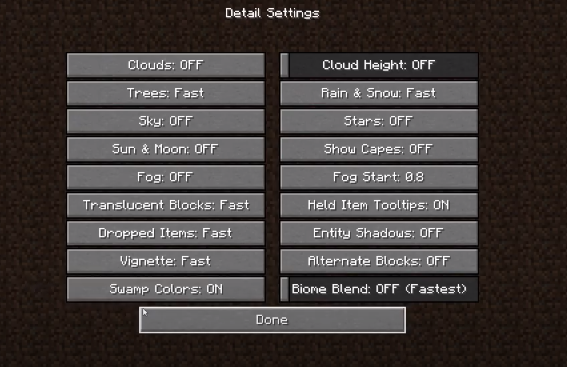
Then click the Details option and set the settings as shown in the image below.
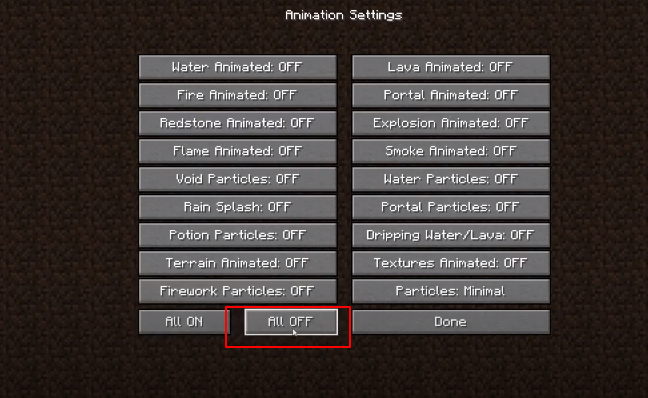
Then move to the Animations tab and turn off all the settings there.
In the case of Render Distance, you will have to check its behaviour using the hit and trial method to check how many FPS you get. Set the “Max Frame Rate” as Unlimited and turn “Use VBO’s” to on.
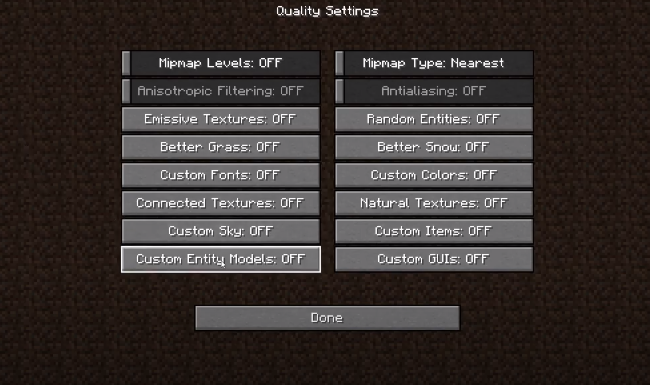
Now click on the Quality option and turn Off the first four settings.
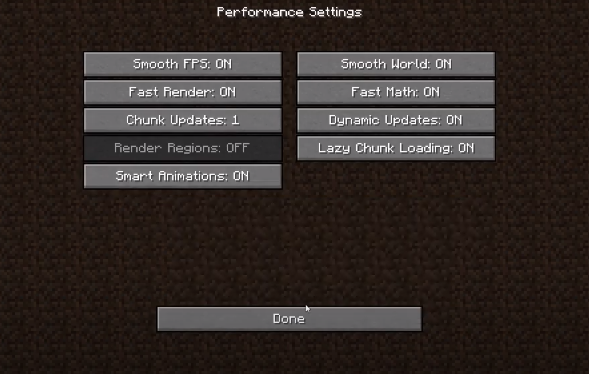
Then you will need to go to the Performance tab which is the most important tab to set up. Set everything here to On and chunk updates to 1.
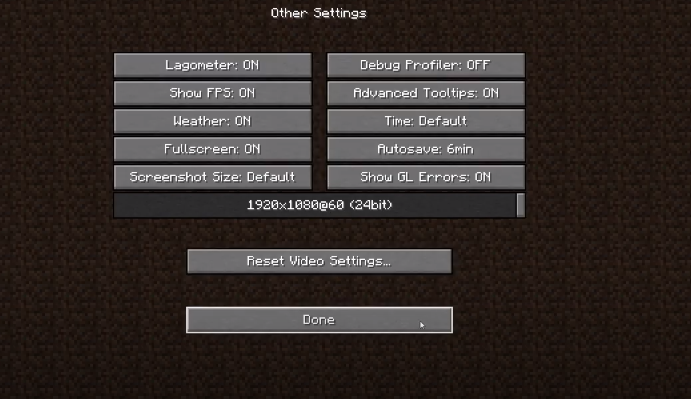
In the Other tab, it is recommended to turn “Lagometer”, “Fullscreen” and “Show FPS” to On.
In this way, you can remove the lag spikes and increase the FPS.