The most reliable method to increase FPS and performance in Fortnite is explained step-by-step below.
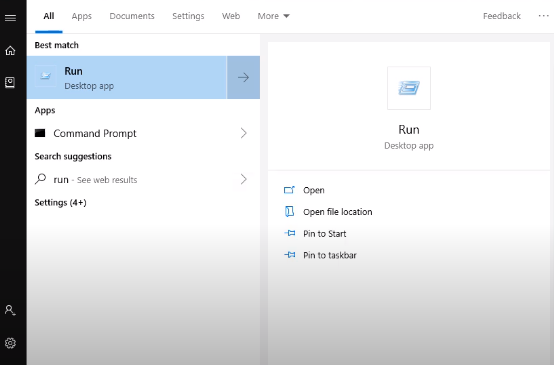
Step 1: The first thing you have to do is go to the Start menu, search and click on Run.
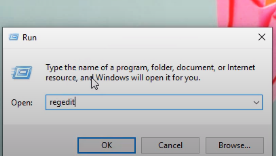
Step 2: Now search for regedit here, and click Ok.
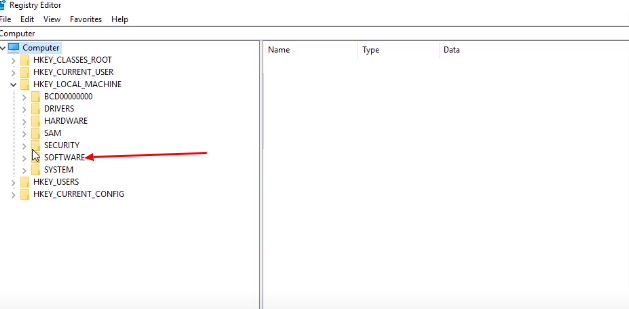
Step 3: Here, you have HKEY_LOCAL_MACHINE on the left side. Click on it, and come up to the Software.
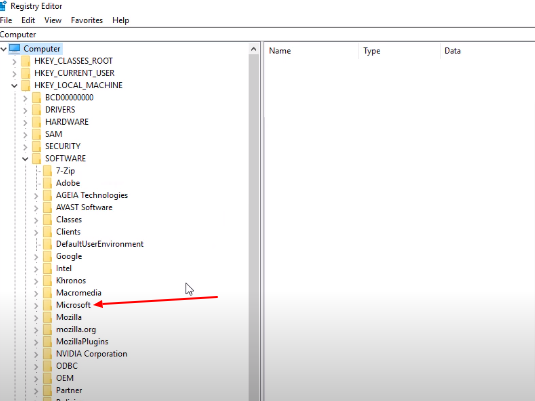
Step 4: Then, under Software, you have to go to Microsoft.
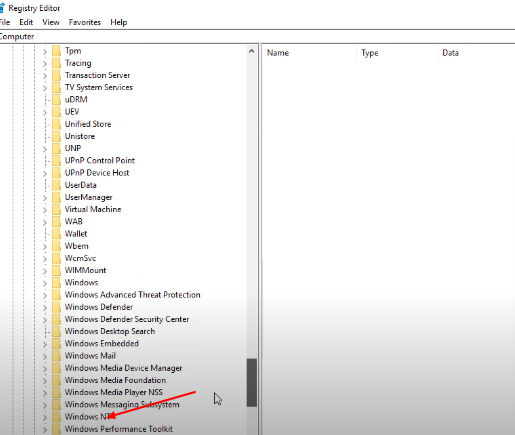
Step 5: After getting to Microsoft, click on Windows NT.
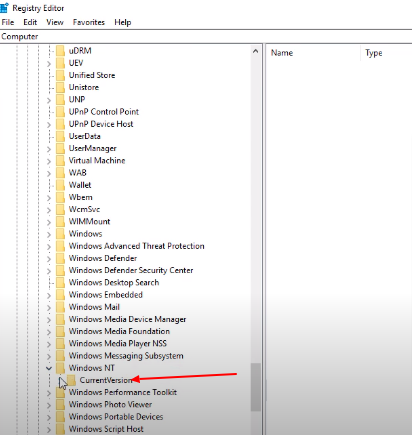
Step 6: And then open up the CurrentVersion.
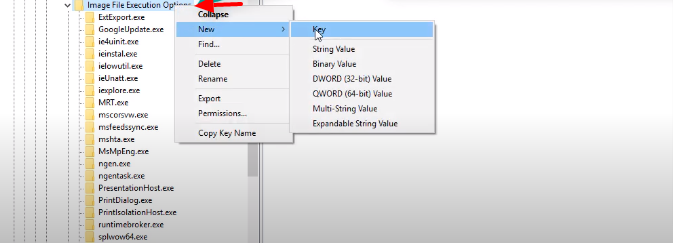
Step 7: Scroll down and go to the Image File Execution Options. Right-click on it to create a new key. You need to copy the code line, right-click on Image File Execution Options, and create a new key. Then paste the code line “FortniteClient-Win64-Shipping.exe” here.
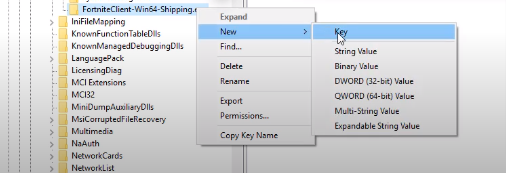
Step 8: After that, right-click on FortniteClient-Win64-Shipping.exe and create a new key and paste “PerfOptions”.
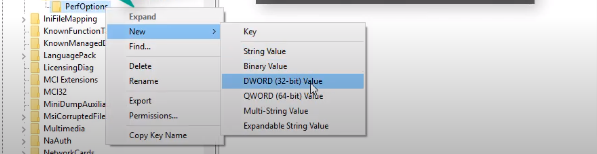
Step 9: Next, right-click on PerfOptions and create a new DWORD (32-bit) value.
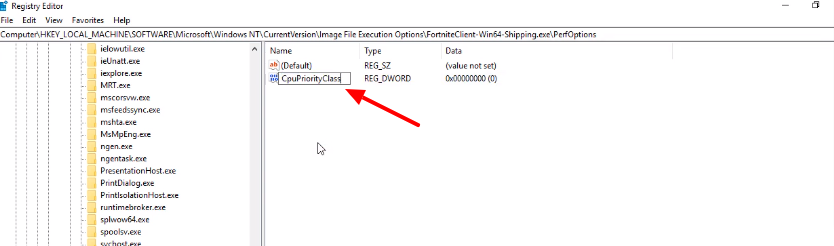
Step 10: Paste “CpuPriorityClass” here.
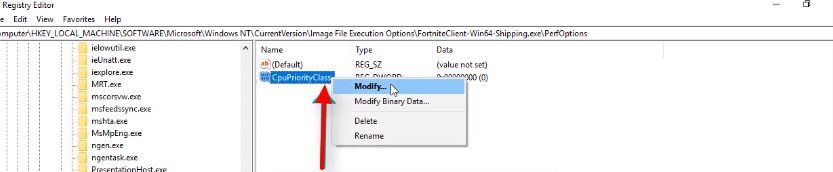
Step 11: Right-click on CpuPriorityClass and click Modify.
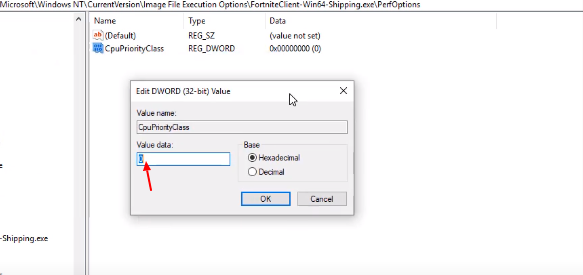
Step 12: Put 3 under the Value data and click Ok.
Now you are done resolving this issue and can enjoy the game.
.