In this guide, you will find the best DNS server settings to have with your Xbox One.
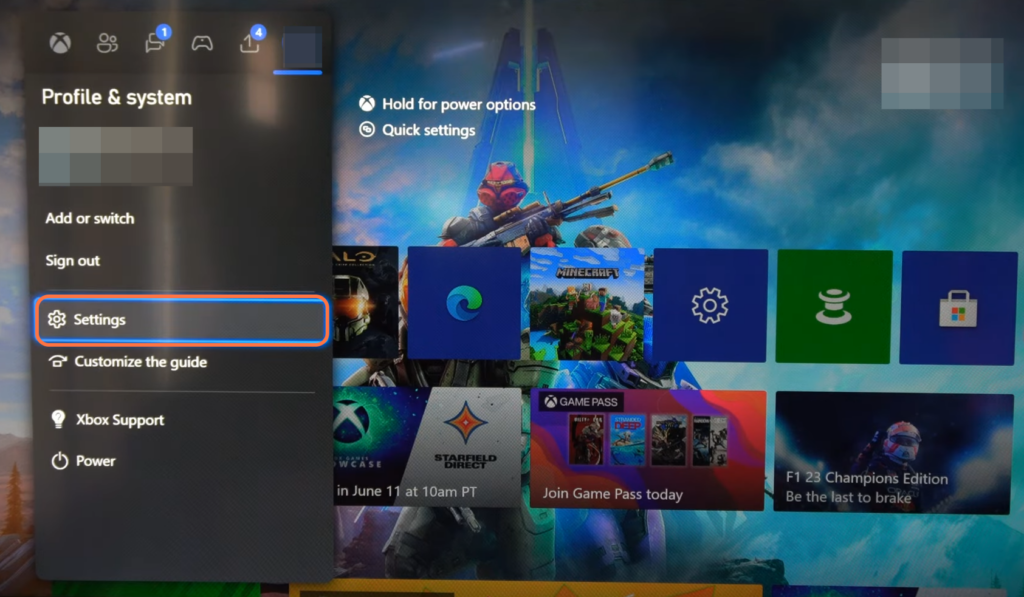
- You have to start by pressing the Xbox button located in the centre of your Xbox controller.
- Navigate to your profile and select the “Settings” option within your profile screen.
- Navigate to the “General” tab within the settings menu and then go to “Network Settings“.
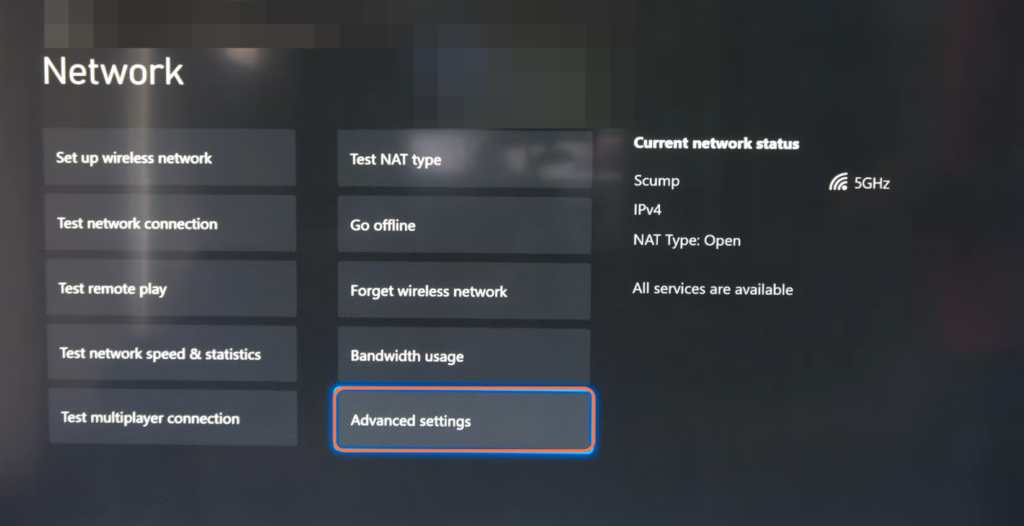
- Within the network settings menu, select the “Set up a wireless network” option and go down to Advanced settings.
- Click on the “DNS Settings” option on the left side of the screen and change the DNS configuration mode from “Automatic” to “Manual“.
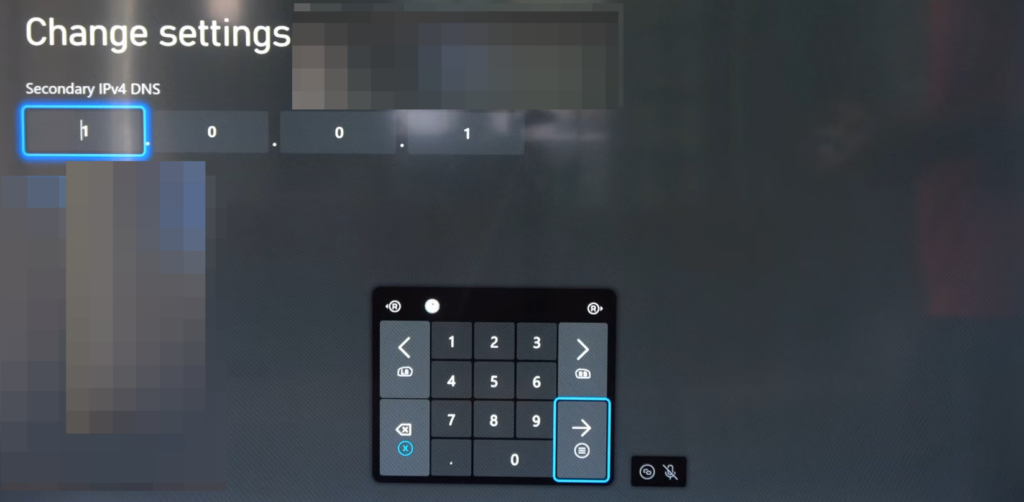
- Look for the “Primary DNS” field and enter “1.1.1.1” as the primary DNS server address.
- After that, enter “1.0.0.1” as the Secondary DNS server address.
This is the Cloudflare DNS address, known for its speed and reliability.
- You can also input the Google Open DNS. Input 8.8.8.8 for the Primary DNS and 8.8.4.4 for the Secondary DNS.
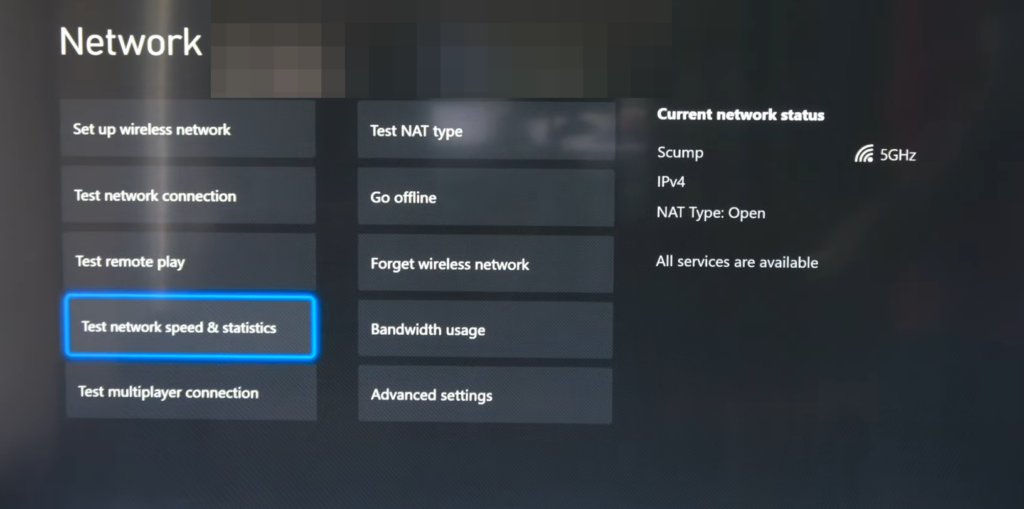
- After that, press Options and exit the screen. Go back to the main Network page and click on Test network speed & statistics.
It will test all the network statistics and ensure everything is fine.